
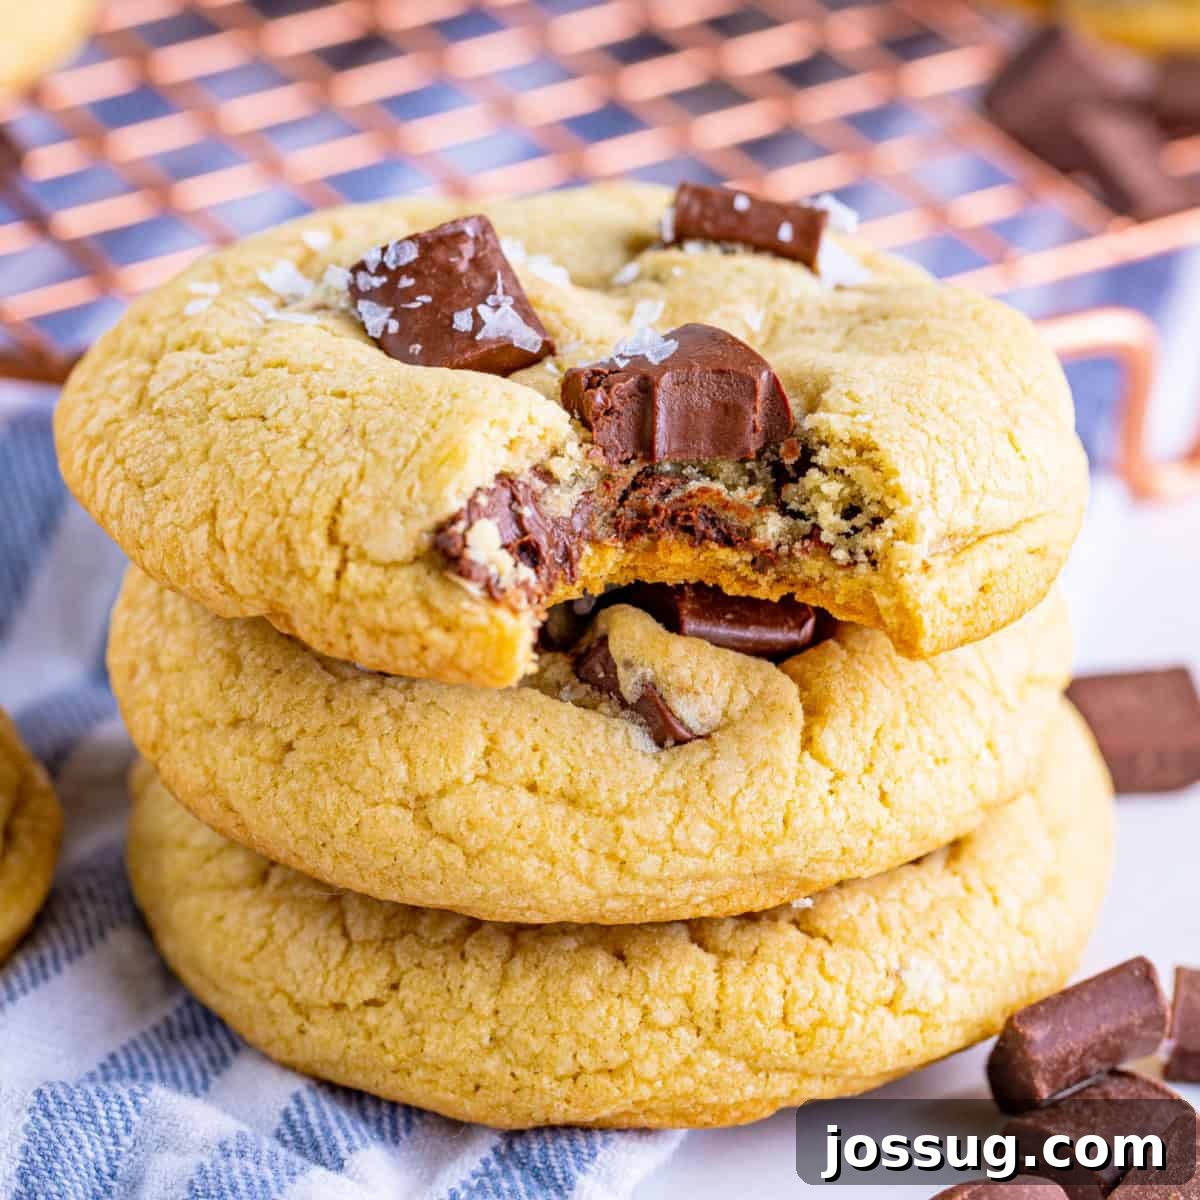
The Best Chocolate Chunk Cookies with Sea Salt: Thick, Soft, and Gooey Bakery-Style Delights
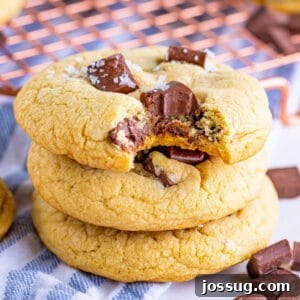
Prepare to fall in love with these incredibly decadent **Chocolate Chunk Cookies** – a recipe that promises thick, soft, and profoundly gooey results, generously studded with rich, melty chocolate. Forget dry, flat cookies; this recipe delivers genuine bakery-style perfection right in your own kitchen. Imagine biting into a cookie with lightly crisp edges giving way to a wonderfully soft and chewy center, each mouthful bursting with warm, melted chocolate and a delicate sprinkle of flaky sea salt to enhance every note. This isn’t just a cookie; it’s an experience, a comforting indulgence that’s surprisingly simple to achieve.
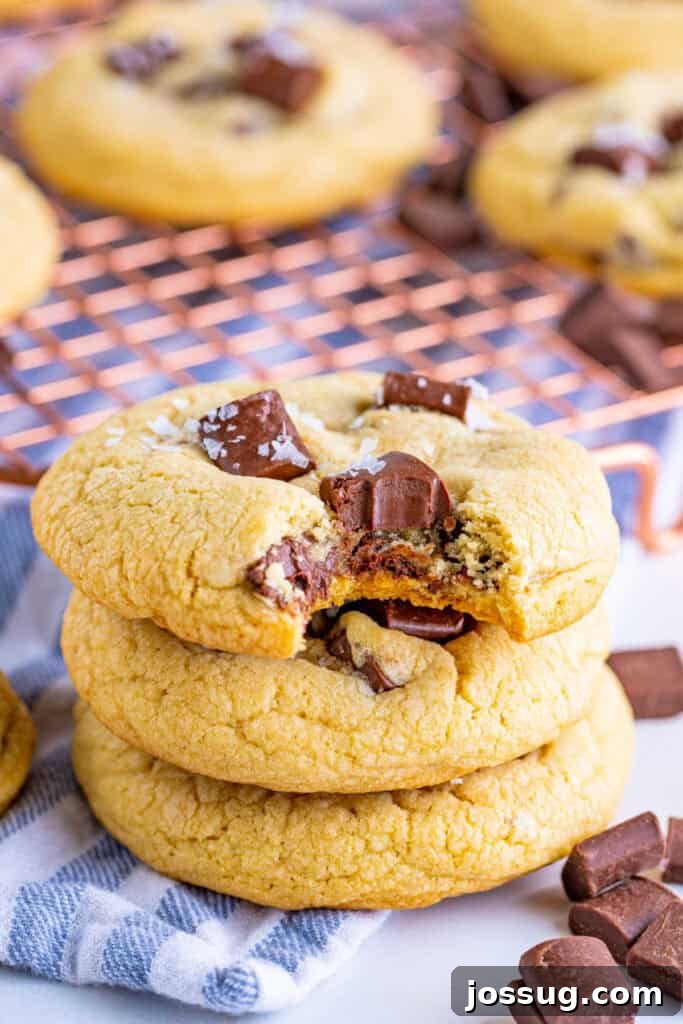
Why These Bakery-Style Chocolate Chunk Cookies Are a Must-Bake
If your ideal cookie features a blissful blend of textures and intense chocolate flavor, then this is the recipe you’ve been searching for. Our easy chocolate chunk cookie recipe is designed to bring you professional bakery-quality treats without the need for any specialized skills or equipment. It’s the kind of recipe you turn to when you crave something truly special, yet effortlessly comforting.
Unbeatable Texture: Crisp Edges, Gooey Centers
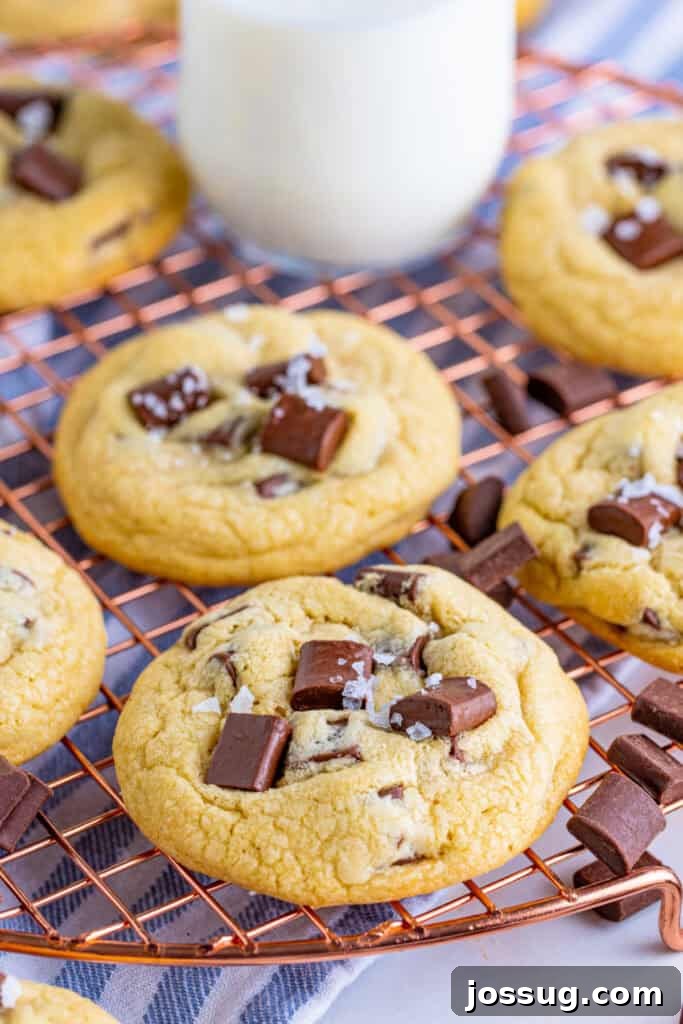
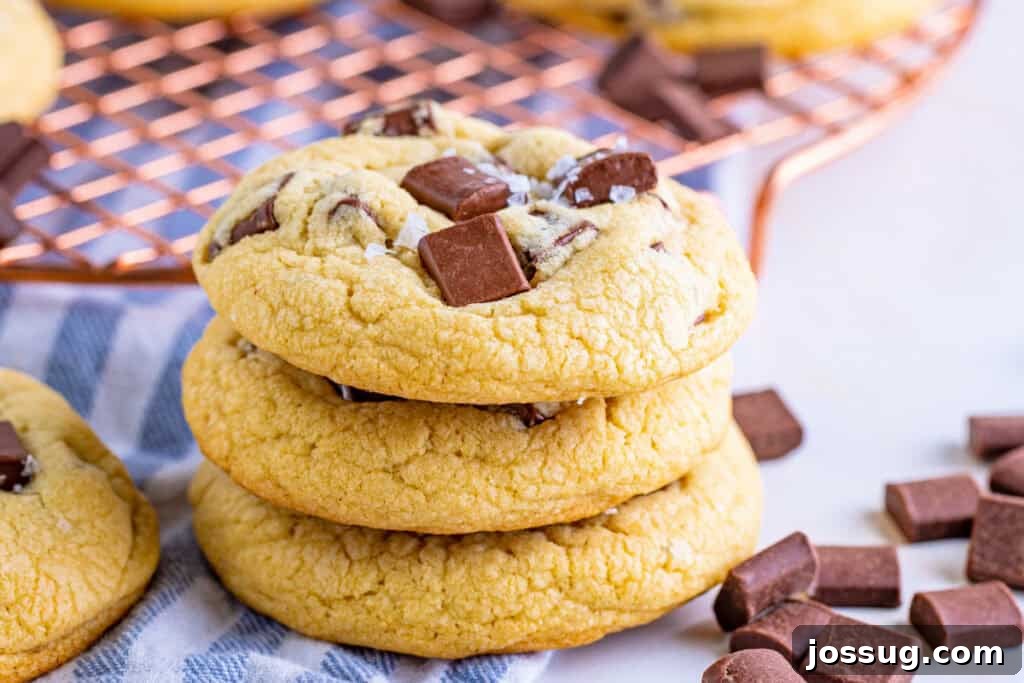
The magic of these cookies lies in their exceptional texture profile. They boast beautifully golden and subtly crisp edges that provide a delightful contrast to their gloriously soft, thick, and chewy centers. Thanks to precise ingredient ratios and baking techniques, the large chocolate chunks remain wonderfully gooey and melted, creating luscious pockets of pure bliss in every bite. This unique combination ensures a satisfying experience that sets them apart from ordinary cookies, delivering that highly sought-after bakery chewiness and melt.
Rich, Deep Chocolate Flavor
We prioritize a generous amount of high-quality semi-sweet chocolate chunks, ensuring an intense chocolatey experience. Unlike smaller chips, chunks melt into substantial pools, contributing significantly to the cookie’s rich flavor and decadent texture. The interplay of both light brown sugar and granulated sugar also contributes to a nuanced sweetness that perfectly complements the robust chocolate, developing a depth of flavor that is profoundly satisfying and far from one-dimensional.
Effortlessly Easy & Beginner-Friendly
Despite their gourmet appeal, these chocolate chunk cookies are remarkably easy to prepare. The dough comes together quickly with common pantry staples, requiring minimal fuss and simple mixing steps. This makes it an ideal recipe for both novice bakers looking to impress and seasoned pros seeking a reliable, no-fail cookie that consistently delivers outstanding results. The entire process, from mixing to baking, is straightforward, ensuring success every time you crave a homemade treat.
Lasting Freshness & Versatility
One of the many charms of these cookies is their incredible ability to stay soft and fresh for days. Stored properly in an airtight container, they maintain their delightful chewiness, making them perfect for meal prepping your sweet cravings, sharing with loved ones, or gifting on special occasions. A quick warm-up in the microwave or a few minutes in a warm oven can even revive that irresistible “fresh from the oven” taste and gooey chocolate texture, pairing perfectly with a cold glass of milk, a warm cup of coffee, or even a scoop of vanilla ice cream for an extra indulgent dessert.
The Secret Ingredient: Flaky Sea Salt
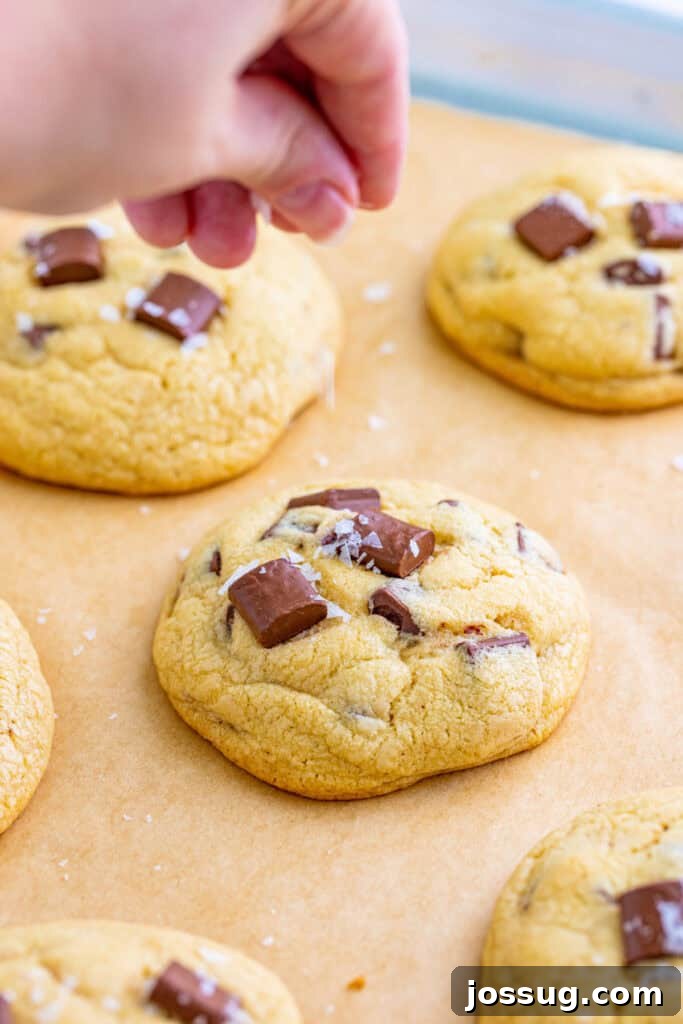
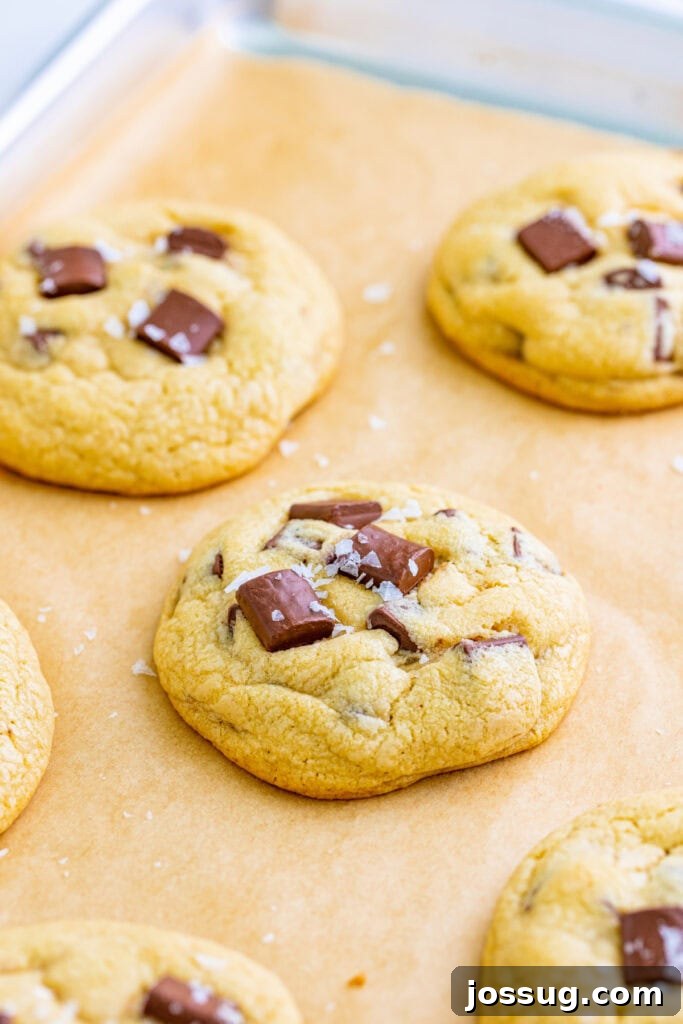
For an elevated experience, a sprinkle of flaky sea salt (such as Maldon) on top, either before or immediately after baking, transforms these into truly the best chocolate chunk cookies with sea salt ever. The salt doesn’t just add a touch of sophistication; it brightens the chocolate flavor, cuts through the sweetness, and creates an addictively balanced sweet-and-salty profile that will have everyone asking for your secret. This simple addition makes an extraordinary difference, enhancing every single bite.
⭐ Why You’ll Love This Recipe
- Achieve authentic bakery-style cookies at home without any special tools or complex techniques.
- The dough is incredibly quick and simple to prepare, making it a perfect last-minute treat.
- Flaky sea salt adds a gourmet touch, balancing the sweetness and enhancing chocolate notes.
- Enjoy irresistibly gooey centers and perfectly crisp edges that stay fresh for days.
- Fills your home with the most comforting aroma of freshly baked cookies.
- Great for sharing, gifting, or simply indulging your own sweet tooth.
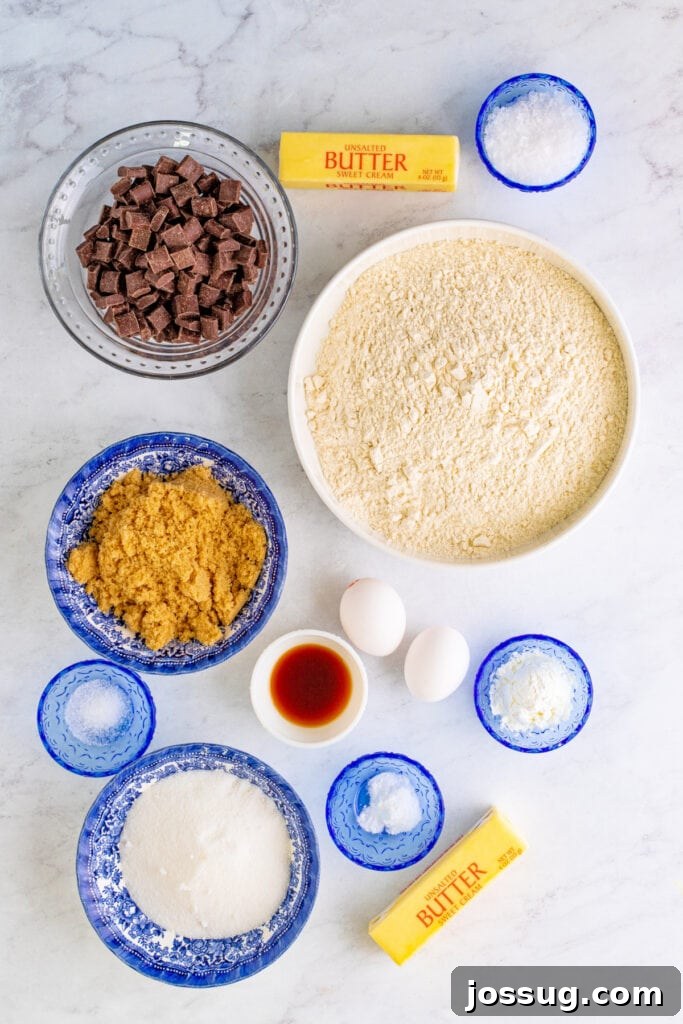
🛒 Essential Ingredients & Smart Substitutions
Crafting the perfect chocolate chunk cookie starts with a selection of high-quality, everyday ingredients. Here’s what you’ll need and some useful substitution tips to ensure your cookies are nothing short of spectacular:
- All-Purpose Flour: This is the fundamental building block of our cookie structure. For optimal results, ensure accurate measurement using the “spoon and level” method to avoid overly dense or dry cookies.
- Cornstarch: A crucial ingredient for achieving that ultra-soft and delightfully chewy texture. It helps tenderize the dough and prevents the cookies from spreading too thinly, contributing to their signature thickness.
- Baking Soda: Our essential leavening agent, which interacts with the brown sugar and acidic components to help the cookies rise and develop their characteristic texture and beautiful golden-brown color.
- Fine Sea Salt: Absolutely vital for balancing the sweetness in the dough and enhancing the overall depth of flavor. Don’t skip this, as it brightens every other ingredient.
- Unsalted Butter, softened: Key for both flavor and achieving the right cookie texture. Ensure it’s truly softened (but not melted) to allow for optimal creaming with the sugars, trapping air for a lighter dough. If necessary, you can substitute with margarine, but be aware it may slightly alter the cookie’s final texture and richness.
- Granulated Sugar: Contributes to the pleasant crispness of the cookie edges and aids in achieving that desirable golden-brown exterior.
- Light Brown Sugar: A powerhouse ingredient for adding moisture, chewiness, and a delightful caramel-like flavor that pairs exquisitely with chocolate. Always make sure to pack it firmly when measuring for accurate results.
- Large Eggs: These act as binders, adding richness and essential structure to the cookie dough. For better emulsification and a smoother batter, ensure your eggs are at room temperature before mixing.
- Vanilla Extract: A crucial flavor enhancer that brings warmth and depth to the cookies. Using a high-quality vanilla extract will make a noticeable difference in the overall aroma and taste. Feel free to experiment with other extracts like peppermint, almond, strawberry, or coffee for unique and exciting flavor twists.
- Semi-Sweet Chocolate Chunks: The undeniable star of the show! Large chunks melt beautifully into gooey, irresistible pools of chocolate throughout the cookie. While semi-sweet is traditional, you can easily substitute with milk chocolate, rich dark chocolate, or even a delightful mix of various chocolate chips (mini, regular, white) for textural and flavor variety.
- Maldon Flake Sea Salt (optional, but highly recommended): This is your finishing touch for a truly gourmet cookie. A light sprinkle on top adds that perfect sweet and salty contrast, elevating the cookie to true bakery status.
✨ Creative Variations to Customize Your Cookies
While these chocolate chunk cookies are absolutely perfect on their own, they also serve as an excellent canvas for culinary creativity. Feel free to experiment and personalize your batch with these delicious variations:
- Change the Chocolate Type: Explore different chocolate profiles! Use rich dark chocolate for an intense, sophisticated flavor, creamy milk chocolate for a sweeter, classic taste, or even white chocolate chunks for a distinct kind of sweetness. You can also mix and match a combination of these for a dynamic chocolate experience.
- Add Chopped Nuts for Crunch: Incorporate about 1 cup of finely chopped walnuts, pecans, or almonds into the dough for crunchy bakery-style chocolate chunk cookies. Toasting the nuts lightly before adding them will enhance their flavor and aroma significantly.
- Infuse Seasonal Flavors: For a festive touch, add 1/2 teaspoon of peppermint extract (and perhaps some crushed candy canes) for a delightful winter twist. During warmer months, a teaspoon of fresh orange or lemon zest can introduce a bright, citrusy note that beautifully complements the chocolate.
- Toffee & Caramel Infusion: Elevate the richness by swapping some of the chocolate chunks for an equal amount of toffee bits or small caramel pieces. This creates extra gooey chocolate chunk cookies with an added layer of buttery, chewy sweetness that is truly irresistible.
- Spice It Up: A pinch of ground cinnamon or a tiny dash of cayenne pepper can add unexpected warmth and depth, especially when paired with dark chocolate. These subtle spices bring a sophisticated complexity to the cookie.
- Candy Mix-Ins: Make them extra fun by folding in colorful M&M’s, creamy peanut butter chips, or buttery butterscotch chips. This is a fantastic way to customize them for holidays or special events, and they’re always a hit with kids!
- Pretzel Perfection: For a delightful salty crunch, crush about ½ cup of pretzels and fold them into the dough. The salty, savory pretzels offer an incredible contrast to the sweet chocolate.
- Espresso Boost: Add 1 teaspoon of instant espresso powder to the dry ingredients to deepen the chocolate flavor without making the cookies taste like coffee. It’s a secret ingredient many professional bakers use!
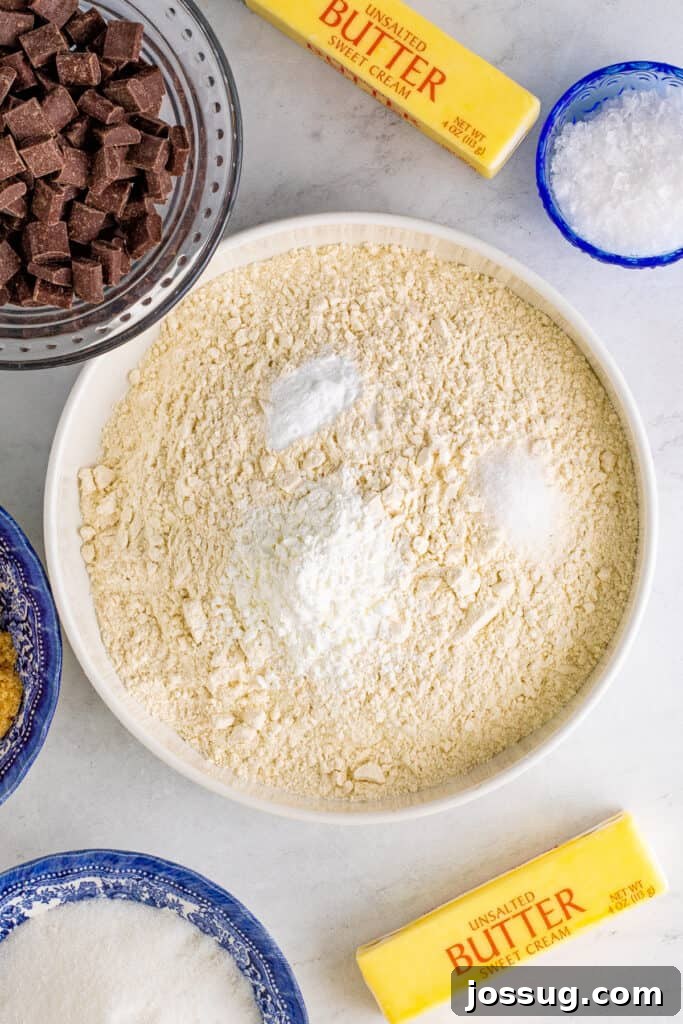
🔥 Pro Tips for Bakery-Worthy Chocolate Chunk Cookies
Achieving cookie perfection is easier than you think with these expert tips and tricks, ensuring your homemade chocolate chunk cookies are consistently outstanding:
- Chill the Dough for Optimal Thickness: While not strictly mandatory for taste, chilling the dough for at least 30 minutes (or ideally a few hours up to 48) allows the butter to firm up and the flavors to meld. This crucial step prevents excessive spreading during baking, resulting in thicker, chewier cookies with a more developed, richer taste – truly key for that bakery-style appearance and texture.
- Invest in Quality Chocolate: The type of chocolate you use significantly impacts the final flavor and melt. Opt for good quality semi-sweet chocolate chunks, or even a chopped chocolate bar, for a richer, more luxurious taste and a superior gooey texture that distinguishes your cookies from the average.
- Master the Flaky Salt Balance: If you adore the sweet-and-salty combination, don’t shy away from adding a generous sprinkle of Maldon flake sea salt immediately after the cookies come out of the oven. The residual warmth helps the salt adhere, and its crystals provide a delightful textural crunch and bright flavor that cuts through the sweetness beautifully.
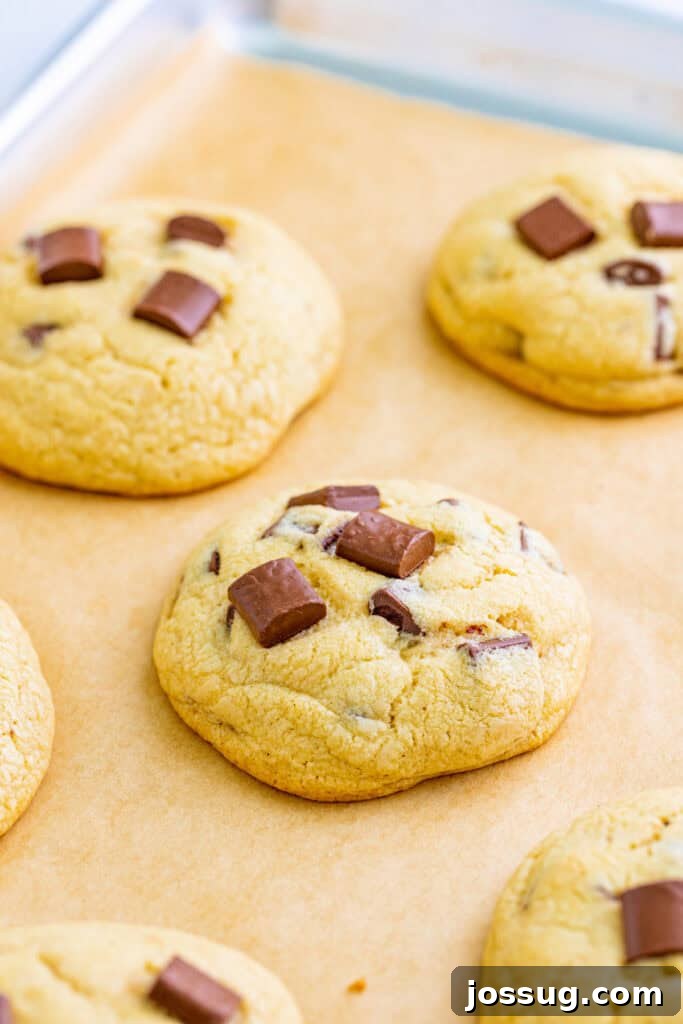
- Don’t Overbake for Gooey Perfection: This is perhaps the most crucial tip for achieving those coveted gooey centers. Remove the cookies from the oven when their edges are lightly golden but the centers still look slightly soft, puffed, and underbaked. They will continue to set and firm up as they cool on the hot baking sheet, ensuring maximum chewiness and meltiness.
- Measure Flour Accurately: Too much flour can lead to dry, dense, and crumbly cookies. Always use the “spoon and level” method: gently spoon flour into your measuring cup until it overflows, then level it off with a straight edge (like the back of a knife). Do not scoop directly from the flour bag, as this compacts the flour and adds too much.
- Ensure Room Temperature Ingredients: Make sure your butter and eggs are at proper room temperature. This allows them to cream together correctly, creating a smooth, emulsified mixture that traps air. This trapped air is essential for a lighter, more tender cookie structure and helps prevent the cookies from spreading too thinly.
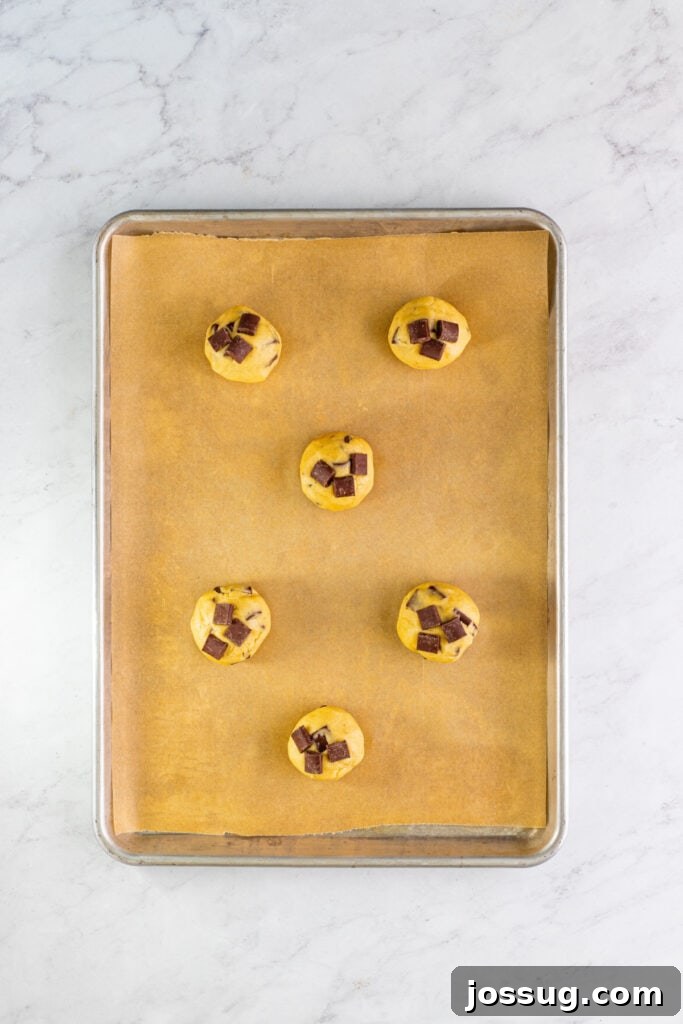
- Add Extra Chocolate on Top: For that picture-perfect, professional bakery aesthetic, press a few extra chocolate chunks onto the tops of your dough balls right before baking. These visible chunks will melt beautifully on the surface, making your cookies look even more irresistible and decadent.
❓ Frequently Asked Questions (FAQs)
While you *can* bake these cookies without chilling the dough, we highly recommend it for the absolute best results. Chilling allows the butter to firm up, preventing the cookies from spreading too much and resulting in a wonderfully thicker, chewier texture. It also allows the flavors to meld and deepen, making the cookies even more delicious. Even 30 minutes makes a noticeable difference, but 2-24 hours in the refrigerator is ideal for maximum benefit.
Flaky sea salt (like Maldon or fleur de sel) provides a wonderful contrast to the intense sweetness of the chocolate and cookie dough. It cleverly enhances the chocolate’s natural notes, creates an exciting sweet-salty dynamic that excites the palate, and adds a delicate, pleasing crunch. This simple addition truly elevates the entire cookie experience to gourmet levels.
The absolute key to achieving perfectly gooey cookies is to avoid overbaking. Remove the cookies from the oven when the edges are visibly set and lightly golden, but the centers still appear slightly soft, puffed, and even a bit underbaked. Don’t worry, they will continue to cook and firm up as they cool on the hot baking sheet, leaving you with consistently gooey interiors every single time.
Several factors can contribute to excessive spreading: your butter might have been too soft (verging on melted) when creaming, the dough wasn’t chilled adequately, or your oven temperature might be running inconsistent or too low. To remedy this, ensure your butter is softened but still cool to the touch, and definitely try chilling the dough for at least 30 minutes or longer to help it hold its shape during baking.
Look for a specific visual cue: the edges of the cookies should be lightly golden-brown and set, while the centers should still appear slightly pale, soft, and slightly puffed. The cookies will continue to firm up as they cool down. If they look completely firm and uniformly brown all over, they are likely overbaked and will not have that desirable gooey texture.
Absolutely! This recipe is fantastic for make-ahead convenience. You can prepare the dough and chill it in the refrigerator for up to 48 hours. This not only makes baking spontaneous and easy but also allows the flavors to deepen and the dough to become firmer, often resulting in an even better texture and more complex, flavorful cookies.
No problem at all! A hand mixer will work just as effectively for creaming the butter and sugars until light and fluffy. If you don’t have any electric mixer, a sturdy wooden spoon or a robust rubber spatula and a bit of elbow grease will also get the job done, though it might require a little more effort and time to achieve that light and airy texture.
Yes, you certainly can, especially if your oven has good, even heat distribution. However, for the most consistent and even baking results, it’s generally best to rotate the pans halfway through the baking time (swapping top to bottom and front to back). If you suspect your oven has hot spots, baking one tray at a time might yield more perfectly consistent results.
Lining your baking sheets with parchment paper or silicone baking mats is highly recommended. It serves multiple purposes: it prevents the cookies from sticking, promotes more even baking by diffusing heat slightly, and makes cleanup incredibly easy. While not strictly required, it greatly improves both the baking experience and the final outcome of your cookies.
Dry cookies are typically a clear sign of either overbaking or incorporating too much flour. Next time, watch your cookies very closely and remove them from the oven when the edges are just set and the centers are still soft. Additionally, ensure you’re measuring your flour correctly by using the “spoon and level” method, rather than compacting it by scooping directly from the bag.
Yes, absolutely! You can definitely use chocolate chips in place of chunks. While chocolate chunks tend to create larger, more dramatic pockets of melted chocolate for a profoundly gooey effect, chips will still yield delicious results. Feel free to use your favorite type of chocolate chips, whether mini, regular, dark, milk, or white chocolate.
Once your cookies have completely cooled, store them in an airtight container at room temperature for up to 5 days. To help maintain their incredible softness and chewiness, you can place half a slice of plain bread (like sandwich bread) in the container with them; the cookies will absorb moisture from the bread. Remember to replace the bread every day or two.
🍽️ Other Recipes You May Enjoy
Dessert
Chocolate Chip Cheesecake Bars
Dessert
Maple Bacon Chocolate Chip Cookies
Dessert
Brown Butter Sourdough Discard Chocolate Chip Cookies
Dessert
Chocolate Mint Chip Cookies
No ratings yet
Best Chocolate Chunk Cookies Recipe
By Jamie Sherman
Craft the Best Chocolate Chunk Cookies at home, featuring irresistible soft centers, delightfully crisp edges, and an abundance of rich, melty chocolate chunks for an authentic bakery-style indulgence.
Cook: 13 mins
Additional Time: 20 mins
Total: 48 mins
Pin Recipe
Rate This Recipe
Print Recipe
Equipment
- Baking Sheets
- Parchment Paper
- Mixing Bowls
- Stand Mixer with paddle attachment or Hand Mixer
- Measuring Cups and Spoons
- Rubber Spatula
- Cookie Scoop
- Wire Cooling Rack
Ingredients
- 3 cups all-purpose flour
- 2 tablespoons cornstarch
- 1 teaspoon baking soda
- ¾ teaspoon fine sea salt
- 1 cup unsalted butter, softened
- ¾ cup granulated sugar
- ¾ cup light brown sugar, packed
- 2 large eggs, room temperature
- 1 tablespoon vanilla extract
- 1 bag semi-sweet chocolate chunks (11.5 ounces), divided
- Maldon flake sea salt, optional (for sprinkling)
Instructions
- Preheat your oven to 350°F (175°C). Line several baking sheets with parchment paper or silicone baking mats and set them aside. This prevents sticking and promotes even baking.
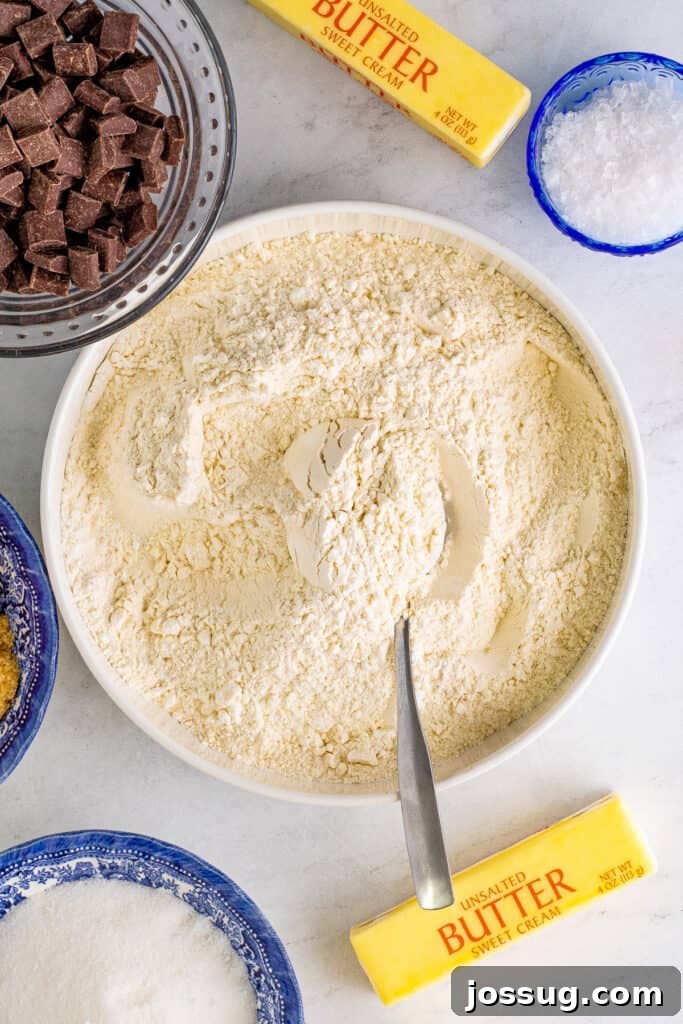
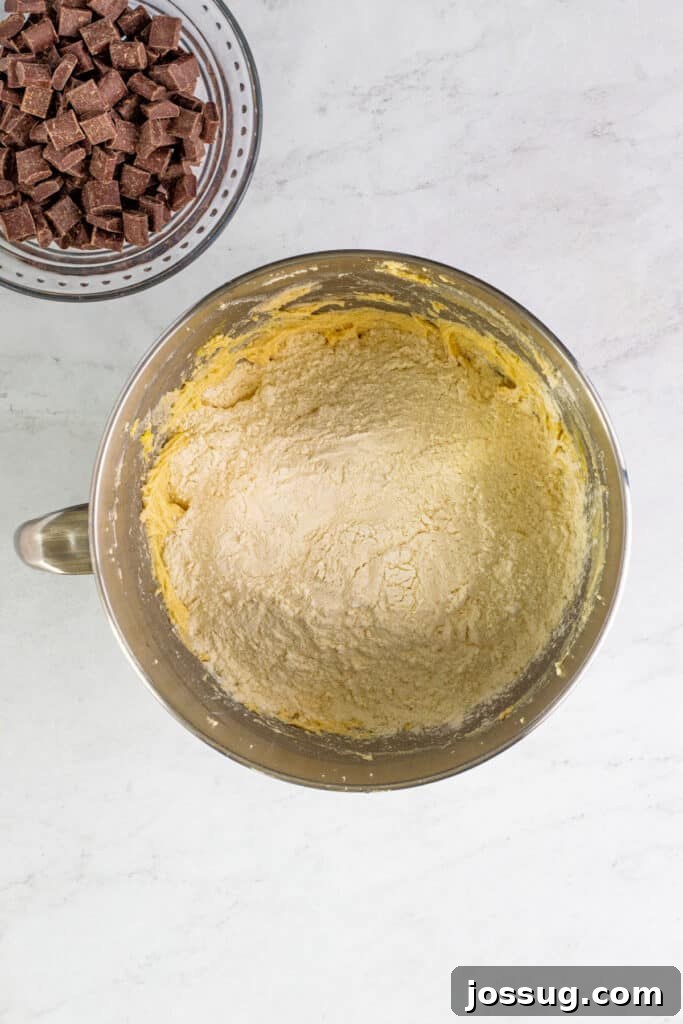
- In a large bowl, whisk together the all-purpose flour, cornstarch, baking soda, and fine sea salt. Whisking ensures these dry ingredients are well combined and evenly distributed throughout the dough.
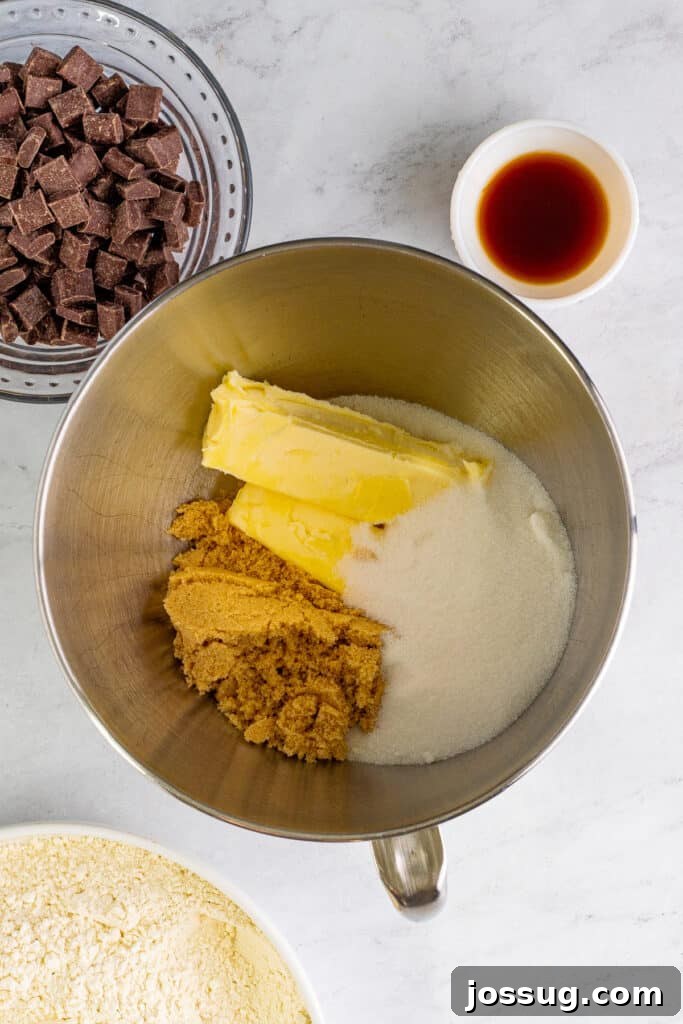
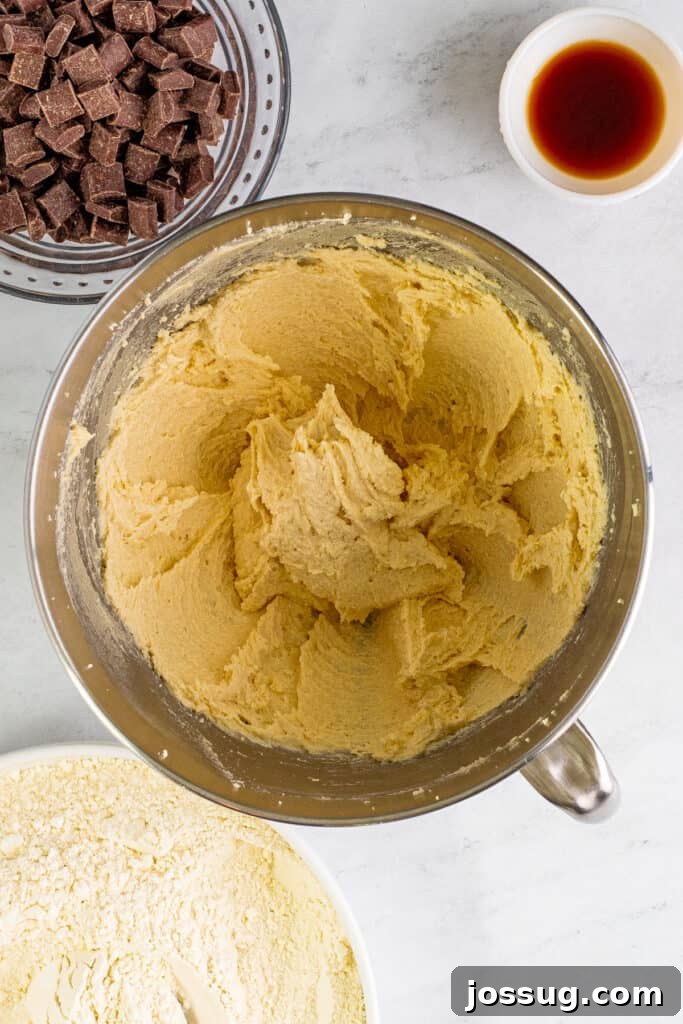
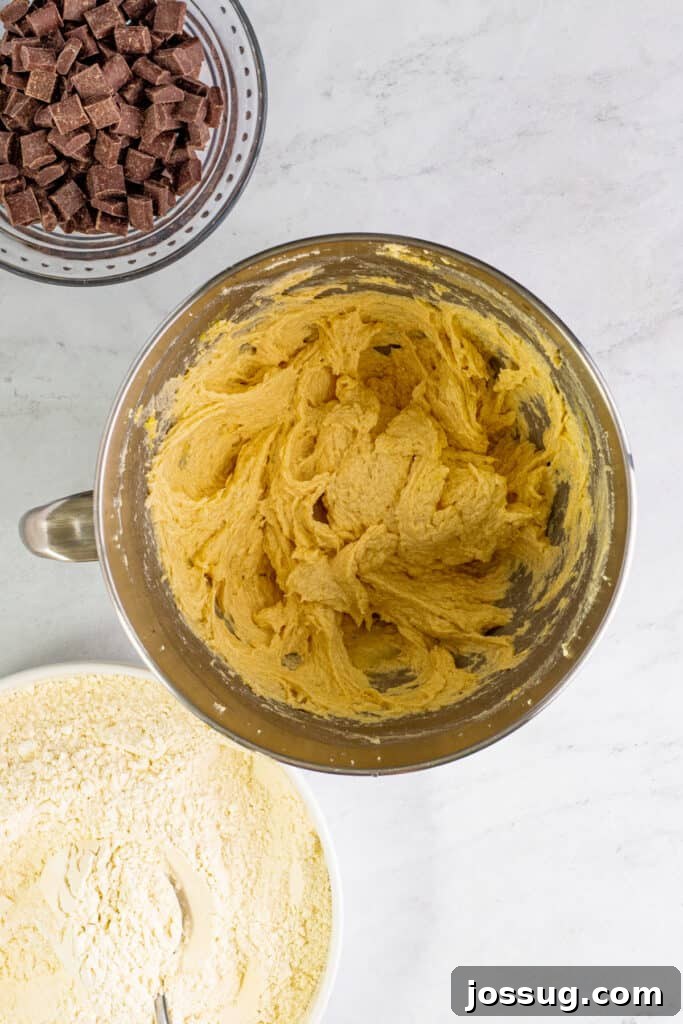
- In a stand mixer fitted with the paddle attachment (or using a hand mixer), beat the softened unsalted butter with both the granulated sugar and light brown sugar for approximately 3 minutes. Continue until the mixture is light, fluffy, and pale in color. This creaming process incorporates air, essential for a soft cookie.
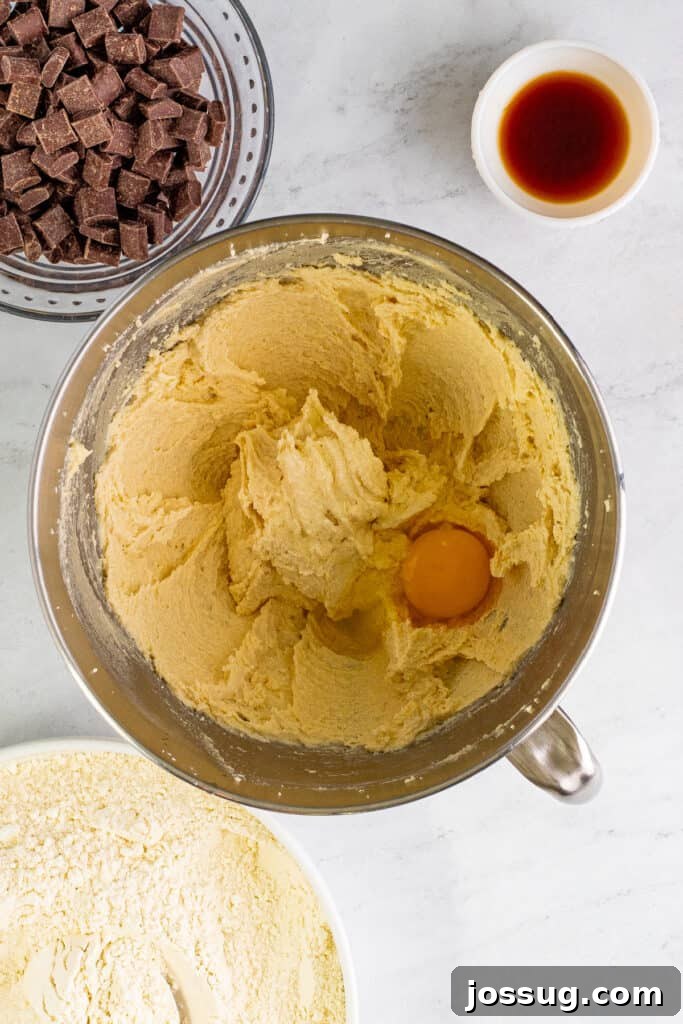
- Add the large eggs one at a time, mixing thoroughly after each addition until just combined. Scrape down the sides of the bowl as needed to ensure everything is well incorporated. Stir in the vanilla extract until fragrant.
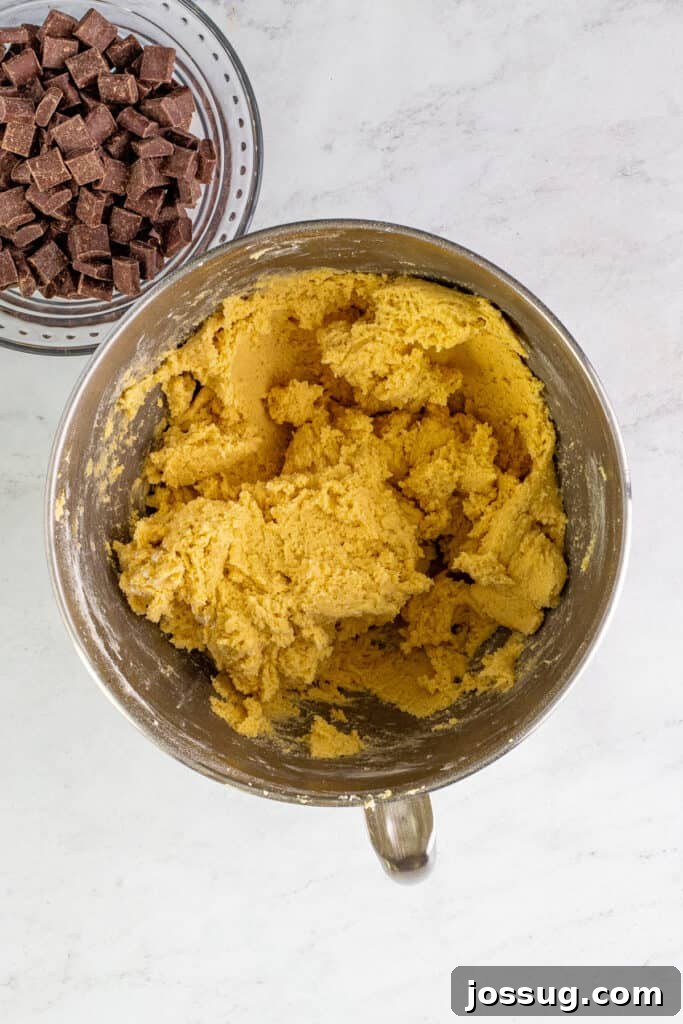
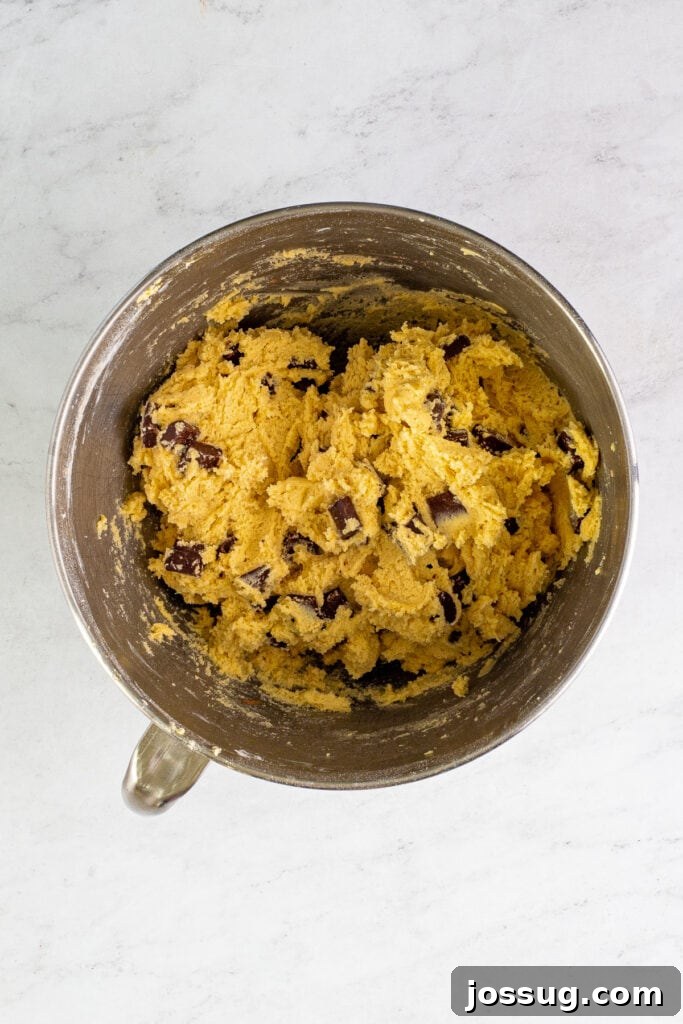
- Gradually add the dry ingredients to the wet mixture, mixing on low speed until the dough just comes together. Be careful not to overmix, as this can lead to tough cookies. Stop mixing as soon as no streaks of flour remain.
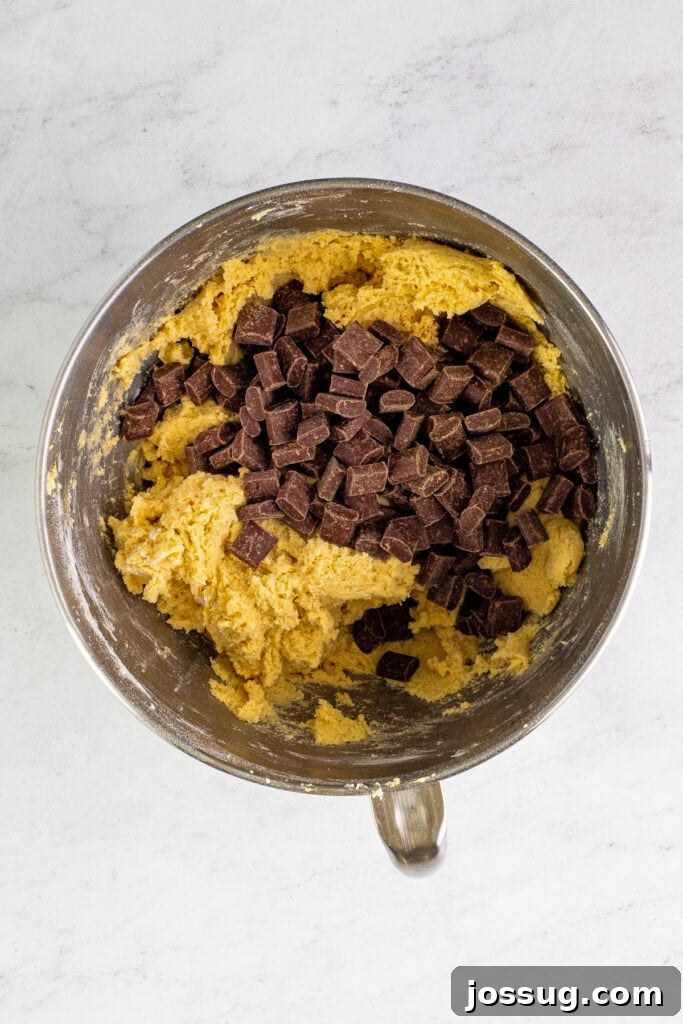
- Reserve about ½ cup of the semi-sweet chocolate chunks for pressing on top of the cookies later. Gently fold the remaining chocolate chunks into the dough using a rubber spatula until evenly distributed.
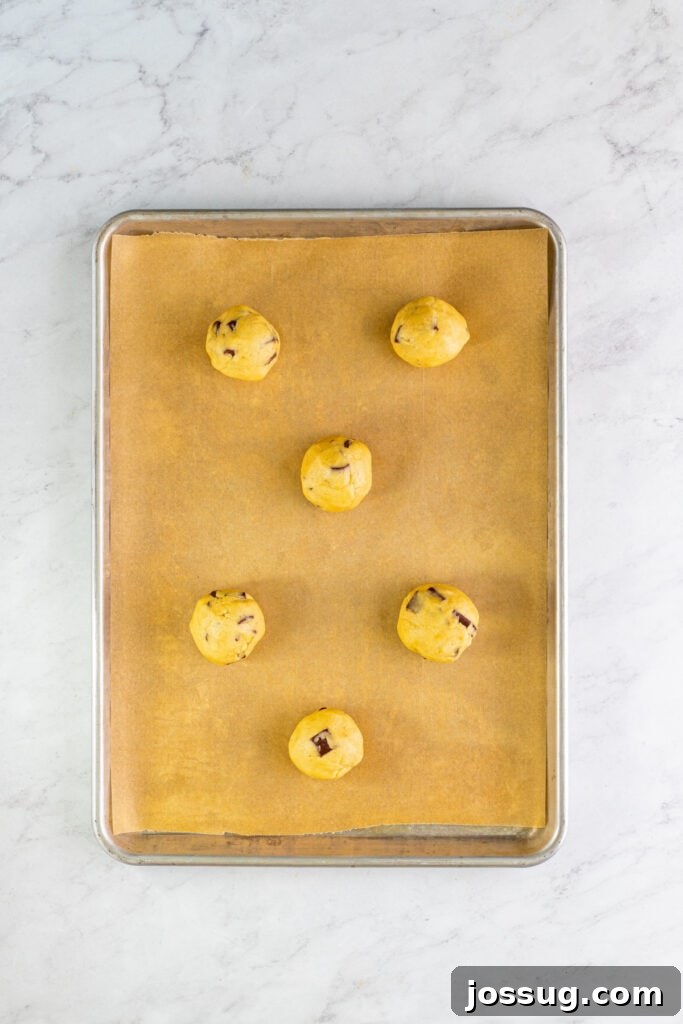
- Divide the cookie dough into 18 equal portions, aiming for approximately 2.5 ounces (about ¼ cup) per cookie for large, bakery-style treats. Roll each portion into a smooth ball.
- Place the dough balls on the prepared baking sheets, ensuring they are spaced about 4 inches apart to allow for spreading.
- Press the reserved chocolate chunks into the tops of each dough ball. This step is key for that beautiful, professional, chocolate-studded appearance after baking.
- Bake for 12-13 minutes. The cookies are done when the edges are lightly golden and set, but the centers still look slightly soft and puffed. They will continue to set as they cool.
- Immediately after removing from the oven, sprinkle with Maldon flake sea salt, if desired. Allow the cookies to cool completely on the baking sheet for about 10-15 minutes before transferring them to a wire rack. This cooling period is crucial for the centers to fully set and for the cookies to maintain their chewy texture.
Notes for Success
Enhance your baking experience and ensure perfect cookies every time with these additional tips and considerations:
🥡 Storage & Freshness
- Store baked and completely cooled cookies in an airtight container at room temperature for up to 5 days. For optimal freshness and softness, you can place a slice of plain bread (like sandwich bread) in the container with them; the cookies will absorb moisture from the bread. Remember to replace the bread every day or two to keep it fresh.
- To refresh day-old cookies and bring back that warm, gooey center, a quick warm-up in the microwave or oven works wonders.
♨️ Reheating Baked Cookies
- Microwave: For a quick warm, place a cookie on a microwave-safe plate and heat for 10-15 seconds until the chocolate is deliciously gooey again.
- Oven: For a slightly crisper edge and warm center, reheat cookies in a preheated 350°F (175°C) oven for about 3-5 minutes, or until soft and warmed through.
❄️ Freezing Options
- Freezing Baked Cookies: Once completely cooled, arrange cookies in a single layer on a baking sheet and freeze until solid (about 1-2 hours). Transfer the frozen cookies to a freezer-safe zip-top bag or airtight container, separated by parchment paper, for up to 3 months. Thaw at room temperature or reheat as desired.
- Freezing Cookie Dough: Form dough balls as instructed, then place them on a parchment-lined baking sheet. Freeze until solid. Once frozen, transfer the dough balls to a freezer-safe bag or container. You can bake them directly from frozen, adding an extra 2-4 minutes to the baking time until the edges are golden and the centers are set.
💡 Tips for Best Results
- Measure Flour Correctly: Always use the “spoon and level” method to avoid adding too much flour, which can result in dry, dense, and crumbly cookies. Accuracy here is paramount.
- Don’t Overmix: After adding the dry ingredients to the wet, mix only until they are just combined and no streaks of flour remain. Overmixing develops gluten, leading to tougher cookies.
- Room Temperature Ingredients: Ensure both your butter and eggs are at proper room temperature. This helps create a smooth, emulsified batter and contributes significantly to the overall texture and rise of the cookies.
- Cornstarch is Key: The strategic addition of cornstarch in this recipe helps keep these cookies incredibly soft and wonderfully chewy, preventing them from becoming too crisp and brittle.
- Patience with Cooling: Allowing the cookies to cool on the baking sheet for the initial 10-15 minutes is crucial. This undisturbed period allows the centers to finish setting without overbaking, ensuring that perfect gooey texture and preventing them from falling apart when transferred.
- Add Extra Chocolate on Top: For that irresistible, professional bakery aesthetic, gently press a few extra chocolate chunks onto the tops of your dough balls right before they go into the oven. These visible chunks will melt beautifully on the surface, making your cookies look even more decadent and appealing.
🍳 Alternate Cooking Methods
- Air Fryer: For a smaller batch, bake dough balls in a preheated air fryer at 320°F (160°C) for 6-8 minutes, or until the edges are golden and the centers are soft. Cooking time may vary by air fryer model and size, so keep a close eye on them.
- Toaster Oven: These smaller ovens tend to cook faster and can have hot spots. If using a toaster oven, bake at 350°F (175°C) but check for doneness a few minutes earlier than the conventional oven time (around 8-10 minutes) to prevent overbaking.
♻️ Creative Uses for Leftovers
- Crumble any leftover cookies over your favorite ice cream for an instant, decadent sundae.
- Blend them into milkshakes for a thick, luxurious, chocolatey treat.
- Layer crumbled cookies with whipped cream, fresh fruit, or pudding for a quick and easy parfait dessert.
Nutrition
Nutrition information is automatically calculated, so should only be used as an approximation.
- Serving: 1 cookie
- Calories: 356kcal
- Carbohydrates: 44g
- Protein: 4g
- Fat: 18g
- Saturated Fat: 11g
- Polyunsaturated Fat: 1g
- Monounsaturated Fat: 5g
- Trans Fat: 0.4g
- Cholesterol: 49mg
- Sodium: 172mg
- Potassium: 154mg
- Fiber: 2g
- Sugar: 24g
- Vitamin A: 355IU
- Calcium: 29mg
- Iron: 2mg
Loved this recipe? We’d be thrilled to hear your thoughts! Please share your experience and rate it below. Your feedback not only brightens our day but also helps us continue to create more delicious content for fellow bakers!