

Easy Bacon Bombs Recipe: The Ultimate Cheesy Appetizer

Bacon Bombs: The Perfect Snack for Any Occasion
Looking for a crowd-pleasing snack that’s easy to make and impossible to resist? Look no further than Bacon Bombs! These savory delights combine the irresistible flavors of bacon and cheese, wrapped in a golden-brown biscuit crust. Whether you’re hosting a party, planning a game day gathering, or simply craving a delicious treat, Bacon Bombs are sure to be a hit.
Made with simple ingredients like canned biscuit dough, cheese, and bacon, this recipe is a breeze to follow. Plus, they can be customized to your liking, making them a versatile option for any home cook. Get ready to impress your guests and satisfy your cravings with these amazing Bacon Bombs!
Bacon Bombs: Ingredients & Substitutions
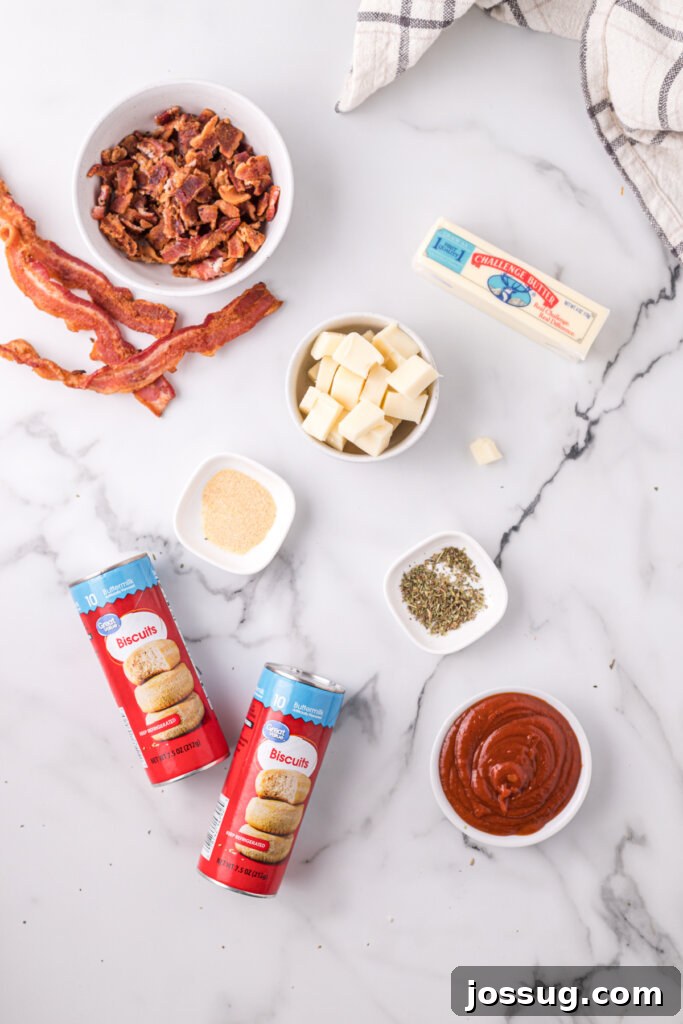
Gather these simple ingredients to create your own batch of irresistible Bacon Bombs:
Ingredients
- Refrigerated Biscuits: These form the perfect outer layer, providing a soft, yet crispy texture.
- Mozzarella Cheese: Cut into cubes, it melts perfectly to create a gooey, cheesy center.
- Cooked Bacon: Crumble it up for that smoky, savory flavor that makes Bacon Bombs so addictive.
- Butter, Garlic Powder, and Italian Seasoning: This flavorful mixture is brushed on top after baking, adding an extra layer of deliciousness.
- Pizza Sauce (Optional): Serve as a dipping sauce to take your Bacon Bombs to the next level.
How to Make Bacon Bombs
Follow these easy steps to create the ultimate Bacon Bombs:
- Preheat the Oven: Preheat your oven to 400°F (200°C).
-
Assemble the Bacon Bombs:
- Separate the biscuits.
- Place one cube of mozzarella cheese in the center of each biscuit.
- Top with a heaping teaspoon of crumbled bacon.
- Carefully wrap the biscuit dough around the cheese and bacon, sealing the edges tightly.
- Place the assembled bombs seam-side down on an ungreased baking sheet, leaving about an inch of space between each.
- Bake the Bombs: Bake for 10 minutes, or until the biscuits are golden brown and the cheese is melted and bubbly.
- Prepare the Butter Mixture: While the biscuits bake, melt the butter and mix in the Italian seasoning and garlic powder.
- Brush and Enjoy: Remove the Bacon Bombs from the oven and immediately brush them with the prepared butter mixture. Serve warm with pizza sauce for dipping, if desired.

Bacon Bombs: FAQs
Absolutely! If you don’t have refrigerated biscuits, you can use homemade buttermilk biscuits. Make sure your biscuit dough is thick enough to seal the filling completely.
This recipe typically yields around 20 Bacon Bombs. You might want to make a double batch – they disappear quickly!
From start to finish, the entire process takes about 20 minutes: 10 minutes for prep and 10 minutes for baking.
Yes, you can use shredded mozzarella. Just keep in mind that it might take a little longer to melt, especially if you’re using pre-shredded cheese.
If you have any leftovers (which is rare!), store them in an airtight container in the refrigerator for up to 3-4 days. Reheat in the microwave for a quick and easy snack.
Besides pizza sauce, many people enjoy dipping Bacon Bombs in hot sauce or even a cheese sauce or beer cheese dip for an extra cheesy experience.