
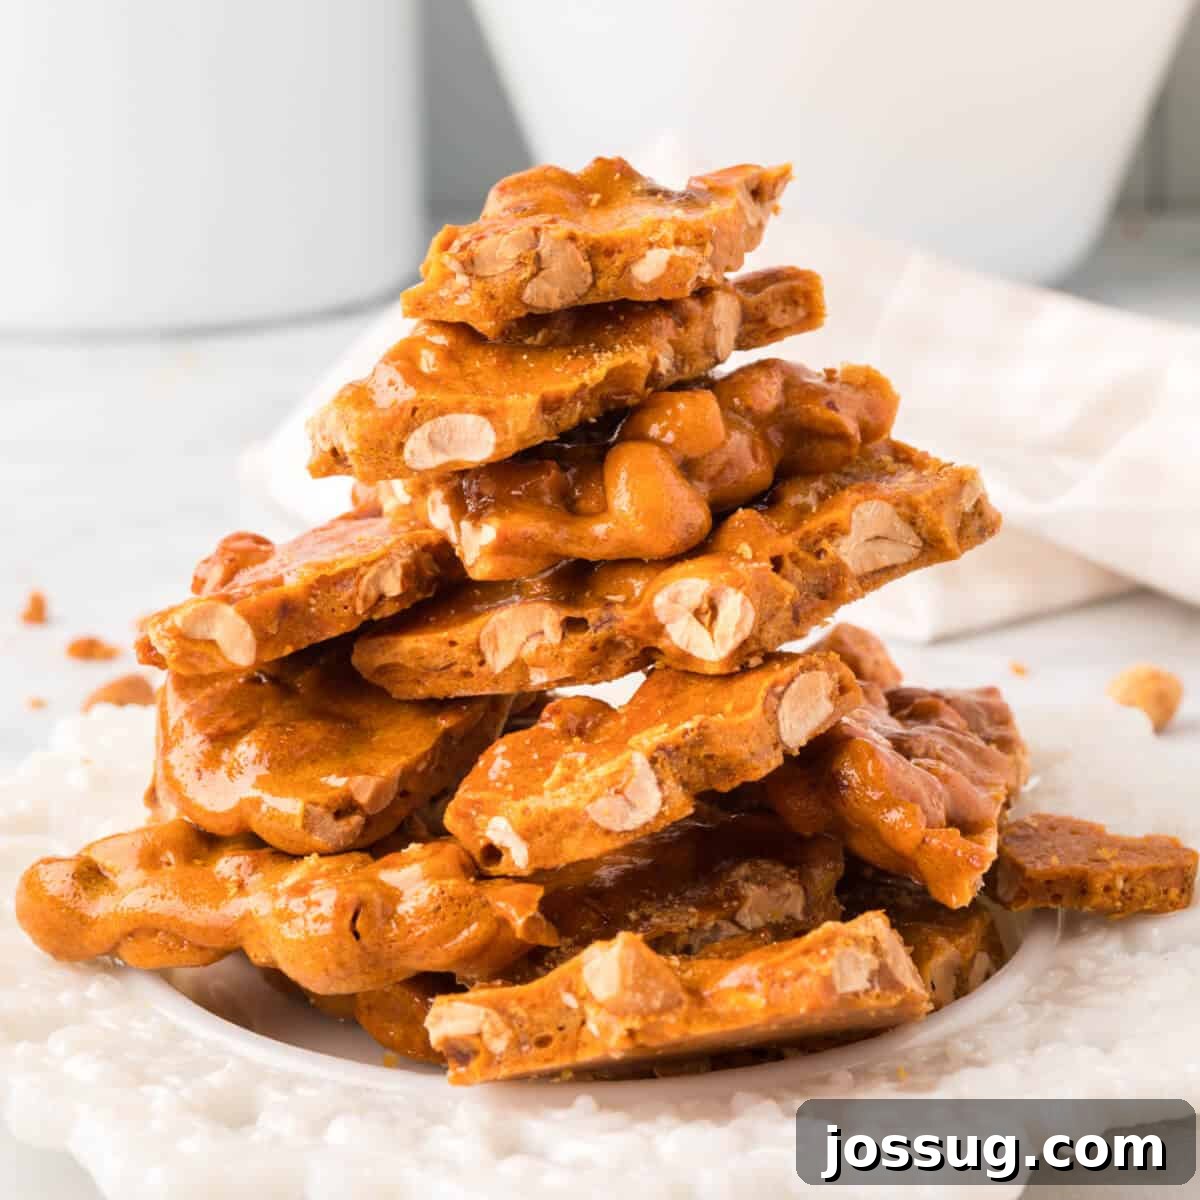
Dive into the delightful world of homemade candy with our incredible **Microwave Peanut Brittle**! This sweet, salty, and satisfyingly crunchy treat is a holiday season staple, bringing joy to every bite. The best part? You don’t need a fancy candy thermometer to achieve perfect brittle every time. It’s an incredibly simple recipe that delivers professional-tasting results right from your kitchen.
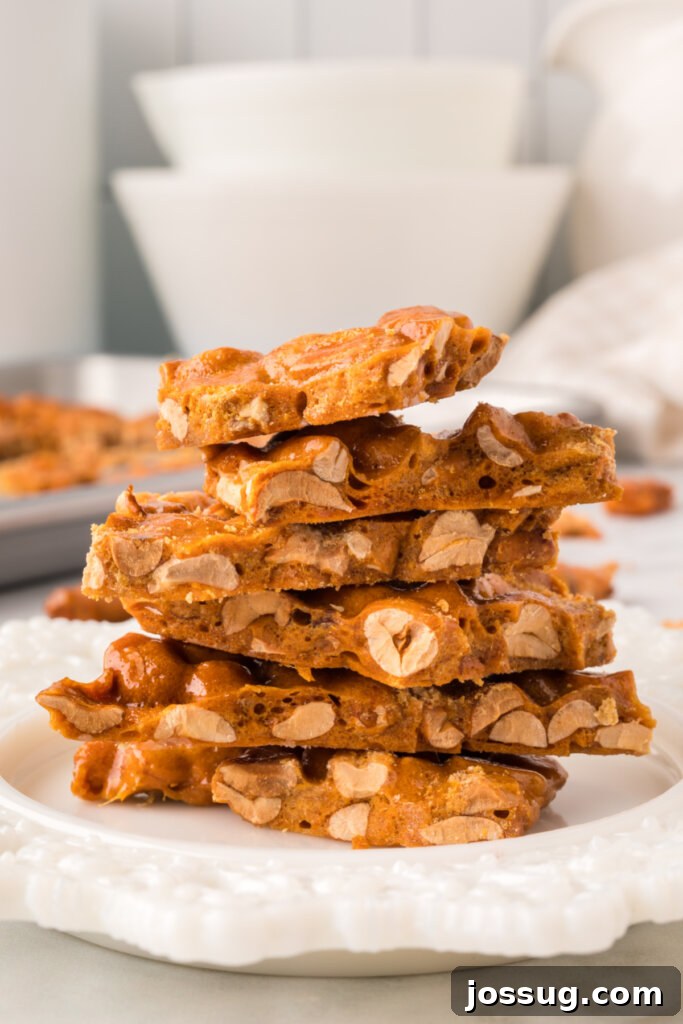
Effortless Microwave Peanut Brittle: Your New Holiday Favorite
For many, the holiday season simply isn’t complete without a batch of homemade Microwave Peanut Brittle. This timeless confection holds a special place in my heart, and it’s a tradition I eagerly look forward to each year. My oldest son, in particular, counts this as one of his absolute favorite Christmas goodies, right alongside my beloved Soft Sugar Cookies!
If you’ve followed my recipes, you know my philosophy: easy is always better. And when it comes to candy making, it truly doesn’t get any easier than this microwave method. Gone are the days of constant temperature monitoring with a candy thermometer – a tool many home cooks simply don’t own. This recipe strips away the complexity, making brittle an accessible delight for everyone, regardless of their candy-making experience.
This classic, old-fashioned tasting recipe is always a massive hit whenever it makes an appearance. I adore including generous amounts of this homemade brittle on our holiday cookie trays, nestled amongst other festive treats like rich Peanut Butter Balls, decadent Oreo Truffles, delicate Peppermint Meringues, whimsical Rocky Mountain Snowdrops, and comforting Slow Cooker Chocolate Candy. Its irresistible blend of sweet and salty crunch ensures it’s always the first to disappear!
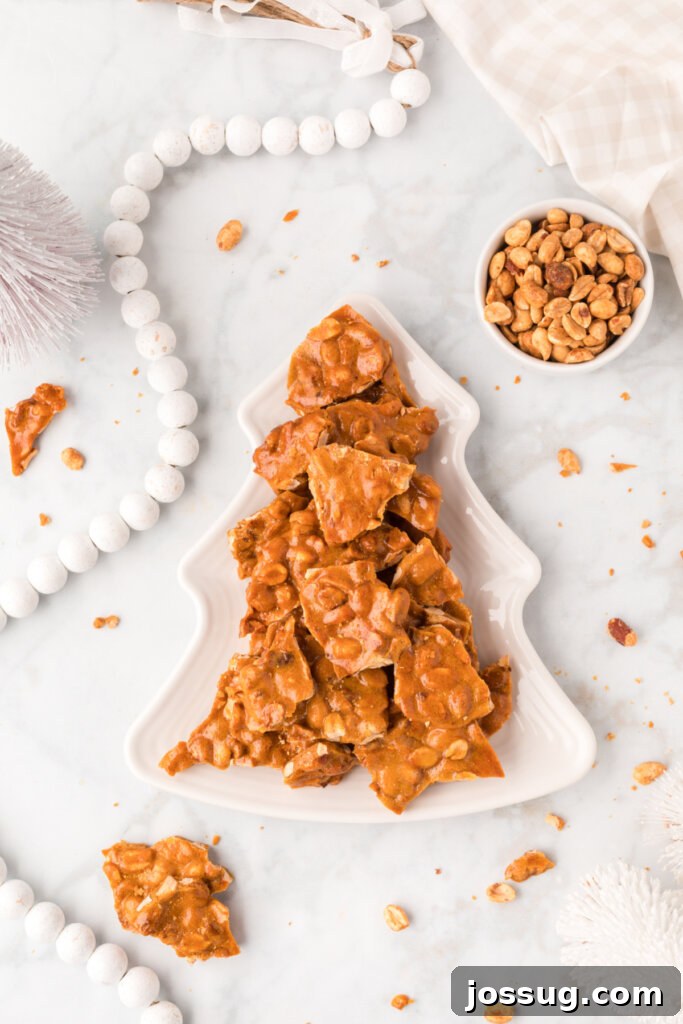
Why You’ll Love This Microwave Peanut Brittle Recipe
- Effortless Preparation: Skip the stovetop drama and complicated sugar stages. The microwave does most of the heavy lifting.
- No Candy Thermometer Needed: This is a game-changer! Achieve perfectly crunchy brittle without specialized equipment.
- Sweet & Salty Perfection: The classic combination of sweet caramel and salty peanuts is simply irresistible.
- Incredibly Crunchy: Thanks to the baking soda, this brittle has a delicate, airy, and crisp texture that shatters beautifully.
- Perfect for Gifting: Homemade brittle makes a thoughtful and delicious gift for friends, family, and neighbors during the holidays.
- Quick & Easy: With minimal hands-on time, you can whip up a batch in under 30 minutes (plus cooling).
Peanut Brittle: Key Ingredients & Smart Substitutions
Creating perfect peanut brittle relies on a few simple ingredients, each playing a crucial role in the final texture and flavor. Here’s a detailed look at what you’ll need and why:
Ingredients
- Granulated Sugar: This forms the base of your brittle. For the best melting consistency and a smooth candy, opt for high-quality cane sugar or beet sugar. They caramelize beautifully, providing that essential sweet foundation.
- Light Corn Syrup: A vital ingredient! Corn syrup prevents the sugar from crystallizing, which can lead to a grainy or gritty texture in your brittle. It helps create a smooth, glossy, and perfectly clear candy. Do not skip this!
- Salted Peanuts: The star of the show! Use shelled, roasted, and salted peanuts for convenience and flavor. The salt perfectly balances the sweetness of the candy. If you only have unsalted peanuts, you can add a pinch of salt to the mixture with the butter. Feel free to use other nuts like cashews, almonds, or pecans for a delightful variation.
- Butter: Butter adds a rich, creamy flavor and helps to make the brittle a bit less sticky and easier to chew. You can use either salted or unsalted butter; just be mindful of the overall saltiness if using salted peanuts. It also contributes to the beautiful golden-brown color.
- Vanilla Extract: For the most authentic and robust flavor, always use pure vanilla extract. Imitation vanilla can leave an artificial aftertaste. Vanilla adds depth and warmth, enhancing the overall sweetness.
- Baking Soda: This is the secret ingredient for brittle’s signature delicate and porous texture. When added to the hot sugar mixture, it reacts, creating tiny air bubbles. Without baking soda, your candy would be dense, hard, and overly chewy. It transforms the candy from a hard rock to a beautifully crisp, melt-in-your-mouth experience.
How to Make Microwave Peanut Brittle: A Simple Guide
Follow these easy steps to create a batch of irresistible microwave peanut brittle:
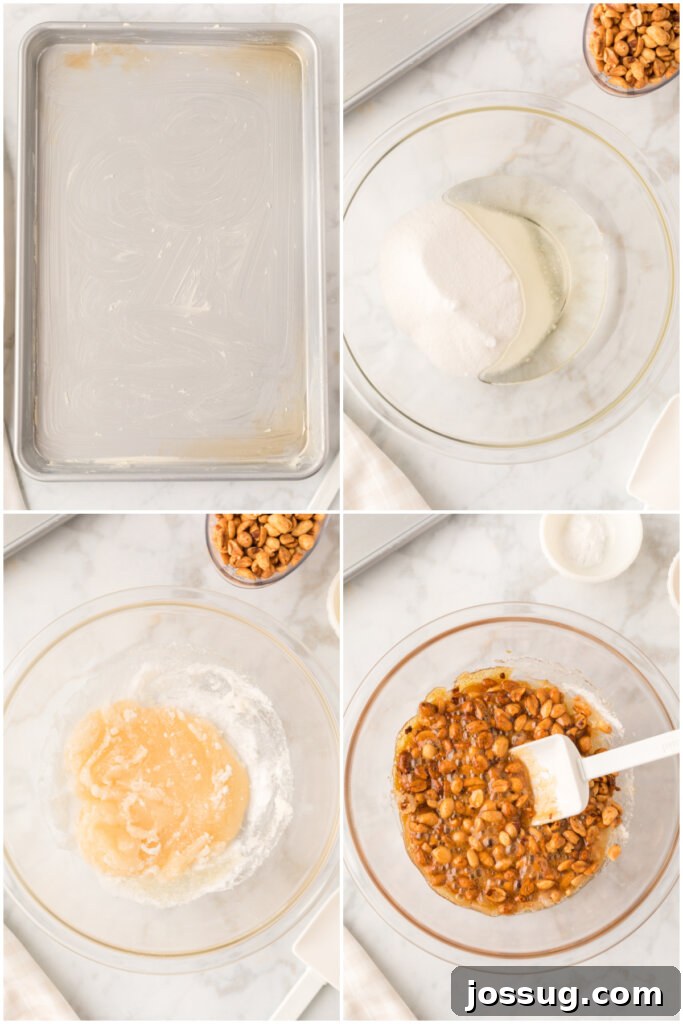
- Prepare Your Workspace: Begin by generously buttering a large baking sheet (or two smaller ones). Ensure the entire surface is well-greased, as this will make spreading and removing the brittle much easier later on. Set it aside within easy reach.
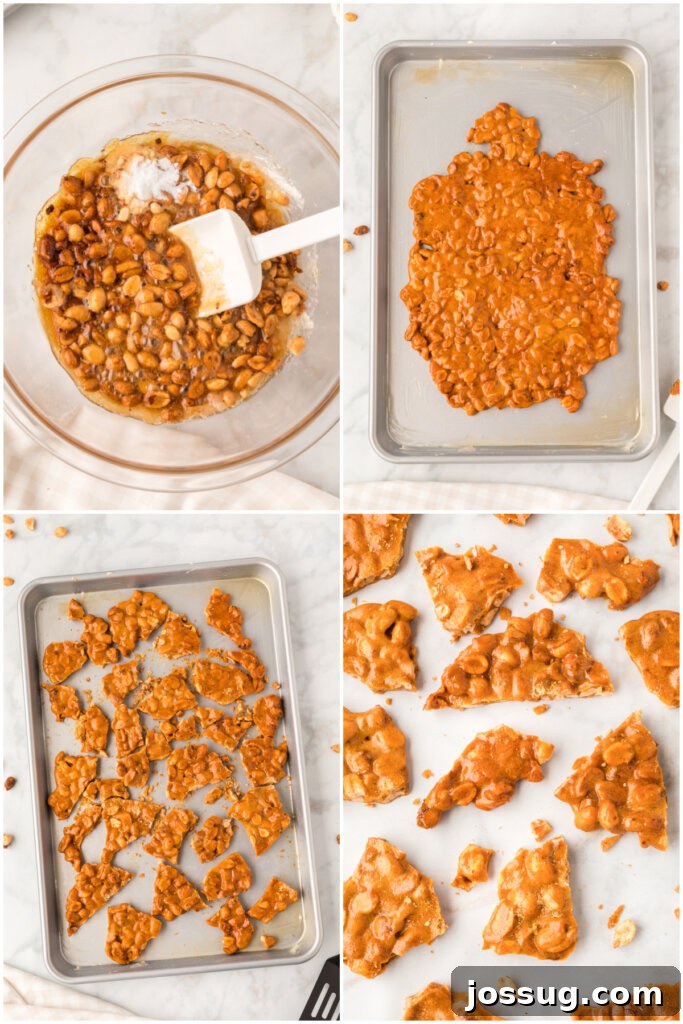
- First Microwave Melt: In a large, microwave-safe bowl, combine the granulated sugar and light corn syrup. Stir these together until they are well mixed. Place the bowl in the microwave and cook on HIGH power for exactly 4 minutes. The mixture will be hot and bubbling.
- Add Peanuts & Butter: Carefully remove the bowl from the microwave. Stir in the salted peanuts and butter until the butter is completely melted and incorporated. Return the bowl to the microwave and cook on HIGH for an additional 3 minutes. During this stage, keep a close eye on the mixture; it should transform into a rich, golden caramel color. This is where the magic happens and the sugar properly caramelizes.
- Quick Vanilla & Baking Soda Mix: Immediately after the second microwave interval, remove the bowl. Quickly stir in the vanilla extract and, most importantly, the baking soda. You will notice the mixture lighten in color and begin to foam and expand rapidly – this is the baking soda creating those wonderful air bubbles. Work very quickly to mix everything evenly.
- Spread & Cool: Without delay, pour the hot mixture onto your prepared, buttered baking sheet. Using a buttered spatula or spoon, spread the brittle thinly and evenly across the sheet. The faster you spread, the thinner and crispier your brittle will be. Allow the candy to stand undisturbed at room temperature until it is completely cool and hard, typically 30-45 minutes.
- Break into Pieces: Once fully cooled and hardened, break the brittle into smaller, irregular pieces using your hands. If it’s too thick or stubborn, a kitchen mallet or the back of a sturdy spoon can help gently shatter it into perfect bite-sized shards.
Microwave Peanut Brittle FAQs
The most common reason for soft or chewy brittle is insufficient cooking time. The sugar mixture didn’t reach a high enough temperature to become brittle when cooled. Unfortunately, once it’s spread and cooled, there’s no way to salvage soft brittle. Always ensure your microwave timing is accurate and watch for that caramel color.
The brittle will begin to harden almost immediately after you add the baking soda and spread it. This is why quick spreading is essential! It should be completely firm and ready to break within approximately 30-45 minutes at room temperature, sometimes sooner if your kitchen is cool.
When stored properly in an airtight container at room temperature, homemade peanut brittle can remain fresh and crunchy for up to 6-8 weeks. It’s crucial to keep it away from moisture. I strongly advise against refrigerating it, as the moisture and humidity in the fridge can cause the brittle to become soft and sticky, losing its signature crunch.
Yes, absolutely! Freezing is an excellent way to extend its shelf life. Store your cooled brittle in an airtight, freezer-safe container, placing wax paper between layers to prevent sticking. It will keep well in the freezer for up to 3 months. When you’re ready to enjoy it, simply defrost it on the countertop for a few hours until it reaches room temperature.
If your brittle ends up too thick, it likely means you didn’t spread it quickly enough after adding the baking soda. The mixture sets very fast. While it will still taste delicious, a thicker brittle can be harder to break and might be chewier rather than perfectly crisp. For future batches, ensure your baking sheet is ready and work swiftly with a buttered spatula.
Pro Tips for Perfect Microwave Peanut Brittle
- Know Your Microwave: Microwave ovens vary significantly in power. The cooking times provided are a guideline. You may need to adjust your time slightly based on your specific appliance. The key is to watch the color of the mixture closely in the last minute or two of cooking. You want a beautiful caramel hue – not too pale (undercooked, will be soft) and not too dark (overcooked, will taste burnt).
- Speed is Key: Once you add the vanilla and baking soda, the mixture will begin to foam and set very quickly. Have your buttered baking sheet ready and be prepared to spread the brittle immediately and swiftly to achieve a thin, even layer.
- Butter Your Baking Sheet Generously: This step cannot be stressed enough. A well-greased baking sheet is crucial for easily removing the hardened brittle without it sticking and breaking unevenly. Use real butter for the best non-stick surface and flavor.
- Safety First: Sugar is Extremely Hot! When working with the hot sugar mixture, exercise extreme caution. It reaches very high temperatures and can cause severe burns. Use oven mitts or thick pot holders to handle the hot bowl, and avoid touching the molten sugar directly. Keep children and pets away from your workspace.
- Breaking the Brittle: Once the brittle is completely cool and hard, you can easily break it by hand. Simply bend the sheet slightly or use gentle pressure. If you encounter stubborn spots, a kitchen mallet, the back of a sturdy spoon, or even a rolling pin can help you break it into perfect, irregular shards.
- Clean-up Made Easy: To clean the microwave-safe bowl with hardened sugar, simply fill it with hot water and let it soak for a while. The hot water will dissolve the hardened sugar, making it much easier to wash.
Serving and Gifting Suggestions
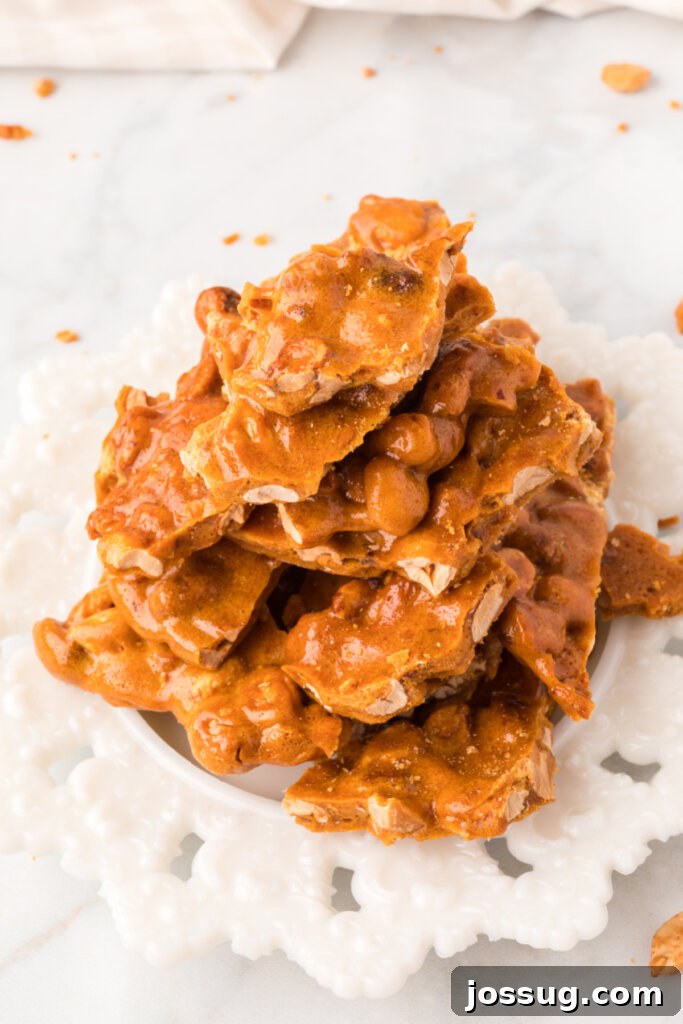
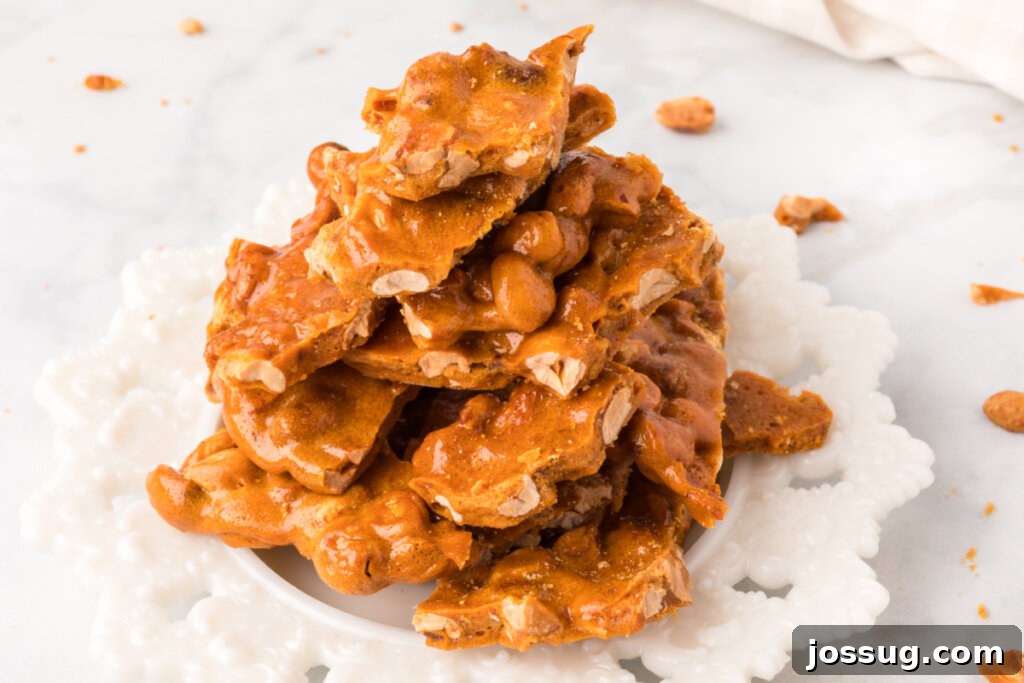
Microwave Peanut Brittle isn’t just a treat; it’s a versatile delight! Serve it as a festive dessert after a meal, or offer it as a delightful snack during holiday gatherings. For a thoughtful gift, place pieces of brittle in decorative tins or cellophane bags tied with a ribbon. It’s always a warmly received homemade present that showcases your culinary care.
Other Sweet & Savory Recipes You Might Enjoy
- Breakfast Egg Muffins
- Slow Cooker Baked Potatoes
- Jelly Bean Brittle
- Chocolate Peanut Butter Bars
- Mediterranean Spaghetti Squash Salad
16
servings
Microwave Peanut Brittle
Jamie Sherman
15
10
2
2
25
Print Recipe
Equipment
-
Silicone Pot Holder Trivet Mats – Hot Pads Spoon Rest, Multipurpose Trivet for Hot Dishers Heat Resistant Food Grade Silicone Set of 4
-
Meat Tenderizer Mallet
-
Rubber spatula or wooden spoon
-
Baking sheets
-
Measuring cups and spoons
-
Mixing bowl
Ingredients
- 1 cup granulated sugar
- ½ cup light corn syrup
- 1 cup salted peanuts
- 1 tablespoon butter
- 1 teaspoon vanilla extract
- 1 teaspoon baking soda
Instructions
-
Butter a baking sheet generously and set it aside.
-
In a large microwave-safe bowl, combine the granulated sugar and corn syrup. Microwave on HIGH for 4 minutes.
-
Carefully remove the bowl. Stir in the peanuts and butter until melted. Microwave for an additional 3 minutes, or until the mixture reaches a rich caramel color.
-
Working very quickly, add the vanilla extract and baking soda to the hot mixture. Stir vigorously until well combined and foamy.
-
Immediately pour and spread the mixture thinly and evenly onto the prepared baking sheet. Allow the candy to cool completely and harden at room temperature.
-
Once fully hardened, break the brittle into irregular pieces.
Notes
- Microwave power varies; adjust cooking times as needed. Watch for a consistent caramel color.
- Break cooled brittle by hand or with a kitchen mallet if necessary.
- Generously butter your baking sheet to prevent sticking.
- The sugar mixture is extremely hot; handle with caution to prevent burns.
Nutrition
Carbohydrates: 22g,
Protein: 3g,
Fat: 5g,
Saturated Fat: 1g,
Polyunsaturated Fat: 2g,
Monounsaturated Fat: 2g,
Trans Fat: 0.03g,
Cholesterol: 2mg,
Sodium: 120mg,
Potassium: 72mg,
Fiber: 1g,
Sugar: 21g,
Vitamin A: 22IU,
Calcium: 11mg,
Iron: 0.2mg
Nutrition information is automatically calculated, so should only be used as an approximation.
Enjoyed this recipe? Leave a comment below!
Originally published on December 17, 2013. Updated on January 8, 2022.