
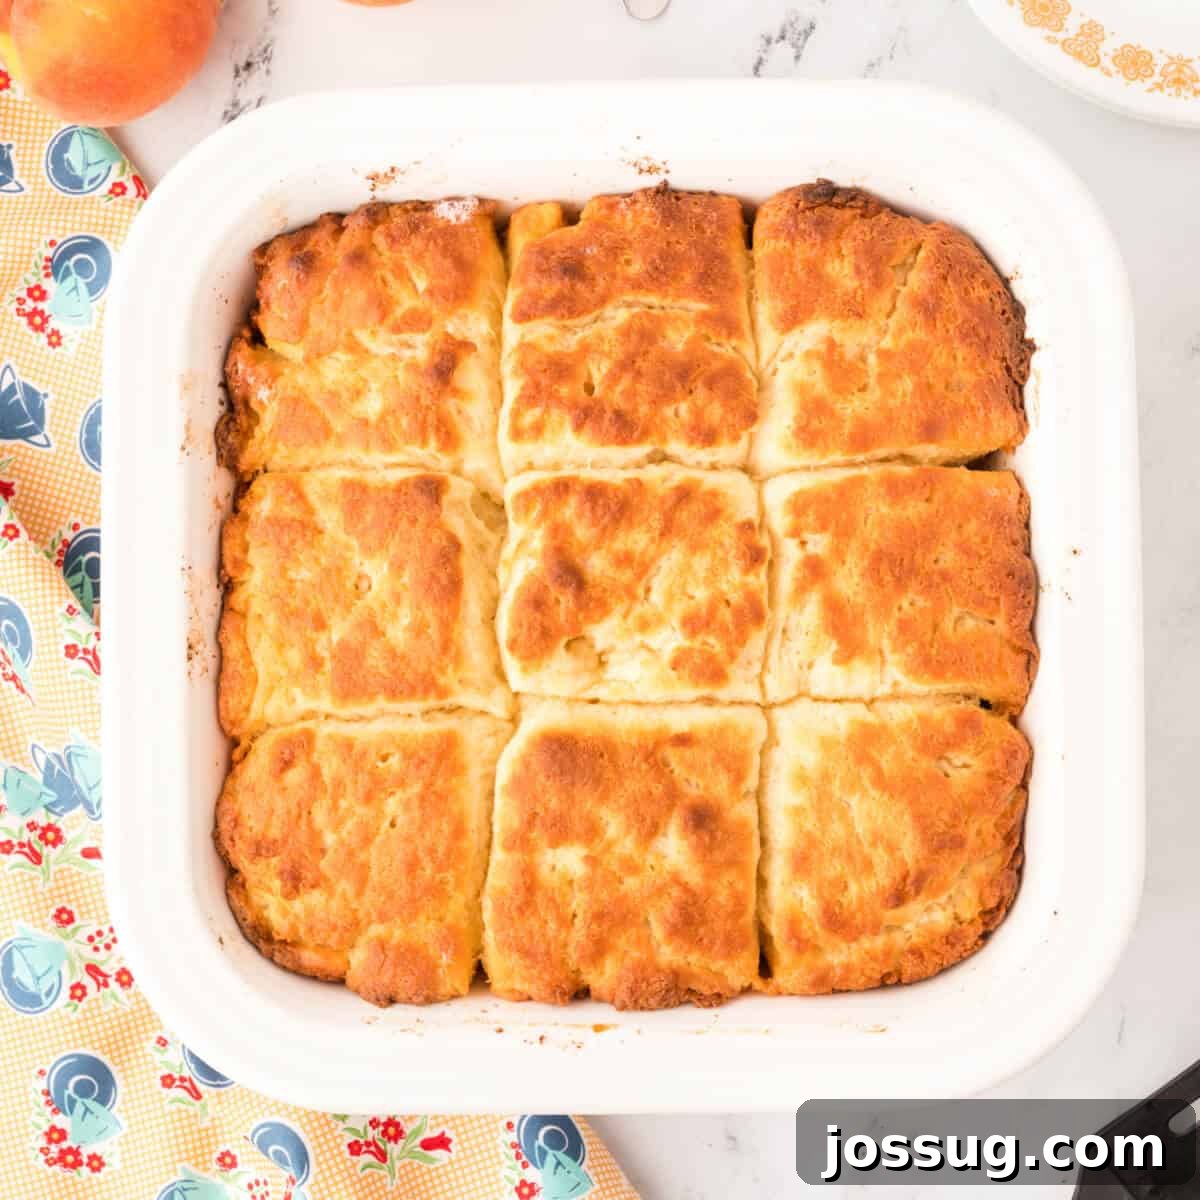
Say goodbye to complicated biscuit recipes that require rolling, cutting, and endless fuss. These Butter Dip Biscuits are truly a cinch to make, offering an effortless path to deliciously fluffy, golden-brown perfection. Whether you’re a seasoned baker or just starting, this no-fuss method will quickly become your go-to for an easy and delightful side dish, perfect alongside any meal.
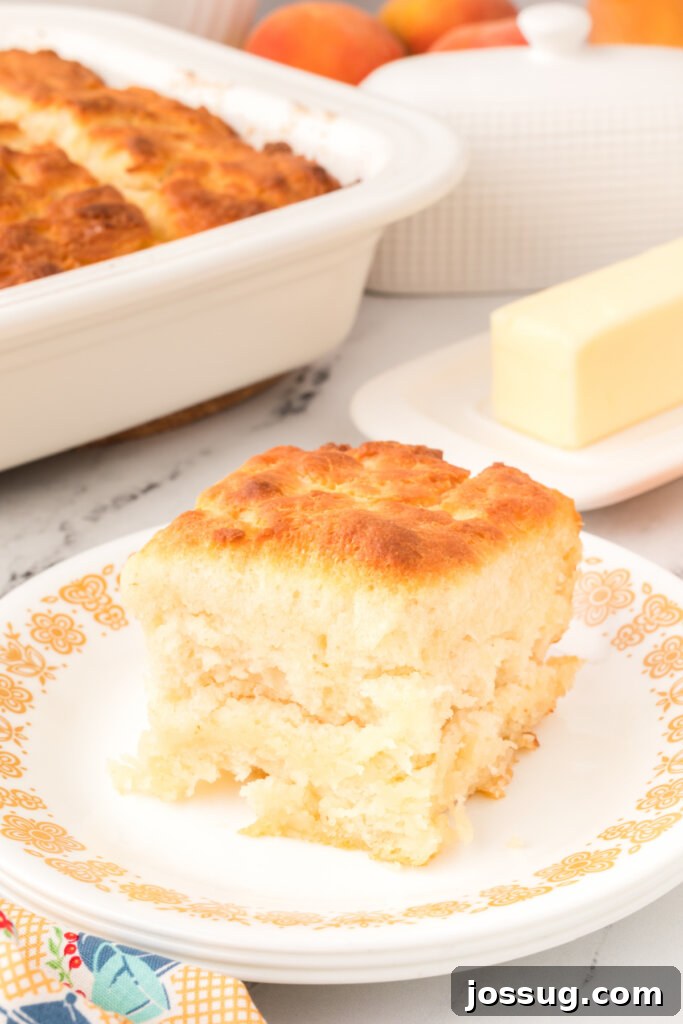
Butter Dip Biscuits: The Ultimate Easy Baking Solution
Over the years, many of us have amassed a collection of cherished “tried and true” recipes—those reliable dishes our families adore and that we can whip up at a moment’s notice. For many households, bread recipes frequently top this list, especially when a busy schedule means forgetting to pick up a loaf from the store. And let’s be honest, who doesn’t love a fresh, warm bread accompaniment with almost every meal?
That’s where these extraordinary Butter Dip Biscuits truly shine. They’ve earned their spot at the very top of the “emergency recipe” roster for good reason. They’re not just easy; they’re incredibly delicious and remarkably versatile. Imagine having a fresh batch of warm, tender biscuits ready in under 40 minutes, with minimal effort and without needing to chill dough, roll it out, or even own a biscuit cutter! It’s a game-changer for those busy weeknights or impromptu weekend brunches.
The beauty of this recipe lies in its simplicity and accessibility. You likely already have all the necessary ingredients in your pantry: flour, sugar, baking powder, salt, milk (or buttermilk), and, of course, plenty of butter. No special equipment, no yeast, and no elaborate techniques required. This makes them an ideal choice for bakers of all skill levels, ensuring a satisfying result every single time. Get ready to experience the joy of homemade biscuits without the usual hassle.
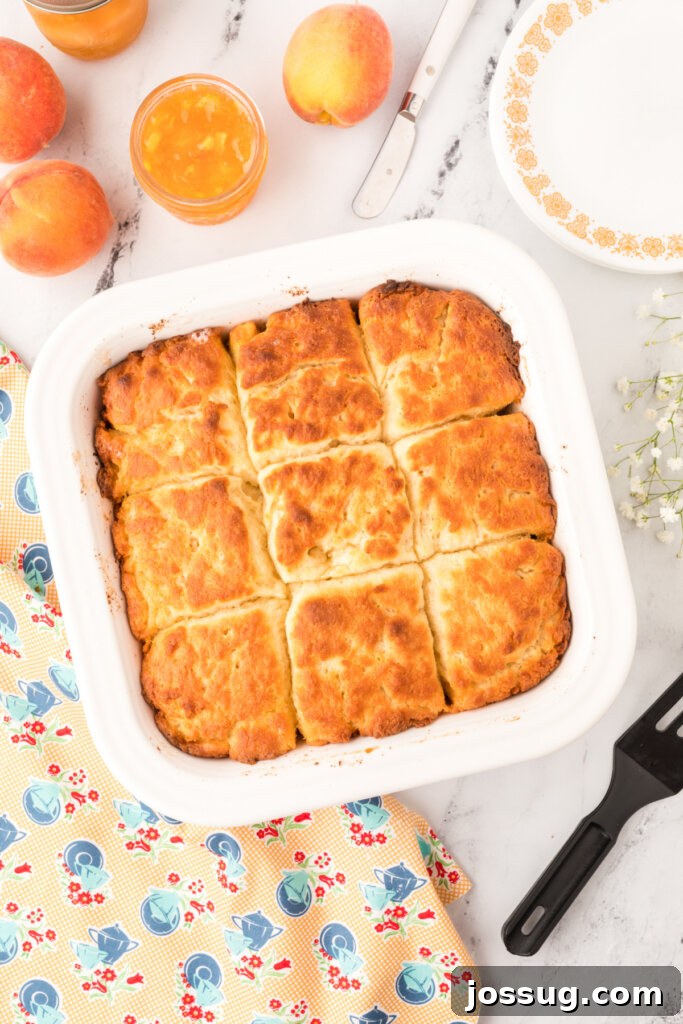
The Magic Behind Butter Dip Biscuits: Why They’re So Easy and Delicious
What makes Butter Dip Biscuits stand out from traditional methods? It all comes down to their unique preparation. Instead of cutting cold butter into flour and painstakingly folding dough, this recipe calls for pouring a simple, sticky batter directly over a pool of melted butter in a hot baking dish. This ingenious technique achieves several wonderful things:
- No Rolling or Cutting: The most obvious benefit! You simply pour and slice. This saves a tremendous amount of time and effort, making homemade biscuits accessible even on your busiest days.
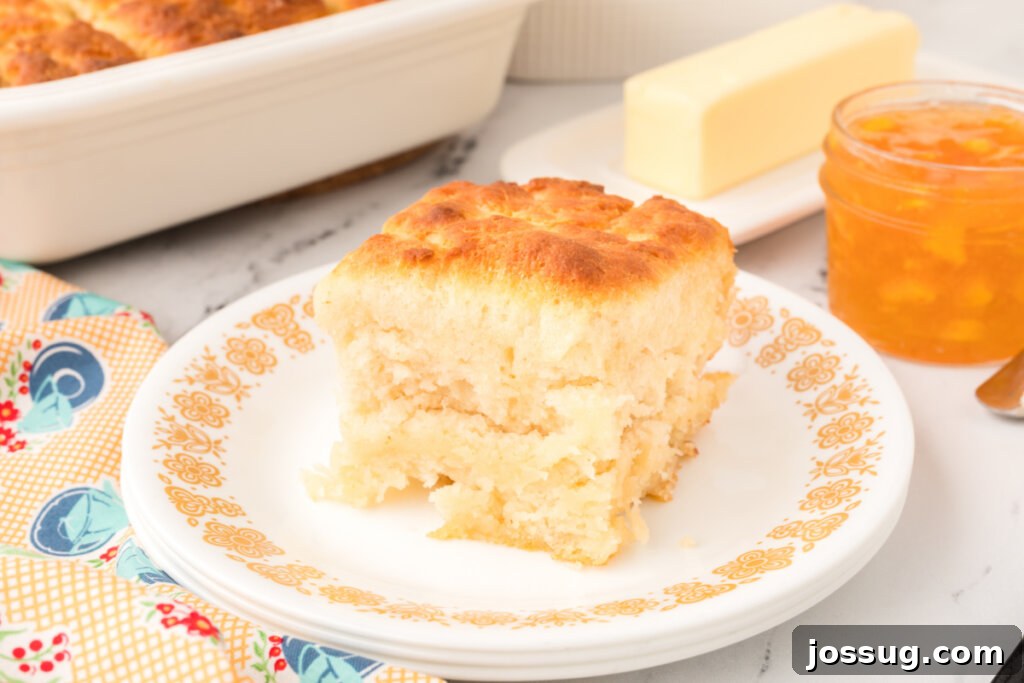
- Incredibly Tender Crumb: The melted butter envelops the biscuit batter from below, creating a rich, tender interior as it bakes. The butter essentially “fries” the bottom of the biscuits, giving them a delightful crispness, while the steam created helps them rise beautifully.
- Perfectly Golden Exterior: The butter in the pan helps the biscuits achieve a beautiful golden-brown crust, especially on the bottom, adding incredible flavor and texture.
- Consistent Results: Since there’s no complex dough handling, the chances of overworking the dough (which leads to tough biscuits) are significantly reduced. This means consistently light and fluffy biscuits every time.
This method truly simplifies the biscuit-making process without compromising on taste or texture. You get all the comfort and deliciousness of homemade biscuits with none of the usual fuss.
Butter Dip Biscuits Recipe: Key Ingredients and Clever Substitutions
For these perfect Butter Dip Biscuits, you’ll need just a handful of common pantry staples. Each ingredient plays a vital role in achieving that sought-after fluffy texture and rich flavor.
Essential Ingredients:
- Salted Butter: This is more than just a fat; it’s a flavor powerhouse. Using salted butter not only contributes to the rich taste but also helps create those wonderfully crispy edges and a tender crumb as the biscuits bake in its warmth. While the original recipe mentions a specific high-butterfat brand, any good quality salted butter will yield fantastic results. If you only have unsalted butter on hand, simply increase the amount of salt in the recipe to ½ teaspoon to balance the flavors.
- All-Purpose Flour: The foundation of our biscuits. All-purpose flour provides the necessary structure. For best results, spoon and level your flour rather than scooping it directly from the bag. This prevents compacting the flour and adding too much, which can lead to dense biscuits.
- Granulated Sugar: A small amount of sugar doesn’t make these biscuits overtly sweet, but it plays a crucial role in balancing the flavors and promoting that beautiful golden-brown crust during baking.
- Baking Powder: This is our primary leavening agent. It reacts with the buttermilk to create carbon dioxide bubbles, which are responsible for the biscuits’ rise and fluffy texture. Ensure your baking powder is fresh for optimal lift.
- Salt: Enhances all the other flavors, preventing the biscuits from tasting bland. If using unsalted butter, remember to adjust the quantity.
- Buttermilk: The secret to incredibly tender and flavorful biscuits. Buttermilk’s acidity reacts with the baking powder, aiding in leavening, and its unique properties contribute to a moist, soft crumb. If you don’t have buttermilk, don’t worry!
Buttermilk Substitute Hack:
For every 1 cup of buttermilk required, simply combine 1 tablespoon of white vinegar or lemon juice with enough regular milk (dairy or non-dairy) to measure 1 cup. Stir it gently and let it sit for about 5 minutes. The milk will curdle slightly, mimicking the acidity of real buttermilk. Measure out what you need for the recipe, and proceed as usual. This simple trick ensures you can make these biscuits anytime, even without a trip to the store!
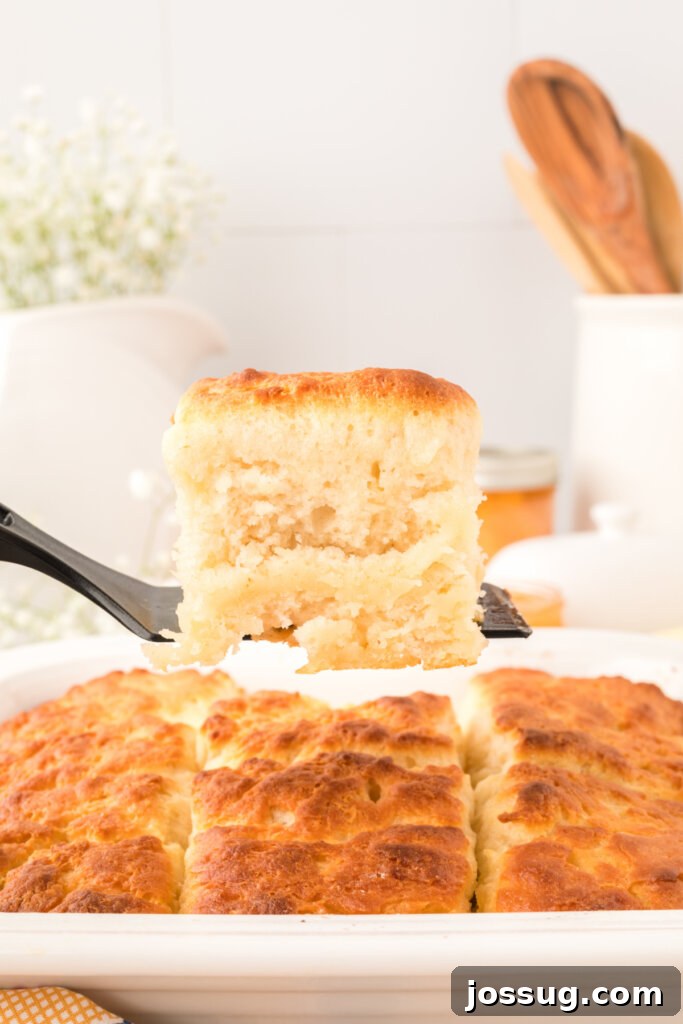
How to Make Butter Dip Biscuits: Step-by-Step Perfection
Making these Butter Dip Biscuits is surprisingly straightforward. Follow these simple steps for a flawless batch every time:
- Prepare Your Supplies and Preheat Oven: Begin by preheating your oven to a robust 450°F (232°C). This high temperature is crucial for a quick rise and a beautiful golden crust. While the oven preheats, place ½ cup of salted butter (one stick) into an 8×8-inch baking dish. Put this dish into the preheating oven to melt the butter. Allowing the butter to melt in the hot oven ensures the dish itself gets nice and hot, which is key for the bottom of the biscuits.
- Combine Dry Ingredients: In a separate large mixing bowl, whisk together your dry ingredients: 2 ½ cups all-purpose flour, 1 ½ tablespoons granulated sugar, 1 ½ tablespoons baking powder, and ¼ teaspoon salt. Whisk thoroughly for about 30 seconds to ensure the leavening agent and salt are evenly distributed. This step is vital for an even rise.
- Add Buttermilk to Form Batter: Pour 1 ¾ cups of buttermilk (or your homemade substitute) into the dry ingredient mixture. Using a rubber spatula or wooden spoon, gently stir until a thick, sticky batter forms. It’s important not to overmix here. A few lumps are perfectly fine. Overmixing develops the gluten in the flour, which can lead to tough, chewy biscuits instead of light, fluffy ones.
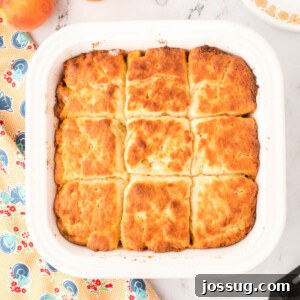
- Assemble and Slice Biscuits: Carefully remove the hot baking dish with the melted butter from the oven. Pour the prepared biscuit batter directly over the top of the melted butter, spreading it gently and evenly across the pan with your spatula. Don’t worry if some of the melted butter swirls over the batter; this is part of the magic! Using a sharp knife, gently cut the biscuit batter into 9 equal squares right in the pan. This pre-cutting helps ensure individual biscuits form perfectly as they bake.
- Bake to Golden Perfection: Place the baking dish back into the preheated oven and bake for 22-25 minutes. The biscuits are done when they are beautifully cooked through and have turned a delightful golden brown on top and around the edges. Their aroma will fill your kitchen, signaling they are ready to be enjoyed!
Pro Tips for the Best Butter Dip Biscuits:
- Don’t Overmix: As mentioned, this is the most critical tip for tender biscuits. Mix just until the ingredients are combined.
- Hot Pan, Hot Butter: Ensuring the baking dish and butter are hot when you pour in the batter contributes to a crisp bottom and excellent lift.
- Measure Flour Correctly: Always spoon flour into your measuring cup and then level it off with a straight edge. This prevents adding too much flour.
- Check Oven Temperature: An oven thermometer can be a valuable tool to ensure your oven is truly at 450°F, as many ovens can vary.
- Clean Cuts: A sharp knife will make cleaner cuts, resulting in more defined biscuit squares.
Frequently Asked Questions About Easy Butter Dip Biscuits
This recipe is designed to yield 9 perfectly sized biscuits when cut into squares in an 8×8-inch pan. Of course, you have the flexibility to adjust the size if you prefer, whether that means smaller bite-sized biscuits or larger, more substantial ones!
These biscuits are incredibly quick! You’ll only need about 10 minutes of active prep time to mix the batter. The baking process then takes approximately 22-25 minutes, bringing the total time from start to delicious finish to under 40 minutes.
Absolutely! If you opt for unsalted butter, simply increase the amount of salt in the biscuit batter to ½ teaspoon. This adjustment ensures the flavor balance remains perfect.
Yes, easily! For each cup of buttermilk required, combine 1 tablespoon of white vinegar or lemon juice with enough regular milk to measure 1 cup. Stir them together and let the mixture stand for 5 minutes until it slightly curdles. Then, use this homemade buttermilk substitute as directed in the recipe.
Yes, you can! Once baked and cooled completely, you can freeze them in an airtight freezer bag for up to 2-3 months. To reheat, thaw them in the refrigerator overnight or on the counter, then warm them in a preheated oven (around 350°F) or microwave until heated through.
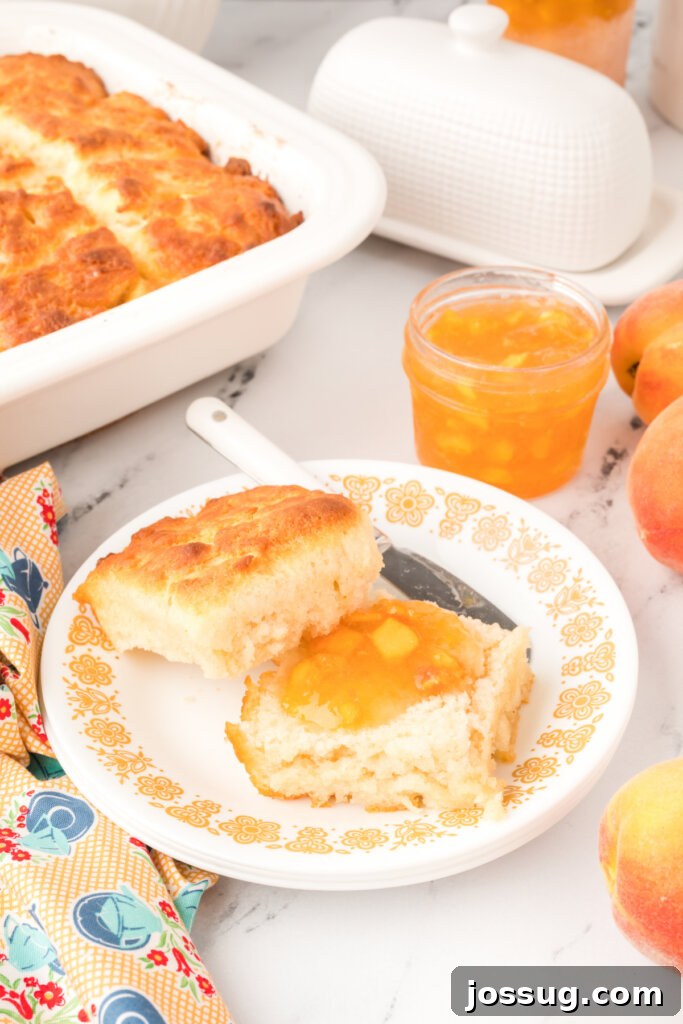
Butter Dip Biscuits are incredibly versatile! They are fantastic warm with butter, honey, or your favorite jam for breakfast or brunch. For dinner, serve them alongside fried chicken, pot roast, hearty stews, or a bowl of chili. They’re also perfect for making mini-sandwiches with ham and cheese.
Serving Suggestions and Delicious Variations
The beauty of Butter Dip Biscuits extends beyond their ease of preparation to their incredible versatility. Here are some ideas to elevate your biscuit experience:
Perfect Pairings:
- Classic Comfort: Serve them warm with extra butter, a dollop of homemade jam (strawberry, raspberry, or peach!), or a drizzle of honey.
- Savory Suppers: These biscuits are a natural fit for hearty meals. Pair them with creamy sausage gravy for a quintessential Southern breakfast, or serve alongside chili, stew, fried chicken, pot roast, or even a simple weeknight soup. Their ability to soak up delicious sauces is unmatched.
- Breakfast & Brunch: Alongside scrambled eggs, crispy bacon, or a fruit salad, they complete any breakfast spread. They’re also excellent for making small breakfast sandwiches.
- Dessert Twist: Believe it or not, these biscuits can venture into dessert territory! Serve them with fresh berries and whipped cream for a simple shortcake-like treat.
Creative Variations to Try:
Once you master the basic recipe, feel free to experiment with these simple additions:
- Cheesy Biscuits: Fold in ½ cup of shredded cheddar cheese (or a blend of your favorite cheeses) into the batter before pouring it over the melted butter.
- Garlic Herb Biscuits: Add 1-2 teaspoons of dried herbs like chives, parsley, or dill, along with ½ teaspoon of garlic powder to the dry ingredients for a savory twist.
- Sweet Cinnamon Sugar: Before baking, sprinkle a mixture of cinnamon and sugar over the top of the cut biscuits for a sweet, comforting flavor.
- Everything Bagel Biscuits: After cutting the squares, sprinkle a generous amount of everything bagel seasoning over the top for a savory, textured crust.
- Spicy Kick: A pinch of cayenne pepper or a dash of hot sauce in the batter can add a subtle warmth, especially good with savory meals.
Don’t be afraid to make this recipe your own! The ease of Butter Dip Biscuits makes them a perfect canvas for culinary creativity.
Other Biscuit Recipes You May Enjoy
- Eastern NC Cheese Biscuits
- Copycat Red Lobster Cheddar Bay Biscuits
- The BEST Homemade Buttermilk Biscuits
- Chicken Biscuit
- Cinnamon Raisin Biscuits
Butter Dip Biscuits Recipe Card
9
servings
Butter Dip Biscuits
Jamie Sherman
10
25
35
Equipment
-
Knife
-
Rubber Spatula or Wooden Spoon
-
Whisk
-
Mixing Bowl
-
8×8-inch Square Baking Pan
-
Measuring Cups and Spoons
Ingredients
- ½ cup salted butter, 1 stick
- 2 ½ cups all-purpose flour
- 1 ½ tablespoons granulated sugar
- 1 ½ tablespoons baking powder
- ¼ teaspoon salt
- 1 ¾ cups buttermilk
Instructions
- Preheat oven to 450°F (232°C).
- Place butter in an 8×8-inch baking dish. Place the baking dish in the oven to melt the butter while preparing the biscuit dough.
- Meanwhile, in a mixing bowl, combine flour, sugar, baking powder, and salt with a whisk or fork. Add the buttermilk and stir with a spatula until a batter forms. It will be sticky. Do not overmix.
- Remove the baking dish from the oven. Pour the biscuit batter over the top of the butter, spreading it into the pan with a spatula. It’s okay if some of the butter runs over the batter. Using a sharp knife, cut the biscuits into 9 squares.
- Bake for 22-25 minutes or until the biscuits are cooked through and golden brown.
Notes
- If you use unsalted butter in this recipe, increase the salt to 1/2 teaspoon.
- For each cup of buttermilk, you can use 1 tablespoon of white vinegar or lemon juice plus enough milk to measure 1 cup. Stir, then let stand for 5 minutes. Measure out what you need and proceed with the recipe.
Nutrition
Serving:
1biscuit
,
Calories:
255kcal
,
Carbohydrates:
31g
,
Protein:
5g
,
Fat:
12g
,
Saturated Fat:
7g
,
Polyunsaturated Fat:
1g
,
Monounsaturated Fat:
3g
,
Trans Fat:
0.4g
,
Cholesterol:
32mg
,
Sodium:
407mg
,
Potassium:
104mg
,
Fiber:
1g
,
Sugar:
4g
,
Vitamin A:
393IU
,
Calcium:
179mg
,
Iron:
2mg
Nutrition information is automatically calculated, so should only be used as an approximation.
Recipe adapted from The Country Cook
Originally published on June 3, 2018. Updated on January 4, 2022, with enhanced instructions and additional tips.