
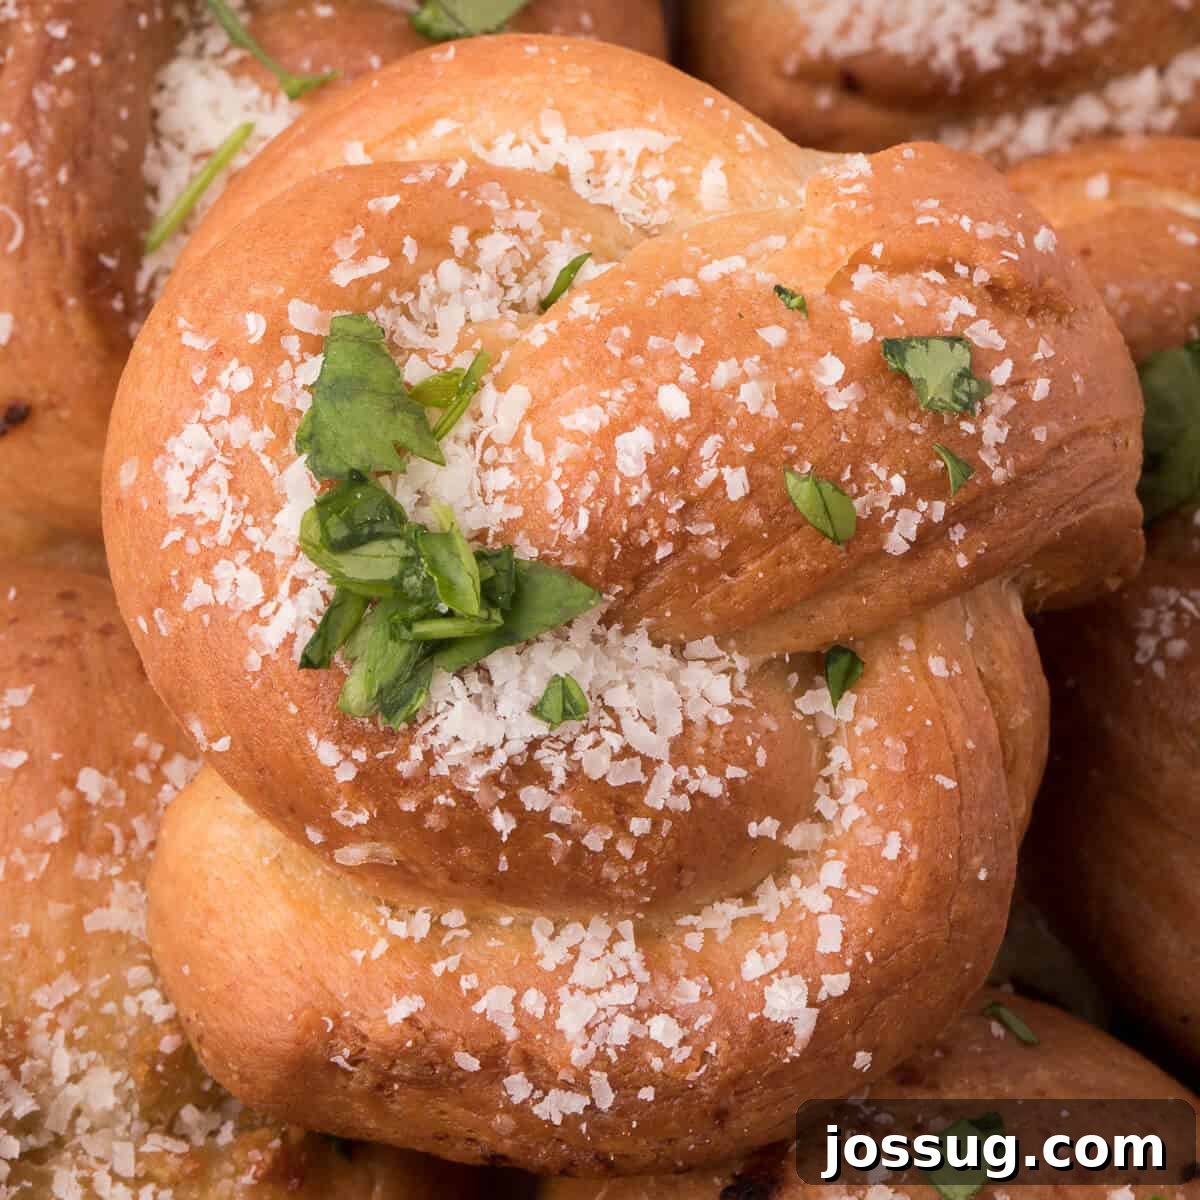
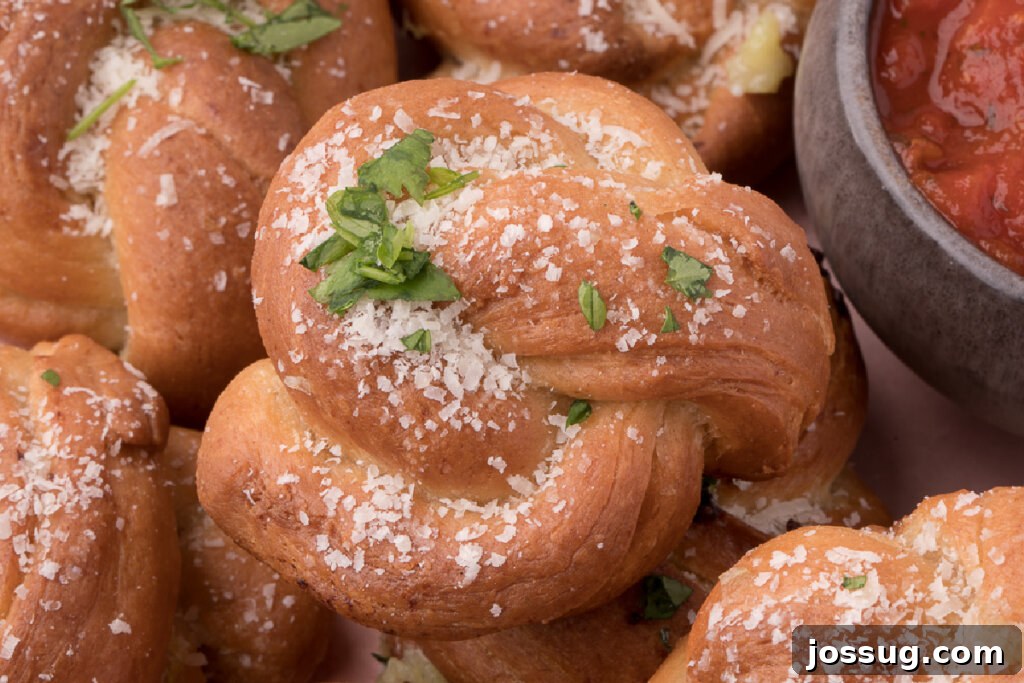
There’s something uniquely comforting and utterly irresistible about a warm, soft garlic knot, generously coated in fragrant garlic butter and served with a zesty dipping sauce. This simple recipe for homemade garlic knots offers a flavorful, savory appetizer that will quickly become a family favorite. Forget store-bought options; these from-scratch knots are a true culinary delight, perfect for sharing (or not!).
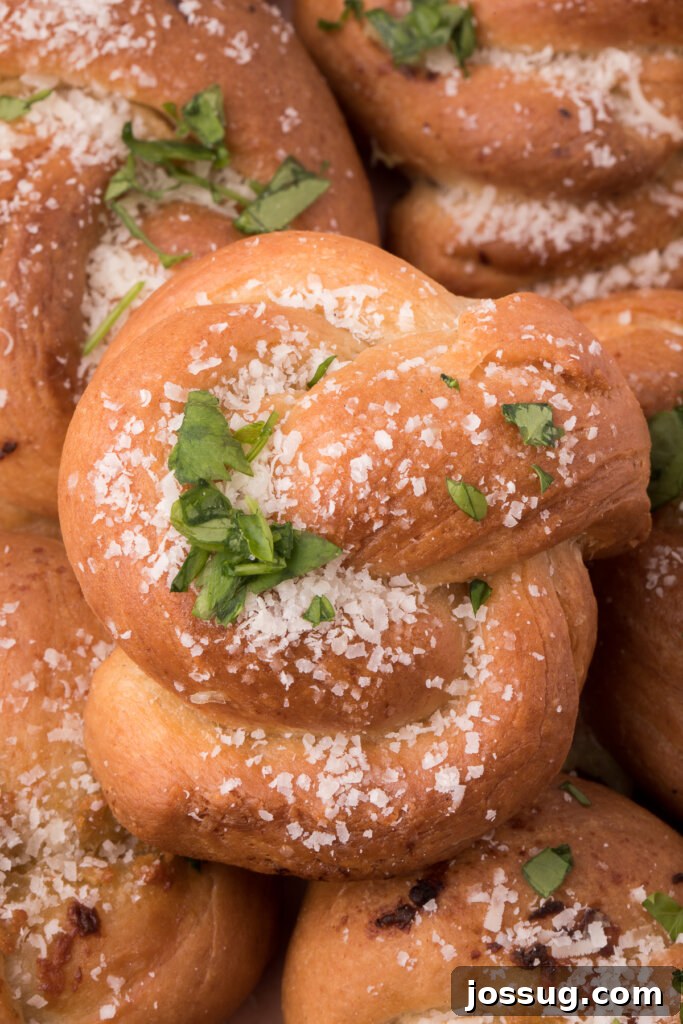
Homemade Garlic Knots from Scratch: A Culinary Journey
If you’re anything like me, dining out often sparks a curious thought: “How can I recreate this deliciousness at home?” This culinary quest recently led me to perfect the art of making garlic knots from scratch, and now I’m excited to share my foolproof method with you. This comprehensive guide doesn’t just provide a recipe for incredibly soft and airy garlic knots; it also includes my special garlic butter recipe, a vibrant tomato dipping sauce, and essential tips to ensure your baking success. Prepare for a garlic knot feast!
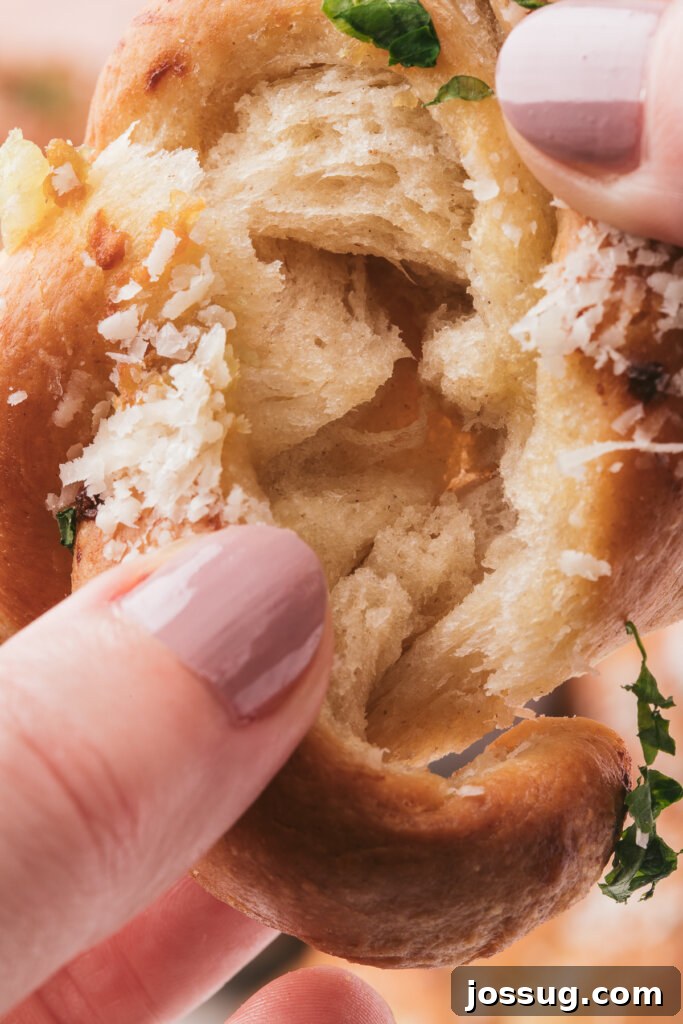
Many home bakers find the prospect of working with yeast a bit daunting. The infamous “dun, dun, dun… dreaded yeast” can indeed be temperamental, as it’s sensitive to temperature and can easily be “killed” if not handled correctly. We’ve all had our share of flat, unrisen bread dough. However, this recipe simplifies the process significantly. You’re essentially making a basic pizza dough, which is surprisingly forgiving and an excellent entry point into yeast baking. Trust me, it’s not nearly as complicated as it sounds – it’s as easy as pie, or in this case, knots! The result will be tender, golden-brown knots bursting with garlicky goodness.
Key Ingredients for Irresistible Garlic Knots & Smart Substitutions
Crafting these delectable garlic knots requires a few fundamental ingredients, most of which you likely already have in your pantry. Let’s break down what you’ll need for the dough, the flavorful toppings, and the accompanying sauces, along with some helpful substitution notes.
For the Fluffy Bread Dough: The Foundation of Your Knots
- Bread Flour: For the ultimate soft and tender texture, I highly recommend using bread flour. Its higher protein content develops more gluten, leading to that desirable chewiness and soft crumb. However, if bread flour isn’t available, all-purpose flour will work effectively in a pinch, though the texture might be slightly less pillowy.
- Yeast & Warm Water: The magic behind the rise! Always use warm water, not hot. Hot water will kill the yeast, preventing your dough from rising. Aim for a temperature between 105-115°F (40-46°C), which feels comfortably warm, not hot, to the touch. This provides the ideal environment for the yeast to activate and thrive. Instant dry yeast is convenient as it can be mixed directly with the dry ingredients.
- Granulated Sugar: A small amount of sugar doesn’t just add a touch of sweetness; it also acts as food for the yeast, helping it activate and produce carbon dioxide, which makes the dough rise. It also contributes to the golden-brown crust.
- Salt: Essential for flavor! Salt balances the sweetness and enhances all the other flavors in the bread. Don’t skip it, even if you’re trying to reduce sodium, as it’s crucial for the overall taste and also helps control yeast activity.
- Melted Butter: Adds richness, moisture, and a tender crumb to the dough, making the knots incredibly soft and flavorful. Vegetable oil or a neutral-flavored oil can be substituted, but butter truly elevates the taste.
- Olive Oil (for greasing): A light drizzle of olive oil in the bowl prevents the dough from sticking during its rise, ensuring a smooth process. Any neutral cooking oil can be used.
Pro Tip: Essentially, this is a versatile pizza dough recipe! If you’ve made pizza dough before, you’ll find this process very familiar and straightforward.
For the Flavorful Topping: The Finishing Touch
- Parmesan Cheese: Adds a sharp, salty, and umami-rich flavor that is distinctly Italian and complements the garlic beautifully. Freshly grated Parmesan is always best for superior taste and texture.
- Fresh Parsley: Provides a burst of freshness and a vibrant green color, enhancing both the appearance and the herbaceous notes of the knots. Fresh chives or finely chopped basil could be interesting alternatives.
- Salt: A final sprinkle of salt over the buttered knots before serving boosts all the flavors. Adjust to your taste, especially if your Parmesan cheese is already quite salty.
For the Zesty Tomato Dipping Sauce: The Perfect Companion
- Crushed Tomatoes: The rich, robust base of your dipping sauce. Using good quality crushed tomatoes will make a noticeable difference. Diced tomatoes can be used and simmered longer for a smoother consistency.
- Garlic: Freshly crushed garlic is key here, infusing the sauce with its pungent, aromatic flavor. Garlic powder can be a last resort, but fresh is truly superior for this sauce.
- Oregano or Italian Seasoning: These dried herbs impart that classic Italian flavor profile, making the sauce taste like it came straight from your favorite pizza parlor – only better, because it’s homemade!
- White Wine Vinegar: A splash of vinegar adds a subtle tang and brightens the sauce, cutting through the richness of the tomatoes and butter. A squeeze of fresh lemon juice can also achieve a similar effect.
- Granulated Sugar: A pinch of sugar helps to balance the acidity of the tomatoes and enhances their natural sweetness, creating a more rounded and harmonious flavor.
For the Aromatic Garlic Butter: The Heart of the Knot
- Unsalted Butter: The foundational ingredient for our luscious garlic butter. Using unsalted butter allows you to control the overall saltiness of the dish. If only salted butter is available, reduce the added salt in other components.
- Fresh Garlic Cloves, Crushed: This is where the magic happens! Freshly crushed garlic provides an incredibly potent and mouth-watering aroma and flavor that simply can’t be replicated by pre-minced or powdered garlic. Don’t be shy with the garlic – it’s a garlic knot, after all!
Expert Tips for Garlic Knot Success: Bake Like a Pro
Achieving perfect garlic knots every time is easier than you think with a few insider tips:
- Yeast Activation is Key: Ensure your warm water is at the right temperature (105-115°F or 40-46°C) for yeast activation. If the water is too hot, it will kill the yeast; too cold, and it won’t activate. You’ll know your yeast is happy if it gets foamy after a few minutes with the sugar.
- Don’t Rush the Rise: Dough rising takes time, and patience is a virtue in baking. Allowing the dough to double in size for approximately 2 hours (or even longer in a cooler kitchen) is crucial for light and airy knots. A warm, draft-free spot helps. If your kitchen is cool, you can place the bowl in a slightly warm (but not hot) oven that has been turned off, or in a warm water bath.
- Kneading for Texture: Proper kneading develops the gluten, which gives bread its structure and chew. Whether by hand or with a stand mixer, ensure you knead for the recommended time until the dough is smooth, elastic, and no longer sticky.
- Even Knot Shaping: Try to make your dough strips and knots relatively uniform in size. This ensures they bake evenly and look consistently appealing. Tucking the ends securely underneath helps maintain their shape during baking.
- Garlic Butter Application: Brush the garlic knots generously but carefully. While fresh garlic is divine, too much raw minced garlic directly on the tops of the knots can sometimes burn in the oven, leading to a bitter taste. The garlic infused in the melted butter provides ample flavor without this risk. Save a portion of the garlic butter for brushing post-baking for an extra fresh garlic hit!
- Freshness is Best: Like most baked goods, garlic knots are truly at their peak the day they are made, while they are still warm and the garlic butter is glistening. Plan to enjoy them soon after baking for the best experience.
Garlic Knots: Frequently Asked Questions (FAQs)
How many garlic knots does this recipe produce?
This recipe yields approximately 18 delicious garlic knots. This amount is usually more than enough to satisfy your family or a small gathering. If you’re hosting a larger party or simply want to ensure plenty of leftovers (which are fantastic!), I recommend doubling the recipe.
How long does it take to make garlic knots?
While this isn’t a “quick” recipe in terms of total time, it’s surprisingly low in active effort. The prep time is around 20 minutes, and the baking time is also 20 minutes. The longest part is the passive dough rising time, which takes about 2 hours. During this period, you don’t need to actively monitor the dough, freeing you up to prepare the sauces or simply relax. So, while the clock ticks for over two hours, your actual hands-on time is less than an hour.
Can I prepare the dough ahead of time?
Absolutely! Dough can be prepared up to a day in advance. After the first rise, punch down the dough, form it into a ball, lightly grease it, and place it in an airtight container in the refrigerator. The cold temperature will significantly slow down the yeast activity. When you’re ready to bake, remove the dough from the fridge, let it come to room temperature for about 30-60 minutes, and then proceed with shaping and baking as per the instructions.
What should I do with leftover garlic knots?
Leftovers, if any, will keep well for about 2-3 days when stored in an airtight container in the refrigerator. To enjoy them at their best, I highly recommend reheating them. A quick warm-up in a warm oven (around 300°F/150°C for 5-7 minutes) or a toaster oven will bring back their softness and warmth, making them almost as good as fresh. Avoid microwaving, as it can make them chewy.
Can I freeze garlic knots?
Yes, you can! For best results, freeze the baked garlic knots. Once they’ve cooled completely, place them in a single layer on a baking sheet and freeze until solid. Then, transfer them to a freezer-safe bag or airtight container. They’ll keep for up to 1-2 months. Reheat from frozen in a preheated oven (350°F/175°C) for 10-15 minutes, or until warmed through.
What else can I serve with garlic knots?
Beyond the classic tomato dipping sauce, garlic knots are wonderfully versatile. They make an excellent accompaniment to any Italian meal, such as pasta dishes, lasagna, or pizza. They are also fantastic with salads, soups, or stews. For another dipping option, a simple marinara sauce, pesto, or even a spicy olive oil dip would be delicious.
Other Delicious Recipes You May Enjoy
- Garlic Butter Dipping Sauce
- BEST Garlic Bread
- Pizza Dough Recipe
- Garlic Cheddar Quick Bread
- Cheesy Breadsticks
Garlic Knots
By Jamie Sherman
A simple recipe for Garlic Knots gives you a flavorful, savory homemade appetizer! Includes recipes for garlic butter & tomato dipping sauce.
Yields: 18 servings
Prep time: 20 minutes
Cook time: 20 minutes
Additional Time (Rise): 2 hours
Total time: 2 hours 40 minutes
Equipment
- Silicone Basting Brush (Orange), Set of 2
- Pot and Pan Set
- 4-Inch Pizza Wheel, Stainless Steel
- Parchment Paper
- Baking Sheets
- Rubber Spatula or Wooden Spoon
- Measuring Cups and Spoons
- Stand Mixer (optional, for kneading)
- Mixing Bowl
Ingredients
For the bread
- 3 cups bread flour (or all-purpose flour)
- 1 packet instant dry yeast (approx. 2 ¼ teaspoons)
- 2 teaspoons granulated sugar
- 1 teaspoon salt
- ¼ cup butter, melted
- 1 cup warm water (105-115°F / 40-46°C)
- Drizzle of olive oil, for greasing
For the garlic butter
- ½ cup butter
- 4 cloves garlic, crushed
For the topping
- 1 small bunch parsley, finely chopped
- ½ cup Parmesan cheese, grated
- Salt, to taste
For the tomato dipping sauce
- 1 can crushed tomatoes, 28 oz.
- 2 cloves garlic, crushed
- 1 tablespoon white wine vinegar
- 2 teaspoons granulated sugar
- 1 teaspoon oregano or Italian seasoning
Instructions
- In a large mixing bowl, combine the flour, yeast, sugar, and salt. Stir well with a spoon. Pour in the melted butter and warm water. Mix until a rough dough forms. If kneading by hand, turn the dough out onto a lightly floured surface and knead for 10 minutes until smooth and elastic. Alternatively, if using a stand mixer, attach the dough hook and mix on the lowest speed for 5 minutes.
- Once kneaded, the dough should be soft and pliable. Form it into a ball, then transfer it to a bowl lightly greased with olive oil. Turn the dough once to coat it completely with oil. Cover the bowl with plastic wrap and let it rise in a warm, draft-free place until doubled in size, which typically takes about 2 hours.
- While the dough is rising, prepare two baking trays by lining them with parchment paper.
- After the dough has doubled, gently punch it down and turn it out onto a lightly floured surface. Use your hands to press and shape it into a rectangle approximately 18 inches long.
- Using a pizza wheel or sharp knife, cut the dough into 18 equal strips.
- Take one strip of dough and gently roll it into a thin rope shape, about 5 inches long. Tie the rope into a knot, tucking the ends underneath the knot to secure them. Place the formed knot on one of the prepared baking trays. Repeat this process with the remaining dough strips.
- Once all knots are shaped and placed on the baking trays, let them rest for another 30 minutes. During this time, preheat your oven to 350°F (175°C).
- While the knots are resting and the oven preheats, prepare the garlic butter. Melt the ½ cup butter in a small saucepan over low heat. Add the 4 cloves of crushed garlic to the melted butter and stir to combine.
- After 30 minutes of resting, brush the garlic knots with about half of the prepared garlic butter. Be careful not to apply too much raw garlic pieces directly on top, as they can burn.
- Bake the garlic knots in the preheated oven for 20 minutes, or until they are golden brown and cooked through.
- While the garlic knots are baking, prepare the tomato dipping sauce. In a separate saucepan, combine the crushed tomatoes, 2 cloves crushed garlic, oregano (or Italian seasoning), white wine vinegar, and 2 teaspoons sugar. Bring to a gentle simmer and cook for 10-15 minutes, stirring occasionally, until slightly thickened and flavors have melded.
- As soon as the garlic knots are ready and removed from the oven, immediately brush them generously with the remaining garlic butter. Sprinkle evenly with the grated Parmesan cheese, chopped fresh parsley, and a pinch of salt to taste.
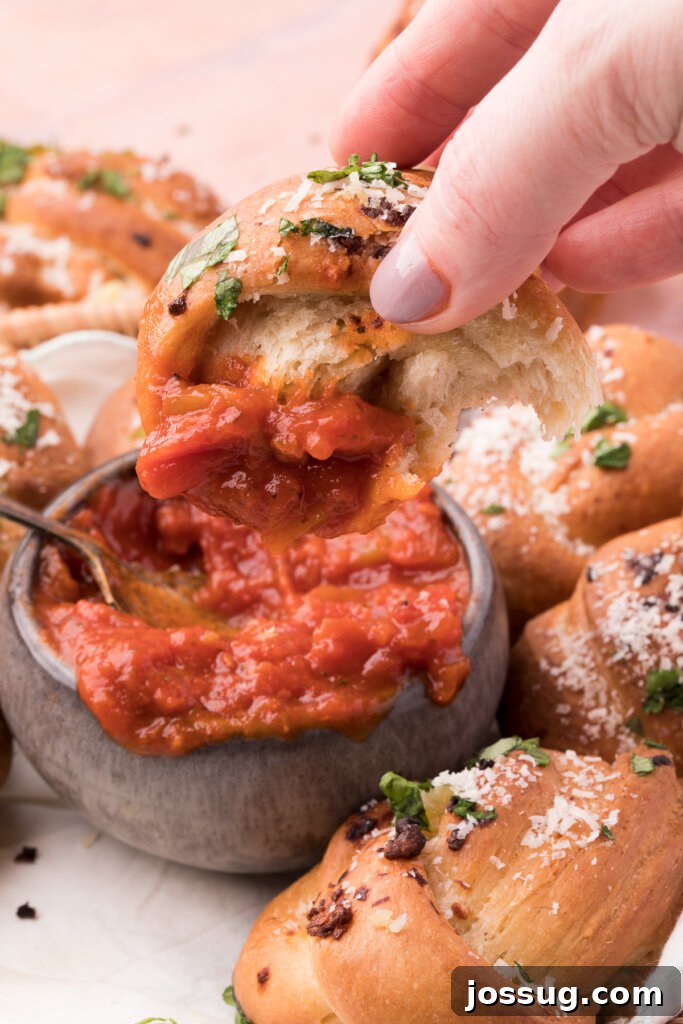
- Serve the warm, fragrant garlic knots immediately with the hot tomato dipping sauce on the side. Enjoy!
Notes
- For the softest texture, bread flour is preferred due to its higher protein content, which develops more gluten. However, all-purpose flour is a suitable substitute if needed.
- The water used for activating yeast should be warm, not hot. Temperatures between 105-115°F (40-46°C) are ideal. Water that is too hot will kill the yeast, preventing the dough from rising.
- When brushing the garlic knots with butter before baking, try to focus on the butter itself rather than large pieces of crushed garlic. Direct exposure to high heat can cause raw garlic to burn and taste bitter. The infused butter will provide plenty of flavor.
- Garlic knots are best enjoyed on the day they are made, especially when still warm. If you have leftovers, store them in an airtight container in the refrigerator for up to 2-3 days. Reheat them in a warm oven (300°F/150°C) for about 5 minutes to restore their freshness.
Nutrition
(Approximate values per 1 garlic knot serving)
- Calories: 175 kcal
- Carbohydrates: 20 g
- Protein: 5 g
- Fat: 9 g
- Saturated Fat: 5 g
- Polyunsaturated Fat: 1 g
- Monounsaturated Fat: 2 g
- Trans Fat: 0.3 g
- Cholesterol: 22 mg
- Sodium: 294 mg
- Potassium: 165 mg
- Fiber: 2 g
- Sugar: 3 g
- Vitamin A: 360 IU
- Vitamin C: 4 mg
- Calcium: 58 mg
- Iron: 1 mg
Nutrition information is automatically calculated and should only be used as an approximation.
Enjoyed this recipe? Leave a comment below!
We’d love to hear your thoughts and see your delicious homemade garlic knots!