
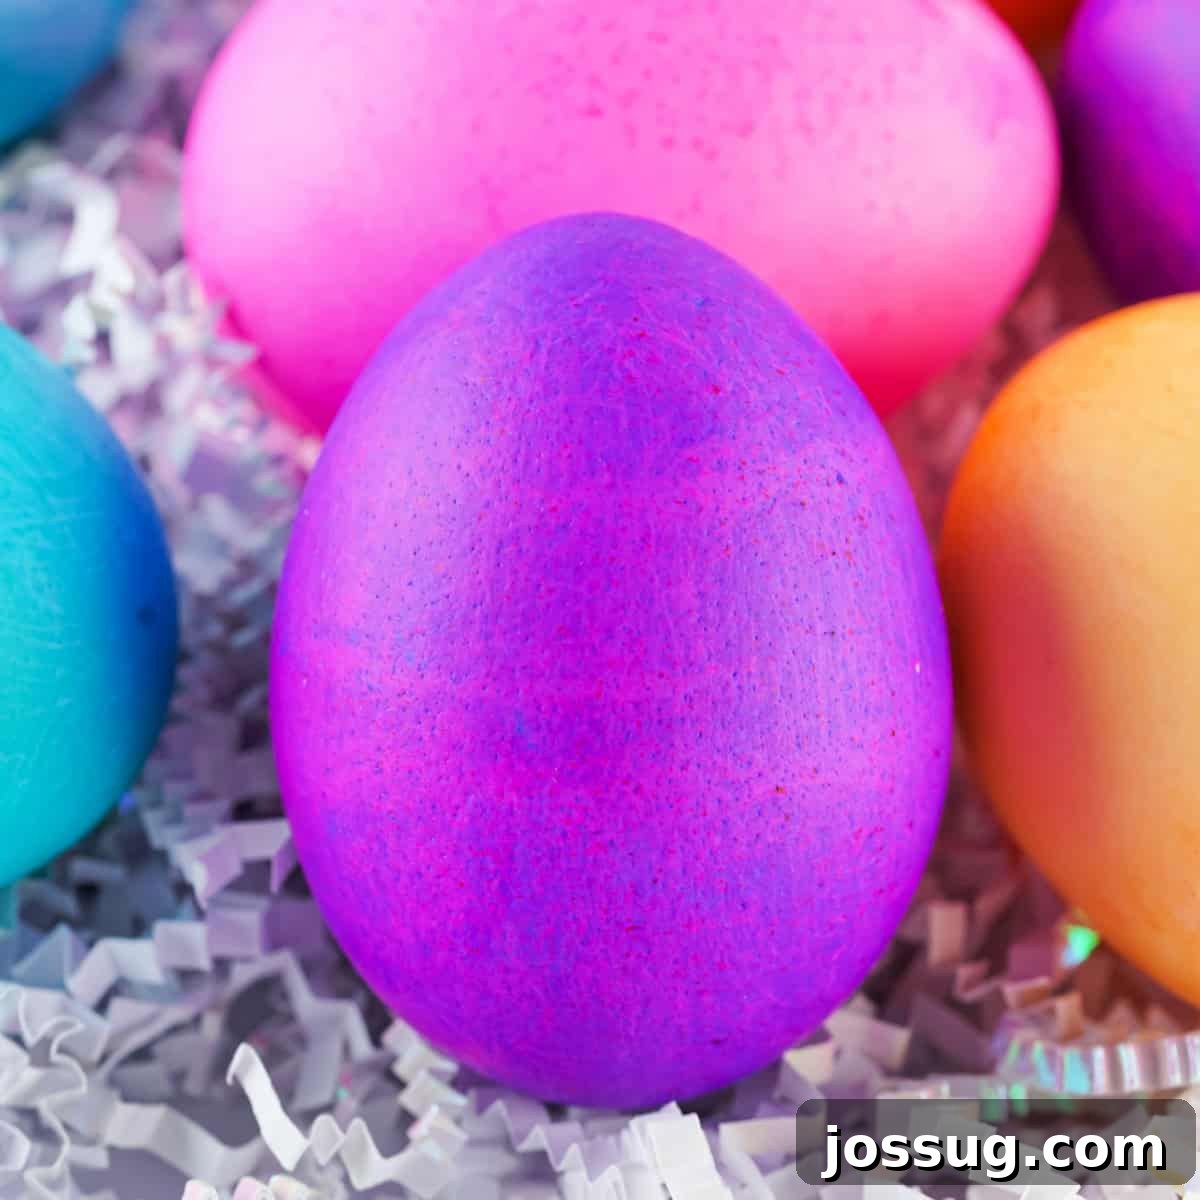
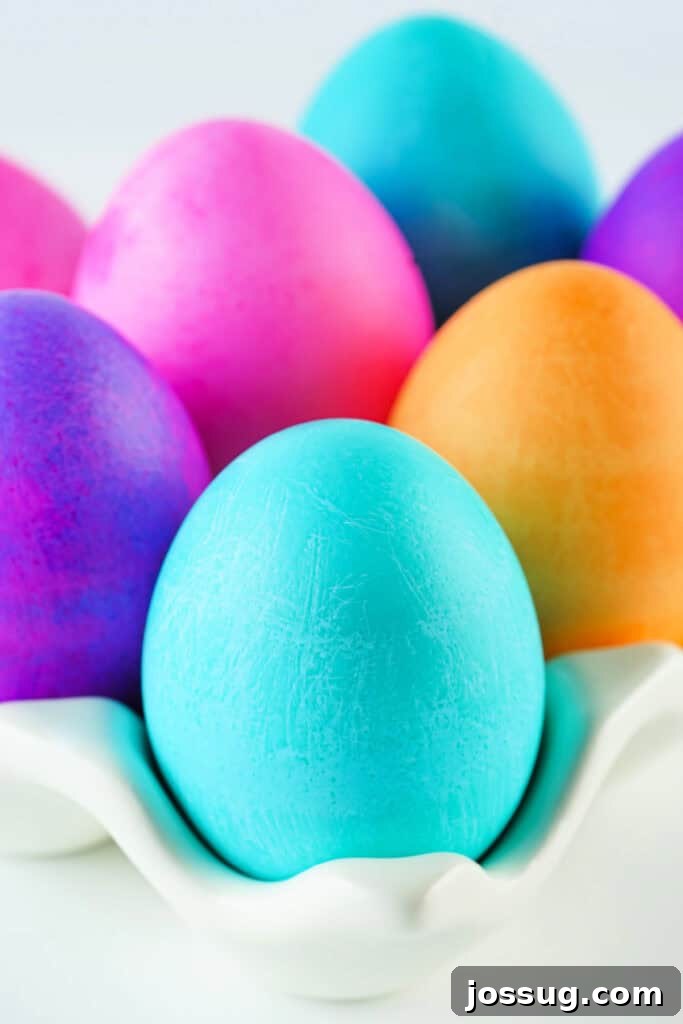
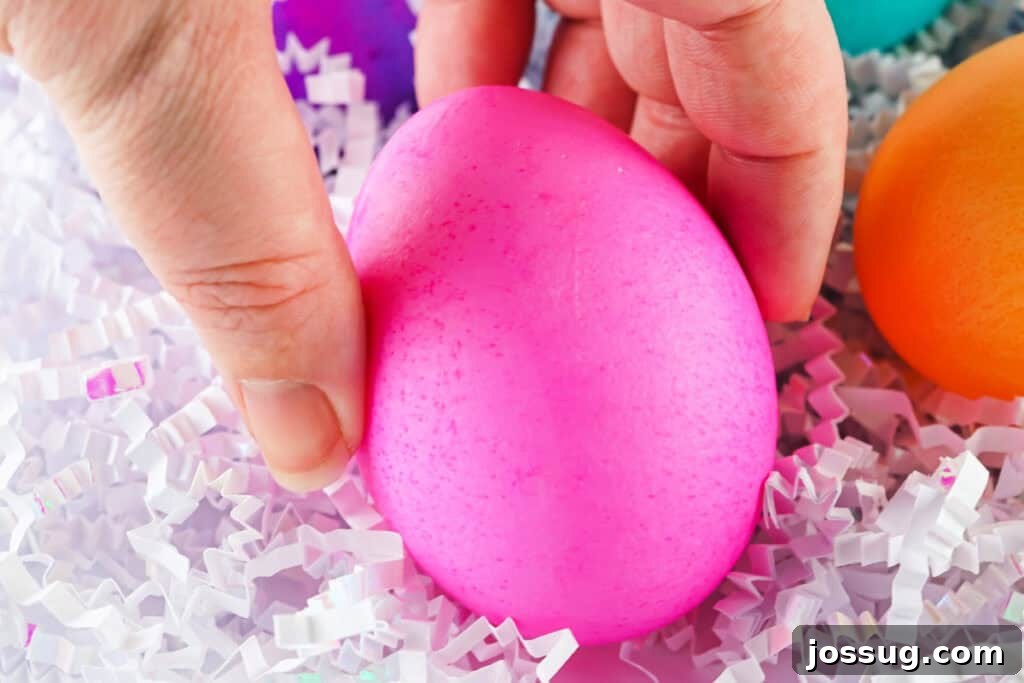
Prepare to unleash a burst of color and creativity this Easter with our incredibly easy and fun guide to dyeing eggs using simple food coloring! Forget the hassle and expense of store-bought kits. With just a few common household ingredients – water, vinegar, and your favorite food dyes – you can create a spectacular spectrum of beautifully colored eggs in mere minutes. This timeless Easter tradition is perfect for families, offering a simple yet profoundly rewarding craft activity that promises dazzling results. Get ready to personalize your festive celebration with a rainbow of brilliantly hued eggs that will delight everyone! 🎨🥚✨
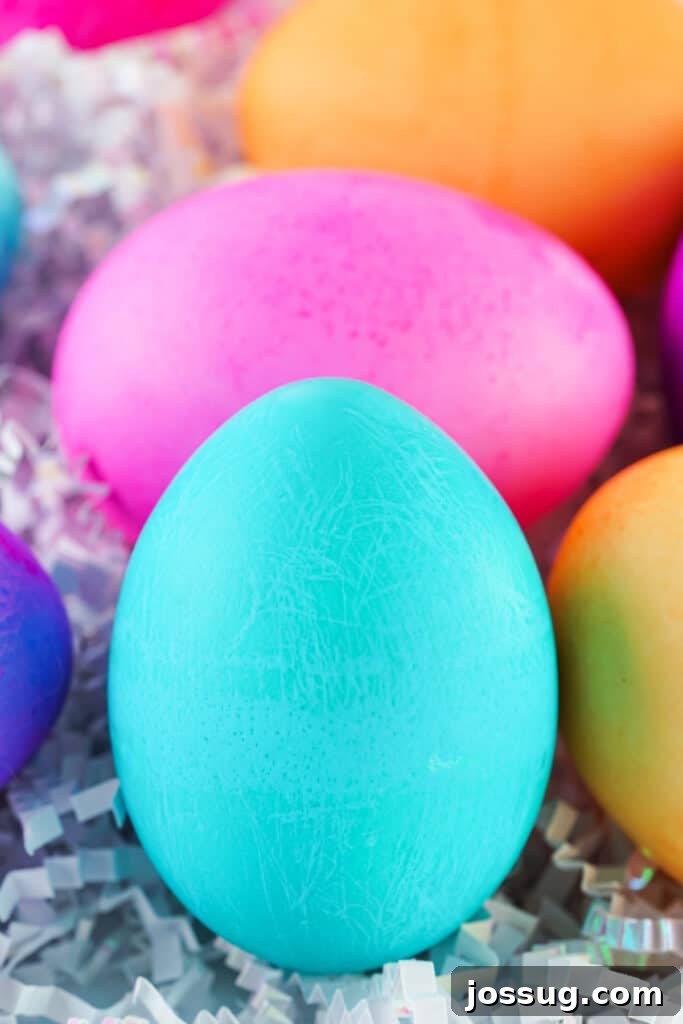
Transforming Easter with Brilliant Food Coloring Dyed Eggs
Why opt for generic, pre-packaged kits when you can craft equally, if not more, captivating and vibrant Easter eggs right in your own kitchen? This comprehensive guide will walk you through the simple process of transforming ordinary hard-boiled eggs into stunning, customized works of art using basic food coloring. It’s a remarkably budget-friendly and infinitely customizable approach to one of the most beloved holiday crafts. Whether you are an experienced DIY enthusiast or new to egg dyeing, this method guarantees brilliant results and a truly enjoyable experience for everyone involved.
⭐ Why You’ll Absolutely Love This Easy Easter Egg Dyeing Method
- Effortless & Economical Fun: Say goodbye to expensive, single-use Easter egg dyeing kits. This method relies on readily available household items such as water, vinegar, and food coloring, making it incredibly affordable and convenient. You’ll be pleasantly surprised at how much you can save while still achieving spectacular results.
- Unleash Custom Color Creativity: The artistic possibilities are truly limitless! With food coloring, you have complete control over your palette. Mix and match different primary colors to create unique secondary and tertiary shades, or dilute them for soft pastels. Craft vibrant gradients, subtle ombres, or bold, contrasting hues that perfectly match your Easter decor or personal style.
- The Perfect Kid-Friendly Activity: This hands-on craft is wonderfully engaging and safe for children of all ages, providing a fantastic opportunity for little ones to participate in Easter preparations. The process is straightforward, and with a few paper towels on hand, any potential messes are easily managed, leaving more time for joyous, festive fun and cherished family memories.
- Achieve Dazzling, Long-Lasting Hues: The secret to intensely saturated and beautifully bright colors lies in the addition of white distilled vinegar. This acidic component acts as a mordant, helping the food coloring molecules bind more effectively and deeply to the porous eggshell. The result? Eggs with brilliant, rich colors that truly pop and maintain their vibrancy for days.
- Embrace a Cherished Easter Tradition: Dyeing Easter eggs is more than just a craft; it’s a time-honored spring tradition that brings immense joy and excitement. It’s an ideal activity to share with family and friends, fostering togetherness and creativity. Create lasting memories as you transform plain eggs into colorful treasures, celebrating the spirit of renewal and festivity that Easter embodies.
- No Special Equipment Needed: You don’t need any fancy tools. Simple cups or bowls from your kitchen, regular spoons, and some paper towels are all you require to get started. This accessibility makes it a stress-free project for anyone, anywhere.
🛒 Essential Ingredients for Your Colorful Creations
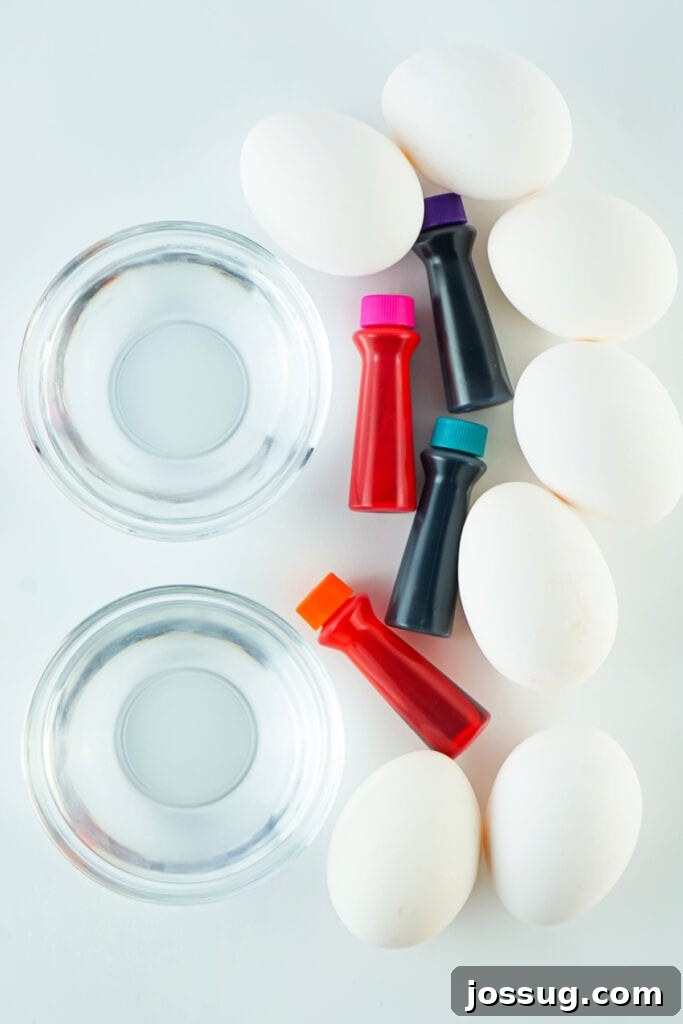
Gathering the supplies for homemade Easter egg dye is wonderfully simple, as you likely already have most of these items in your kitchen pantry. This straightforward list simplifies your holiday preparations, allowing you to focus on the fun. Here’s a detailed look at what you’ll need for perfectly dyed eggs:
- Hard-Boiled Eggs: Start with approximately one dozen eggs, adjusting the quantity based on how many you wish to dye. Both white and brown eggs can be used effectively; white eggs typically yield brighter, truer colors that closely match the dye, while brown eggs will result in more muted, earthy tones, adding a unique, rustic charm. Ensure your hard-boiled eggs are completely cooled to room temperature before beginning the dyeing process to prevent cracking and ensure optimal, even dye absorption.
- Gel Food Dye: Gel food colorings are highly concentrated and fantastic for creating intense, vibrant hues with just a small amount. Their thick, rich texture ensures deep, saturated colors are easily achievable. If you only have liquid food dye on hand, it works just as well; simply use a slightly larger quantity (e.g., 10-20 drops per cup) to attain similar color saturation. Feel free to mix different brands or types of food coloring to experiment with unique color combinations and effects.
- Water: Regular tap water is perfectly suitable for your dye baths. You will need about 1 cup of water for each individual color you plan to prepare. It’s best if the water is at room temperature or slightly warm, as very cold water can slow down the dye absorption process and potentially cause already chilled eggs to crack if introduced too quickly.
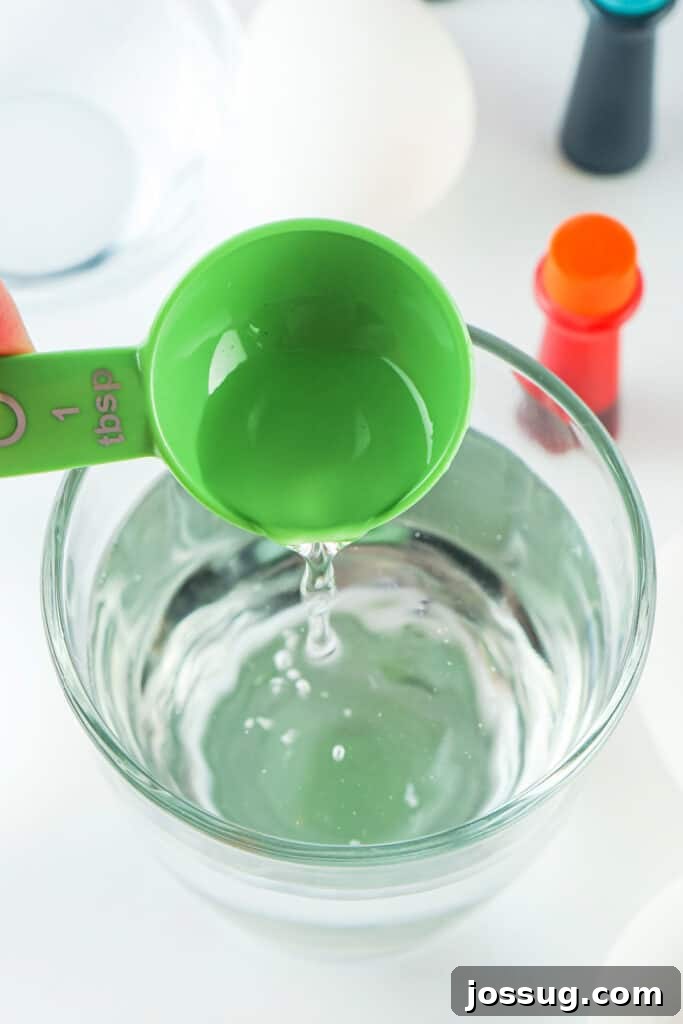
- Distilled White Vinegar: This is the crucial, secret ingredient for truly brilliant and long-lasting colors! White vinegar acts as an acidic mordant, creating an ideal environment for the dye molecules to bind more effectively and deeply to the porous surface of the eggshell. Approximately 1 tablespoon of white distilled vinegar per cup of dye mixture is the recommended ratio. While apple cider vinegar can be used as a substitute, be aware that its natural yellow or brownish tint may subtly alter your final colors, often creating slightly warmer or earthier tones compared to the crisp results from white vinegar.
- Optional but Highly Recommended: Spoons & Paper Towels: Spoons are indispensable tools for safely lowering and removing eggs from the dye baths, preventing messy fingers, accidental drops, and potential smudges. Heavy-duty paper towels are essential for protecting your work surface from spills and for gently drying the freshly dyed eggs. For an even more professional finish and to prevent flat spots, a wire cooling rack can also be incredibly helpful for allowing your eggs to air dry uniformly.
✨ Creative Variations and Exciting Dyeing Techniques
Beyond the simple act of dipping eggs, there are countless inventive ways to infuse creativity into your food coloring dyed Easter eggs. Experiment with these engaging techniques to give your Easter eggs a unique, artistic, and personalized flair that stands out in any basket:
- 🎨 Tie-Dye Masterpiece: Achieve a stunning marbled or tie-dye effect by first dipping an egg into one color, allowing it to dry partially, and then dipping it into a second, contrasting or complementary color. For an even more intricate look, gently swirl the egg in the second dye bath or use a spoon to drizzle additional colors directly onto the egg while it’s still damp from the initial dip, letting the colors bleed and blend beautifully.
- 🖌️ Charming Speckled Wonders: For a delightful, rustic speckled finish, place a dried, already-dyed egg on a well-protected surface. Dip an old, clean toothbrush into a contrasting color of food dye (you can dilute it slightly with water for a softer speckle). Then, gently flick the bristles with your thumb, directing the dye droplets towards the egg. Practice on a paper towel first to master the technique and control the amount of speckle.
- 🌀 Intriguing Rubber Band Patterns: Before submerging your hard-boiled eggs in the dye, wrap them tightly with various widths and patterns of rubber bands. The areas covered by the rubber bands will resist the dye, creating intriguing white (or the original egg color) or light-colored stripes, geometric designs, and abstract patterns when the bands are carefully removed after the dyeing process is complete.
- 🌊 Elegant Ombre Gradient Eggs: To create a beautiful and sophisticated gradient effect, begin by dipping only the bottom third of the egg into a chosen dye bath. After allowing it to soak for a few minutes, carefully dip the egg a bit further, covering approximately the middle third. Finally, immerse the entire egg for the last few minutes. This progressive dipping technique creates a seamless transition from light to dark or a gradual blend between two colors.
- 🌌 Mystical Galaxy Eggs: For a truly celestial design, use a dark blue or deep purple as your base color. Once the base color is dry, use a toothbrush to gently flick white (or very pale yellow) dye droplets onto the egg to represent stars. Then, dab tiny amounts of black dye for nebula effects. You can further enhance this by using metallic food paints for shimmering accents.
- ✍️ Classic Crayon Resist Art: This classic technique is always a hit! Before you begin dyeing, use a white crayon to draw designs, patterns, or write personalized messages on your hard-boiled eggs. The wax from the crayon will effectively repel the food coloring, causing those areas to remain white or the original eggshell color, creating a beautiful and striking resist effect against the vibrant dyed background.
- 💧 Marbled with Oil: After the eggs are dyed and dry, you can create an additional marbling effect. Drizzle a small amount of vegetable oil onto a paper towel and gently rub it over the egg. Then, carefully dab a contrasting color of undiluted food coloring onto the oiled egg. The oil will cause the new color to bead and marble beautifully, creating a unique texture.
🔥 Expert Tips for Achieving the Most Dazzling Easter Eggs
To ensure your homemade food coloring Easter eggs turn out perfectly vibrant, evenly colored, and exceptionally beautiful every single time, keep these invaluable tips and tricks in mind. These small details can make a significant difference in the final appearance of your festive creations, transforming them from good to truly magnificent!
- Warm the Dye Mixture for Deeper Colors: For an incredibly rich, intense, and deeply saturated color payoff, gently warm your water and vinegar dye mixture in the microwave for approximately 1 minute before adding the food coloring. Warm solutions enhance the dye’s ability to penetrate the porous eggshell more effectively, resulting in profoundly bolder and more vibrant hues. However, always ensure the hard-boiled eggs themselves are at room temperature to prevent any potential cracking from sudden thermal shock when submerged.
- Adjust Dye Quantity for Desired Intensity: Be mindful that some colors, particularly lighter shades like yellows and oranges, naturally tend to be less intense than darker ones. Don’t hesitate to add a few extra drops of gel or liquid food dye to these mixtures if you desire a bolder, more pronounced shade. Conversely, for very strong colors like deep blues or reds, you might achieve your desired hue with slightly less dye or a shorter soaking time. Experimentation is key!
- Embrace the “Floaties” for Unique Effects: If you’re utilizing older or particularly thick gel dyes, you might notice small, undissolved particles, often referred to as “floaties,” appearing in your dye solution. Instead of viewing this as a flaw, consider it a unique opportunity! These floaties can adhere to the eggshell, creating a fascinating “firework” or beautifully speckled effect that adds an artistic, unpredictable, and one-of-a-kind touch to your eggs.
- Always Use Room Temperature Eggs: This tip is crucial for preventing cracks. Always start with hard-boiled eggs that have thoroughly cooled down to room temperature. Introducing a cold egg directly from the refrigerator into a warm or hot dye bath can cause the shell to crack due to the sudden temperature differential, unfortunately ruining your perfect canvas.
- Ensure Eggs Are Spotlessly Clean and Dry: Before you begin the dyeing process, gently wipe down your eggs to confirm they are completely free of any dirt, grease, or residual film. Any oils from your hands or leftover coating on the shell can act as a resist, preventing the dye from adhering evenly and leading to unwanted streaks or patchy, inconsistent colors.
- Gently Rotate Eggs for Uniform Coverage: To achieve a perfectly uniform color application without any lighter spots or uneven streaks, gently rotate the eggs occasionally while they are fully submerged in the dye bath. Use a spoon for this, ensuring that all sides of the egg are equally exposed to the dye solution throughout the soaking process.
- Patience is Paramount for Deep Hues: While some colors develop quickly, others, especially darker or more intense shades, may require more time to reach their full potential. For exceptionally deep and vibrant colors, allow your eggs to soak for a longer duration—anywhere from 5 to 15 minutes, or even longer if you are aiming for truly intense, jewel-toned shades. Check on them periodically until the desired depth of color is achieved.
- Protect Your Workspace Diligently: Food coloring is notorious for staining! Always lay down multiple layers of old newspapers, a disposable plastic tablecloth, or several layers of sturdy paper towels to thoroughly protect your countertops and surrounding surfaces from accidental spills. Wearing disposable gloves is also a highly recommended practice to prevent your hands from temporarily turning into a rainbow masterpiece!
- The Drying Process Matters Significantly: Once your beautifully dyed eggs are carefully removed from the dye bath, place them immediately on a wire cooling rack (positioned over paper towels) to allow air to circulate freely around them. This method ensures they dry completely and evenly on all sides. Avoid placing them directly on paper towels for extended periods, as this can sometimes lead to flat spots, unwanted blotches, or uneven drying marks where the egg contacts the surface.
- Vinegar is Non-Negotiable for Brightness: Reiterate that the vinegar isn’t just an option; it’s essential for the brightest colors. Without it, the dye molecules won’t bond as effectively, leading to duller, less impressive results.
❓ Frequently Asked Questions About Dyeing Easter Eggs
Here are comprehensive answers to some of the most common questions you might have about dyeing Easter eggs with food coloring. Our goal is to cover all your concerns, ensuring a smooth, enjoyable, and successful crafting experience this holiday season.
Absolutely! For a more organic and eco-friendly approach, you can certainly create beautiful natural dyes using ingredients from your kitchen. Try boiling eggs with onion skins for lovely shades of orange and brown, turmeric for vibrant yellows, red cabbage for intriguing blues and purples, or beet juice for soft pinks and reds. These natural hues offer a unique, earthy aesthetic that is distinct and charming.
Hard-boiled eggs, whether dyed or left plain, should always be refrigerated within two hours of cooking to ensure food safety. Once stored in the fridge, they can be safely kept and consumed for up to one week. They are perfectly edible and make delicious snacks or additions to spring salads even after the dyeing fun is complete!
No, it is generally not recommended to use icing colors or oil-based dyes for this specific water and vinegar dyeing method. These types of dyes are formulated with different bases (often oil or glycerin) and will not mix properly with a water and vinegar solution. This can lead to uneven coloring, splotches, or a complete failure of the dye to adhere to the eggshell. For the best and most consistent results, stick to standard liquid or gel food coloring.
Yes, absolutely! You can efficiently dye several eggs in the same cup of dye solution. However, with each subsequent egg submerged, the concentration of the dye in the solution may become slightly diluted. This can potentially result in lighter, more pastel colors for later eggs. If you notice the colors becoming too faint for your preference, simply add a few more drops of food coloring to the cup and stir it thoroughly to refresh the solution.
Using vinegar is highly recommended, almost essential, for achieving the most vibrant, intense, and long-lasting colors on your Easter eggs. The acidity of the vinegar helps to slightly etch and prepare the surface of the eggshell, allowing the dye molecules to bind much more effectively and penetrate deeper. If you choose to skip the vinegar, your colors will likely be significantly lighter, appear more pastel, and may not adhere as well, increasing the risk of the dye washing off or fading quickly.
To prevent streaks and ensure a beautifully even coloring, it’s crucial to make sure your dye solution is thoroughly mixed and free of any undissolved particles before you introduce the eggs. During the soaking process, gently rotate the eggs periodically in the dye bath using a spoon. Additionally, always ensure the eggs are completely clean and dry before dyeing, as any residual oils, fingerprints, or moisture can create resistance for the dye, leading to blotchy results.
Absolutely! Mixing food colorings is one of the most exciting and rewarding aspects of this process, allowing for endless creative possibilities. Experiment boldly with combinations to concoct your own unique and personalized color palette. For instance, combine blue and red food coloring for various rich shades of purple, mix yellow and blue to create a range of greens, or blend yellow and red for vibrant oranges. Start with small amounts and add more until you achieve your desired custom hue.
Yes, this method works wonderfully with brown eggs! The natural brown pigment of the eggshell will serve as a foundational base color. As a result, the dyed colors will generally appear darker, more muted, or possess earthier undertones compared to those achieved on white eggs. For example, a blue dye on a brown egg might transform into a deep, elegant teal, while red could appear as a rich, sophisticated maroon. These unique shades are often quite beautiful and distinct.
To give your dried, dyed eggs a beautiful, professional-looking glossy sheen, the trick is wonderfully simple. Once the eggs are completely dry to the touch, apply a very small amount of vegetable oil, coconut oil, or even olive oil onto their surface. Gently rub the oil in with a clean paper towel. This quick step enhances their colors, gives them a lovely polish, and truly makes them stand out!
Yes, you absolutely can! Using a white crayon is a classic, fun, and highly effective way to add intricate patterns, designs, or personalized messages to your eggs. Draw your desired creations on the hard-boiled eggs before submerging them in the dye solution. The wax from the crayon will effectively repel the food coloring, causing those specific areas to remain white (or the original egg color), creating a charming and distinct resist effect for truly unique Easter eggs.
For hard-boiled eggs that are ideal for dyeing, place them in a single layer in a saucepan and cover them with about an inch of cold water. Bring the water to a full, rolling boil over high heat, then immediately turn off the heat, cover the pan tightly with a lid, and let the eggs sit in the hot water for 10-12 minutes for firm, perfectly cooked yolks. Promptly transfer them to an ice bath for at least 5 minutes to halt the cooking process and make them easier to peel later. Ensure they are completely cooled to room temperature before attempting to dye them.
🍽️ Other Festive & Delicious Recipes You May Enjoy
- Creative Cool Whip Dyed Easter Eggs
- Irresistible Chocolate Snack Cake
- Decadent Homemade Peanut Butter Easter Eggs
- Creamy & Smooth Peanut Butter Fudge
- Fun Frankenstein Sugar Cookies (Great for Halloween!)
Food Coloring Dyed Easter Eggs Recipe
Print Recipe
Equipment
-
10 oz. (or larger) cups or bowls (one for each color desired)
-
Paper towels
-
Spoons
-
Wire rack (optional, for even drying)
Ingredients
- 12 hard-boiled eggs (cooled to room temperature)
- 1 cup water, per desired color
- 1 tablespoon white distilled vinegar, per desired color
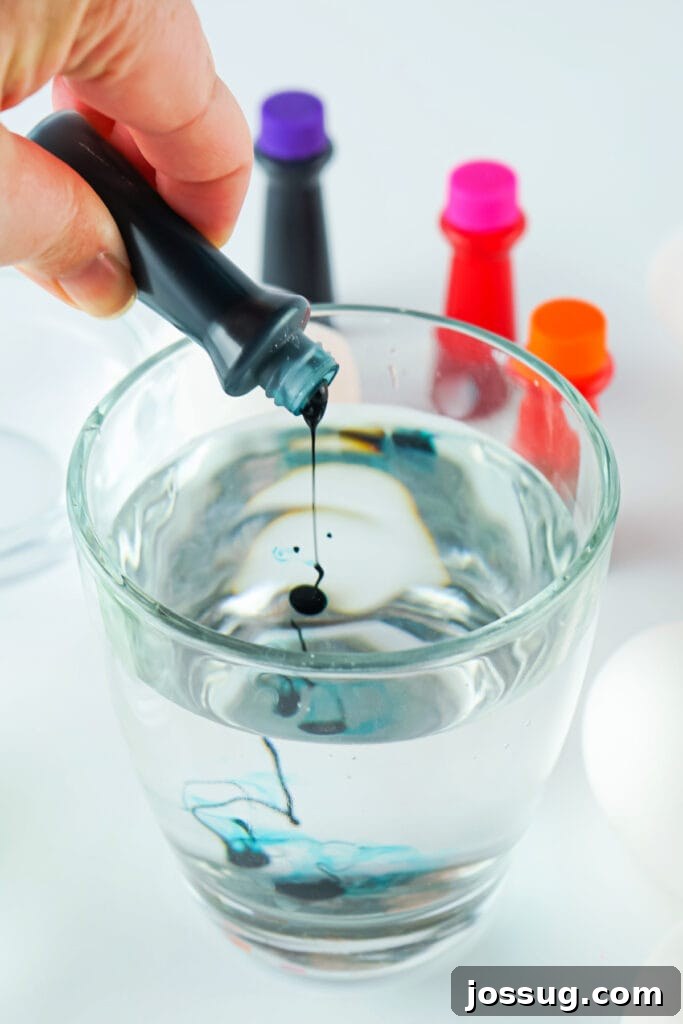
- ½ teaspoon gel food coloring, per color (or 10-20 drops food-safe liquid dye)
Instructions
-
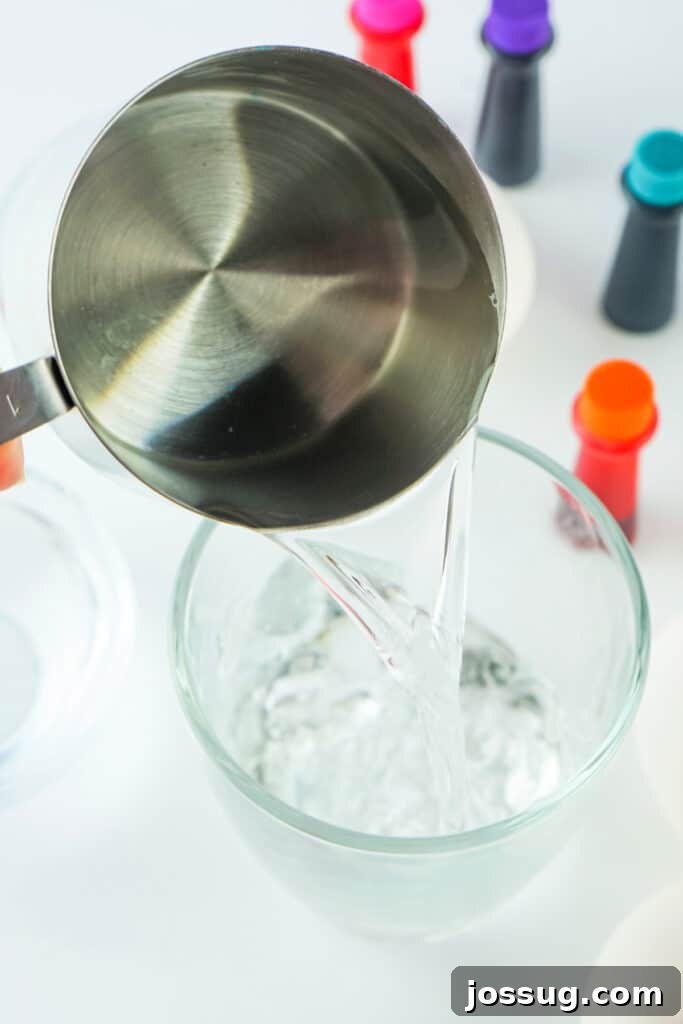
Prepare Dye Baths: For each distinct color you wish to create, take a separate 10 oz. (or larger) cup or bowl. Pour 1 cup of water and 1 tablespoon of white distilled vinegar into each container. For enhanced color vibrancy, you can optionally warm this water-vinegar mixture in the microwave for 1 minute before proceeding.
-
Add Food Coloring: To each prepared cup, add ½ teaspoon of gel food dye (or 10-20 drops of food-safe liquid dye). Stir the mixture thoroughly with a spoon until the food coloring is completely dissolved and evenly distributed. Ensure no dye particles remain for streak-free results.
-
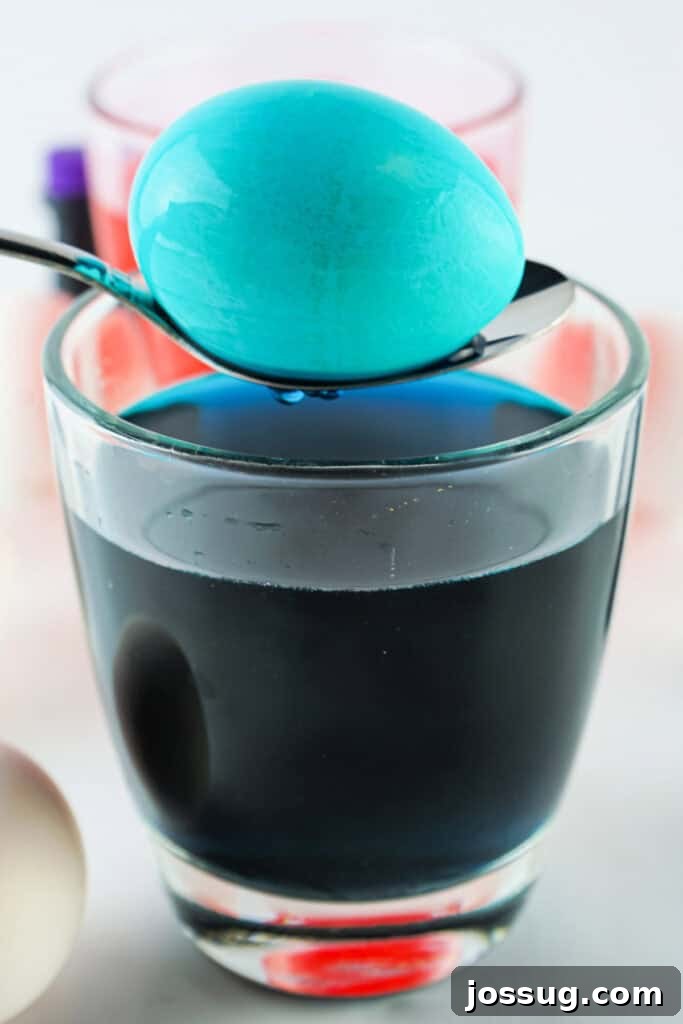
Submerge Eggs: Carefully place one cooled hard-boiled egg into each dye cup using a spoon. Lower the egg gently to avoid accidental cracking. If you are dyeing multiple eggs in one cup, ensure there is enough liquid to fully submerge them.
-
Dyeing Time: Allow the eggs to soak in the dye solution. For lighter, pastel shades, a soaking time of approximately 1-2 minutes is usually sufficient. For deeper, more vibrant and intense colors, leave the eggs immersed for 5-10 minutes, or even longer if you desire maximum color saturation. Gently rotate the eggs occasionally with a spoon to ensure even color absorption on all sides.
-
Remove and Dry: Once your eggs have reached the desired color intensity, carefully remove each egg from its dye bath using a spoon. Gently transfer them to a layer of paper towels or, ideally, a wire cooling rack positioned over paper towels. Allow them to dry completely undisturbed, which typically takes at least 5-10 minutes. Avoid touching them while they are drying to prevent smudging.
-
Finishing Touch (Optional): Once fully dry, your beautifully dyed Easter eggs are ready for display, an exciting egg hunt, or to be enjoyed as a snack! For an extra-glossy, polished finish, gently rub a very small amount of vegetable oil, coconut oil, or olive oil onto each egg using a clean paper towel.
Notes
- Store any leftover dyed hard-boiled eggs in an airtight container in the refrigerator for up to one week.
Troubleshooting Common Issues
🔹 Eggs have streaks or uneven color
- ✔️ Ensure you stir the dye mixture very well before introducing the eggs to guarantee even dye distribution throughout the solution.
- ✔️ Gently rotate the eggs occasionally while they are soaking in the dye bath to promote uniform color absorption across the entire shell surface.
- ✔️ Allow eggs to dry completely and undisturbed on a wire rack or fresh paper towels to prevent streaking that can occur from contact points or smudging.
🔹 Colors are too light or not vibrant enough
- ✔️ Increase the quantity of food coloring used in your solution, or extend the soaking time for the eggs significantly.
- ✔️ Gently heat the water and vinegar mixture in the microwave for approximately 1 minute before adding the dye; warm solutions dramatically enhance color absorption and intensity.
- ✔️ Always ensure you use white distilled vinegar, as its acidity is crucial for helping the dye adhere effectively and intensify in color.
🔹 Dye won’t stick properly to the eggs
- ✔️ Ensure your hard-boiled eggs are completely cool, dry, and entirely free of any surface oils or residues before you begin the dyeing process.
- ✔️ Minimize handling of the eggs both before and during dyeing, as natural oils from your hands can create a resist layer that repels the dye.
- ✔️ If you are using farm-fresh eggs, gently wash them with mild soapy water and rinse thoroughly to remove any natural protective bloom (cuticle) that might prevent dye adhesion.
🔹 Eggs have bubbles or small “spots”
- ✔️ Gently stir the dye mixture just before adding eggs to help break up any air bubbles that may be present or forming in the solution.
- ✔️ If bubbles form on the eggshell while it is soaking, gently nudge the egg with a spoon to dislodge them, which ensures an even and smooth coating of dye.
🔹 Eggshells crack while being dyed
- ✔️ Always use hard-boiled eggs that have cooled down completely to room temperature. Introducing cold eggs to a warm or hot dye solution can cause rapid thermal expansion and result in cracking.
- ✔️ Handle eggs with extreme care at all times, using a spoon to gently lower them into and carefully remove them from the dye rather than dropping them.
🔹 Gel dye leaves “floaties” or particles in the water
- ✔️ This phenomenon can sometimes occur with older or highly concentrated gel dyes and is perfectly normal. These floaties can actually create an interesting “firework” or textured effect on the egg, adding a unique aesthetic. If you prefer a completely smooth color, you can carefully strain the dye mixture through a fine-mesh sieve before using it.
Nutrition
Serving: 1 egg
Calories: 78 kcal
Carbohydrates: 1 g
Protein: 6 g
Fat: 5 g
Saturated Fat: 2 g
Polyunsaturated Fat: 1 g
Monounsaturated Fat: 2 g
Cholesterol: 187 mg
Sodium: 62 mg
Potassium: 63 mg
Sugar: 1 g
Vitamin A: 260 IU
Calcium: 25 mg
Iron: 1 mg
Nutrition information is automatically calculated, so should only be used as an approximation.
Enjoyed this Easter egg dyeing guide? We’d love to hear your favorite colors and techniques! Leave a comment below!