
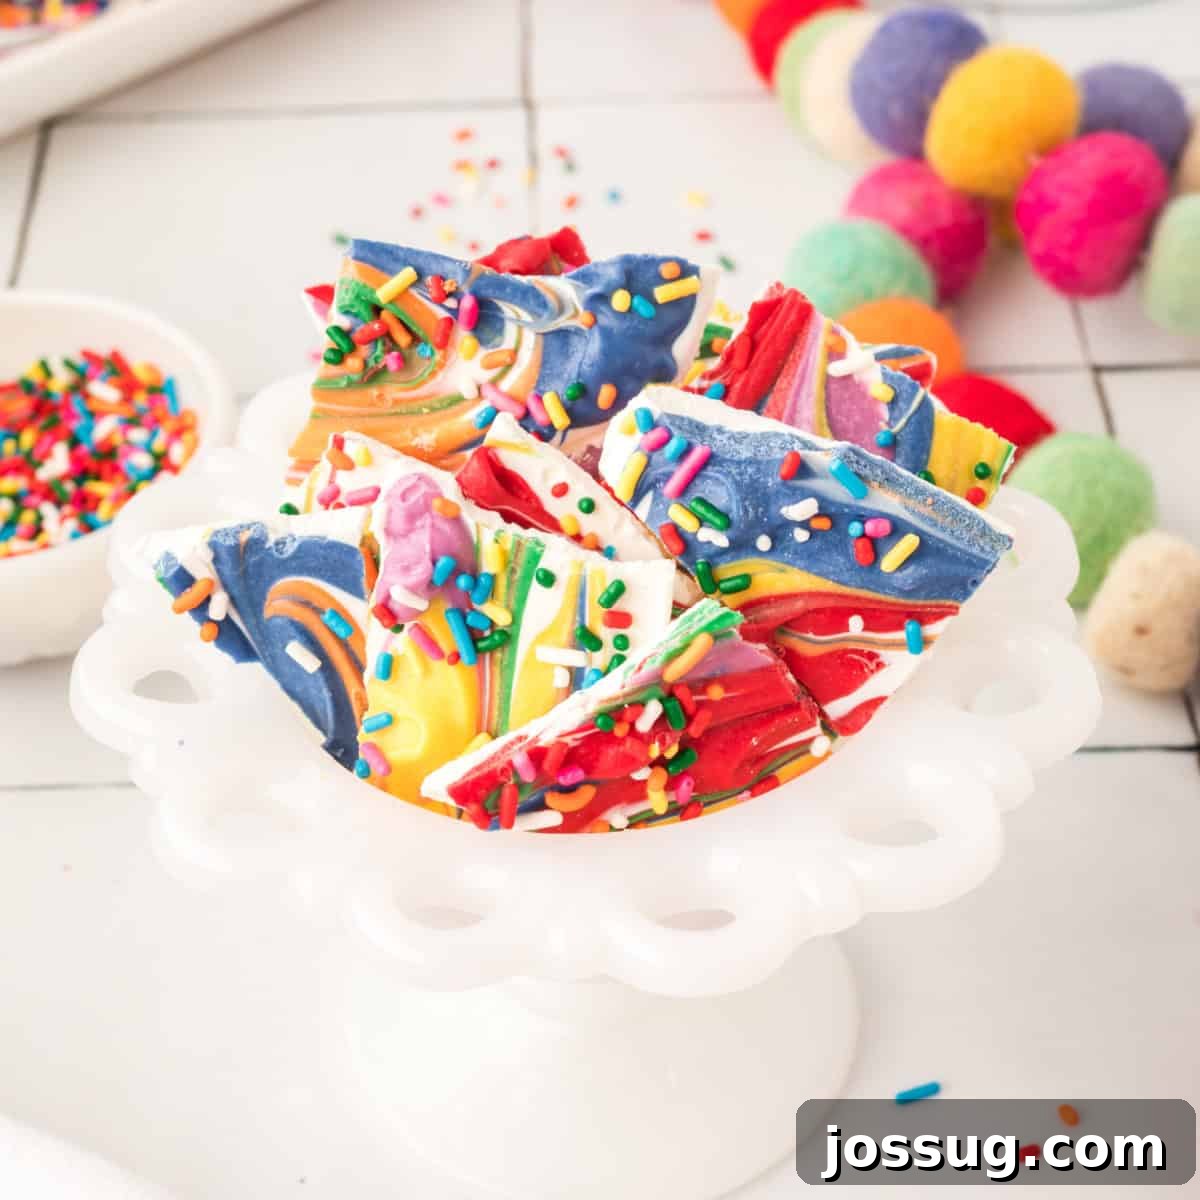
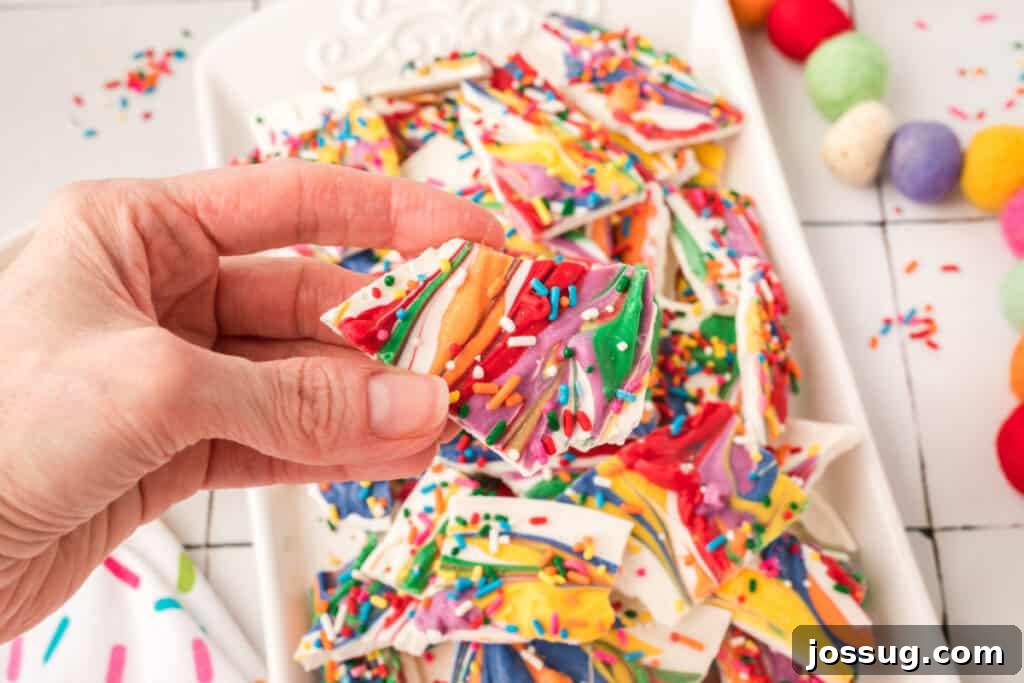
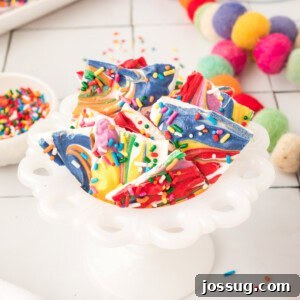
Bright, colorful, and incredibly easy to craft, this **Rainbow Candy Bark** is an absolute delight, perfect for any occasion! Whether you’re planning a lively party, looking for a charming homemade gift, or simply craving a sweet, uplifting treat, this recipe delivers a burst of joy. Each piece is a unique masterpiece, featuring beautiful swirls of melted candy in a dazzling rainbow spectrum. For an extra touch of magic and sparkle, don’t forget to add a generous showering of sprinkles! 🍭🌈✨
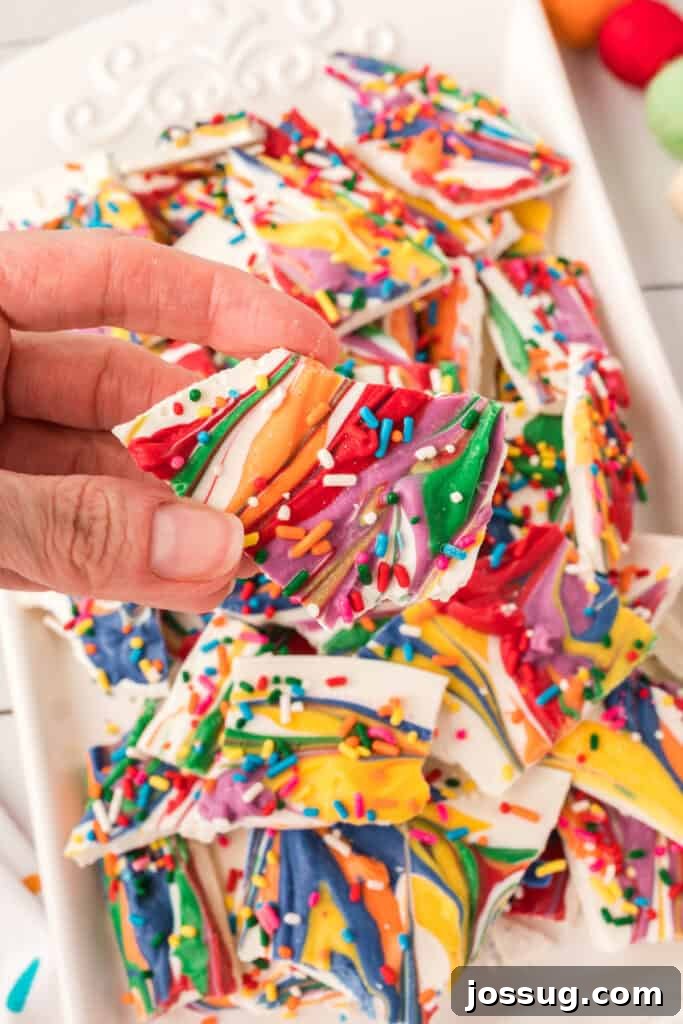
Rainbow Candy Bark – A Fun, Easy, and Irresistible Treat for Everyone! 🌈🍭
Are you searching for a dessert that’s not only quick to prepare but also bursting with color and incredible flavor? Look no further! This spectacular Rainbow Candy Bark recipe is your ultimate answer. It’s perfectly suited for lively parties, celebrating holidays, or simply brightening an ordinary day with a touch of sweetness. Crafted using creamy, rich white chocolate as its base and an array of vibrantly colored candy melts, this is a delightfully easy, no-bake recipe that promises to be a huge hit with both children and adults alike. Get ready to create a truly magical confection that looks as good as it tastes!
⭐Why You’ll Adore Making This Rainbow Candy Bark
- Quick & Effortless: This recipe comes together in mere minutes, making it an ideal choice for last-minute treats or busy schedules. Minimal preparation means maximum enjoyment!
- No Baking Required: Forget turning on the oven! The process involves simple melting, artful swirling, and allowing it to set, making it safe and fun for younger helpers.
- Endlessly Customizable: The possibilities are truly endless! Easily swap out sprinkle types, alter the color palette to match any holiday or theme (think festive reds and greens for Christmas, spooky oranges and purples for Halloween, or pastel shades for Easter), or incorporate different mix-ins.
- Visually Stunning: The vibrant rainbow swirls create a breathtaking visual appeal that will impress guests and make your dessert table pop. It’s an edible work of art!
- Perfect for Gifting: Beautifully packaged, this candy bark makes a thoughtful and personal homemade gift for friends, family, teachers, or neighbors.
- Kid-Friendly Activity: With its simple steps and no-bake nature, this recipe is fantastic for involving children in the kitchen. They’ll love choosing colors, swirling, and adding sprinkles.
🛒 Essential Ingredients & Smart Substitutions
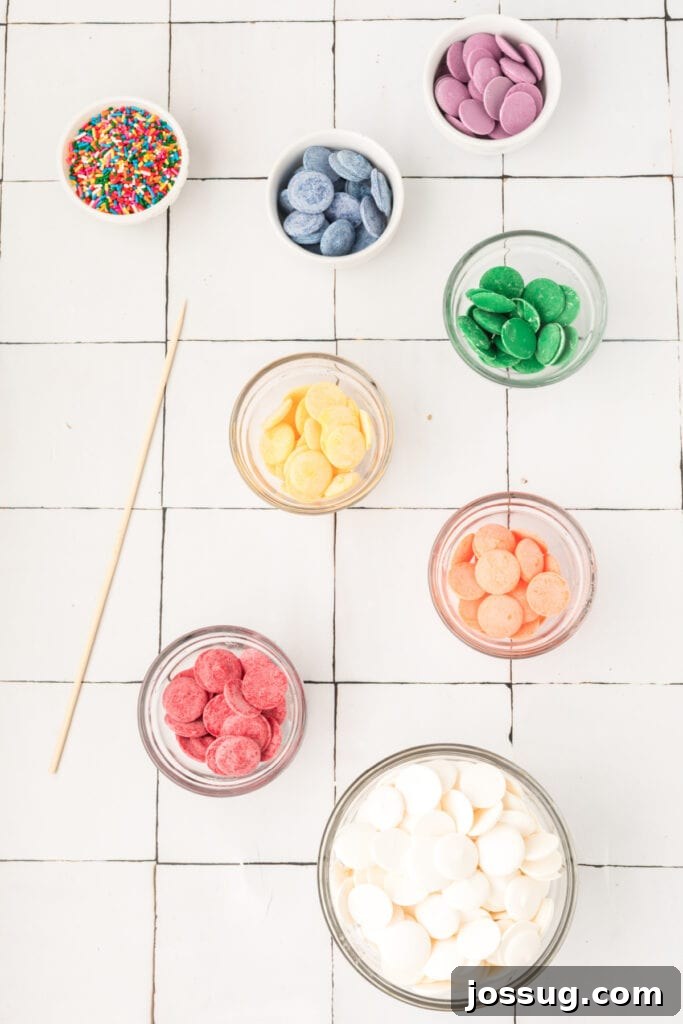
- Good Quality White Chocolate: The foundation of our bark! Using a high-quality white chocolate ensures a smooth, creamy texture and superior flavor. White chocolate chips, blocks, or even good quality melting wafers work wonderfully.
- Alternatively: You can also use **almond bark**, a common candy coating, or **dairy-free white chocolate** for those with dietary restrictions. These options melt smoothly and set firmly, offering excellent alternatives.
- Assorted Colors of Candy Melts: These vibrant disks are key to achieving the dazzling rainbow effect. I specifically utilized classic rainbow hues: red, orange, yellow, green, blue, and purple to create a vivid spectrum. Feel free to use any combination of colors that suit your preference or event theme.
- Pro Tip: If you can’t find specific candy melt colors, or prefer to stick with chocolate, you can also use **plain white chocolate and add oil-based or gel food coloring**. Crucially, avoid water-based food coloring, as it will cause the chocolate to seize and become unusable.
- Toothpick or Skewer: An essential tool for creating those beautiful, artistic swirls and marble patterns in your candy bark. A bamboo skewer or even a chopstick can work just as well.
- Rainbow-Colored Sprinkles: (Optional, but highly recommended for maximum fun!) These add a delightful crunch and extra visual pop. Confetti sprinkles, jimmies, or nonpareils all work beautifully.
- Creative Topping Ideas: For a more natural approach, try **crushed freeze-dried fruit** (like raspberries or strawberries) for a burst of color and tangy flavor. For an elegant touch, **edible glitter or gold flakes** can elevate your bark into a sophisticated dessert. Other fantastic additions include mini chocolate chips, chopped nuts, crushed pretzels, mini marshmallows, or even broken bits of cookies.
Exciting Flavor Variations
- **Extract Infusion:** Elevate the taste by adding a few drops of your favorite flavored extracts to the melted white chocolate or individual candy melt colors. Vanilla is a classic, but imagine peppermint for a holiday twist, coconut for a tropical vibe, almond for a sophisticated note, or even lemon for a zesty kick!
- **Crunchy Mix-Ins:** For an irresistible textural contrast, fold in crushed candies like Skittles, M&M’s, or jelly beans. Beyond candies, consider crushed Oreos, chopped pretzels, mini chocolate chips, dried cranberries, or toasted nuts for added depth and crunch. Add these either directly into the melted white chocolate base before swirling, or sprinkle them on top with your colorful candy melts.
🔥 Expert Tips for Crafting the Best Rainbow Bark Ever
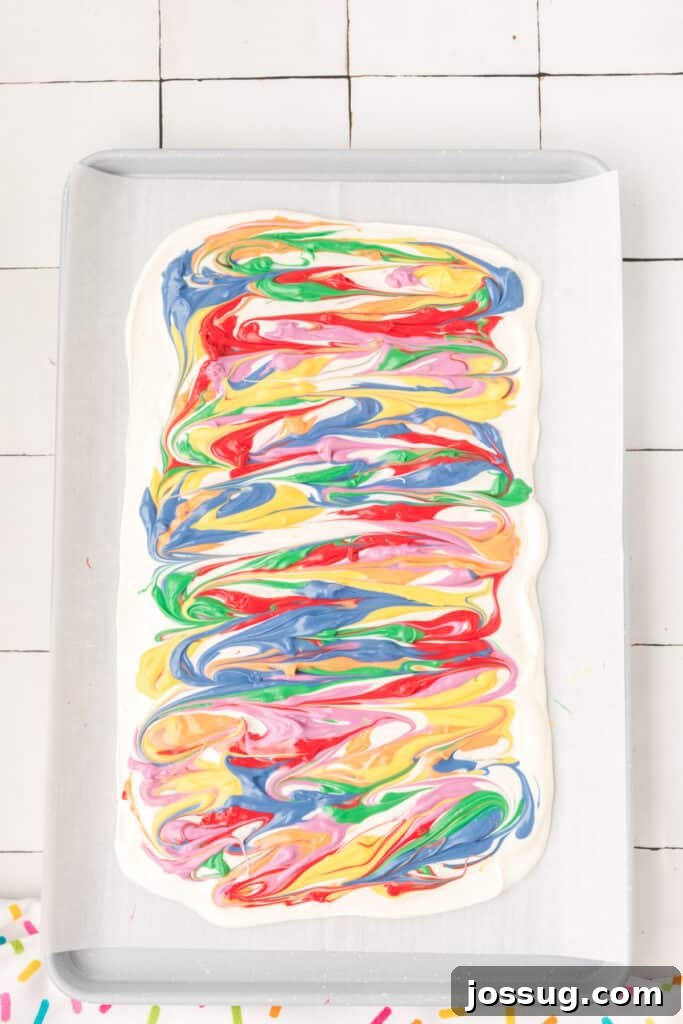
- Master the Swirl (Don’t Over-Swirl!): The key to distinct and beautiful rainbow stripes or swirls is gentle handling. Use a light hand with your toothpick or skewer to create elegant patterns. Overmixing will blend the colors too much, resulting in muddy shades rather than vibrant, defined lines. Aim for 2-3 passes through the colors for optimal effect.
- Speed Up Setting: If you’re eager to enjoy your bark, or simply short on time, placing the baking sheet with the candy in the freezer for 15-30 minutes will accelerate the hardening process significantly. Alternatively, the refrigerator works well and typically takes 30-60 minutes, while room temperature setting can take 1-2 hours depending on ambient warmth.
- Optimal Storage for Freshness: Once completely hardened, break the bark into irregular pieces and store them in an airtight container. This helps maintain freshness and prevents any absorption of odors. Keep it at room temperature in a cool, dry place for up to one week. If storing longer, or in warmer climates, the refrigerator is best (up to 2-3 weeks). For extended storage, see our FAQ section on freezing!
- Melting Chocolate Matters: Whether using a microwave or a double boiler, melt your white chocolate and candy melts gently and in short intervals. For microwave melting, stir every 20-30 seconds to prevent scorching. For a double boiler, ensure no water gets into the chocolate, as this will cause it to seize. Smooth, lump-free chocolate is crucial for a professional-looking bark.
- Parchment Paper is Your Best Friend: Always line your baking sheet with parchment paper. This prevents the melted chocolate from sticking and ensures effortless removal of your hardened bark without any mess or breakage. Wax paper can also work in a pinch.
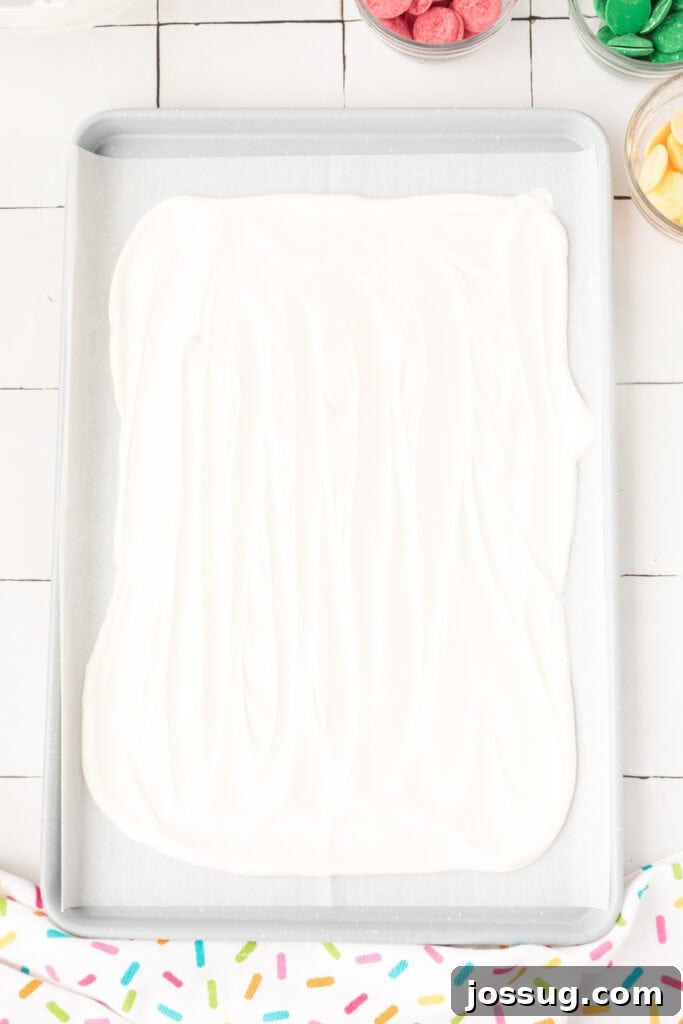
- Achieve Even Thickness: When spreading your white chocolate base, aim for a uniform thickness across the entire baking sheet. This ensures that the bark hardens evenly and breaks into consistent pieces. An offset spatula or the back of a spoon works best for this.
- Work Efficiently: Once the white chocolate base is spread, drizzle your colored candy melts quickly. Chocolate begins to set as it cools, so working swiftly will allow for easier swirling and better integration of the colors before everything firms up.
❓ Frequently Asked Questions About Rainbow Candy Bark
To maintain its optimal freshness and texture, store your homemade Rainbow Candy Bark in an airtight container. At room temperature, away from direct sunlight and humidity, it will last beautifully for up to one week. If you need to store it for longer, or if you live in a warmer climate, transferring it to the fridge can extend its shelf life to 2-3 weeks. Always avoid humid areas to prevent the chocolate from becoming sticky or melting.
Absolutely! Freezing is an excellent option for long-term storage. Place the bark pieces in an airtight container or a heavy-duty zip-top bag, ensuring they are separated by layers of parchment paper to prevent sticking. It can be frozen for up to 3 months. When you’re ready to enjoy it, simply let it sit at room temperature for a few minutes until it’s easy to break and chew.
No, candy melts are not strictly necessary, although they do provide vibrant, consistent colors and melt very smoothly. You can certainly use good quality white chocolate as your base and then divide a portion of it into smaller bowls. To these portions, add **oil-based or gel food coloring** to create your desired rainbow shades. It’s crucial to use oil or gel-based food coloring because water-based dyes will cause the chocolate to seize and become thick and grainy.
The trick is to use gentle and deliberate swirling motions with your toothpick or skewer. Apply just enough pressure to drag the colors through the white chocolate base, creating lovely marbling and distinct lines. Overmixing or being too aggressive with your swirling can cause the colors to blend rather than create beautiful, defined patterns. Aim for a few quick passes rather than extensive stirring.
Yes, you absolutely can! However, it’s worth noting that the vibrant rainbow colors will not “pop” as much against a dark or milk chocolate background as they do against white chocolate. While the visual contrast will be less striking, you can still achieve a beautiful effect with contrasting colors, perhaps using lighter colored candy melts or even white candy melts for a swirling design on a darker base. The flavor combination will also be different, offering a delicious alternative.
There are so many fantastic alternatives to sprinkles! For added texture and flavor, try crushed candies (like peppermint, M&M’s, or even gummy bears), mini chocolate chips, chopped nuts (almonds, pistachios, walnuts), crushed cookies (Oreos, graham crackers), or even small pretzel pieces for a sweet and salty crunch. For a more sophisticated look, edible glitter, gold flakes, or even a dusting of cocoa powder can be used. For natural color and a hint of tartness, crushed freeze-dried fruits are an excellent choice!
Absolutely! Adding mix-ins directly into the white chocolate base before swirling the colored candy melts can introduce another layer of flavor and texture. Think mini marshmallows, chopped nuts, pretzel bits, crushed cookies, dried fruits (like cranberries or raisins), or even a handful of granola. Just be sure not to overload the chocolate, as it might make spreading difficult.
The setting time for Rainbow Candy Bark can vary depending on the ambient temperature and how thick you’ve spread your chocolate. Generally, it takes about 1-2 hours to harden completely at cool room temperature. To significantly speed up this process, you can place the baking sheet in the refrigerator for 15-30 minutes or in the freezer for about 10-15 minutes. Ensure it’s firm to the touch before attempting to break or cut it.
For the best possible flavor and texture, opt for a high-quality white chocolate bar or couverture chocolate. While white chocolate chips can work, some brands contain stabilizers that make them less fluid when melted. If using chips, ensure they are good quality. Almond bark or candy coating is also a reliable choice as they are designed for easy melting and setting.
Yes, it is! Simply substitute the good quality white chocolate with a high-quality dairy-free or vegan white chocolate alternative. When choosing candy melts, make sure to check the ingredients list as some brands may contain dairy or animal products. There are many vegan-friendly candy melt options available that will work perfectly for this recipe.
Once your candy bark is completely firm, you have a couple of options. For rustic, organic pieces, simply break the bark with your hands. For neater, more uniform pieces, use a sharp, heavy-duty knife. For exceptionally clean cuts, you can warm your knife slightly by running it under hot water and then wiping it dry before each cut. This helps prevent cracking and gives you smoother edges.
Rainbow Candy Bark makes a fantastic edible gift! Once broken into pieces, you can arrange them in clear cellophane bags tied with a pretty ribbon for individual servings. For a larger gift, layer pieces in decorative tins or small gift boxes, separating layers with parchment paper to prevent sticking. Add a handmade tag with the recipe name and ingredients for a personal touch.
🍽️ Other Delicious Recipes You Might Enjoy
- Rainbow Cupcakes: Light, fluffy, and bursting with vibrant colors, these cupcakes are a festive treat for any celebration.
- Rainbow Pancakes: Start your day with a smile by making these fun, colorful pancakes that are sure to delight.
- Pistachio & Cranberry Bark: A sophisticated bark recipe featuring the delightful crunch of pistachios and tart cranberries.
- Dubai Chocolate Bar: Indulge in an exotic and luxurious chocolate experience with this unique recipe.
- Cranberry Cashew Bark: A delightful blend of sweet and savory, combining chewy cranberries with crunchy cashews in a rich chocolate base.
20
servings
Easy Rainbow Candy Bark
Jamie Sherman
10 minutes
10 minutes
2 hours
2 hours
20 minutes
Save
Pin
Rate
Would you like to save this recipe?
We’ll email this post to you, so you can come back to it later!
Equipment
-
Baking Sheets (Sturdy, rimmed baking sheets are ideal)
-
Parchment Paper (Essential for easy removal and cleanup)
-
Microwave-Safe Bowls (Several small bowls for melting candy melts)
-
Utensil for Stirring (Rubber spatulas or spoons work best)
-
Offset Spatula (Great for smoothly spreading chocolate)
-
Toothpick or Skewer (For creating delicate swirls)
Ingredients
-
1
lb.
good quality white chocolate (such as white chocolate chips or melting wafers) -
¼
cup
red candy melts -
¼
cup
orange candy melts -
¼
cup
yellow candy melts -
¼
cup
green candy melts -
¼
cup
blue candy melts -
¼
cup
purple candy melts - toothpick or skewer
- rainbow-colored confetti sprinkles, optional, for decoration and added crunch
Instructions
-
Begin by preparing your workspace: line a sturdy baking sheet with parchment paper. This non-stick surface is crucial for easy removal of your finished candy bark. Set it aside, ready for the chocolate.
-
Carefully melt the good quality white chocolate. Place it in a microwave-safe bowl and heat in short bursts, typically 20-30 second intervals, stirring thoroughly after each interval. Continue this process until the chocolate is fully melted and beautifully smooth, with no lumps remaining. Be cautious not to overheat, which can scorch the chocolate.
-
Pour the glorious melted white chocolate onto the center of your prepared baking sheet. Using an offset spatula or the back of a spoon, gently spread the chocolate outwards to form a large, even rectangle. Aim for a consistent thickness across the entire sheet for even hardening.
-
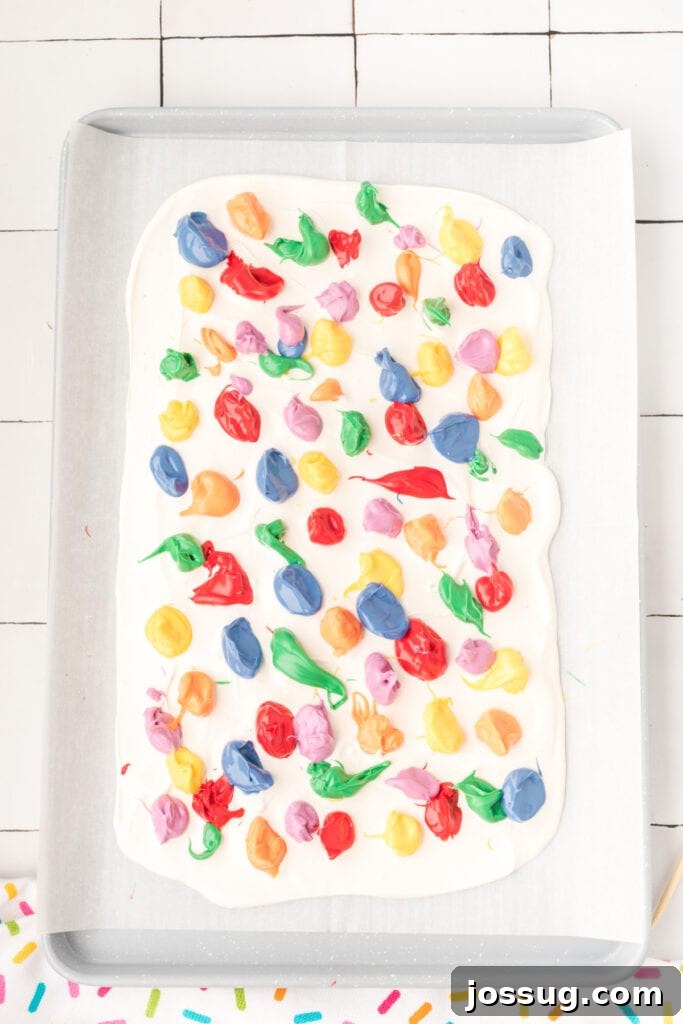
Next, melt each individual color of candy melts. Place each color in its own separate small microwave-safe bowl. Heat them in 20-second intervals, stirring well after each, until each color is melted and perfectly smooth. Once melted, immediately drizzle or carefully place dollops of the vibrant red candy melts over the white chocolate base. Quickly repeat this step with the orange, yellow, green, blue, and purple candy melts, arranging them in your desired rainbow pattern (e.g., in lines, alternating dollops, or randomly).
-
Now for the artistic touch! Take a clean toothpick or skewer and gently drag it through the surface of the layered chocolates to create beautiful swirl patterns. Remember to use light, flowing motions to avoid overmixing and to keep the colors distinct and vibrant.
-
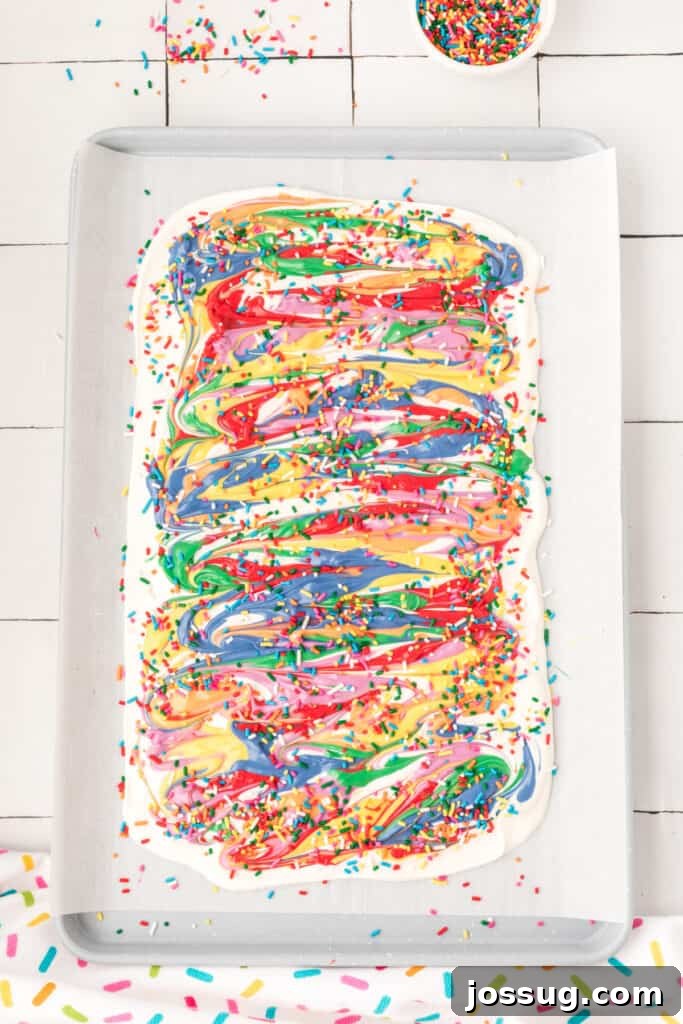
If you desire an extra festive look and a delightful crunch, evenly top your swirled chocolate with rainbow-colored confetti sprinkles immediately after creating the swirls, while the chocolate is still wet. This ensures the sprinkles adhere well.
-
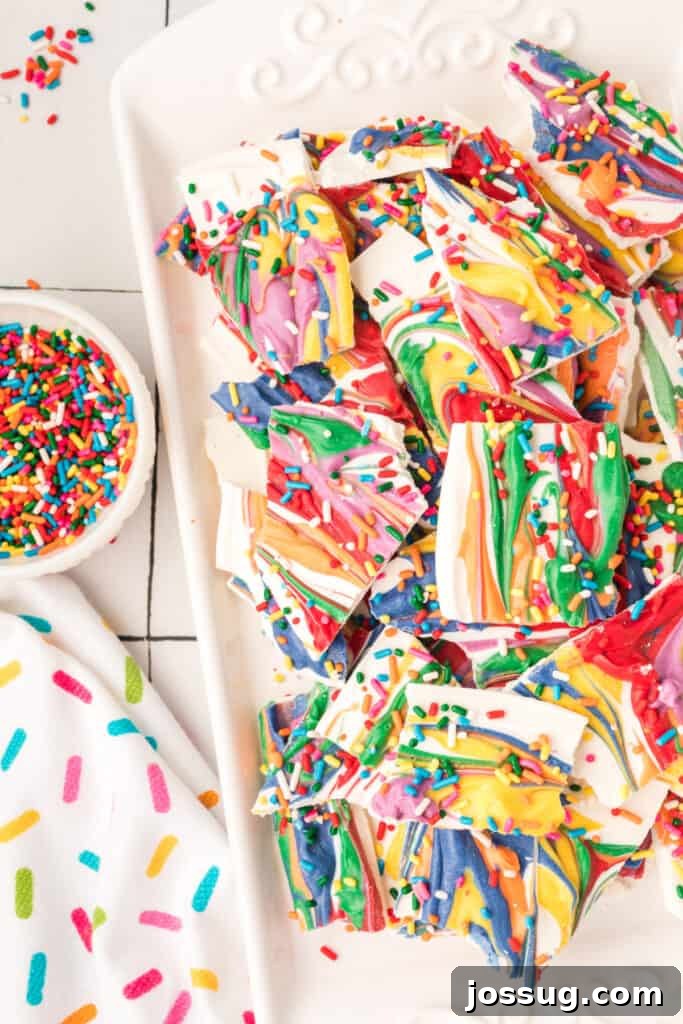
Finally, allow the chocolate to harden completely. You can let it set at cool room temperature for 1-2 hours, or speed up the process by placing the baking sheet in the refrigerator for 15-30 minutes, or the freezer for 10-15 minutes. Once fully set and firm to the touch, break or cut the bark into irregular, delightful pieces ready for serving.
Notes
- The final appearance of your bark will largely depend on how you choose to apply the colored candy melts over the white chocolate base. You have artistic freedom here! You can meticulously place them in distinct lines across the bark for a striped effect, or you can opt for a more spontaneous approach by placing random dollops of color. Both methods create stunning results, so experiment to find your favorite style.
- A crucial tip for beautiful visuals: avoid overmixing the colors when using the toothpick or skewer to create swirls. The goal is to achieve lovely, distinct swirls of color that gracefully intertwine, not to blend the colors into a single, less vibrant shade. A few gentle passes are often all that’s needed.
- If time is of the essence, you can significantly accelerate the hardening process. Simply place the baking sheet containing your candy bark into the freezer. The cold environment will firm up the chocolate much faster than at room temperature, making it ready to break and enjoy sooner.
- When melting chocolate or candy melts in the microwave, always use short intervals (e.g., 20-30 seconds) and stir well between each. This prevents the chocolate from scorching or seizing, ensuring a smooth, workable consistency.
- Ensure all your equipment, especially bowls and spatulas, are completely dry before coming into contact with melted chocolate. Even a tiny drop of water can cause chocolate to seize and become grainy.
Nutrition
Calories:
160
kcal
,
Carbohydrates:
18
g
,
Protein:
1
g
,
Fat:
9
g
,
Saturated Fat:
6
g
,
Polyunsaturated Fat:
0.2
g
,
Monounsaturated Fat:
2
g
,
Cholesterol:
5
mg
,
Sodium:
28
mg
,
Potassium:
65
mg
,
Fiber:
0.05
g
,
Sugar:
18
g
,
Vitamin A:
7
IU
,
Vitamin C:
0.1
mg
,
Calcium:
45
mg
,
Iron:
0.1
mg
Nutrition information is automatically calculated, so should only be used as an approximation.
Loved this recipe? Share your thoughts below!