
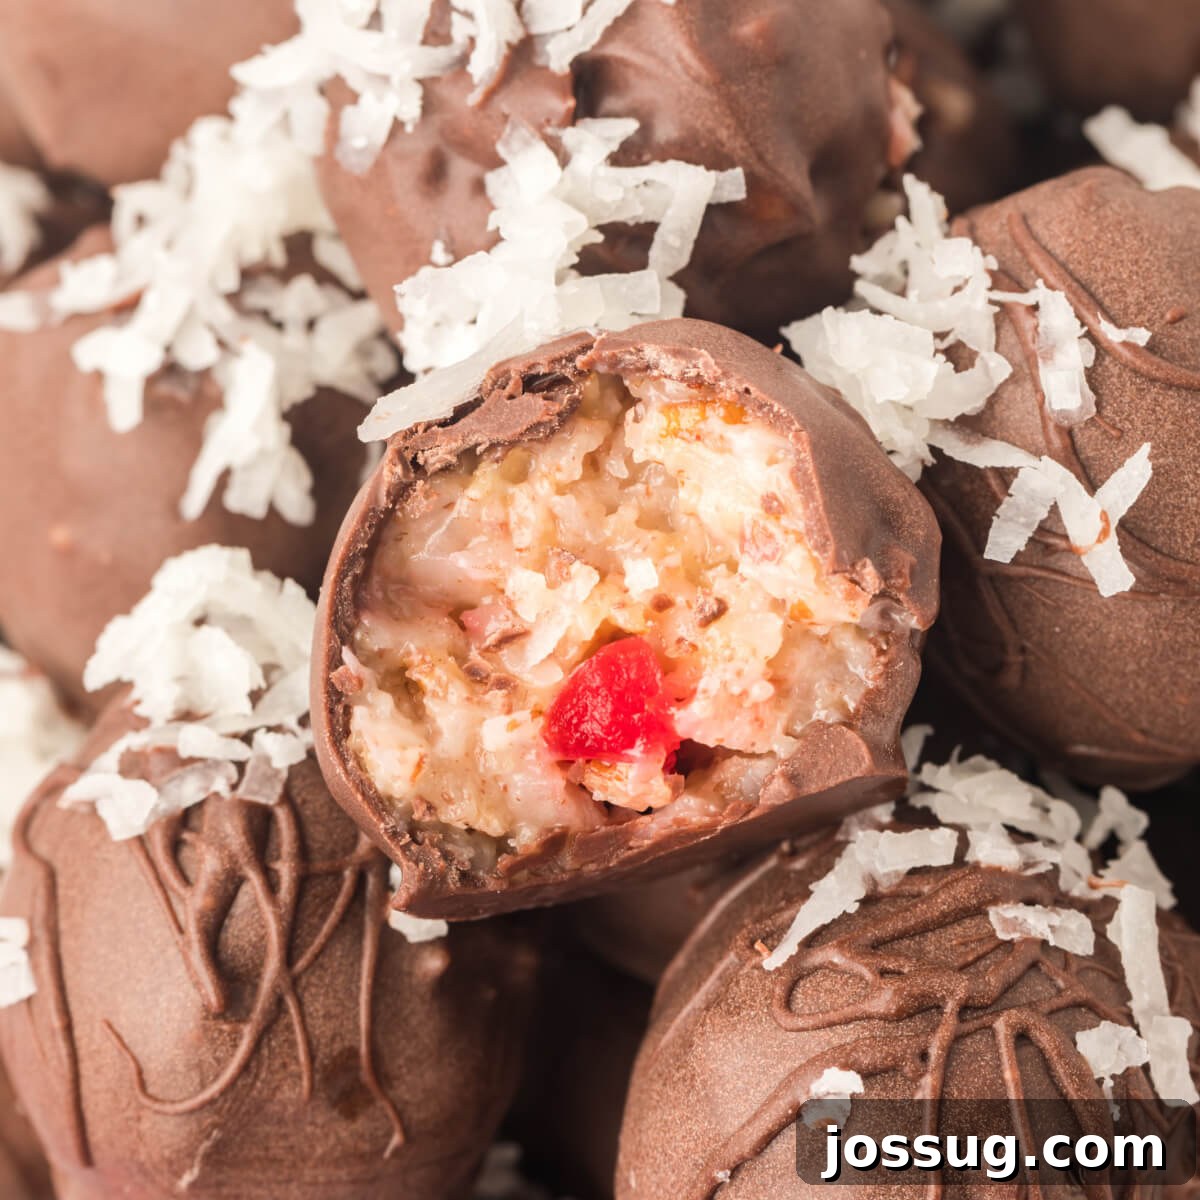
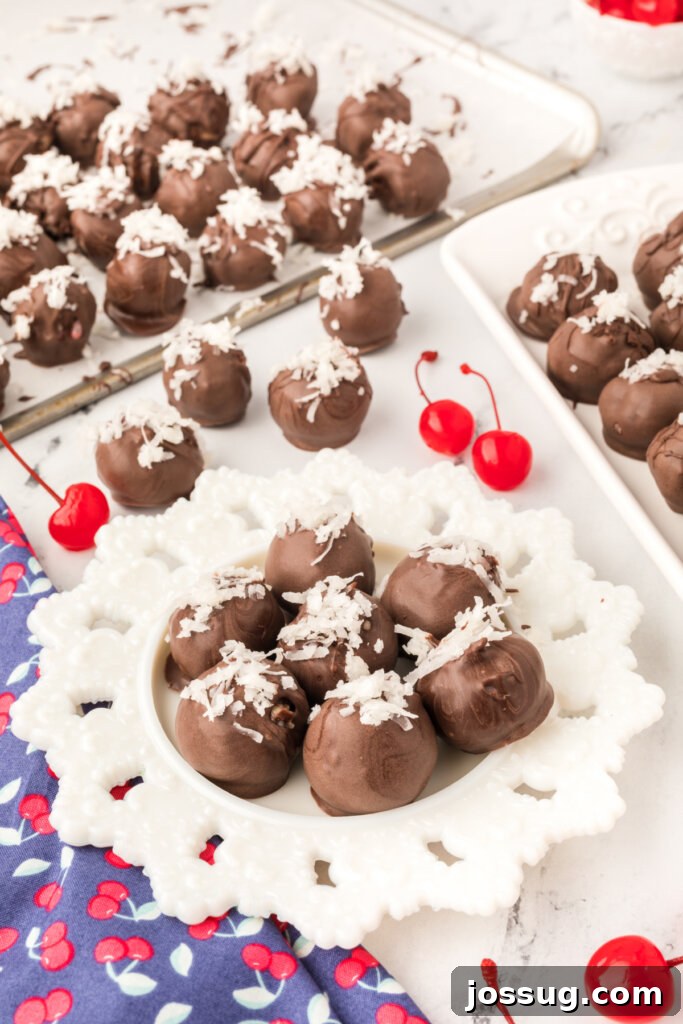
Step into a world of nostalgic delight with these exquisite Martha Washington Candies! These tempting chocolate-coated treats encapsulate the classic flavors of pecans, sweetened coconut, and a vibrant hint of cherry, making them an unparalleled addition to any holiday celebration. More than just a simple confection, they are a cherished piece of culinary history, perfect for gifting or gracing your festive dessert trays. Get ready to rediscover a beloved tradition or start a new one with this incredibly easy and utterly delicious recipe.
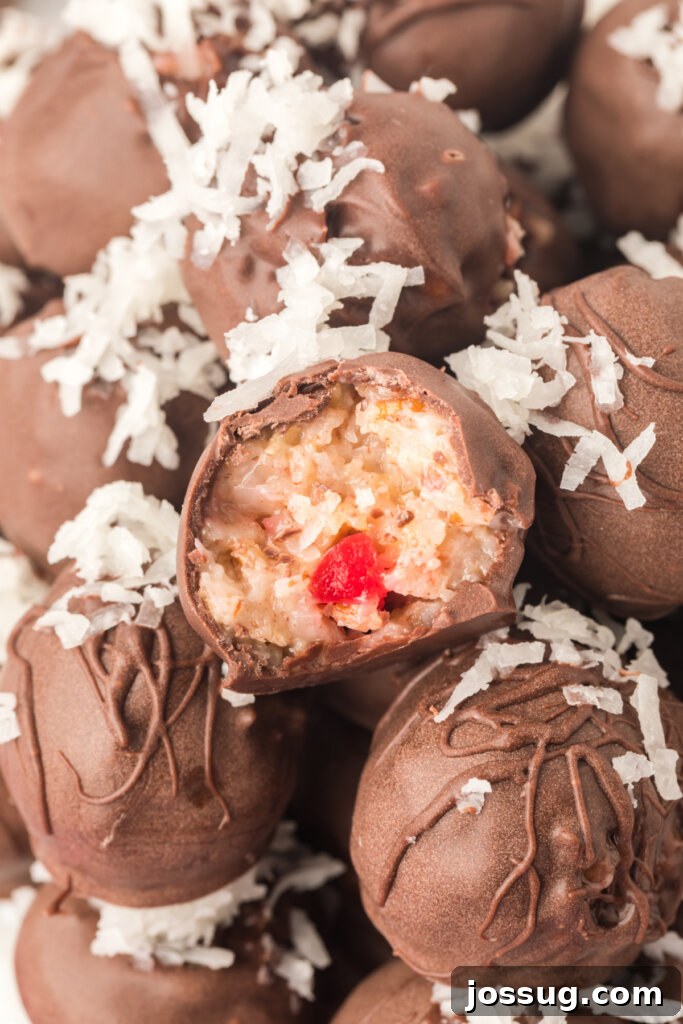
Martha Washington Candies: A Timeless Holiday Tradition Reimagined
When the name “Martha Washington Candy” comes up, it often evokes one of two distinct reactions. There are those who have never encountered these delightful confections, curious about their unique name and rich history. Then there’s the other camp, a group filled with warm smiles and cherished memories, for whom Martha Washington Candies are synonymous with childhood Christmases, grandmothers’ kitchens, and family traditions passed down through generations. These individuals recall them as a staple on holiday cookie platters, lovingly prepared and shared by parents or grandparents. It’s a rare find indeed to meet someone who feels indifferent about them – once you try them, you’re either instantly captivated or fondly remember them from days gone by.
Making these candies at home is an experience that transforms curiosity into a deeply satisfying tradition. If your palate appreciates the harmonious blend of sweet coconut, crunchy pecans, luscious chocolate, and the subtle tang of maraschino cherries, then these “Martha Washingtons” are destined to become your new favorite festive indulgence. There’s an undeniable charm in crafting these candies yourself, bringing a personal touch to a classic recipe that’s surprisingly straightforward.
This recipe stands out for its simplicity and minimal active cooking or prep time. The majority of the process involves patient waiting as the candies firm up in the refrigerator. This makes it an ideal culinary project for the often-hectic Christmas season, allowing you to create impressive, homemade treats without feeling overwhelmed. It’s a perfect way to slow down, enjoy the festive spirit, and create edible gifts that speak volumes of care and effort.
For many, discovering or revisiting Martha Washington Candies marks the beginning of an exciting new holiday ritual. Their distinctive flavor profile and relatively easy preparation make them an excellent candidate for becoming a beloved yearly tradition in your own home. Whether you’re making them for the first time or rekindling a fond memory, we are confident that you’ll absolutely adore these charming Christmas candies.
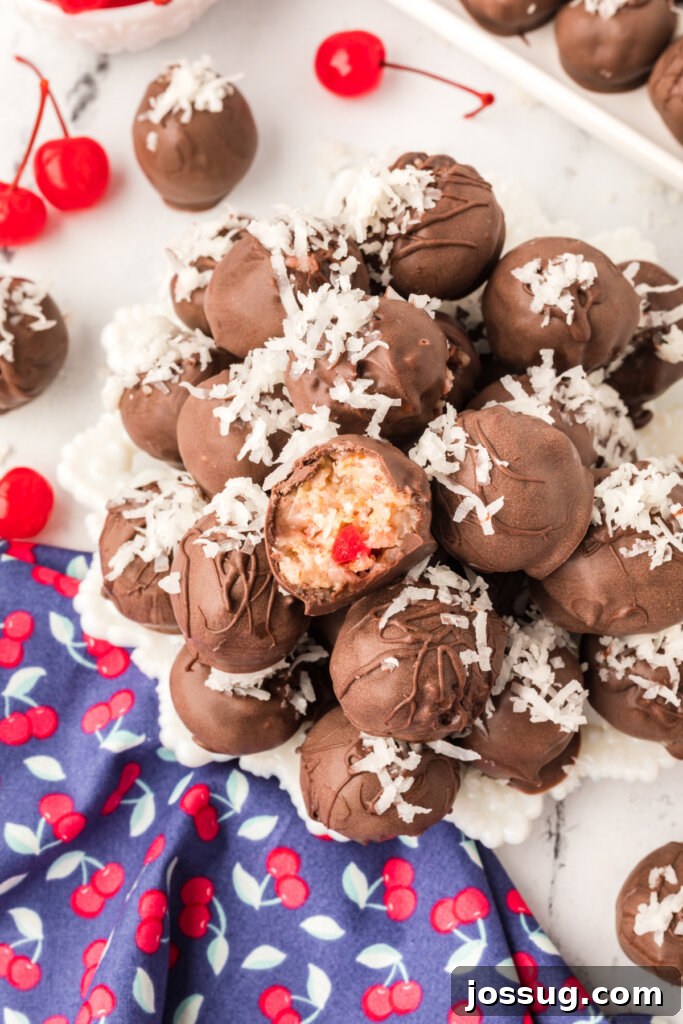
Crafting Perfection: Martha Washington Candy Ingredients & Smart Substitutions
The magic of Martha Washington Candies lies in the careful selection and combination of a few core ingredients. Each component plays a vital role in creating that signature flavor and texture that makes these treats so special. Here’s a detailed look at what you’ll need and how each ingredient contributes to the final masterpiece, along with some thoughtful substitutions to suit your preferences or pantry.
Key Ingredients Breakdown
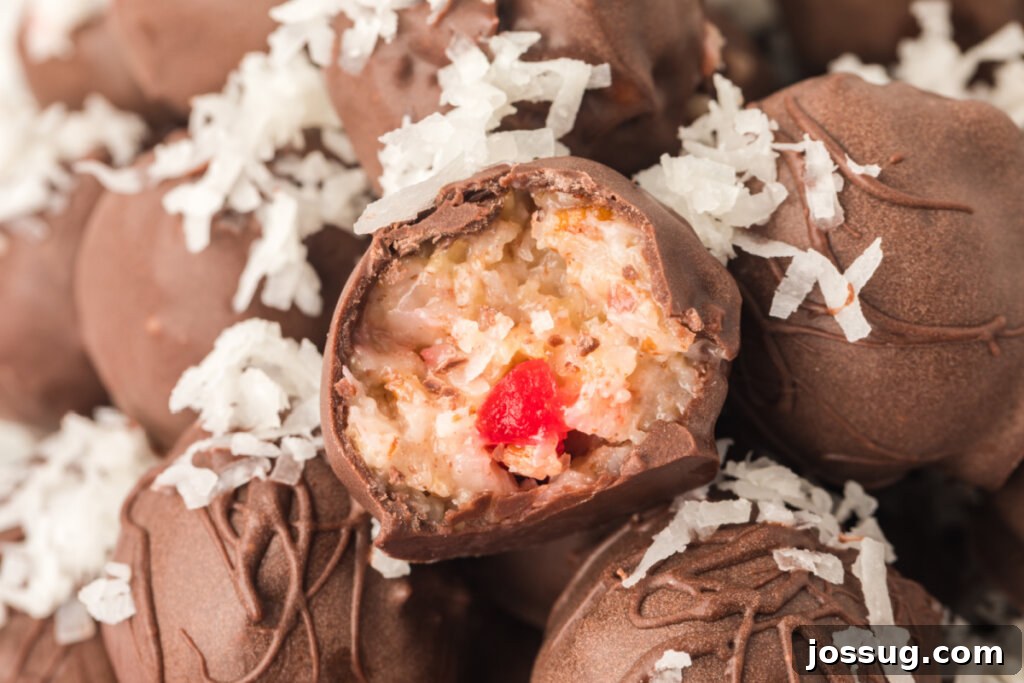
- **Butter, Powdered Sugar, Vanilla Extract, and Sweetened Condensed Milk:** These four ingredients form the luscious, creamy base of your candy filling. The melted butter provides richness, powdered sugar adds sweetness and structure without graininess, vanilla extract infuses a comforting warmth, and sweetened condensed milk binds everything together while imparting its unique, milky sweetness. Together, they create a wonderfully pliable and flavorful foundation for the other elements.
- **Maraschino Cherries:** These add a beautiful pop of color and a delightful sweet-tartness that complements the rich chocolate and coconut. For the best results and to prevent a watery filling, it’s crucial to drain and thoroughly dry them. You can gently press them between layers of paper towels to remove as much moisture as possible before chopping. This small step makes a big difference in the texture and stability of your candies.
- **Sweetened Shredded Coconut:** A hallmark of Martha Washington Candies, shredded coconut introduces a wonderful chewy texture and a distinct tropical sweetness that pairs perfectly with chocolate and cherries. Ensure it’s sweetened for that extra layer of flavor.
- **Chopped Pecans:** For that essential crunch and a nutty depth of flavor, finely chopped pecans are indispensable. They provide a satisfying contrast to the soft, chewy filling. For an enhanced flavor profile, you might consider lightly toasting your pecans before chopping them, which brings out their natural oils and nutty aroma.
- **Chocolate Candy Coating:** This is what gives your Martha Washingtons their smooth, glossy, and appealing exterior. Unlike regular chocolate, candy coating (also known as almond bark or confectionery coating) is specifically designed to melt smoothly and set firmly without tempering, making it incredibly easy to work with. You can find it in milk chocolate, dark chocolate, or even white chocolate varieties, allowing for customization.
Creative Substitutions and Variations
- **Nuts:** Not a fan of pecans? Walnuts, almonds, or even chopped cashews can be excellent alternatives, each offering a slightly different flavor and crunch. Toasting any nut will elevate its taste.
- **Dried Fruits:** While maraschino cherries are traditional, you could experiment with other finely chopped dried fruits like cranberries, apricots, or even candied orange peel for a unique twist. Ensure they are soft and well-drained if packed in syrup.
- **Flavor Extracts:** Beyond vanilla, a hint of almond extract, coconut extract, or even a touch of rum extract could add an exciting new dimension to your filling. Start with a small amount and taste as you go.
- **Chocolate Coating:** Feel free to use dark chocolate candy coating for a richer, less sweet finish, or white chocolate coating for a different visual appeal and creamy flavor. You can also drizzle melted contrasting chocolate over the set candies for an artistic touch.
- **Mini Chocolate Chips:** For an extra dose of chocolatey goodness within the filling, stir in a quarter cup of mini chocolate chips.
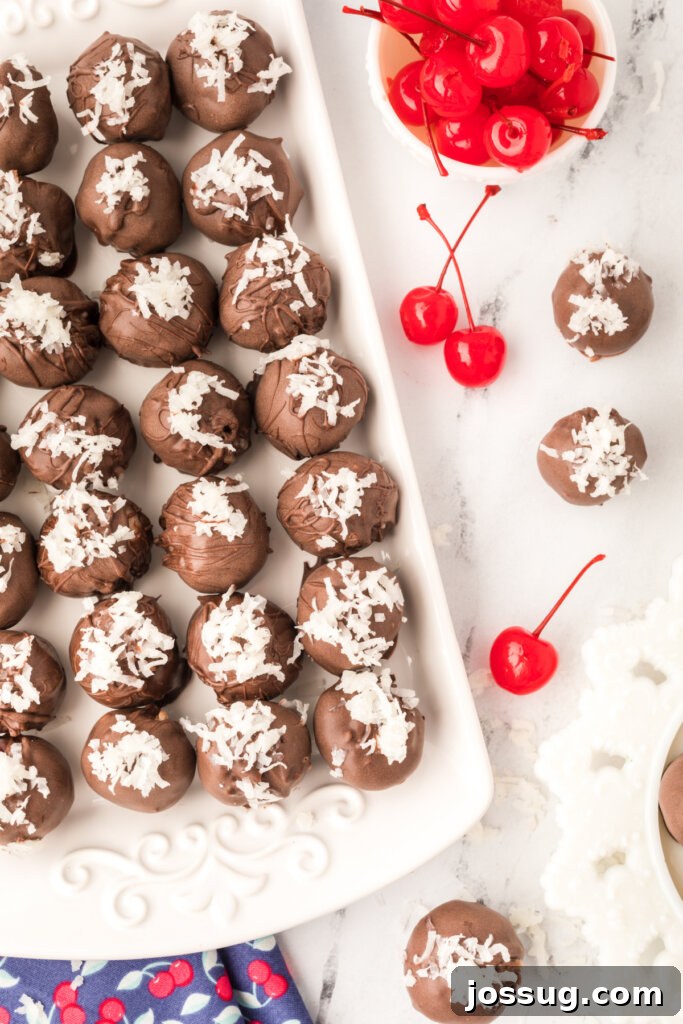
Crafting Your Own Martha Washington Candy: A Simple Step-by-Step Guide
Making Martha Washington Candies is a rewarding process that requires more patience for chilling than actual hands-on work. Follow these easy steps to create your own batch of these holiday favorites.
Detailed Instructions for Success
- **First, prepare and chill your filling ingredients.** In a large mixing bowl, combine the melted butter, powdered sugar, vanilla extract, sweetened condensed milk, thoroughly drained and chopped maraschino cherries, shredded sweetened coconut, and finely chopped pecans. Mix everything together until all ingredients are uniformly distributed and a cohesive mixture forms. Cover the bowl tightly with plastic wrap and place it in the refrigerator for at least two hours. This chilling period is crucial for firming up the mixture, making it easier to handle and roll.
- **Second, form the delicious filling balls.** Once the filling has thoroughly chilled and is firm enough to work with, remove it from the refrigerator. Using a cookie scoop (about 1 tablespoon in size is ideal) or your hands, portion the mixture and gently roll it into uniform 1-inch balls. As you form them, place these perfectly shaped balls onto a baking sheet that has been lined with wax paper or parchment paper. This prevents sticking and makes the next steps much smoother. After all the filling balls are formed, return the baking sheet to the fridge for an additional 30 minutes. This second chill ensures they are firm enough to withstand the warm chocolate coating without losing their shape.
- **Third, master the art of the candy coating!** While your filling balls are having their final chill, it’s time to prepare your chocolate candy coating. Melt the coating according to the package directions. This usually involves using a microwave at short intervals, stirring frequently, or a double boiler method for a more controlled melt. Ensure the chocolate is smooth and fluid, but not too hot, to achieve a perfect coating. Using a candy dipping tool or a regular fork, carefully dip each chilled filling ball into the melted chocolate, allowing any excess coating to drip back into the bowl.
- **Finally, enjoy your homemade Martha Washington Candies!** As you coat each ball, transfer it back to the wax paper-lined baking sheet. Repeat this process until all the filling balls are beautifully enrobed in chocolate. Once coated, allow the candies to sit at room temperature or in the refrigerator until the chocolate coating has fully firmed up and set. This usually takes about 30-60 minutes depending on the room temperature. Once firm, they are ready to be devoured! Enjoy the delightful texture and classic flavors of your homemade Martha Washington Candies. Yum!
Pro Tips for Perfectly Irresistible Martha Washington Candies
Achieving bakery-quality Martha Washington Candies at home is entirely possible with a few expert tips and tricks. These pointers will help ensure your candies are not only delicious but also visually appealing and structurally sound.
- **Thorough Cherry Preparation is Key:** We cannot stress this enough – properly draining and drying your maraschino cherries is paramount. Excess moisture from the cherries can make your filling sticky and difficult to roll, and can also lead to the chocolate coating seizing or becoming uneven. After chopping, spread them on several layers of paper towels and blot them dry with additional paper towels until they are as dry as possible.
- **Toasted Pecans for Enhanced Flavor:** While raw pecans are perfectly fine, lightly toasting your finely chopped pecans before adding them to the mixture will significantly deepen their nutty flavor. Simply spread them on a baking sheet and toast in a preheated oven at 300°F (150°C) for 5-7 minutes, or until fragrant. Let them cool completely before adding to the filling.
- **Optimal Chilling Times:** Adhering to the recommended chilling times for the filling is vital. The initial two-hour chill allows the flavors to meld and the butter to firm up, making the mixture pliable. The second 30-minute chill after rolling the balls ensures they maintain their shape when dipped into the warm chocolate, preventing them from softening or falling apart.
- **Perfecting Your Chocolate Coating:**
- **Use Quality Candy Coating:** Invest in good quality chocolate candy coating (almond bark or confectionery coating) for the best results. It melts smoothly and sets beautifully without the fuss of tempering real chocolate.
- **Melt Gently:** Whether using a microwave or a double boiler, melt the chocolate slowly and gently. Overheating can cause it to seize or become too thick. If microwaving, heat in 30-second intervals, stirring well after each, until smooth.
- **Maintain the Right Temperature:** The melted coating should be warm enough to be fluid but not hot. If it’s too hot, it can melt the candy balls. If it’s too cool, it will be too thick for a smooth coat.
- **Efficient Dipping Technique:** Use a candy dipping fork or a regular fork with narrow tines. Drop a chilled candy ball into the melted chocolate, submerge it fully, then lift it out, tapping the fork gently against the side of the bowl to remove any excess chocolate. This creates a thin, even coat. If you prefer a thicker coat, allow the first layer to set, then dip a second time.
- **Setting the Candies:** Once coated, place the candies on wax paper or parchment paper. If your kitchen is warm, you can transfer the baking sheet back to the refrigerator for faster setting, usually 15-30 minutes. Once set, they are ready to be stored or served.
- **Uniform Size Matters:** Strive for uniform 1-inch balls. Not only does this make for a more appealing presentation, but it also ensures consistent cooking (or chilling) and ease of dipping.
Frequently Asked Questions About Martha Washington Candies
This recipe is quite generous and is designed to produce approximately 60 delicious candies. The exact yield might vary slightly depending on the precise size you roll your individual candy balls, but it’s perfect for holiday platters or sharing with many friends and family.
The active preparation time for Martha Washington Candies is wonderfully brief, typically only about 10-15 minutes. However, it’s important to account for several hours of refrigeration time needed to properly firm up the candy filling. This makes it a very easy, mostly passive recipe that can be spread out over a few hours or even made in stages, which is ideal for a busy schedule.
Storing these delightful treats is simple! Once the chocolate coating has fully set, you can keep your Martha Washington Candies in an airtight container at room temperature for up to 10-14 days. There’s no need to refrigerate them after they are completed, making them convenient for gifting or display.
Absolutely! Martha Washington Candies freeze beautifully, allowing you to prepare them well in advance for future events. To freeze, arrange the finished and set candies on a baking sheet and place them in the freezer for about 30 minutes until solid. Then, transfer the frozen candies to an airtight freezer-safe bag or container. They will maintain their quality for approximately 3 months. When you’re ready to enjoy them, simply thaw them out in the refrigerator overnight or at room temperature for a few hours before serving.
More Sweet Indulgences You’ll Love
If you enjoyed making these delightful Martha Washington Candies, you’re sure to find joy in exploring other delicious recipes that are perfect for holidays and special occasions. Discover new favorites or revisit classic treats with these inspiring suggestions:
- Chocolate Chip Cheese Ball
- Slow Cooker Chocolate Candy
- Cherry Coconut Magic Bars
- Candy Cane Peppermint Pretzels
- Rocky Mountain Snowdrops
Martha Washington Candy
Equipment
-
candy dipping decorating tool set
-
parchment paper
-
baking sheets
-
cookie scoop
-
mixing bowl
-
measuring cups and spoons
Ingredients
- 1 cup butter, melted
- 1 pound powdered sugar
- 1 tablespoon vanilla extract
- 14 ounces shredded sweetened coconut
- 1 can sweetened condensed milk, 14 oz.
- 1 jar maraschino cherries, drained and chopped (see note below), 10 oz.
- 3 cups finely chopped pecans
- 1 lb. chocolate candy coating
Instructions
-
Combine all of the ingredients except the candy coating in a large mixing bowl. Ensure all ingredients are thoroughly mixed until well combined. Cover the bowl with plastic wrap and place it in the refrigerator for at least two hours to allow the mixture to firm up.
-
Once the filling is chilled, scoop and roll the mixture into uniform 1-inch balls. Place these balls onto a baking sheet that is lined with wax paper or parchment paper.
-
After all the balls are rolled, place the baking sheet with the formed candies back into the refrigerator for an additional 30 minutes to ensure they are very firm before dipping.
-
Melt the chocolate candy coating according to the specific package directions. This typically involves using a microwave in short bursts, stirring frequently, or a double boiler to achieve a smooth, fluid consistency.
-
Using a candy dipping tool or a fork, carefully dip each chilled ball one at a time into the melted candy coating. Allow any excess coating to drip off before placing the coated candy onto another clean baking sheet lined with fresh wax paper. Repeat this process until every filling ball is beautifully coated.
-
Allow the candy coating to fully firm up and set before serving. This can be done at room temperature or in the refrigerator for quicker setting.
Notes
- Before starting this recipe, ensure your chopped maraschino cherries are thoroughly drained. Spread them out on layers of paper towels and blot them dry with additional paper towels to remove as much moisture as possible. This step is crucial for the optimal texture of your candy filling.
- These delicious candies can be stored in an airtight container at room temperature for a period of up to 10-14 days, maintaining their freshness and flavor.
- You can successfully freeze these Martha Washington Candies for longer storage! To do so, place the fully finished and set candies on a wax paper-lined baking sheet and freeze for approximately 30 minutes until firm. Once frozen, transfer them to an airtight container or a heavy-duty zip-top freezer bag. They can be frozen for up to 3 months. When you’re ready to enjoy them, simply let them thaw in the refrigerator or at room temperature until softened.
- These homemade candies make a delightful and impressive addition to any holiday dessert tray. They are also a fantastic idea for thoughtful, homemade gifts during the festive season, showing care and effort in every bite!
Nutrition
Nutrition information is automatically calculated, so should only be used as an approximation.
Enjoyed this recipe? Share your thoughts below!We’d love to hear from you.
We hope this detailed guide inspires you to create your own batches of Martha Washington Candies, bringing a taste of tradition and sweet joy to your home.