
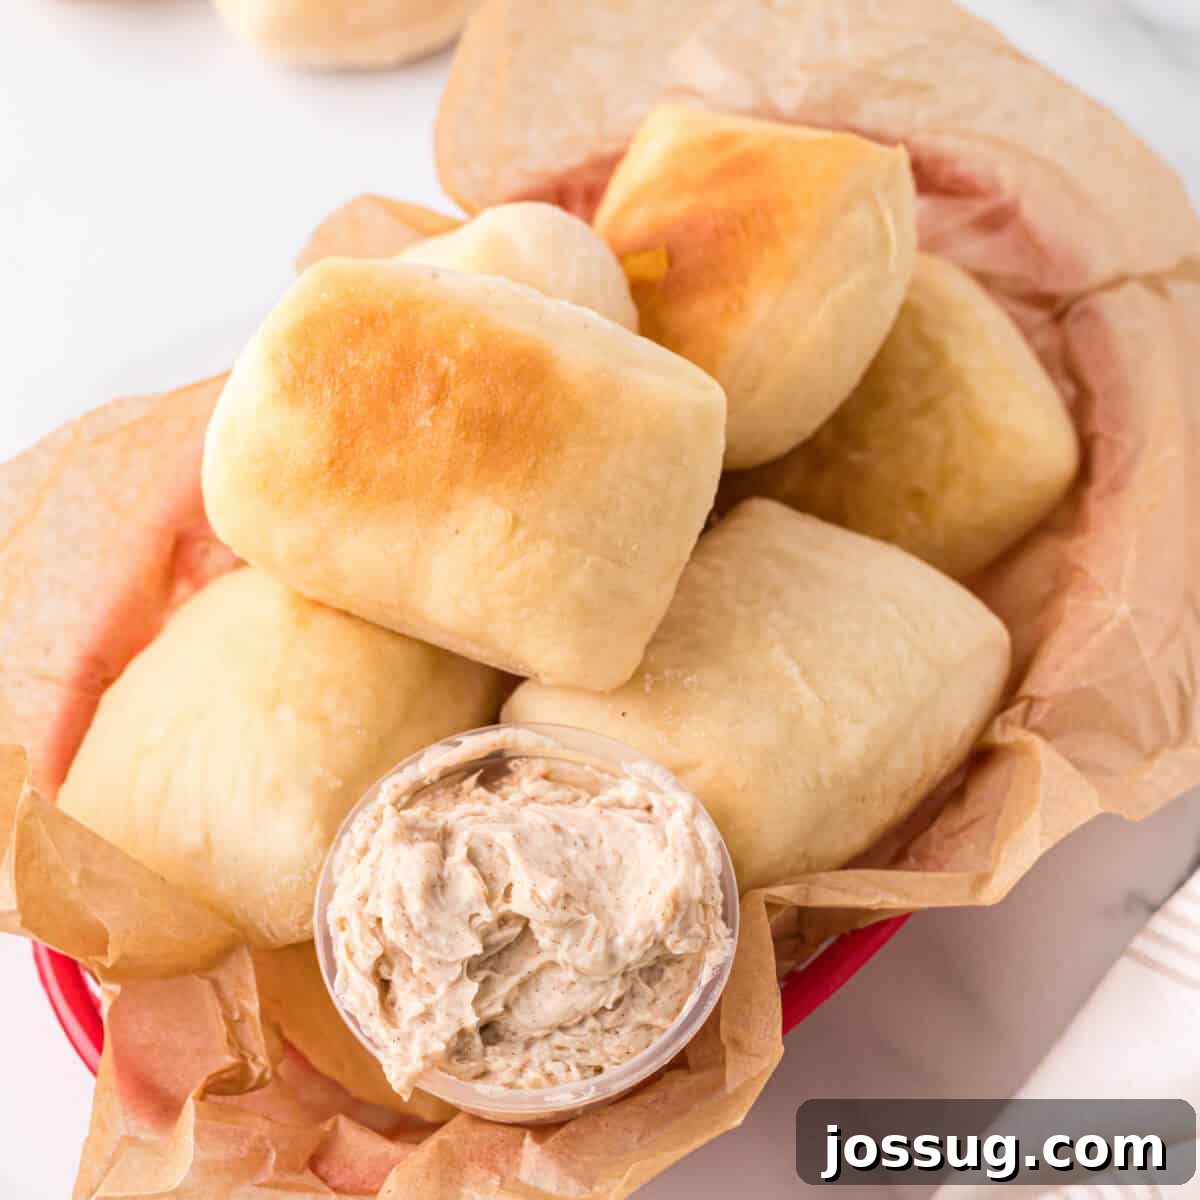
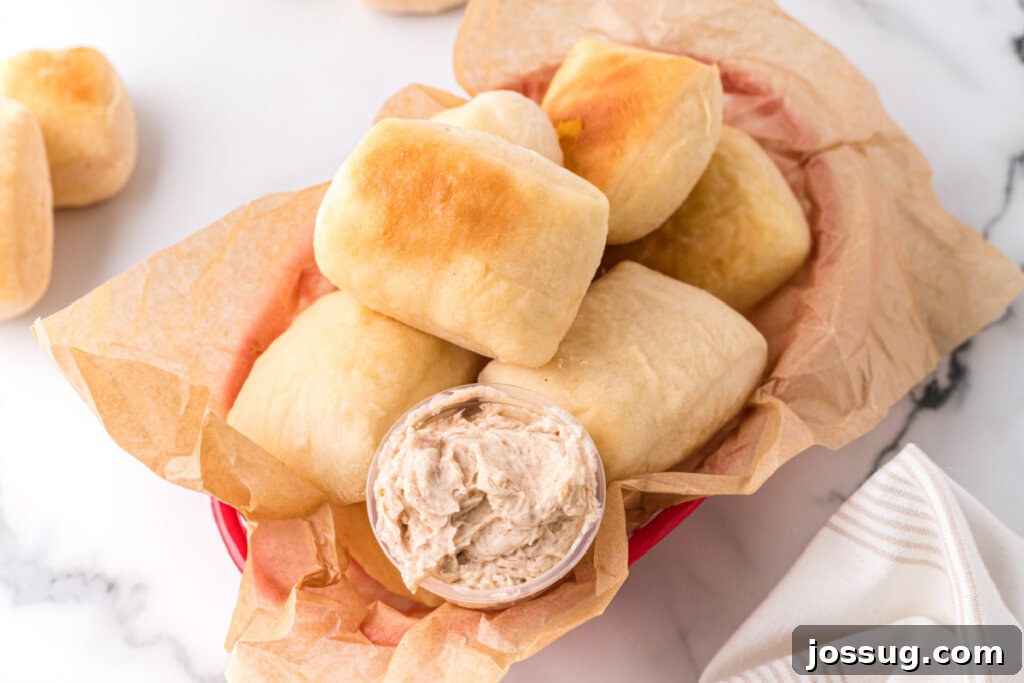
Prepare to be amazed by these incredible Texas Roadhouse Rolls – wonderfully soft, subtly sweet dinner rolls that taste just like the ones served at everyone’s beloved restaurant chain. This definitive copycat recipe brings the magic of Texas Roadhouse right into your kitchen, promising a delightful baking experience and rolls so good, you might never need to visit the restaurant just for them again!
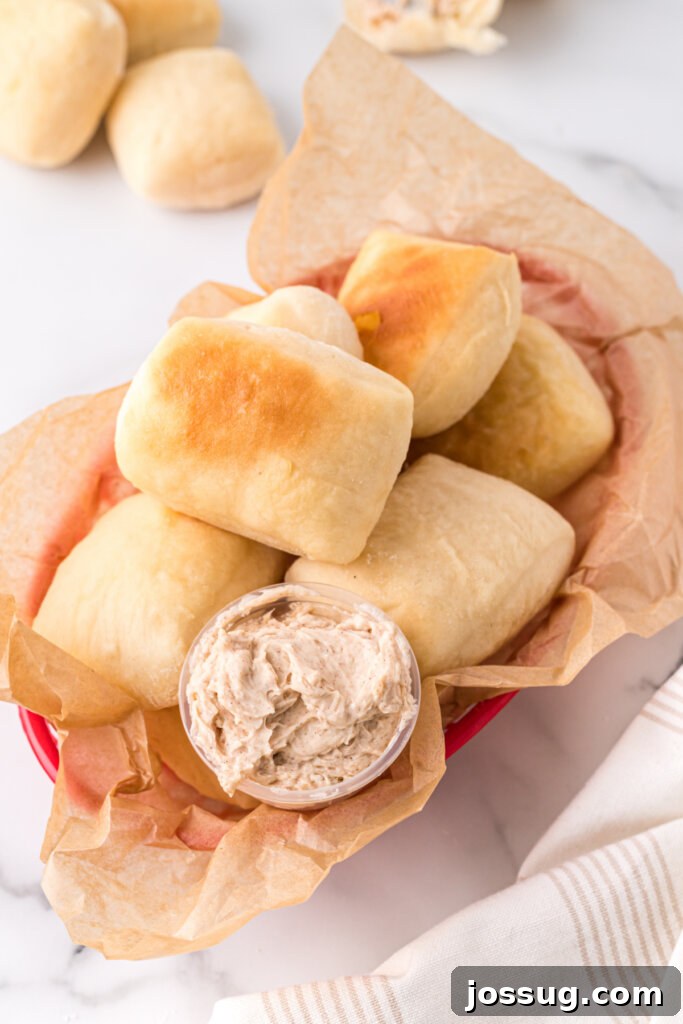
Homemade Texas Roadhouse Rolls: Your New Favorite Dinner Staple
The craving for those warm, fluffy Texas Roadhouse rolls is a universal experience. For years, I’ve received countless requests for a reliable copycat recipe, especially for these iconic rolls and their equally legendary cinnamon butter. Today, I am thrilled to share a recipe that truly delivers! Forget long waits and expensive bills; now you can enjoy the authentic Texas Roadhouse experience from the comfort of your own home, anytime you please. These rolls are not just a side dish; they are a culinary event, a delightful blend of simplicity and irresistible flavor that makes every meal special.
For those unfamiliar with Texas Roadhouse, it’s a popular restaurant chain renowned for its lively atmosphere and, most importantly, its absolutely scrumptious, complimentary dinner rolls. While they offer a fantastic menu, let’s be honest, many of us find ourselves returning (or at least dreaming) for those baskets of warm, buttery goodness! This recipe captures that exact essence, offering a delicious and cost-effective way to enjoy them without ever leaving your house. Whether you’re looking to save money, enjoy a cozy night in with family, or simply satisfy a deep-seated craving, these homemade rolls will become a cherished part of your recipe collection. Pair them with a generous spread of classic homemade cinnamon butter, and you’ll understand why these rolls are so highly celebrated. Get ready to bake and enjoy!
Crafting Perfect Rolls: Essential Ingredients & Smart Substitutions
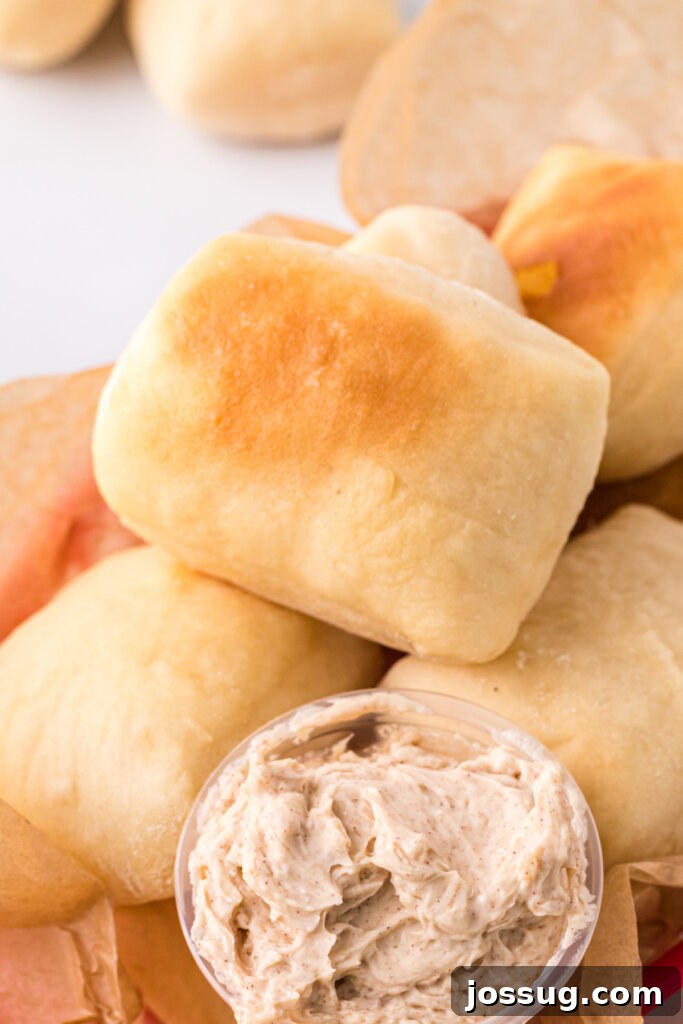
Creating these heavenly Texas Roadhouse rolls begins with understanding the role of each ingredient. While simple, each component contributes significantly to the final taste and texture that makes these rolls so iconic. Here’s a closer look at what you’ll need and why:
Key Ingredients for Authentic Texas Roadhouse Rolls
- All-Purpose Flour: The foundation of our rolls. All-purpose flour provides the necessary structure without making the rolls too dense. While you can use bread flour for a slightly chewier texture, all-purpose flour typically yields a softer crumb, closer to the original. Ensure you measure it correctly – spoon the flour into the measuring cup and level it off with a straight edge to avoid over-measuring, which can lead to dry, dense rolls.
- Active Dry Yeast: This is the leavening agent that gives the rolls their wonderful rise and airy texture. Active dry yeast needs to be activated in warm liquid (milk and honey in this case) before being combined with other ingredients. If you prefer, instant yeast can be used, often requiring slightly less quantity and sometimes not needing pre-activation, though blooming it can help ensure it’s active.
- Milk: Liquid is crucial for bread making, and milk adds richness and softness to these rolls. The recipe calls for scalding the milk, a traditional technique that involves heating it to just before boiling (around 180°F) and then cooling it down (to about 110°F). Scalding deactivates proteins in the milk that can interfere with gluten development, ensuring a lighter, fluffier roll.
- Honey: This is where the signature subtle sweetness of Texas Roadhouse rolls comes from. Honey also contributes to the beautiful golden-brown crust and helps keep the rolls moist. You can substitute with sugar, but honey offers a unique flavor profile and moisture retention that’s hard to beat.
- Melted Butter: Butter adds incredible flavor, richness, and tenderness to the dough. It also helps with the roll’s texture, making it soft and pliable. A portion of the butter will also be used for brushing the rolls immediately after baking, giving them that irresistible glossy finish and extra buttery taste.
- Large Egg (at room temperature): Eggs contribute to the richness, color, and structure of the rolls. Using a room-temperature egg ensures it incorporates smoothly into the dough mixture, leading to a more consistent texture.
- Salt: Essential for flavor balance, salt also plays a critical role in controlling yeast activity and strengthening the gluten structure, resulting in a better rise and crumb. Don’t skip it!
The Journey to Fluffy Perfection: How to Make Texas Roadhouse Rolls
Making these irresistible rolls is a rewarding process that transforms simple ingredients into a warm, inviting masterpiece. Follow these detailed steps to achieve baking success:
- Scald the Milk: Begin by gently heating the milk in a small saucepan over medium heat. Watch for steam and tiny bubbles forming around the edges of the pan, indicating it’s reached approximately 180°F, just before boiling. Remove from heat and let it cool down to a lukewarm temperature, between 80-90°F. This step is crucial for achieving the signature fluffy texture of these rolls.
- Activate the Yeast: In a small bowl, combine the cooled scalded milk with honey and active dry yeast. Stir gently until everything is well combined. Allow this mixture to sit undisturbed for about 5 minutes. You’ll know the yeast is active and ready when a foamy layer appears on the surface, indicating it’s alive and thriving.
- Combine Wet Ingredients: In a large mixing bowl (or the bowl of a stand mixer fitted with a dough hook), add the yeast mixture, 3 tablespoons of melted butter, the room-temperature egg, 2 cups of all-purpose flour, and the salt.
- Form the Dough: Using your stand mixer on a slow speed or mixing by hand, gradually combine the ingredients until smooth and well-incorporated. Slowly add the remaining 2 cups of flour, continuing to mix until a soft, shaggy dough begins to form.
- Knead for Elasticity: Increase the speed of your stand mixer to medium-low, or continue kneading by hand on a lightly floured surface. Knead the dough for 8-10 minutes. The dough should become smooth, elastic, and slightly tacky to the touch. This kneading develops the gluten, which is essential for the rolls’ soft, chewy texture.
- First Rise: Lightly oil a clean large bowl. Place the kneaded dough ball into the oiled bowl, turning once to coat. Cover the bowl with plastic wrap or a clean kitchen towel and place it in a warm, draft-free spot. Let the dough rise for about 1 hour, or until it has doubled in size. A good trick for a warm spot is a slightly warm oven (turned off!) or near a sunny window.
- Prepare Baking Sheets: While the dough is rising, lightly grease two large baking sheets. This will prevent the rolls from sticking.
- Punch Down and Divide: Once the dough has doubled, gently punch it down to release the air. Transfer the dough to a clean work surface and divide it in half.
- Shape the Rolls: Take one half of the dough and roll it out into a rectangle approximately 9×12 inches. Using a knife or a bench scraper, cut the dough into twelve even 3-inch squares. Arrange these squares on one of the prepared baking sheets, leaving a little space between each. Repeat this process with the second half of the dough, placing the remaining 12 squares on the second baking sheet.
- Second Rise: Loosely cover the shaped rolls on the baking sheets with plastic wrap or a kitchen towel. Let them rise again in a warm spot for another 40-45 minutes, or until they have visibly doubled in size and look puffy. This second rise is crucial for light, airy rolls.
- Preheat Oven: Towards the end of the second rise, preheat your oven to 350°F (175°C).
- Bake to Golden Perfection: Bake the rolls for 13-17 minutes, or until they are beautifully golden brown on top and cooked through. Baking times can vary, so keep an eye on them.
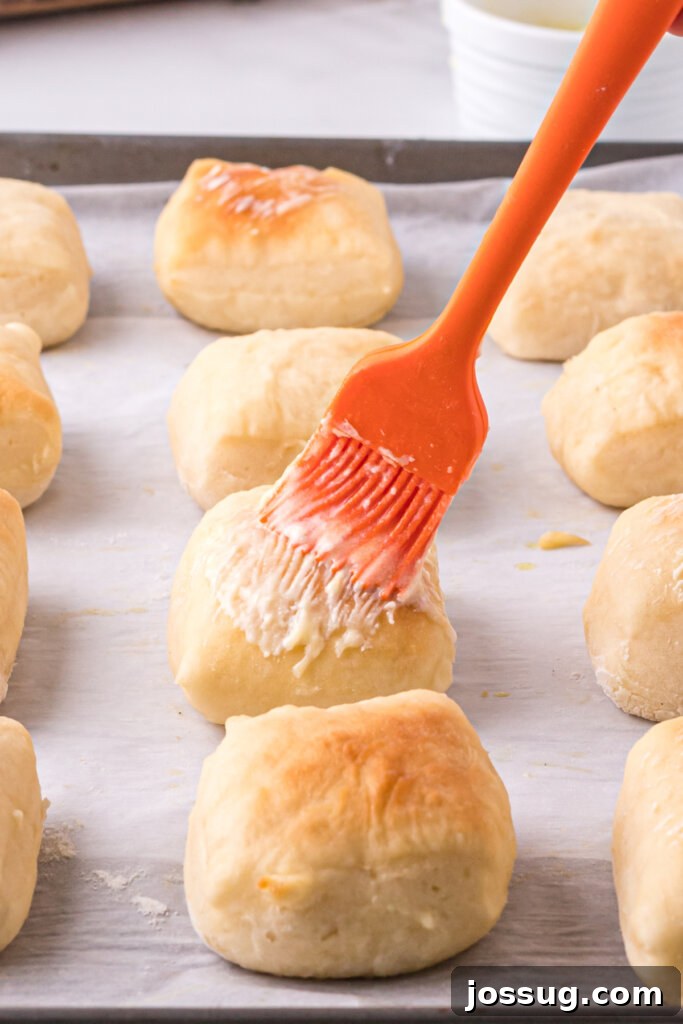
- Butter Brush Finish: As soon as the rolls come out of the oven, immediately brush the remaining melted butter generously over the tops of each warm roll. This adds shine, moisture, and an extra layer of delicious buttery flavor.
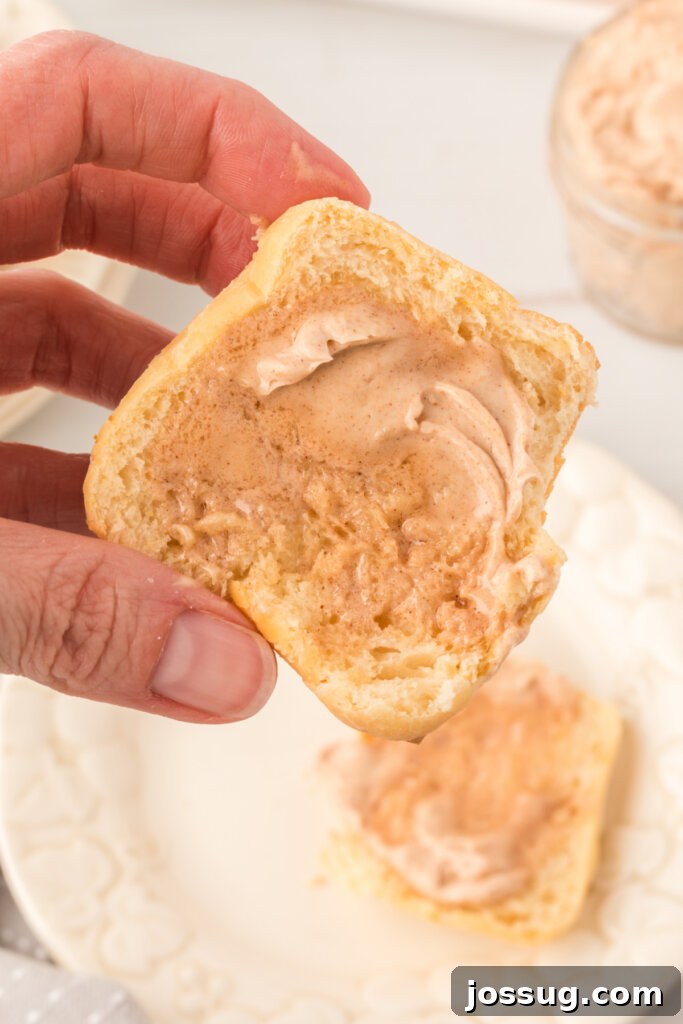
- Serve and Enjoy: For the ultimate copycat Texas Roadhouse experience, serve these warm rolls with a side of homemade cinnamon butter. Prepare for them to disappear almost instantly!
Texas Roadhouse Rolls: Frequently Asked Questions
Absolutely! This recipe is perfect for make-ahead convenience. You can prepare the dough, let it complete its first rise, then cover it tightly and refrigerate overnight. The cold temperature will slow down the yeast activity, allowing it to rise slowly. The next day, simply take it out, let it come to room temperature for about 30 minutes, punch it down, shape, allow for the second rise, and then bake as directed. You can also freeze the dough for up to a month. Thaw it in the refrigerator overnight, then proceed with shaping and rising.
This recipe generously makes 24 scrumptious, melt-in-your-mouth rolls. While that might sound like a lot, trust me, they vanish quickly!
You’ll need approximately 45 minutes for active prep work (mixing, kneading, shaping) and 15 minutes for baking. The most significant time component is the dough rising, which accounts for about 1 hour and 45 minutes across two rises. So, while not a super-fast recipe, a good portion of the time is hands-off, allowing you to multitask.
Yes, instant yeast works wonderfully! A general rule of thumb is to use about 25% less instant yeast than active dry yeast in a recipe. For instance, if a recipe calls for 2 1/4 teaspoons of active dry yeast, you’d use about 1 3/4 teaspoons of instant yeast. Instant yeast also doesn’t typically require proofing, but blooming it in the warm milk can still be a good practice to ensure its vitality.
Yes, you can certainly use bread flour. Bread flour has a higher protein content, which will result in a slightly chewier and more structured roll. While all-purpose flour gives a softer crumb, bread flour can be a great alternative if you prefer a bit more chewiness.
Dough that is too dense often points to improper flour measurement. Always use a light hand when measuring flour. Instead of scooping directly with your measuring cup, spoon the flour into the cup until it overflows, then level it off with the back of a knife or a straight edge. Over-packed flour can add too much dry ingredient, resulting in a heavy dough that struggles to rise. Also, ensure your yeast is fresh and active, and your milk temperature is correct for activating it.
While technically not always a strict requirement with modern pasteurized milk, I highly recommend scalding the milk for this recipe. In older bread recipes, it was done to kill bacteria, but today, its primary benefit is deactivating certain proteins in milk that can weaken gluten development. This ensures your bread rises properly and achieves that coveted light, fluffy texture, just like the Texas Roadhouse originals.
Explore More Delicious Recipes
- Cheesy Garlic Bread “Cinnamon” Rolls
- Cheddar Bacon Ranch Pull-Apart Rolls
- Buttery Rolls
- Soft and Buttery Crescent Rolls
- Texas Roadhouse Cinnamon Butter (Don’t forget this essential pairing!)
Recipe Card: Texas Roadhouse Rolls
Average rating: 4.64 from 50 votes
Texas Roadhouse Rolls
By Jamie Sherman
These Texas Roadhouse Rolls are deliciously soft, mildly sweet dinner rolls just like the ones they serve at everyone’s favorite restaurant chain. (Though after baking up this copycat recipe, you might never need to go back again!)
- Servings: 24 rolls
- Prep Time: 45 minutes
- Cook Time: 15 minutes
- Additional Time (Rising): 1 hour 45 minutes
- Total Time: 2 hours 45 minutes
Equipment
- Silicone Basting Brush
- Kitchen Knife
- Stand Mixer (with dough hook)
- Measuring Cups and Spoons
- Small Saucepan
- Large Mixing Bowl
- Baking Sheets
Ingredients
- 1 ¼ cups milk
- ¼ cup honey
- 2 ¼ teaspoons active dry yeast
- 4 tablespoons melted butter, divided
- 1 large egg, at room temperature
- 4 cups all-purpose flour
- 1 teaspoon salt
Instructions
- Scald the milk in a small saucepan by bringing it to near boiling (steam with small bubbles on the side of the pan). Remove from heat and allow it to cool to lukewarm, about 80-90°F.
- In a small bowl, combine the cooled milk, honey, and yeast until well combined. Let it rest for 5 minutes until foamy.
- In a large mixing bowl (or stand mixer), combine the milk mixture, 3 tablespoons of melted butter, egg, 2 cups of flour, and salt. Mix slowly using a dough hook or by hand until smooth. Gradually mix in the remaining 2 cups of flour until a dough has formed.
- Knead the dough with the dough hook or by hand for 8-10 minutes until a soft, elastic dough forms.
- Place the dough ball in an oiled bowl, turning once to coat. Cover and let it rise in a warm place for 1 hour, or until doubled in size.
- Lightly grease 2 baking sheets and set them aside.
- Punch the risen dough down to release air and divide it in half.
- On a clean work surface, roll out the first dough piece into a rectangle about 9×12 inches. Cut the dough into twelve 3-inch squares and place them on a prepared baking sheet. Repeat with the other dough piece.
- Cover the shaped rolls and let them rise for another 40-45 minutes or until doubled in size.
- Preheat your oven to 350°F (175°C).
- Bake the rolls for 13-17 minutes, or until golden brown and cooked all the way through.
- Remove the rolls from the oven and immediately brush the remaining melted butter over the top of each roll.
- Serve warm, ideally with homemade cinnamon butter, for the ultimate copycat Texas Roadhouse experience.
Notes for Success
Making These Rolls Ahead of Time:
After preparing the dough and before baking, you have a couple of options for making ahead:
- Refrigerate Dough: Cover and refrigerate the risen dough overnight, allowing it to complete its first rise slowly in the refrigerator. The next day, remove it from the fridge, let it sit at room temperature for about 30 minutes, then punch it down, shape, allow for the second rise, and bake as directed.
- Freeze Dough: You can freeze the prepared dough for about a month. Wrap it tightly in plastic wrap and then foil. When ready to use, thaw in the refrigerator overnight, then proceed with shaping, rising, and baking.
Freezing Baked Rolls:
If you prefer to freeze the rolls after they have been baked, that works too!
- Allow the rolls to cool completely to prevent ice crystals.
- Wrap them individually or in small batches in aluminum foil.
- Place the wrapped rolls into a zip-top freezer-safe bag or an airtight container. They will keep well for up to one month.
Reheating Frozen Baked Rolls:
- From Frozen: Transfer the foil-wrapped rolls to a baking sheet and bake at 300°F (150°C) for about 15-20 minutes, or until heated through and soft.
- Thaw and Reheat: For best results, remove the rolls from the freezer the night before and loosen the foil around them. Allow them to thaw at room temperature until completely soft. They can be eaten once thawed or reheated at 300°F (150°C) for 5-10 minutes to warm them up.
Nutrition Facts
Nutrition information is automatically calculated, so should only be used as an approximation.
- Serving: 1 roll
- Calories: 115kcal
- Carbohydrates: 20g
- Protein: 3g
- Fat: 3g
- Saturated Fat: 2g
- Polyunsaturated Fat: 0.2g
- Monounsaturated Fat: 1g
- Trans Fat: 0.1g
- Cholesterol: 14mg
- Sodium: 120mg
- Potassium: 49mg
- Fiber: 1g
- Sugar: 4g
- Vitamin A: 91IU
- Vitamin C: 0.02mg
- Calcium: 21mg
- Iron: 1mg
Did you love this recipe?
We’d love to hear from you! Leave a comment below and share your baking success with us. Your feedback helps our community of home bakers!