
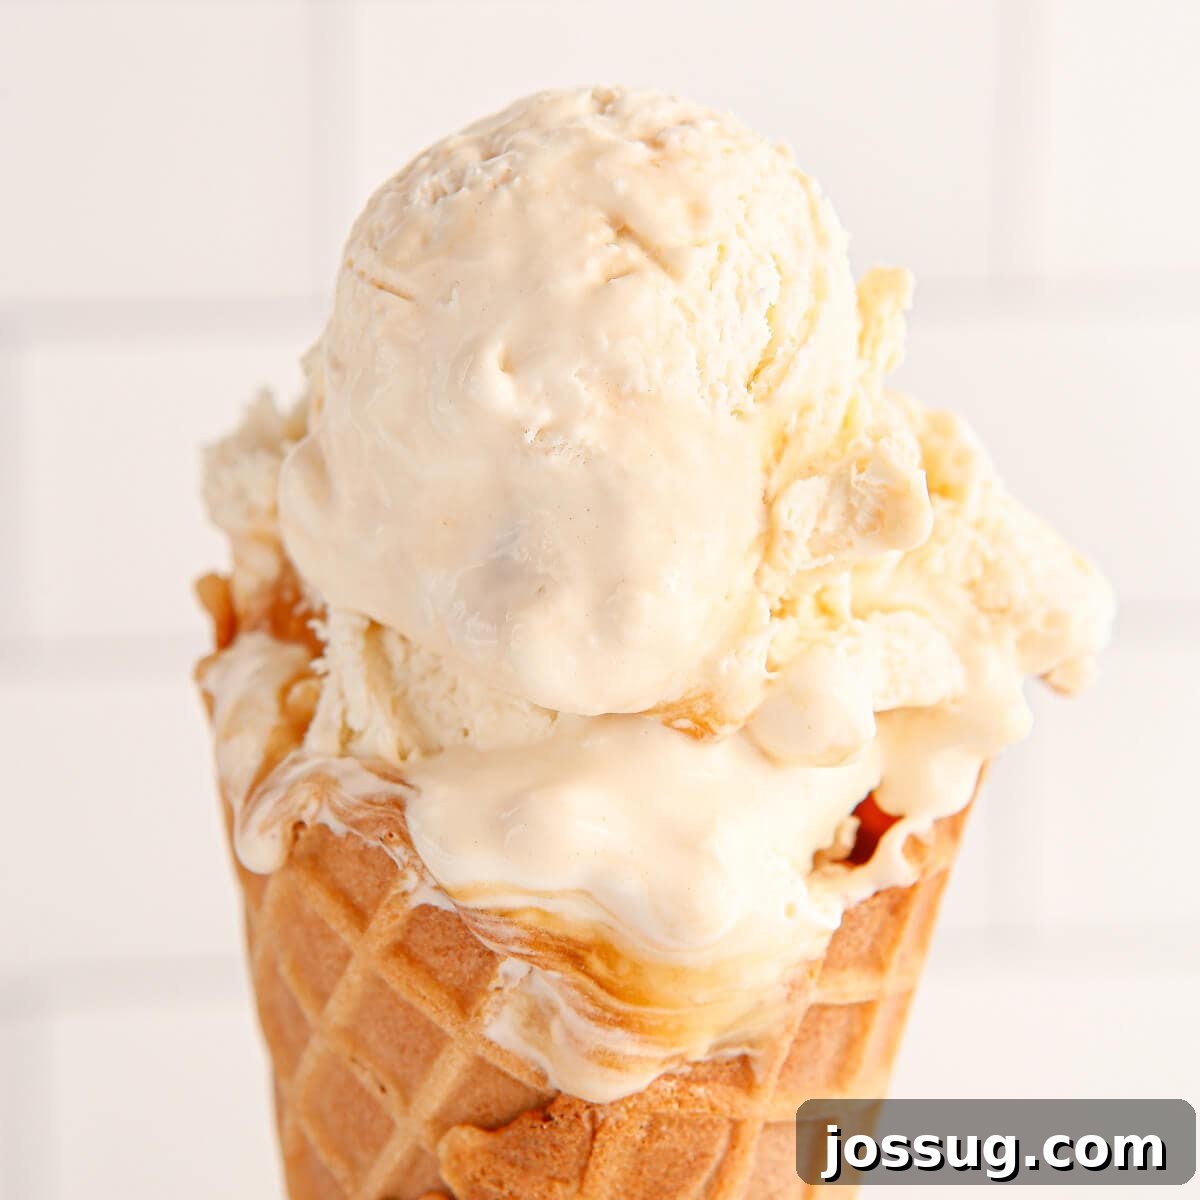
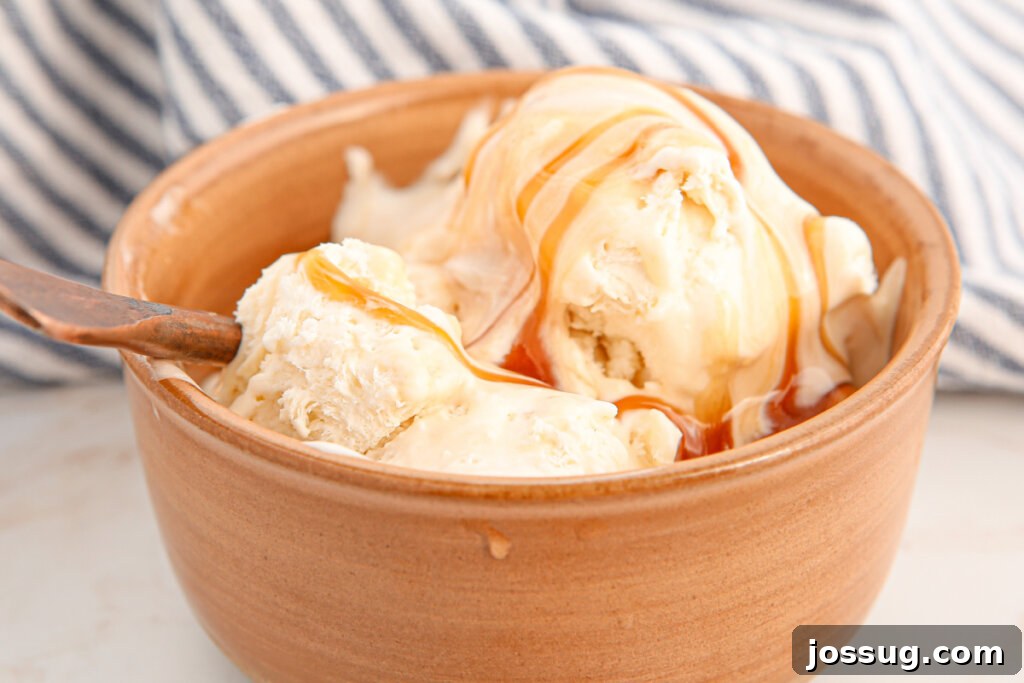
Indulge in the heavenly combination of sweet and salty with this incredibly simple No-Churn Salted Caramel Ice Cream! Perfect for warm summer days or any time you crave a delightful frozen treat, this recipe brings the joy of homemade ice cream to your kitchen without the need for a fancy machine. Get ready to scoop up pure bliss!
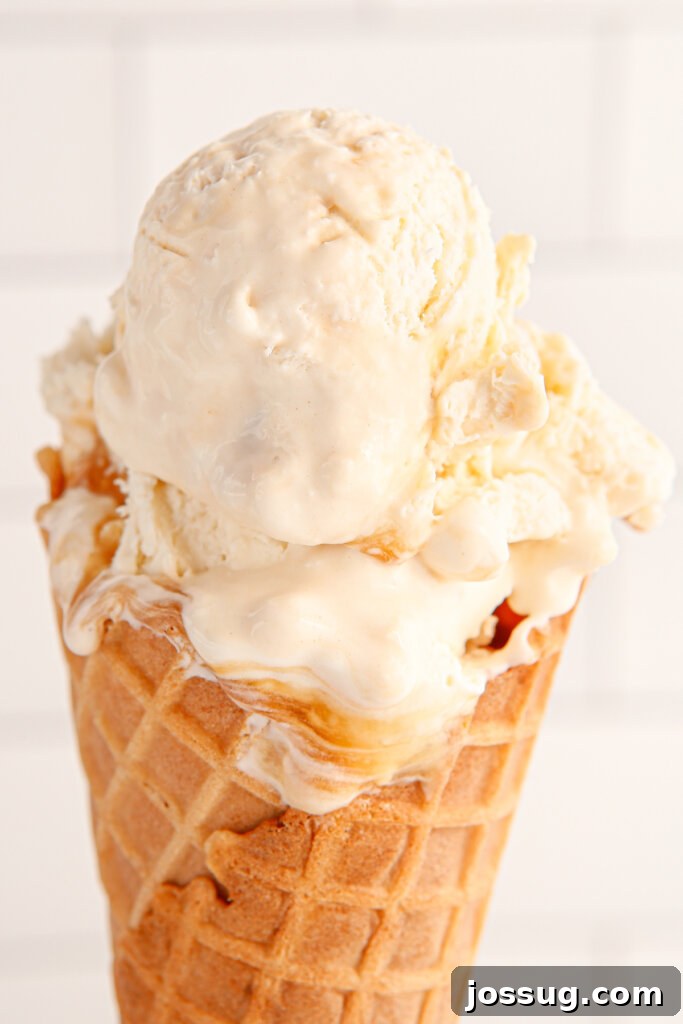
The Ultimate No-Churn Salted Caramel Ice Cream: Your Easy Summer Dream
As the days grow longer and the sunshine gets brighter, there’s one thought that universally brings a smile to our faces: ice cream! While trips to the local scoop shop are always a treat, imagine crafting your own gourmet flavors right in your kitchen with minimal effort. This No-Churn Salted Caramel Ice Cream recipe is designed to make that dream a delicious reality, offering an irresistible blend of sweet caramel and a hint of savory salt in a wonderfully creamy texture.
The allure of salted caramel is undeniable. It’s a flavor profile that tantalizes the taste buds, balancing the deep, rich sweetness of caramel with a delicate touch of sea salt. This contrast elevates the entire dessert, transforming a simple scoop of ice cream into an elegant experience. But what makes this recipe even better is the “no-churn” method, making homemade ice cream accessible to everyone, regardless of whether you own an ice cream maker or not.
What Exactly is “No-Churn” Ice Cream?
For many home cooks, the idea of making ice cream from scratch can seem daunting, often conjuring images of specialized equipment and lengthy churning processes. This is where “no-churn” recipes revolutionize dessert making. Traditional ice cream machines work by slowly churning the base mixture as it freezes, incorporating air and breaking up ice crystals to create that smooth, creamy texture we all adore. Without this constant churning, simply freezing a liquid mixture would result in a solid block of icy sugar milk – far from the delightful dessert we’re aiming for.
The ingenious solution behind no-churn ice cream lies in using whipped heavy cream. By whipping heavy cream to stiff peaks, you manually incorporate the necessary air into the mixture before freezing. This creates a light, airy base that, when combined with other ingredients like sweetened condensed milk, freezes into an incredibly smooth and luscious consistency, remarkably similar to traditionally churned ice cream. It’s a modern culinary hack that delivers gourmet results with everyday kitchen tools, proving that delicious doesn’t have to mean difficult.
Whether you’re new to making homemade desserts or a seasoned pro looking for a quick and simple option, this No-Churn Salted Caramel Ice Cream is a fantastic recipe to have in your repertoire. It’s perfect for those spontaneous dessert cravings, last-minute party preparations, or simply enjoying a cool treat on a hot afternoon without leaving the comfort of your home. You’ll be amazed at how effortlessly you can create such a spectacular dessert.
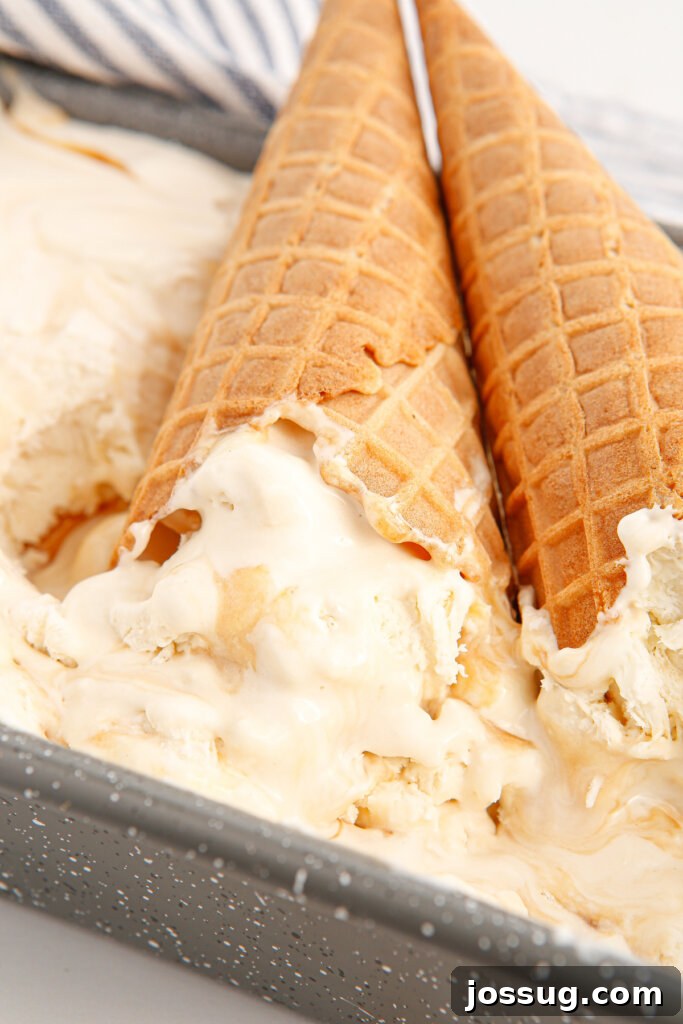
Essential Ingredients for Your No-Churn Masterpiece
Creating this delicious no-churn ice cream requires just a few key ingredients, each playing a vital role in achieving that perfect texture and flavor. Here’s a detailed look at what you’ll need:
Key Ingredients:
- Heavy Cream: This is the backbone of our no-churn recipe. When whipped, heavy cream traps air, forming the light and airy base that mimics the texture of churned ice cream. Ensure it’s very cold before whipping for the best results, as this allows it to incorporate air more effectively and create stiff peaks.
- Sweetened Condensed Milk: This magical ingredient not only provides the perfect amount of sweetness but also contributes significantly to the ice cream’s creamy consistency. It also helps prevent large ice crystals from forming, ensuring a smooth mouthfeel. Opt for a good quality brand for the best flavor.
- Vanilla Extract: A classic flavor enhancer, vanilla extract subtly rounds out the sweet notes and adds depth to the overall taste profile. While you won’t distinctly taste vanilla, its presence ensures the caramel and salt flavors shine even brighter. For an extra luxurious touch, you could experiment with vanilla bean paste.
- Caramel Sauce: The star of the show! You can use your favorite store-bought caramel sauce for convenience or elevate the experience with a homemade version. The choice is yours, but a rich, buttery caramel will make all the difference.
- Flaky Kosher Salt: This is what transforms plain caramel ice cream into its “salted” counterpart. Flaky salt provides bursts of savory contrast that cut through the sweetness of the caramel, creating a more complex and utterly addictive flavor. Don’t substitute with regular table salt, as flaky salt offers a superior texture and less harsh salinity.
- Optional for Serving: Waffle Cones and Extra Caramel: While optional, these additions truly complete the experience. A crispy waffle cone adds a delightful textural contrast, and an extra drizzle of caramel sauce before serving enhances the visual appeal and intensifies the flavor.
Crafting Your Delicious No-Churn Salted Caramel Ice Cream: Step-by-Step
Making this ice cream is surprisingly straightforward, relying on simple techniques to achieve a professional-quality dessert. Follow these steps for an effortlessly delectable result:
Instructions:
- Prepare Your Pan: Begin by placing a standard loaf pan (or an appropriate freezer-safe container) into your freezer. Chilling the pan ensures the ice cream mixture starts freezing immediately, helping to maintain a smooth texture.
- Whip the Cream: In a large mixing bowl, pour in your cold heavy cream. Using an electric mixer (either hand-held or stand mixer with a whisk attachment), whip the cream on medium-high speed until it forms stiff peaks. This means when you lift the beaters, the cream holds its shape firmly. Be careful not to over-whip, which can turn it grainy.
- Combine Wet Ingredients: Gently fold the sweetened condensed milk, vanilla extract, and flaky kosher salt into the whipped cream. Use a rubber spatula and a gentle hand, ensuring you don’t deflate the air you’ve just incorporated into the cream. The goal is to combine these ingredients thoroughly while keeping the mixture light and airy.
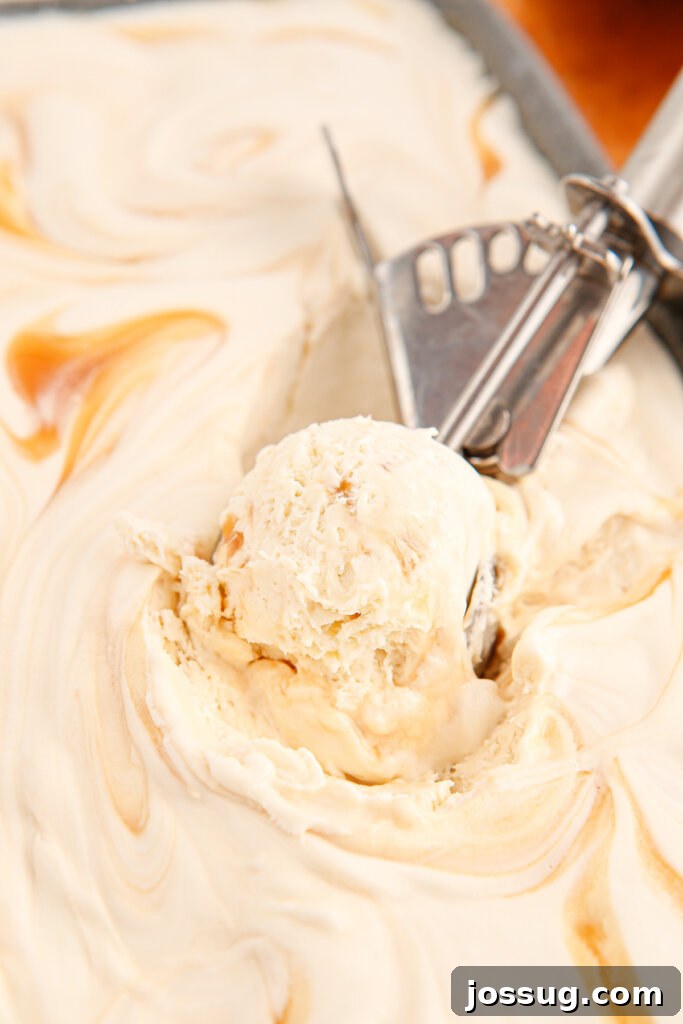
- Layer and Swirl: Retrieve your chilled loaf pan from the freezer. Pour approximately one-third of the cream mixture into the bottom of the pan, spreading it evenly. Drizzle about 1/4 cup of the caramel sauce over this layer. Using a butter knife, skewer, or toothpick, gently swirl the caramel through the cream. You want distinct ribbons, not a fully mixed color.
- Repeat Layers: Repeat the layering process: add another third of the cream mixture, spread it, and drizzle with another 1/4 cup of caramel sauce, swirling gently. Finish with the remaining cream mixture and the last 1/4 cup of caramel, creating a beautiful swirl on top.
- Chill to Perfection: Cover the loaf pan tightly with plastic wrap, ensuring it touches the surface of the ice cream to prevent ice crystals from forming. Place it back in the freezer on a level surface. Allow it to chill for a minimum of 4-6 hours, or preferably overnight, until it is completely set and firm.
- Serve and Enjoy: Once set, your homemade No-Churn Salted Caramel Ice Cream is ready to be enjoyed! Scoop it directly into bowls, or serve it in crispy waffle cones with an optional extra drizzle of caramel sauce for an added touch of indulgence.
Tips for the Perfect No-Churn Ice Cream
- Keep it Cold: Always start with very cold heavy cream. This is crucial for proper whipping and achieving stiff peaks. You can even chill your mixing bowl and beaters in the freezer for 10-15 minutes beforehand.
- Don’t Over-Whip: While stiff peaks are important, be careful not to over-whip the heavy cream. Once it looks firm and holds its shape, stop whipping. Over-whipped cream can become grainy or separate.
- Gentle Folding: When combining the whipped cream with the condensed milk mixture, use a gentle folding motion with a spatula. This preserves the air pockets in the whipped cream, which are essential for the light and creamy texture.
- Quality Ingredients: Since this recipe uses only a few ingredients, the quality of each matters. Use good quality heavy cream, sweetened condensed milk, and a caramel sauce you genuinely enjoy.
- Proper Freezing: Ensure the ice cream is covered tightly with plastic wrap to prevent freezer burn and the formation of ice crystals on the surface. Allow sufficient time for it to freeze completely – patience is key for the best texture.
- Let it Soften: For easier scooping, especially if it’s been frozen for a long time, let the ice cream sit at room temperature for 5-10 minutes before serving.
Frequently Asked Questions About Salted Caramel Ice Cream
How many servings does this salted caramel ice cream recipe yield?
This recipe typically makes approximately one quart of ice cream, which is enough for about eight one-half-cup servings. It’s the perfect amount for a family dessert or to share with a few friends.
How long does it take to prepare and freeze this ice cream?
The actual hands-on preparation time for this no-churn recipe is remarkably quick, usually around 15 minutes. However, the chilling and freezing process requires patience, as the ice cream needs a minimum of 4-6 hours to set properly in the freezer. For the best consistency, it’s often ideal to let it freeze overnight.
What’s the best way to store leftover homemade ice cream?
To keep your no-churn salted caramel ice cream fresh and delicious, store any leftovers in an airtight container in the freezer. When properly stored, it can maintain its quality for about 2-3 weeks. If you’re using the loaf pan, ensure it’s covered very tightly with plastic wrap, and it will keep well for up to a week.
Is vanilla extract truly necessary for this recipe, or can I omit it?
While you might not taste it distinctly, vanilla extract plays a crucial role in enhancing the overall flavor profile of the ice cream. It helps to balance the sweetness of the caramel and condensed milk, adding a subtle depth that makes the other flavors pop. While not strictly essential for structure, it’s highly recommended for the best taste. Some people also enjoy using vanilla bean paste for a more intense vanilla aroma and visual specks.
Discover More Delicious Caramel Creations
If you’re a fan of the irresistible sweet and salty combination, or simply adore rich caramel flavors, you’ll love exploring these other delightful recipes:
- Classic Salted Caramel Sauce
- S’mores Salted Caramel Apple Nachos
- Salted Caramel French Toast
- Homemade Caramel Sauce
- No-Bake Caramel Apple Cheesecake
No-Churn Salted Caramel Ice Cream
By Jamie Sherman
Try this super simple No-Churn Salted Caramel Ice Cream! It’s a combination of flavors everyone can enjoy, and you can make it right at home!
Prep Time: 15 mins
Chilling Time: 6 hrs
Total Time: 6 hrs 15 mins
Servings: 8 servings

Equipment
- ClingWrap Plastic Food Wrap
- Rubber Spatula or Wooden Spoon
- Hand Mixer
- Mixing Bowl
- Loaf Pan
- Ice Cream Storage Containers
- Ice Cream Scoop
Ingredients
- 2 cups heavy cream, cold
- 1 can sweetened condensed milk, 14oz.
- 1 teaspoon vanilla extract
- ½ teaspoon flaky kosher salt
- ¾ cup caramel sauce
- Waffle cones and extra caramel for serving (optional)
Instructions
- Place a loaf pan into the freezer to chill.
- In a large mixing bowl, blend the cold cream with an electric mixer until stiff peaks form.
- Gently stir in the condensed milk, vanilla extract, and kosher salt.
- Remove the loaf pan from the freezer and pour one-third of the cream mixture into the loaf pan.
- Pour 1/4-cup of caramel sauce over the top of the cream mixture and use a butter knife or toothpick to swirl the sauce. Next, pour another one-third of the cream mix into the pan, followed by 1/4-cup of caramel sauce. Repeat with the remaining cream mixture and caramel and swirl the top with the butter knife.
- Cover the loaf pan with plastic wrap and place it in the freezer, and chill for 4-6 hours in a level spot until the ice cream is set.
- Serve as is or with a waffle cone and extra caramel sauce. Enjoy!
Notes
- This recipe makes about 1 quart.
- Store leftovers in an airtight container in the freezer for 3-4 weeks or store in the loaf pan with plastic wrap for up to 1 week.
Nutrition
Serving: 0.5 cup
- Calories: 408 kcal
- Carbohydrates: 41 g
- Protein: 6 g
- Fat: 26 g
- Saturated Fat: 16 g
- Polyunsaturated Fat: 1 g
- Monounsaturated Fat: 7 g
- Cholesterol: 84 mg
- Sodium: 297 mg
- Potassium: 255 mg
- Sugar: 41 g
- Vitamin A: 1026 IU
- Vitamin C: 2 mg
- Calcium: 190 mg
- Iron: 0.2 mg
Nutrition information is automatically calculated, so should only be used as an approximation.
We hope you thoroughly enjoy creating and savoring this incredible No-Churn Salted Caramel Ice Cream. It’s a testament to how simple ingredients and a clever technique can produce a dessert that tastes utterly luxurious. Don’t forget to share your creations and let us know your thoughts in the comments below!