
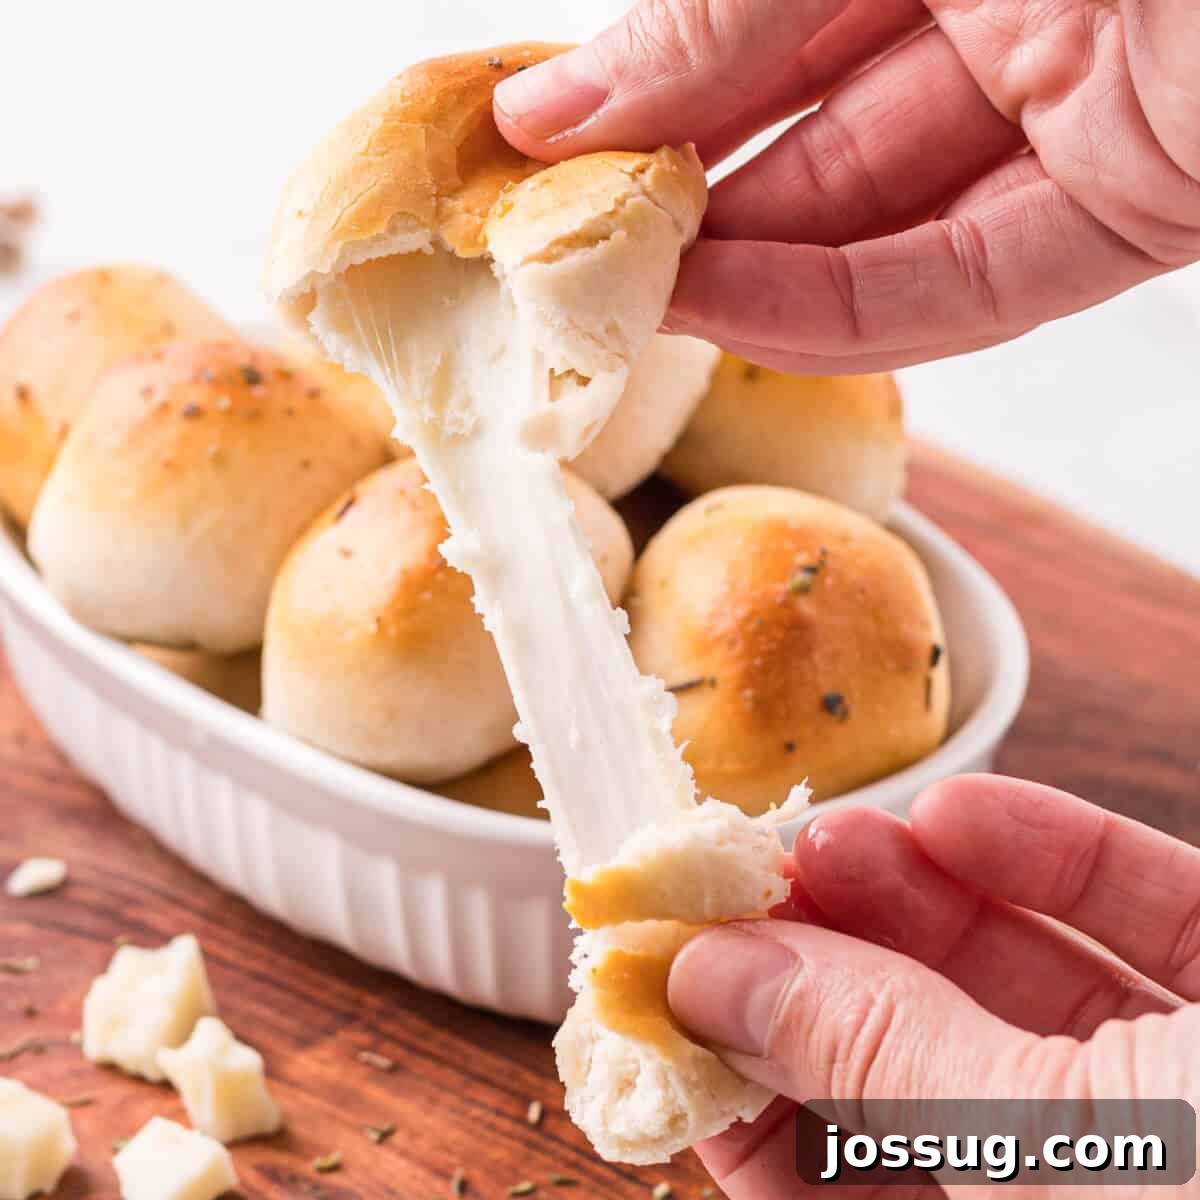
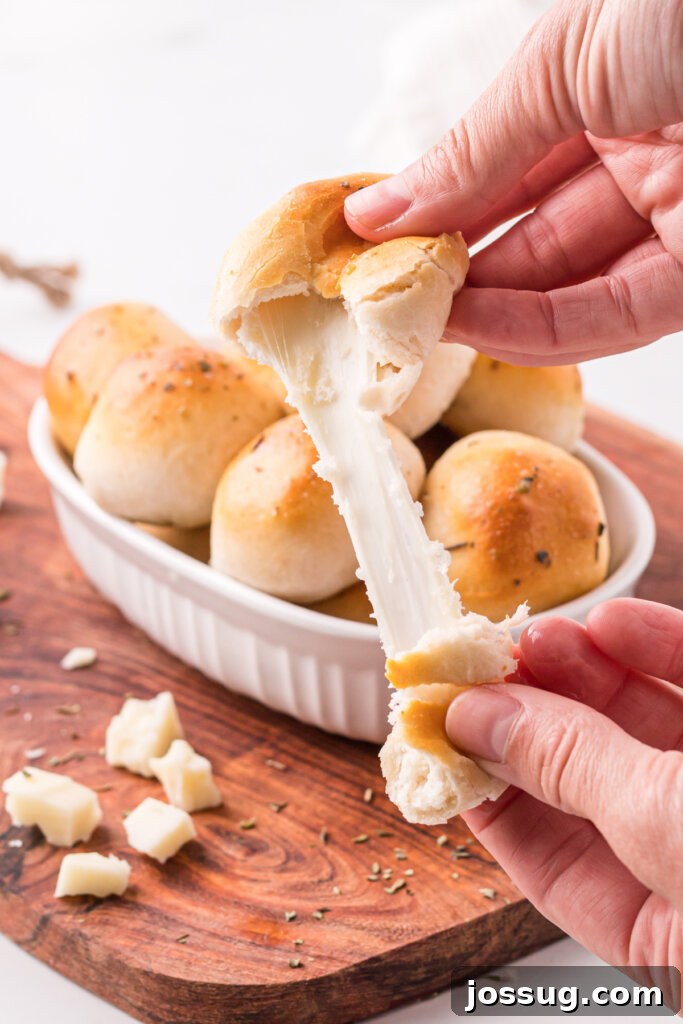
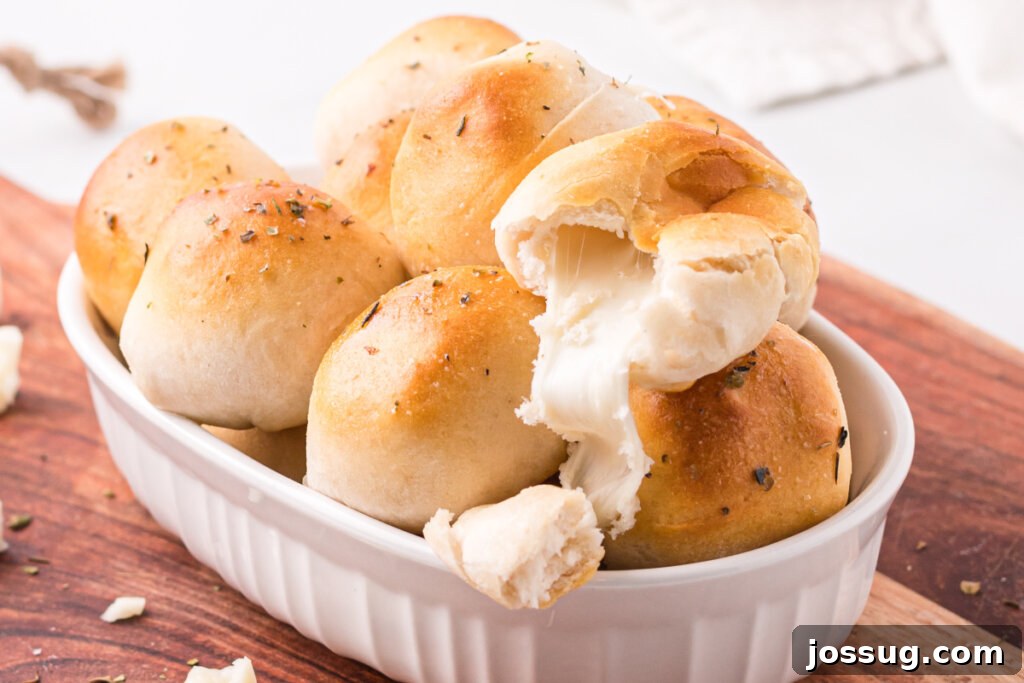
Prepare for an explosion of flavor with these incredible Garlic Herb Cheese Bombs! Imagine golden-brown, fluffy biscuit dough encasing a molten core of cheesy goodness, all lovingly brushed with a fragrant blend of melted butter, pungent garlic, and aromatic herbs. These delightful bites are more than just a snack; they’re an experience, promising a warm, savory, and irresistibly gooey treat that’s perfect for any occasion, from weeknight dinners to festive gatherings.
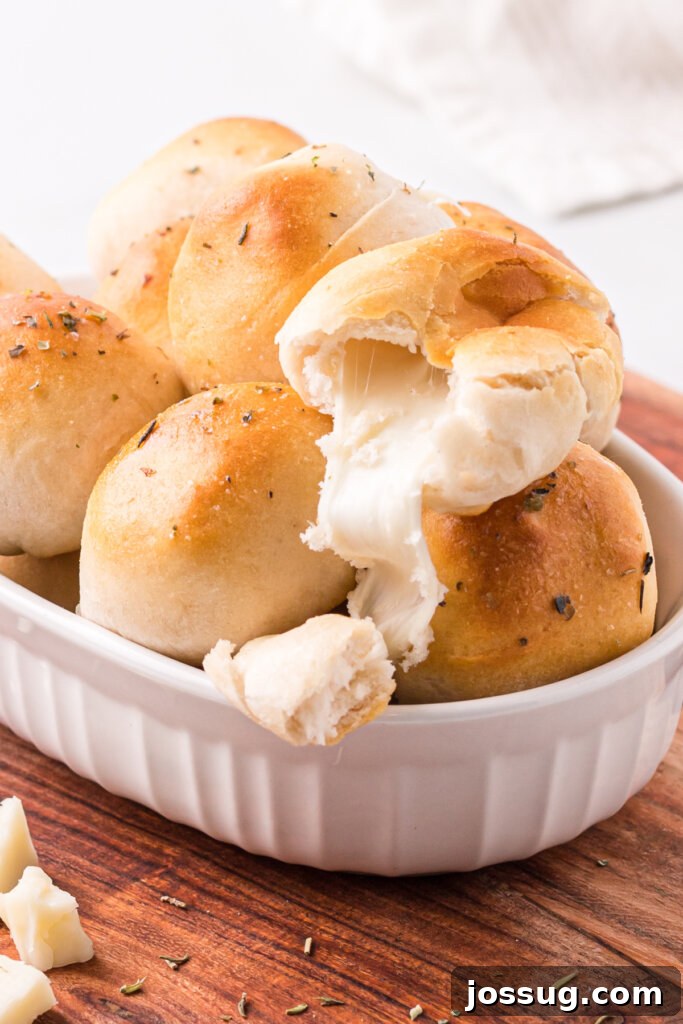
The Irresistible Appeal of Garlic Herb Cheese Bombs
Life can be wonderfully chaotic, can’t it? Between managing family schedules, household chores, work commitments, and simply trying to keep track of everything, it’s easy for things to slip through the cracks. As someone who often finds herself relying on endless lists and calendars just to stay afloat, I completely understand the value of quick, reliable solutions in the kitchen. There are those evenings when dinner is planned, but a crucial element – like a fresh loaf of bread – is forgotten. That’s precisely where the magic of these Garlic Herb Cheese Bombs comes in!
Born out of a need for a last-minute bread substitute for our spaghetti nights, these cheese bombs quickly evolved into a family favorite. My children, with their uncanny ability to sum things up perfectly, declared them “THE BOMB!” – and the name stuck. And honestly, they’re not wrong. These aren’t just a backup plan; they’re a superstar appetizer or a fantastic side dish in their own right. Whether you’re hosting a game day party, planning a festive holiday gathering, or simply need an effortless snack that everyone will adore, this easy cheese bomb recipe is an absolute keeper.
Each bite offers a comforting blend of warm, soft biscuit dough and perfectly melted cheese, elevated by the fragrant notes of garlic and Italian herbs. They’re quick to prepare, require minimal ingredients, and deliver maximum satisfaction. The convenience of using refrigerated biscuit dough means less time in the kitchen and more time enjoying delicious food with loved ones. Get ready to impress your friends and family with these delightful, gooey, and utterly delicious cheese bombs. Let’s dive in and discover just how simple it is to create these culinary wonders!
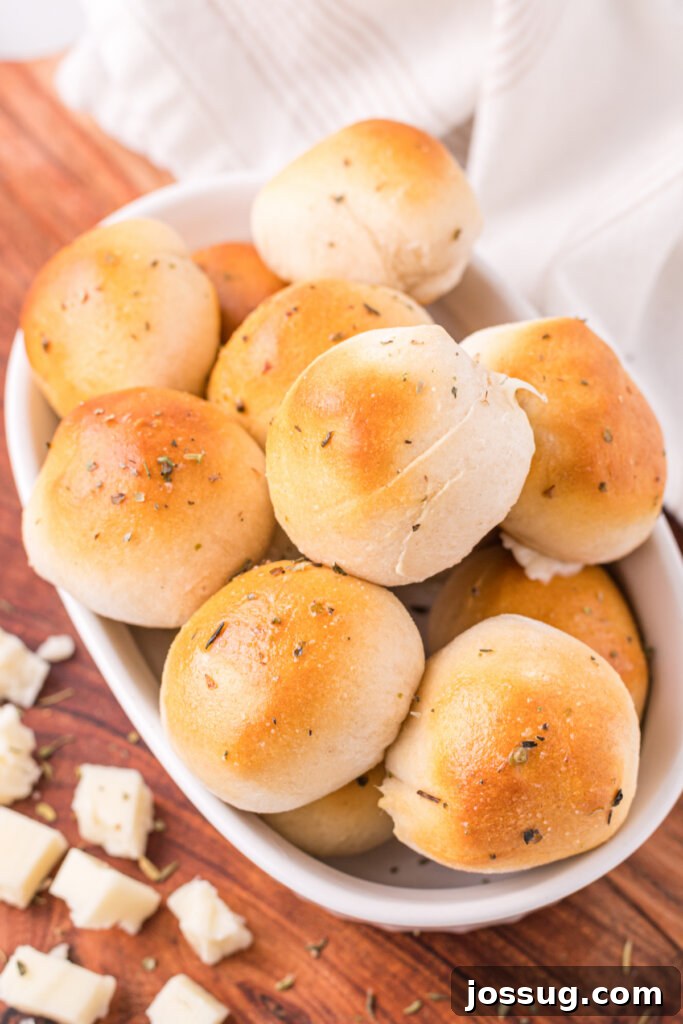
Essential Ingredients for Your Garlic Herb Cheese Bombs
Creating these irresistible garlic herb cheese bombs requires just a handful of readily available ingredients. The beauty of this recipe lies in its simplicity and the ability to transform common pantry staples into something extraordinary. Here’s what you’ll need, along with some insights and substitution ideas to inspire your culinary creativity:
Refrigerated Biscuit Dough: The Fluffy Foundation
- This is the fluffy, golden foundation of our cheese bombs. Choose any brand or style of refrigerated biscuits you prefer – flaky layers, buttermilk, or even grand biscuits. The key is to select a package size that provides enough biscuits for your desired number of bombs. Standard 7.5 oz cans usually contain 10 biscuits, so two cans will yield 20 bombs. The convenience of pre-made dough makes this recipe incredibly fast and foolproof, saving you precious time and effort. It puffs up beautifully, creating a perfect crust for the gooey interior.
Mozzarella Cheese: The Gooey Heart
- For that signature gooey, stretchy pull that makes these cheese bombs so satisfying, mozzarella cheese is the top choice. Its mild flavor perfectly complements the garlic and herbs without overpowering them, allowing the other flavors to shine. We recommend using a block of mozzarella and cutting it into 20 uniform cubes (approximately ½-inch each). This ensures even melting and an optimal cheese-to-dough ratio in every single bomb. The slight firmness of the cube makes it easier to wrap without tearing the dough.
- Substitution Tip: While mozzarella is ideal, feel free to experiment and customize! Cheddar, provolone, Monterey Jack, or even a blend of cheeses can work beautifully. For a slight kick, try pepper jack. Cream cheese can also be a delightful addition, adding a creamy texture when mixed with a bit of shredded cheddar, offering a different kind of melt.
The Flavorful Garlic-Herb Butter Mixture: The Finishing Touch
- This buttery concoction is what elevates the cheese bombs from good to utterly phenomenal. It’s brushed generously over the baked biscuits, infusing them with savory depth and a beautiful golden sheen that entices with every glance.
- Butter: Use unsalted butter to control the overall saltiness of the dish. Melt it gently so it’s easily brushable and can evenly coat the warm biscuit surface. The butter acts as a carrier for the amazing herb flavors.
- Italian Seasoning: This convenient blend typically includes dried basil, oregano, rosemary, thyme, and marjoram, offering a well-rounded herbaceous profile that is classic for savory dishes. It provides depth and a familiar comforting aroma.
- Garlic Powder: Provides that essential savory garlic flavor that pairs perfectly with cheese and bread. Granulated garlic can also be used for a slightly different texture and intensity. This ensures an even distribution of garlic goodness.
- Fresh Herb Boost: For an extra layer of freshness and a vibrant aroma, consider adding finely chopped fresh parsley, chives, or oregano to your butter mixture. This will brighten the flavors considerably and add a beautiful visual appeal. Remember that fresh herbs are generally more potent than dried, so you might adjust quantities.
- Spice it Up: A pinch of red pepper flakes or a dash of your favorite hot sauce mixed into the butter can add a welcome, subtle touch of heat, making these cheese bombs even more exciting for those who enjoy a little spice.
How to Make Garlic Herb Cheese Bombs: Step-by-Step for Cheesy Perfection
Making these cheesy delights is remarkably straightforward, requiring just a few simple steps. Follow these instructions for perfect, golden-brown, and gooey garlic herb cheese bombs every time:
- Preheat Your Oven to Optimal Temperature: Begin by preheating your oven to 400°F (200°C). Ensuring your oven is at the correct temperature before baking is crucial for achieving that desirable golden crust and fully cooked biscuit dough. A properly preheated oven helps the biscuits rise quickly and ensures the cheese melts perfectly.
- Assemble the Garlic Herb Cheese Bombs with Care: Carefully separate each refrigerated biscuit. Place one cube of mozzarella cheese (or your chosen cheese variation) directly in the center of each biscuit dough circle. Gently but firmly wrap the biscuit dough around the cheese, sealing the edges completely. It’s critically important to pinch and seal the seams extremely well to prevent the molten cheese from oozing out during baking, which can make a mess and result in less cheesy bombs. Place the assembled bombs seam-side down about an inch apart on an ungreased baking sheet, ensuring they have enough space for proper airflow, which allows for even cooking and browning.
- Bake to Golden Perfection and Melted Gooeyness: Transfer the baking sheet to your preheated oven and bake for approximately 10 minutes, or until the biscuits are beautifully golden brown and visibly puffed up, and the cheese inside is thoroughly melted and delightfully gooey. Keep a close eye on them, as oven temperatures can vary, and baking times may differ slightly. You want them golden, not burnt.
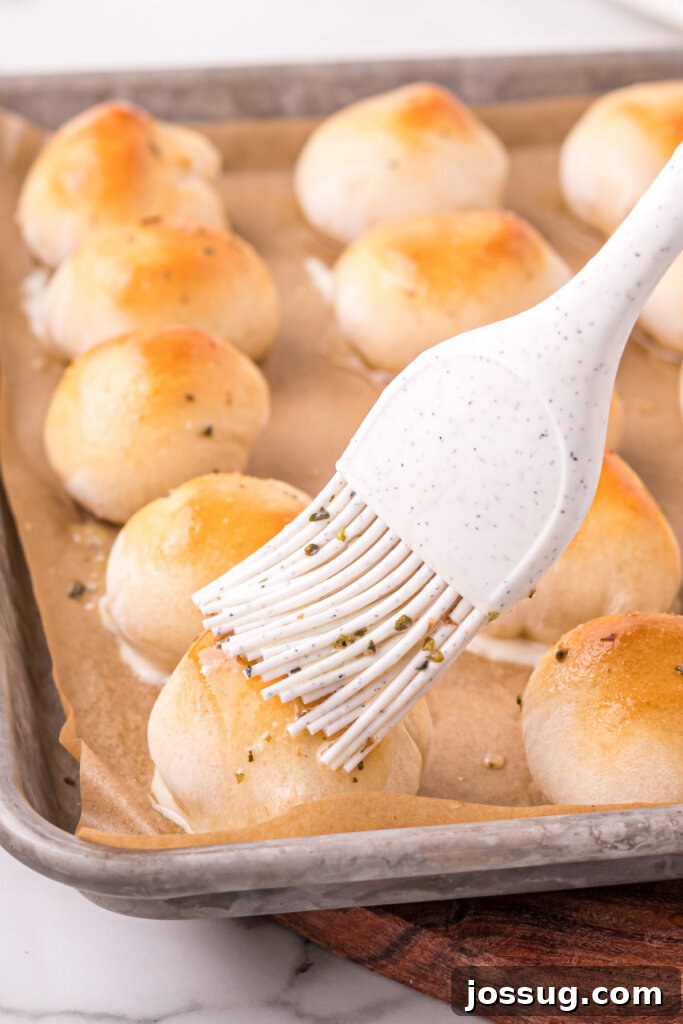
- Prepare the Aromatic Garlic-Herb Butter: While your cheese bombs are baking, melt the butter in a small microwave-safe bowl or a small saucepan over low heat. Once melted, stir in the Italian seasoning and garlic powder until they are well combined and fragrant. This aromatic mixture will be brushed generously over the hot cheese bombs, infusing them with an irresistible depth of flavor and a glossy finish.
- Brush and Serve Immediately for Best Experience: As soon as you remove the golden-baked cheese bombs from the oven, immediately brush them generously with the prepared garlic-herb butter mixture. The hot biscuits will eagerly absorb the butter, enhancing their flavor profile and giving them a beautiful, appetizing sheen. Serve them warm, allowing your guests to experience the incredible pull of perfectly melted cheese and the delightful blend of garlic and herbs.
Tips for Perfect Garlic Herb Cheese Bombs Every Time
Achieving the best garlic herb cheese bombs is simple with a few helpful pointers that will guarantee success and prevent common baking mishaps:
- Don’t Overfill the Dough: Resist the urge to add too much cheese. A single ½-inch cube is usually enough for standard refrigerated biscuits. Overfilling can put stress on the dough, leading to cheese leaking out during baking and creating a sticky mess on your baking sheet.
- Seal Those Seams Tightly: This step is absolutely critical! Pinch the biscuit dough thoroughly around the cheese, ensuring there are absolutely no gaps or weak points. A tight and secure seal is your best defense against cheese blowouts, keeping all that delicious molten cheese safely inside the bomb.
- Ensure Even Spacing on the Baking Sheet: Give each cheese bomb its proper space on the baking sheet, typically about an inch apart. This allows for optimal airflow around each biscuit, which is essential for ensuring they bake evenly and achieve that lovely, consistent golden-brown exterior on all sides.
- Serve Warm for Optimal Gooeyness: Garlic herb cheese bombs are unequivocally best enjoyed fresh out of the oven. This is when the cheese is at its peak gooey, molten, and stretchy state, providing the most satisfying experience.
- Work with Cold Dough: Biscuit dough is significantly easier to handle and less sticky when cold. Keep the cans of refrigerated biscuits in the fridge until you are fully ready to separate them and begin the assembly process. This prevents the dough from becoming too soft and difficult to manage.
- Customize Your Flavors: Don’t be afraid to experiment with the type of cheese, the blend of herbs, or even adding a hint of spice. See the “Customizing Your Cheese Bombs” section for more ideas!
Customizing Your Garlic Herb Cheese Bombs: Endless Variations
While the classic Garlic Herb Cheese Bomb is undeniably delicious, this recipe serves as an excellent canvas for culinary creativity. Don’t hesitate to experiment with different flavors and ingredients to suit your personal taste preferences or the specific occasion you’re preparing them for. The possibilities are vast and exciting!
- Spice Enthusiast? Amp Up the Heat: For those who love a fiery kick, there are several ways to infuse spice. Incorporate finely diced fresh or pickled jalapeños (remember to remove seeds for a milder heat) directly into the cheese filling. Alternatively, mix a pinch of cayenne pepper or extra red pepper flakes into the garlic-herb butter mixture before brushing it over the hot bombs. A dash of your favorite hot sauce can also be added to the butter for an extra layer of warmth.
- Fresh Herb Garden Goodness: If you have fresh herbs on hand, they can truly elevate the flavor profile. Swap the dried Italian seasoning for approximately 1 tablespoon of finely chopped fresh basil, oregano, thyme, or rosemary. A mix of fresh parsley and chives in the butter topping also adds a vibrant, fresh flavor and a beautiful green fleck. Remember that fresh herbs are generally more potent than dried, so you might adjust quantities to your liking.
- Cheese, Please! Beyond Mozzarella: While mozzarella offers a classic melt, you have plenty of room to experiment with other cheeses. A blend of sharp cheddar and mozzarella offers a richer, more complex flavor. Provolone melts beautifully and has a slightly sharper taste, while Monterey Jack provides a creamy, mild option. For a gourmet touch, a small piece of pungent feta or crumbly gorgonzola can introduce a unique savory tang. Even a small dollop of herbed cream cheese (mixed with a bit of shredded cheddar) can make for an incredibly creamy and flavorful center.
- Savory Fillings: Take Your Bombs to the Next Level: To truly transform your cheese bombs, consider adding small savory elements to the cheese filling. Popular and delicious choices include crispy cooked bacon bits, finely chopped sun-dried tomatoes (ensure they are well-drained to avoid excess moisture), tender caramelized onions, or even mini pepperoni slices. Ensure any additions are finely diced or crumbled to fit neatly within the biscuit dough and allow for proper sealing.
- Garlic Lover’s Dream: Enhanced Garlic Flavor: For an even stronger garlic punch, finely mince one or two fresh cloves of garlic and add them to the melted butter alongside the garlic powder. The fresh garlic will release an incredible aroma and a more intense flavor. Be mindful not to burn the fresh garlic during baking if you decide to incorporate it directly into the dough or filling.
Serving and Pairing Suggestions
These versatile Garlic Herb Cheese Bombs shine in various settings and pair wonderfully with a multitude of dishes. Here are some ideas for how to serve them and make them the star of your table:
- The Ultimate Appetizer: Arrange them artfully on a large platter with a side of warm marinara sauce for classic Italian dipping, creamy ranch dressing, a homemade garlic aioli, or even a spicy sriracha mayo. They’re always a guaranteed hit at parties, potlucks, game day gatherings, or any casual get-together.
- The Perfect Dinner Sidekick: These cheese bombs make an excellent and exciting alternative to traditional garlic bread. Serve them alongside pasta dishes like spaghetti and meatballs, baked ziti, or lasagna. They also complement a hearty bowl of chili, a comforting tomato soup, or a fresh green salad for a complete and satisfying meal.
- A Quick & Satisfying Snack: Grab a few straight from the oven for a satisfying, warm, and cheesy snack any time of day when hunger strikes. They’re much more exciting than a plain biscuit!
- Brunch Delight: Believe it or not, these savory bombs can even complement a savory brunch spread, pairing well with scrambled eggs, breakfast sausage, or a frittata, adding a unique bread element.
Storing and Reheating Leftover Cheese Bombs
While these garlic herb cheese bombs are undeniably best enjoyed fresh, hot, and gooey right out of the oven, you might find yourself with a few delicious leftovers. Here’s how to properly store them and reheat them to maintain their delectable quality:
- Storage: To keep any cooled leftover cheese bombs fresh, place them in an airtight container. They will keep well in the refrigerator for up to 2-3 days. Make sure they are completely cool before storing to prevent condensation.
- Reheating for Optimal Texture: To restore their golden crispiness and that desirable melty center, reheating them in an oven is the best method. Preheat your oven to 300°F (150°C) and bake the cheese bombs for about 5-10 minutes, or until they are warmed through and the cheese inside is gloriously gooey again. A toaster oven or an air fryer can also work wonders for reheating, bringing back some of that initial crispness that a microwave cannot.
- Avoid the Microwave for Best Results: While convenient, microwaving is generally not recommended for reheating these cheese bombs. The microwave tends to make the biscuit dough soft, chewy, and sometimes rubbery, losing that delightful crisp texture. The cheese will melt, but the overall experience won’t be as satisfying.
Frequently Asked Questions About Garlic Herb Cheese Bombs
Garlic Herb Cheese Bombs are a beloved and highly popular snack or appetizer. They are made by wrapping small cubes of cheese, typically mozzarella, in individual portions of soft, refrigerated biscuit dough. Once baked to a beautiful golden perfection, they are generously brushed with a savory, aromatic mixture of melted butter, garlic powder, and Italian seasoning. The result is a delightful bite with a crispy, flavorful exterior and a wonderfully gooey, molten, cheesy interior. They are famously versatile and can be served plain or with various complementary dipping sauces like marinara, ranch, or garlic aioli.
Absolutely! For those who enjoy a delightful kick of heat, there are several ways to infuse spice into your cheese bombs. Consider mixing a pinch of red pepper flakes directly into the garlic-herb butter mixture before brushing it over the bombs. Alternatively, you can finely dice fresh or pickled jalapeños (remember to remove the seeds for less intense heat) and add them directly into the cheese filling before wrapping the dough. A dash of your favorite hot sauce or a sprinkle of cayenne powder can also be added to the butter for an extra layer of warmth and flavor.
While mozzarella is excellent for its classic melt and mild flavor, you have plenty of room to experiment with different cheeses to customize your cheese bombs! A blend of mozzarella and sharp cheddar provides a richer and more complex flavor profile. Provolone melts beautifully and offers a slightly sharper, nuttier taste. Monterey Jack delivers a creamy, mild option, while a smoked gouda can introduce a unique, sophisticated smokiness. For something truly unique, try a small cube of tangy feta or a crumbly blue cheese for a more pungent flavor dimension. Ensure the cheese is cut into small enough cubes to melt evenly and be fully encased by the dough for best results.
Yes, fresh herbs are a fantastic and highly recommended substitution that can elevate the flavor and aroma of your cheese bombs! Finely chop about 1 tablespoon of your favorite fresh herbs, such as parsley, basil, oregano, chives, or a mix of them, and stir them into the melted garlic butter. Fresh herbs will impart a brighter, more vibrant flavor and a lovely visual appeal. If using potent fresh herbs like rosemary or thyme, use slightly less, perhaps ½ tablespoon, to prevent their strong flavors from overwhelming the dish.
Certainly! To enhance the flavor, texture, and excitement of your cheese bombs, you can add small amounts of various other ingredients to the cheese filling. Popular and delicious choices include crispy cooked and crumbled bacon bits, finely chopped and well-drained sun-dried tomatoes for a sweet and tangy burst, savory sautéed caramelized onions, or even mini pepperoni slices for a pizza-like twist. The key is to ensure any additions are finely diced or crumbled so they fit easily within the biscuit dough and don’t prevent proper sealing, which is crucial for preventing cheese leaks during baking.
You can certainly assemble the cheese bombs a few hours in advance if you’re planning for a party or meal. Once assembled, place them on a parchment-lined baking sheet, cover loosely with plastic wrap, and keep them refrigerated. When you’re ready to bake, transfer them directly to the preheated oven. You might need to add an extra minute or two to the baking time, as they will be starting from a colder temperature. Remember to brush them with the garlic-herb butter immediately after they come out of the oven for the best flavor and shine.
While you can freeze already baked cheese bombs (reheat them from frozen in a 350°F/175°C oven until thoroughly warmed and the cheese is gooey), they are undoubtedly best when baked fresh. Freezing unbaked biscuit dough wrapped around cheese is generally not recommended. The texture of the biscuit dough can significantly change upon thawing and subsequent baking, potentially resulting in a less desirable final product. For optimal freshness and texture, it’s best to prepare and bake them on the same day.
Other Delicious Recipes You May Enjoy
- Nutella Biscuit Bombs (for a delightful sweet twist using similar dough!)
- Italian Herb Baked Meatballs
- Bacon Bombs
- Loaded Bacon and Cheese Fries
- Beefy Sour Cream Noodle Bake
20 bombs
Garlic Herb Cheese Bombs
Jamie Sherman
10 mins
10 mins
20 mins
Equipment
- Pastry brush
- Silicone Oven Mitt
- Mixing bowl
- Baking sheets
- Cutting board
- Knife
Ingredients
- 2 cans refrigerated biscuits, 7.5 oz. each (total 20 biscuits)
- 4 ounces Mozzarella cheese, cut into 20 cubes (approx. ½-inch each)
- 4 tablespoons butter, melted
- ½ teaspoon Italian seasoning
- ½ teaspoon garlic powder
Instructions
- Preheat oven to 400°F (200°C).
- Separate biscuits. Place one cube of cheese in the center of each biscuit. Carefully wrap the biscuit dough around the cheese and seal the edges completely. Place seam side down about an inch apart on an ungreased baking sheet.
- Bake for 10 minutes or until the biscuits are golden brown and the cheese is melted and gooey.
- While the biscuits bake, mix the melted butter, Italian seasoning, and garlic powder together in a small bowl and set aside.
- Remove the biscuits from the oven and immediately brush them generously with the butter mixture. Serve warm.
Notes
- For a spicy kick, add red pepper flakes or hot sauce to the garlic-herb mixture.
- Experiment with different cheeses like cheddar, provolone, feta, or a blend for varied flavors.
- Fresh herbs (finely chopped parsley, basil, oregano) can be used in place of dried Italian seasoning for a brighter taste.
- Consider adding extra fillings such as crispy bacon bits, sun-dried tomatoes, or caramelized onions to the cheese core.
- These cheese bombs are perfect as a snack, appetizer, or a delicious side dish for pasta, soups, or salads.
- To make ahead, assemble and refrigerate for a few hours, then bake as directed (may add 1-2 mins to baking time).
- Reheat leftovers in the oven or air fryer at 300°F (150°C) for 5-10 minutes for best results.
Nutrition Information (per serving)
Serving: 1 bomb
Calories: 206 kcal
Carbohydrates: 23g
Protein: 4g
Fat: 11g
Saturated Fat: 3g
Polyunsaturated Fat: 3g
Monounsaturated Fat: 4g
Trans Fat: 0.1g
Cholesterol: 10mg
Sodium: 493mg
Potassium: 112mg
Fiber: 1g
Sugar: 2g
Vitamin A: 106 IU
Vitamin C: 0.002mg
Calcium: 63mg
Iron: 2mg
Nutrition information is automatically calculated and should only be used as an approximation. Actual values may vary based on specific ingredients and preparation.
Enjoyed this recipe? Share your thoughts and creations in the comments below!
Originally published on August 19, 2014. Updated on December 14, 2022.