
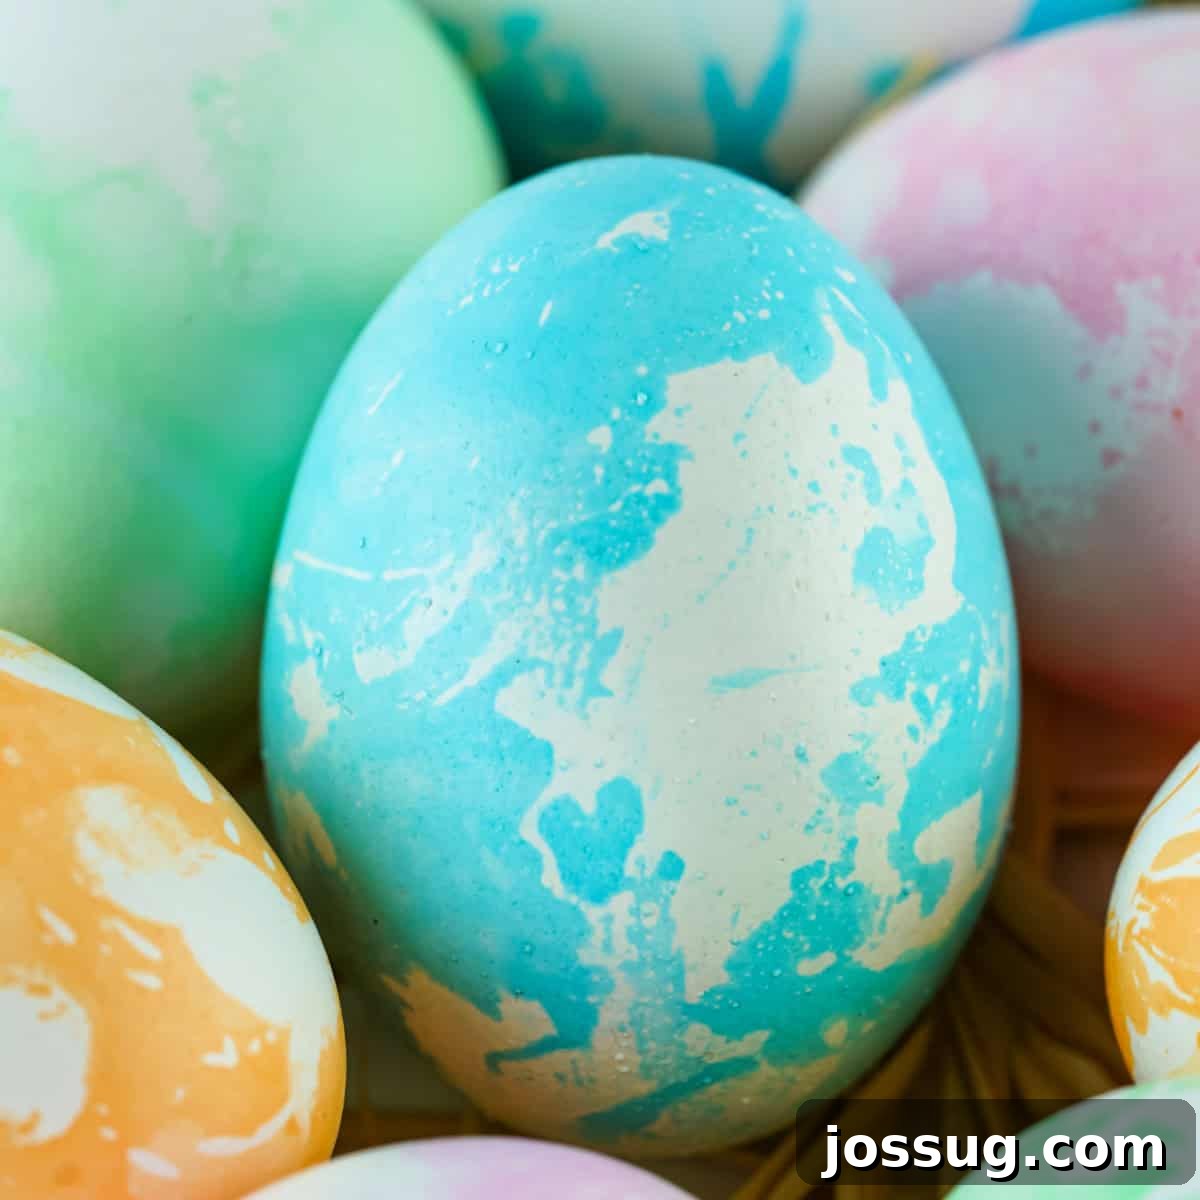
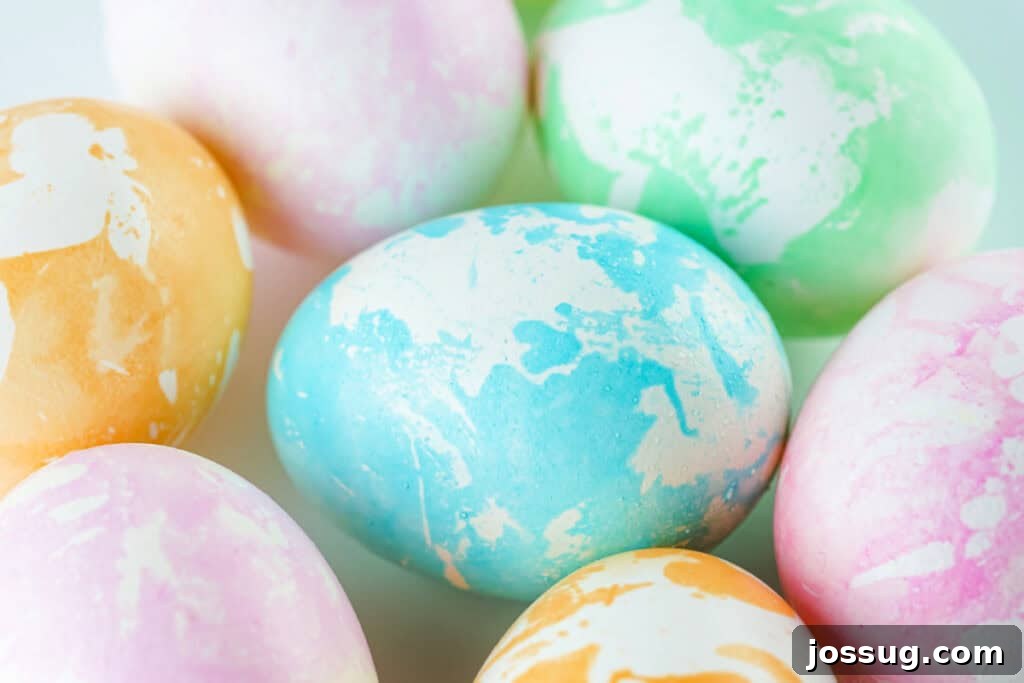
Transform your ordinary hard-boiled eggs into captivating works of art this Easter with our simple yet spectacular marbling technique! Forget plain, single-color dyes; this easy oil and food dye method unlocks a world of beautiful, intricate swirls and patterns in mere minutes. Perfect for a fun, creative Easter activity, these marbled eggs will add an extra touch of magic and charm to your holiday celebrations. Get ready to impress with stunning, unique designs that are surprisingly simple to achieve! 🌸🥚✨
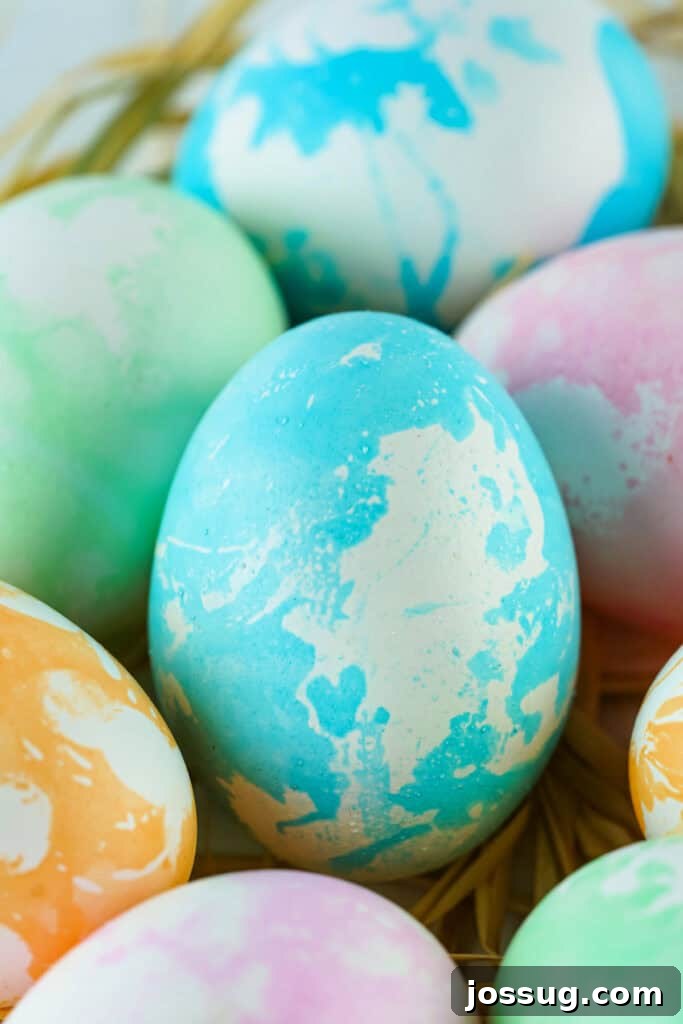
How to Make Marbled Easter Eggs Using Oil: A Step-by-Step Guide
Elevate your Easter egg decorating game with this incredibly fun and straightforward marbling technique. Utilizing everyday kitchen staples like food dye and cooking oil, you can create breathtaking, swirling patterns that are far more captivating than traditional solid-colored eggs. This method is not only fast, producing beautiful results in seconds, but it’s also a fantastic way to engage the whole family in a creative holiday craft. Let’s dive into how you can bring these vibrant, artful eggs to life!
⭐ Why You’ll Adore This Marbled Egg Craft
- Quick & Easy Elegance – Unlike complex dyeing methods, this technique allows you to achieve gorgeously swirled, artful eggs in mere minutes. It’s perfect for busy families or anyone looking for maximum impact with minimal effort. The quick dip and reveal make it incredibly satisfying!
- Minimal & Accessible Supplies – You won’t need specialized craft store items. Everything required can likely be found in your pantry or a local grocery store: hard-boiled eggs, food dye, vinegar, and cooking oil. This makes it an affordable and convenient Easter activity.
- Endlessly Customizable Creations – The beauty of marbling lies in its unpredictability and your ability to experiment. Choose your favorite colors, mix vibrant hues, or opt for delicate pastels. Each egg will emerge with a unique, one-of-a-kind design, making every creation a delightful surprise.
- Engaging Fun for All Ages – This craft is wonderfully simple, making it suitable for young children (with adult supervision, especially with boiling water) and engaging enough for adults. It’s a fantastic way to bond with family and create lasting Easter memories together.
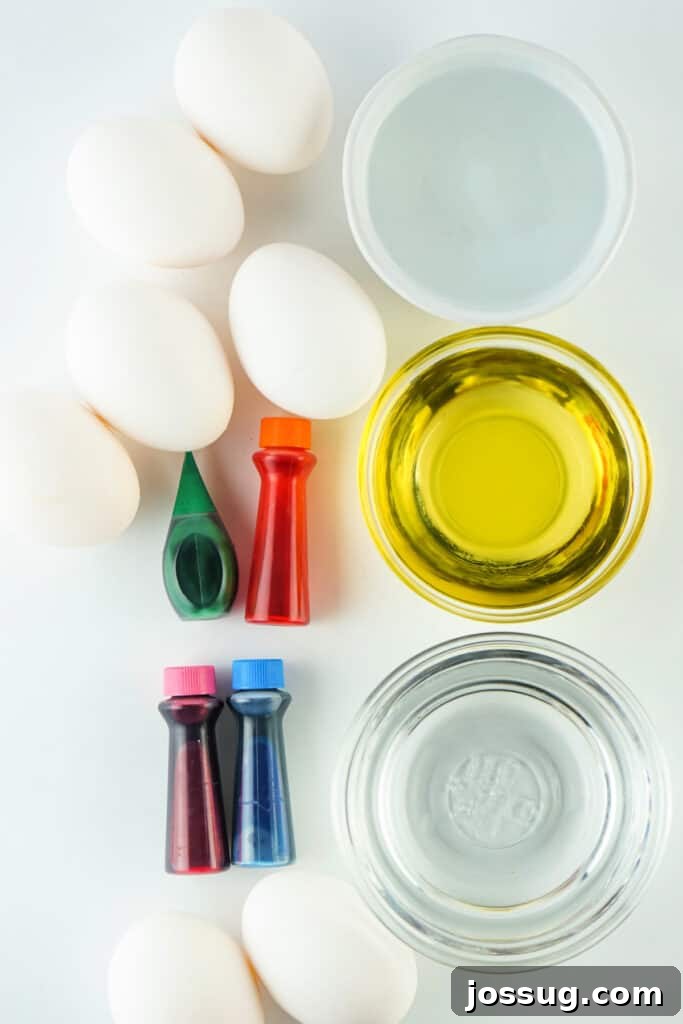
🛒 Ingredients & Essential Supplies
- Hard-Boiled Eggs: Ensure your eggs are completely cooked, cooled to room temperature, and thoroughly dry. For the best color adherence and marbling effect, white eggs work wonderfully, though brown eggs can also be marbled for a more rustic, subtle look. If you need tips on perfecting your hard-boiled eggs, check out our guide on Perfect Hard-Boiled Eggs.
- Boiling Water: Used as the base for your dye mixture. The heat helps the food coloring dissolve thoroughly and adhere more vibrantly to the eggshells.
- Distilled White Vinegar: A crucial ingredient! Vinegar helps set the dye, making the colors more intense and preventing them from washing off easily. Its acidic nature prepares the eggshell for optimal color absorption.
- Water-Based Food Dye: Liquid food coloring typically works best for this method as it disperses easily in water. Gel food dye can also be used, but you might need extra stirring to ensure it’s fully incorporated into the water and vinegar mixture. Choose a variety of bright colors for truly eye-catching results.
- Cooking Oil: Any light-colored cooking oil will work – vegetable oil, canola oil, olive oil, or avocado oil are all excellent choices. The oil is the magic ingredient that creates the hydrophobic layer, allowing for the stunning marbled patterns. You’ll need a tablespoon for each color mixture, plus a little extra for streaking the eggs.
- Equipment: You’ll want several small bowls (one for each color), spoons for stirring and dipping, paper towels for drying, and rubber gloves to protect your hands from staining.
✨ Creative Variations to Explore
- Multicolor Marbling: For an even more dynamic look, after dipping an egg in one color and wiping it dry, allow it to dry completely for a few minutes. Then, dip it into a second, different color. This creates layered, multi-toned marbled effects that are truly unique.
- Metallic Touch: After your marbled eggs are fully dry, add a touch of glamour by gently brushing on edible gold or silver paint. This can highlight certain swirls or add a luxurious shimmer, perfect for a sophisticated Easter display.
- Pastel Shades: For a softer, more ethereal appearance, simply use fewer drops of food dye (e.g., 5-10 drops instead of 10-20). This will result in beautiful, subtle pastel marbling that’s perfect for a spring aesthetic.
- Glitter Glam: While the eggs are still slightly damp from the dye (before they’re completely dry), sprinkle a tiny amount of edible glitter over them. The glitter will stick to the damp areas, adding sparkle and dimension to your marbled patterns.
- Natural Dyes: For a more organic approach, experiment with natural dyes made from fruits, vegetables, and spices (e.g., beet juice for pink, turmeric for yellow, red cabbage for blue/purple). Note that natural dyes might produce less vibrant marbling, but the subtle earth tones can be equally charming.
🧪 The Art & Science Behind Marbled Eggs
The secret to these exquisite marbled eggs lies in a fundamental scientific principle: oil and water don’t mix! When you add cooking oil to your dye mixture, the oil forms small droplets and a thin film on the surface. Because eggshells are porous and the dye is water-based, the dye wants to adhere to the egg, but the oil acts as a barrier, preventing uniform color saturation. As you roll the egg through the mixture, the oil clings to parts of the shell, pushing the dye away in those spots. This creates the characteristic streaks and swirls where the dye can only make contact in the gaps left by the oil.
The quick dipping and immediate removal are crucial because if the egg remains in the dye too long, the dye will eventually penetrate beyond the oil barrier, resulting in a more solid color rather than distinct marbled patterns. The vinegar helps the dye bind effectively to the eggshell, ensuring vibrant colors in the areas where the oil allows the dye to reach. Understanding this simple interaction between oil, water, and dye makes the process even more fascinating!
🔥 Expert Tips for Flawless Marbling
- Avoid Soaking the Eggs: The key to distinct marbling is a quick dip. If you leave the egg submerged for too long, the dye will penetrate the oil barrier and create a solid color rather than beautiful swirls. It’s a quick roll in and out!
- Maintain a Low Water Level: Ensure your dye mixture fills the bowl just enough to cover about half to two-thirds of the egg. This allows you to easily roll the egg and control the marbling, without fully submerging it unnecessarily.
- Wipe Immediately for Crisp Swirls: As soon as you remove the egg from the dye, gently wipe off any excess dye and oil with a paper towel. This prevents the colors from blurring and helps to “set” the crisp, marbled design.
- Utilize Darker Dyes for High Contrast: For the most dramatic and eye-catching marbled effects, opt for darker, more concentrated food dyes. Colors like deep blue, vibrant red, or rich purple tend to produce more pronounced and striking patterns against the white eggshell.
- Keep Eggs Dry and at Room Temperature: Before you begin, make sure your hard-boiled eggs are completely dry. Any moisture on the shell can prevent the dye from adhering properly. Room temperature eggs also react better with the dye, leading to more consistent results.
- Stir the Dye Mixture Before Each Dip: The oil and water will naturally separate. Give your dye mixture a quick stir with a spoon before each egg dip to redistribute the oil droplets and ensure fresh, unique marbling for every egg.
- Wear Rubber Gloves: To protect your hands from staining, especially when working with vibrant food dyes, always wear rubber gloves. This will keep your hands clean and allow you to handle the eggs without worrying about color transfer.
- Prepare Your Workspace: Lay down newspaper, old towels, or a plastic tablecloth to protect your surfaces from accidental spills and splatters. This makes cleanup much easier and allows for a stress-free crafting experience.
🚫 Troubleshooting Common Marbling Problems
While this method is generally easy, you might encounter a few common issues. Here’s how to troubleshoot them:
- Dye Not Sticking or Fading: Ensure your eggs are completely dry and at room temperature. Cold or wet eggs will repel the dye. Also, make sure you’re using boiling water for the dye mixture, as the heat helps the dye adhere better. Don’t skip the vinegar, as it’s crucial for dye vibrancy and adherence.
- No Marbling Effect, Just Solid Color: This usually happens if the egg stays in the dye mixture for too long. The key is a very quick dip and immediate removal. Also, ensure you have enough oil in the mixture and that it’s been stirred right before dipping to create those distinct oil barriers.
- Patchy or Inconsistent Marbling: This could be due to uneven oil application on the egg itself or insufficient stirring of the dye mixture. Lightly streak the egg with extra oil (as described in the recipe) before dipping, and always give the dye solution a quick stir to redistribute the oil.
- Colors Not Vibrant Enough: Increase the number of food dye drops in your mixture. For darker, richer colors, you might need 20-30 drops, especially if using a lighter shade. Ensure your eggs are white for the brightest color payoff.
❓ Frequently Asked Questions About Marbled Easter Eggs
Yes, absolutely! Brown eggs can be marbled beautifully, although the colors will appear slightly muted or deeper due to the natural color of the shell. For a more subtle and earthy tone, brown eggs are a wonderful choice. The marbling effect itself will still be distinct.
Marbling issues usually stem from two main points: the oil or the dipping time. Ensure you lightly streak extra oil onto the egg before dipping – this creates the initial barrier for the dye. Most importantly, do NOT leave the egg in the dye for too long; it should be a quick roll-in and immediate removal. Also, make sure the oil in your dye mixture is well dispersed by stirring right before each dip.
If you plan to eat your hard-boiled marbled eggs, they should be stored in the refrigerator and consumed within one week, just like any other hard-boiled egg. If they are purely for decorative purposes, they can last much longer in a cool, dry place. For decorative eggs, you might consider blowing out the egg contents before dyeing for longer preservation.
While not strictly mandatory, using hot or boiling water is highly recommended. The heat helps the food dye dissolve more completely and adhere much better to the eggshell, creating significantly more vibrant and intense colors in your marbled patterns. Cold water can result in duller, less effective dyeing.
Yes, you can absolutely reuse the dye mixture for several eggs. However, over time, the oil droplets may start to break up or clump together, which can affect the marbling quality. To maintain optimal results, always give the mixture a good stir before dipping each new egg to redistribute the oil and ensure a fresh marbling effect.
First, ensure your egg is completely dry and at room temperature; moisture can prevent dye adherence. Second, verify that your dye is well-mixed with the hot water and vinegar. If the dye is still not sticking, try adding a few more drops of vinegar to increase the acidity, which helps the dye bind to the eggshell.
Wiping the egg immediately after dipping is crucial for achieving the distinct marbled effect. If you leave the egg in the dye for too long, or let the excess sit on the surface, the dye will continue to soak into the porous eggshell beyond the oil’s barrier, resulting in a solid, uniform color rather than beautiful, clear swirls and patterns.
Absolutely! This is a fantastic way to create multi-dimensional marbled eggs. You can roll the egg in one color mixture first, wipe it dry, and then let it sit for a few minutes to set. Once mostly dry, you can repeat the process by dipping it into a second (or even third!) different color for stunning layered and blended effects. Experiment with complementary or contrasting colors!
If the eggs are intended for consumption, store them in their original carton or an airtight container in the refrigerator and consume them within seven days. For decorative eggs that will not be eaten, keep them in a cool, dry place away from direct sunlight. Consider blowing out the contents of the raw egg before dyeing for long-term display.
🎉 Conclusion: Your Easter Masterpiece Awaits!
Creating marbled Easter eggs with the oil and dye method is an incredibly rewarding and visually stunning craft. It’s a delightful way to add a touch of handmade artistry and vibrant color to your Easter celebrations, offering endless possibilities for creativity and personalization. Whether you’re looking for a fun activity to do with children or a sophisticated decorating project for yourself, these unique, swirled eggs are sure to bring joy and beauty to your holiday. So gather your simple ingredients, embrace the process, and get ready to unveil your own collection of magnificent, marbled masterpieces!
🍽️ Other Recipes & Crafts You May Enjoy
- Cool Whip Dyed Easter Eggs
- Perfect Hard-Boiled Eggs
- Irish Cream Crème Brûlée
- Chocolate Peanut Butter Oatmeal Smoothie
- Peanut Butter Easter Eggs

12
servings
Marbled Easter Eggs
Jamie Sherman
10
5
15
Print Recipe
Equipment
-
Mixing bowls (one per color)
-
Paper towels
-
Rubber gloves
-
Spoons
Ingredients
- 12 hard-boiled eggs, room temperature, dry
- ½ cup boiling water, per color
- 1 tablespoon cooking oil, + extra for streaks
- ½ tablespoon white distilled vinegar, per color
- 10-20 drops food dye, per color
Instructions
-
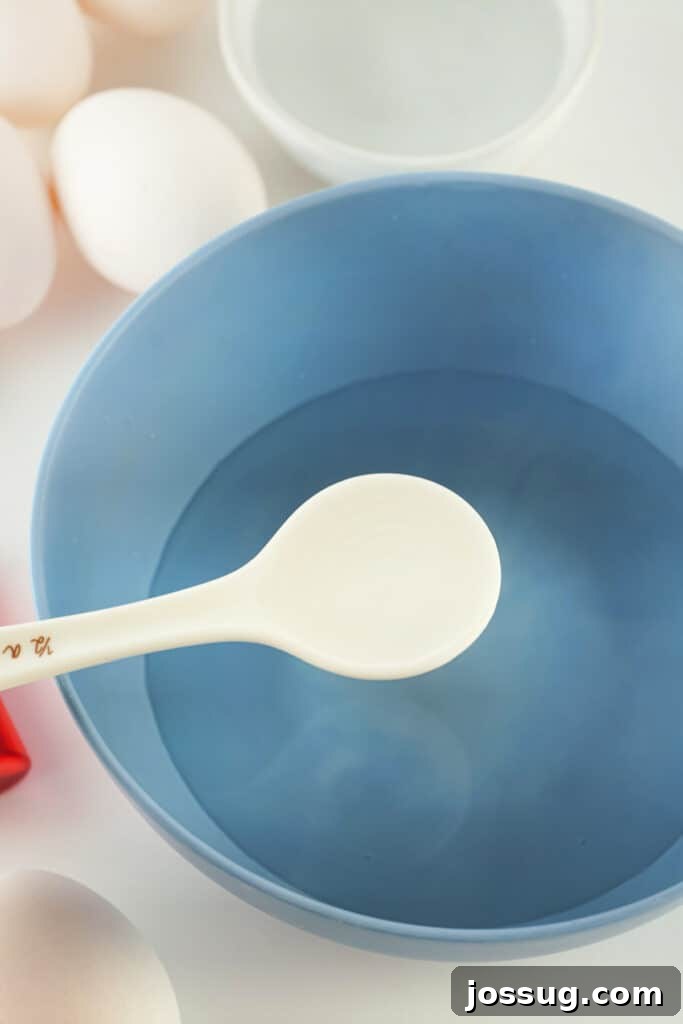
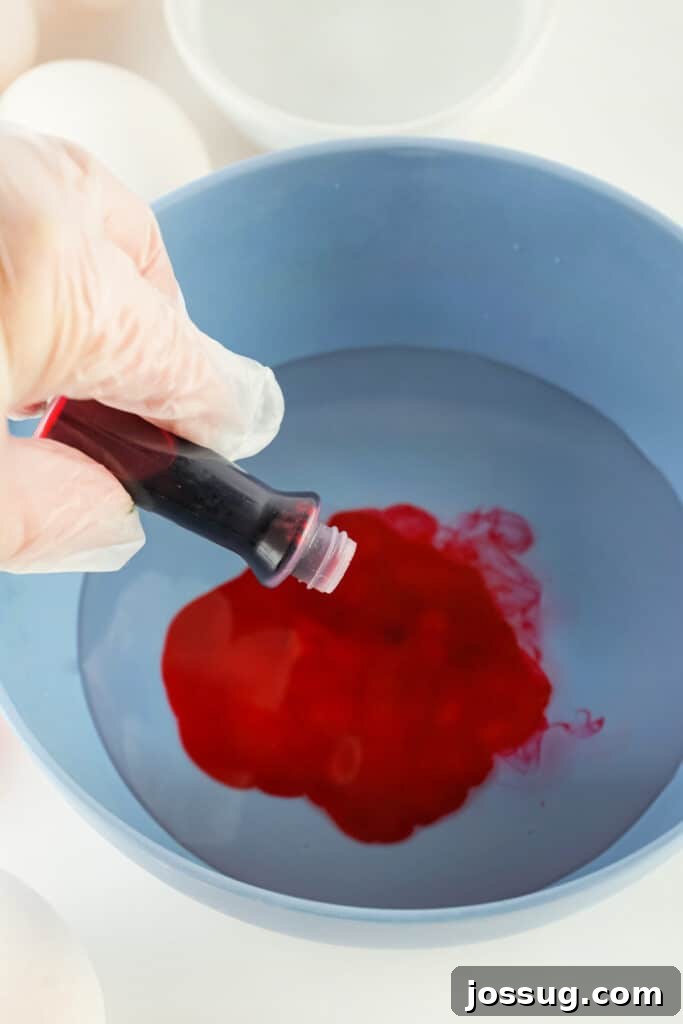
1. Prepare the Dye: Use one bowl per desired color. In each bowl, combine ½ cup boiling water, ½ tablespoon white distilled vinegar, and 10-20 drops of food dye. Use fewer drops (10-15) for darker dyes for a bold effect, and more (15-20) for lighter shades or for more vibrant results. Stir the mixture thoroughly until the dye is completely dissolved.
-
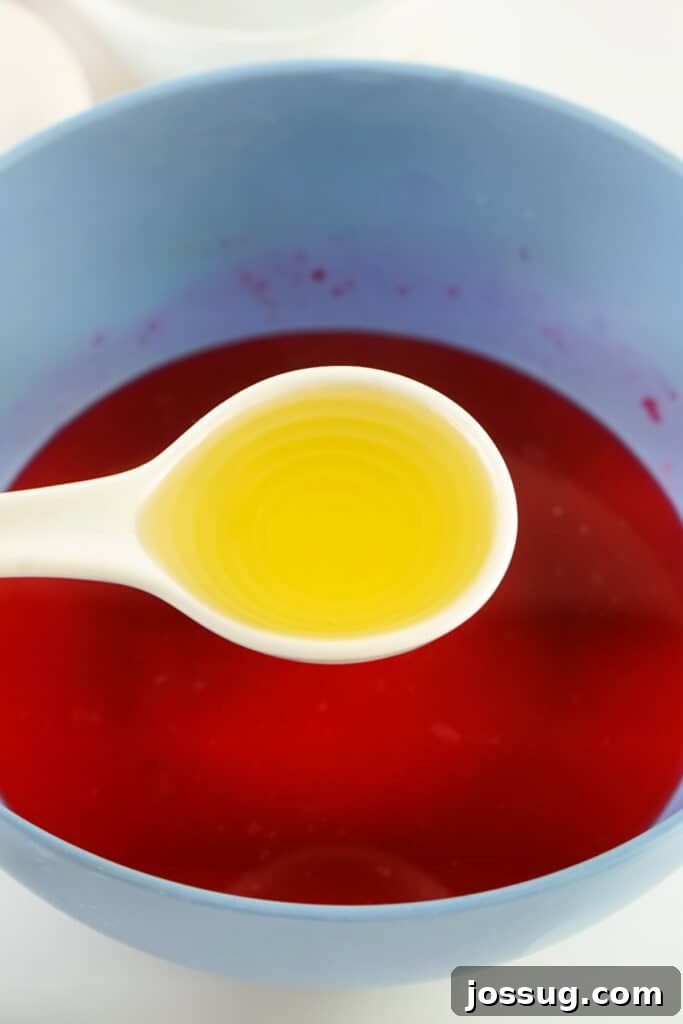
2. Add Oil to Dye: To each bowl of dye, add 1 tablespoon of cooking oil. Gently stir the mixture to break the oil into smaller droplets, but do not mix so vigorously that it emulsifies. You want distinct oil pockets on the surface. Set aside a small amount of extra cooking oil for streaking the eggs.
-
3. Oil the Eggs: Before dipping, lightly streak each hard-boiled egg with a finger or a small brush dipped in the reserved extra cooking oil. Avoid coating the egg completely; the goal is to create random, light streaks of oil on the surface. This step enhances the marbling effect.
-
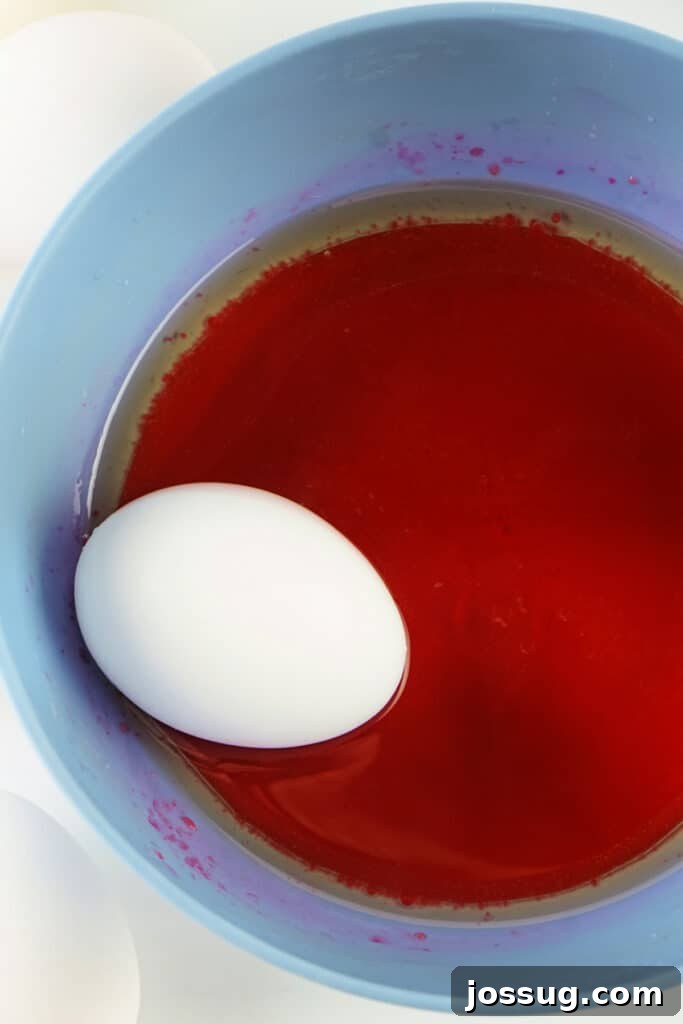
4. Dye the Eggs: Stir the dye and oil mixture again right before each dip. Wearing rubber gloves, quickly roll an egg in the mixture, ensuring it picks up both dye and oil. Remove the egg immediately after rolling – do not let it soak. Promptly wipe off any excess dye and oil with a paper towel to reveal the marbled pattern.
-
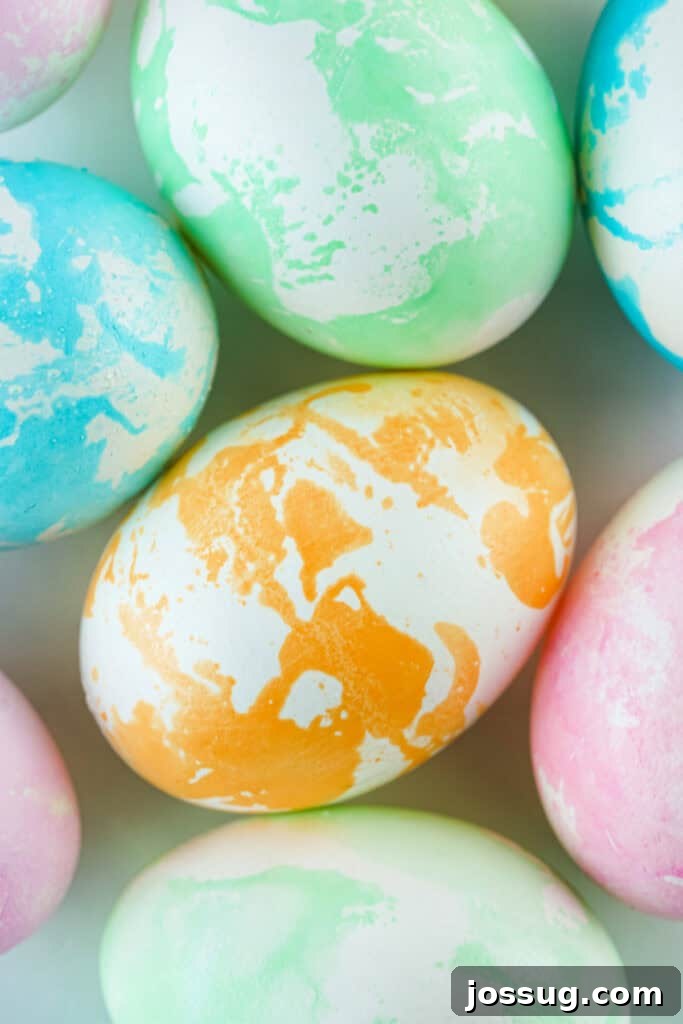
5. Dry and Set: Carefully place the newly marbled eggs into an empty egg carton or on a drying rack. Allow them to sit undisturbed for at least 5 minutes before handling further, giving the dye a chance to fully set and dry. For multicolor marbling, let the first layer dry almost completely before dipping into a second color.
Notes
- Egg Preparation: Make sure your hard-boiled eggs are at room temperature and completely dry before starting to ensure the dye adheres properly and the marbling effect is distinct.
- Dye Strength: For intense, dark colors, use approximately 10-15 drops of dye. For softer, pastel shades, use 15-20 drops (or even fewer) to achieve a lighter effect. Experiment to find your preferred vibrancy.
- Oil Application: The light streaks of oil applied to the egg are crucial. Too much oil can prevent the dye from sticking at all, while too little won’t create enough separation for the desired marbled effect. Aim for thin, irregular lines of oil.
- Quick Dipping: The secret to successful marbling is speed. Roll the egg quickly in the dye mixture and remove it immediately. Allowing it to sit for even a few extra seconds will result in a solid color rather than beautiful swirls.
- Cleaning Up: Always wear rubber gloves to protect your hands from staining. It’s also a good idea to cover your work surface with old newspapers or a plastic tablecloth to prevent any accidental messes.
- Alternative Oils: You can use almost any cooking oil you have on hand, including vegetable, canola, olive, or avocado oil. They all perform similarly in creating the marbling effect.
- Storing the Eggs: If you intend to eat your dyed eggs, store them in the refrigerator and consume them within a week. For decorative eggs, keep them in a cool, dry place away from direct sunlight for longer preservation.
- Works on Brown Eggs: While white eggs provide the most vibrant color contrast, brown eggs can also be marbled. The effect will be more subtle and earthy, but equally beautiful and unique.
This technique is easy, fun, and perfect for creating stunning Easter eggs! 🥚✨
Nutrition
Serving:
1
egg
,
Calories:
78
kcal
,
Carbohydrates:
1
g
,
Protein:
6
g
,
Fat:
5
g
,
Saturated Fat:
2
g
,
Polyunsaturated Fat:
1
g
,
Monounsaturated Fat:
2
g
,
Cholesterol:
187
mg
,
Sodium:
62
mg
,
Potassium:
63
mg
,
Sugar:
1
g
,
Vitamin A:
260
IU
,
Calcium:
25
mg
,
Iron:
1
mg
Nutrition information is automatically calculated, so should only be used as an approximation.
Like this? Leave a comment below!