

Whip up these incredibly delicious and fluffy **3 Ingredient Scones** in mere minutes! Soft, tender, and lightly sweetened with natural honey, these delightful baked goods are an absolute dream for breakfast, brunch, or an elegant afternoon snack. Say goodbye to complicated recipes and hello to effortless baking that delivers perfect results every single time.

The Ultimate 3-Ingredient Scones Recipe for Effortless Baking
If you’ve been searching for a quick and easy scone recipe that consistently produces fluffy, tender, and perfectly golden results, your quest ends here. This revolutionary 3-ingredient scones recipe is a true game-changer, proving that you don’t need a lengthy ingredient list or complex techniques to create bakery-quality treats at home. Whether you’re a novice baker looking to impress with minimal effort or a seasoned pro needing a speedy option for unexpected guests, these scones are your new secret weapon. With just self-rising flour, golden honey, and rich heavy cream, you’ll be astonished by how simple yet profoundly satisfying these homemade scones are. They offer a delightful texture and a delicate sweetness, making them a versatile choice for any meal or occasion.
⭐ Why You’ll Fall In Love with This Easy Scones Recipe
-
Unbelievably Simple: Only 3 Essential Ingredients. Forget long shopping lists and complicated preparations. This recipe strips baking down to its most fundamental elements, requiring just self-rising flour, honey, and heavy cream. This simplicity not only makes baking accessible but also cost-effective, using pantry staples you likely already have on hand. It’s the perfect recipe for those spontaneous baking urges!
-
Effortless Execution: No Fancy Tools or Techniques Needed. You won’t need a stand mixer, pastry blender, or any specialized equipment for these scones. A mixing bowl and a sturdy spoon or Danish dough whisk are all it takes. The process is straightforward, focusing on gentle mixing rather than elaborate steps, making it an ideal entry point for beginners to the wonderful world of baking.
-
Rapidly Ready: From Bowl to Table in Under 30 Minutes. Craving freshly baked goods but short on time? These scones are your solution. With a minimal prep time of just 5 minutes and a quick bake, you can enjoy warm, homemade scones in under half an hour. Perfect for busy mornings, last-minute brunches, or satisfying a sudden sweet tooth.
-
Infinitely Customizable: Easy to Adapt with Your Favorite Mix-ins. While delicious on their own, these scones provide a fantastic canvas for creativity. Easily incorporate your favorite sweet or savory additions like chocolate chips, dried fruits, fresh berries, or even herbs and cheese. This versatility ensures that you can tailor each batch to your specific tastes or seasonal cravings.
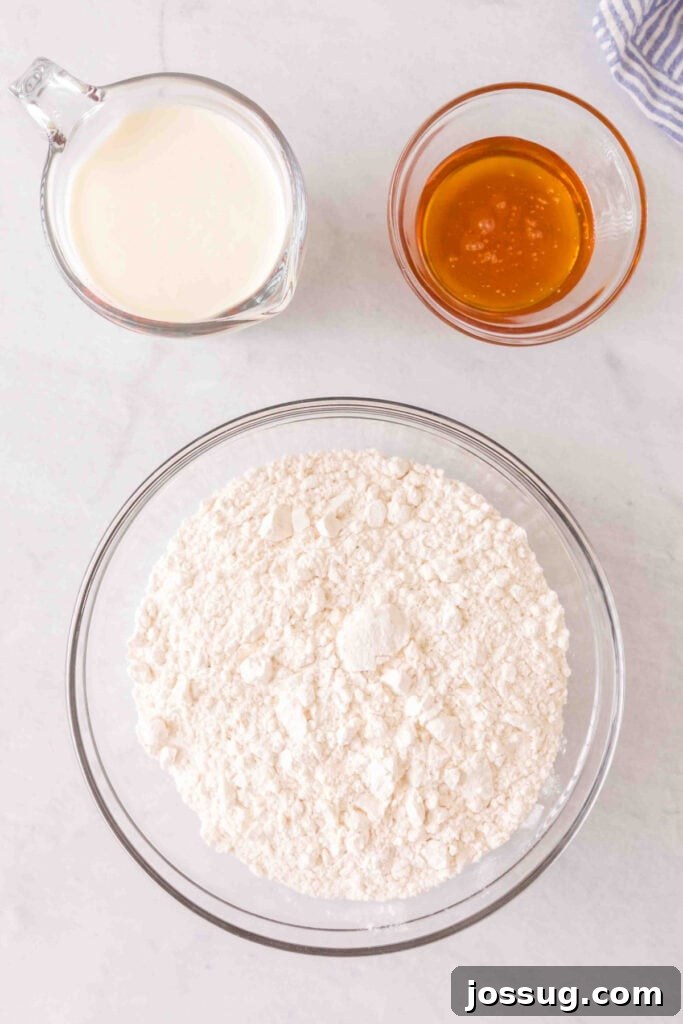
🛒 Ingredients & Smart Substitutions for Your Scones
The beauty of this recipe lies in its simplicity, relying on just three core ingredients. Here’s a closer look at what you’ll need and how to make clever substitutions without compromising on taste or texture.
-
Self-Rising Flour: This is the workhorse of the recipe, containing flour, baking powder, and salt all in one convenient mix. It provides the lift and structure for perfectly fluffy scones. If you don’t have self-rising flour, you can easily create your own by combining 3 cups of all-purpose flour with 1 tablespoon of baking powder and 1 teaspoon of fine salt. For an even more tender crumb, consider using pastry flour in your homemade blend.
-
Honey: Our natural sweetener of choice, honey adds a delicate sweetness and a subtle depth of flavor, while also contributing moisture to the dough. Its liquid form integrates beautifully. For substitutions, you can use an equal amount of maple syrup or agave nectar for similar liquid sweeteners. If you prefer to use granulated sugar or brown sugar, use about 4 tablespoons. For best results, mix the dry sugar thoroughly into the heavy cream first to help it dissolve before combining with the flour.
-
Heavy Cream: This ingredient is crucial for the scones’ rich flavor and tender texture. The high fat content in heavy cream is what prevents the gluten in the flour from developing too much, ensuring a soft, pillowy crumb. If heavy cream isn’t available, full-fat coconut milk can be used for a dairy-free alternative, though it might impart a slight coconut flavor. Alternatively, a mix of 1 cup half-and-half or whole milk combined with 4 tablespoons of melted butter provides a good substitute. Evaporated milk can also work, but the resulting scones may have a slightly lighter, less rich texture. For a subtle tang, buttermilk could be used, but you might need to adjust the amount slightly due to its thicker consistency.
✨ Creative Variations to Customize Your Scones
These 3-ingredient scones are wonderfully adaptable. Use these ideas to inspire your next batch and make them uniquely yours!
-
Delightfully Sweet Mix-ins: Elevate the sweetness and texture by folding in extras. Try a handful of mini chocolate chips, dried cranberries for a tart counterpoint, or fresh blueberries (tossed lightly in flour to prevent sinking). Other delicious options include chopped dried apricots, golden raisins, a sprinkle of cinnamon, or even citrus zest (lemon or orange) for a bright, fresh flavor.
-
A Savory Twist: Transform these sweet treats into perfect accompaniments for a meal. Mix in shredded sharp cheddar cheese, crumbled feta, or a blend of your favorite herbs like dried rosemary, thyme, or chives. For a bolder flavor, add a pinch of garlic powder or a generous grind of black pepper. Crispy bacon bits or finely chopped sun-dried tomatoes also make excellent savory additions.
-
Top It Off for Extra Flair: Enhance the appearance and texture of your scones before baking. A sprinkle of coarse sugar on top will create a beautiful sparkle and a delightful crunchy crust. Alternatively, brush the tops with a little melted butter for a richer, golden-brown finish, or an egg wash for a glossy, professional look. You could even drizzle a simple glaze made from powdered sugar and milk after they cool.

🔥 Pro Baking Tips for Perfect Scones
Achieving light and fluffy scones is easy with these simple tips:
-
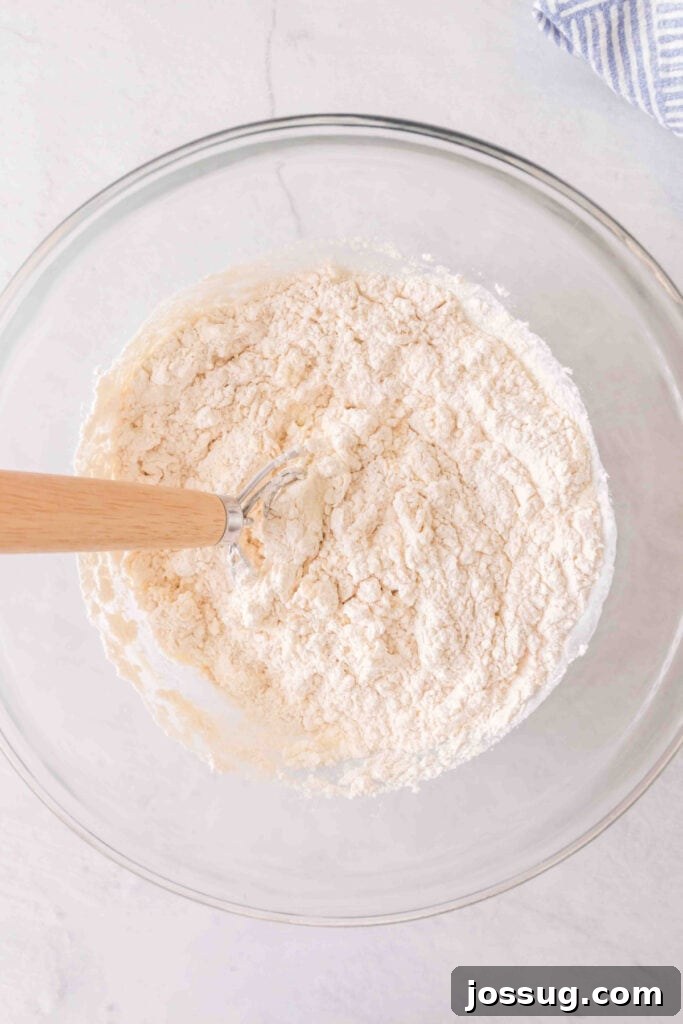
Opt for a Danish Dough Whisk or Sturdy Wooden Spoon: When mixing your dough, resist the urge to use an electric mixer. The dough for scones is quite thick and doesn’t require extensive mixing. Overworking the dough can develop gluten, leading to tough, dense scones instead of the tender, flaky texture you desire. A Danish dough whisk is specially designed to mix thick doughs gently, while a wooden spoon will also do the trick, ensuring you mix just until combined.
-
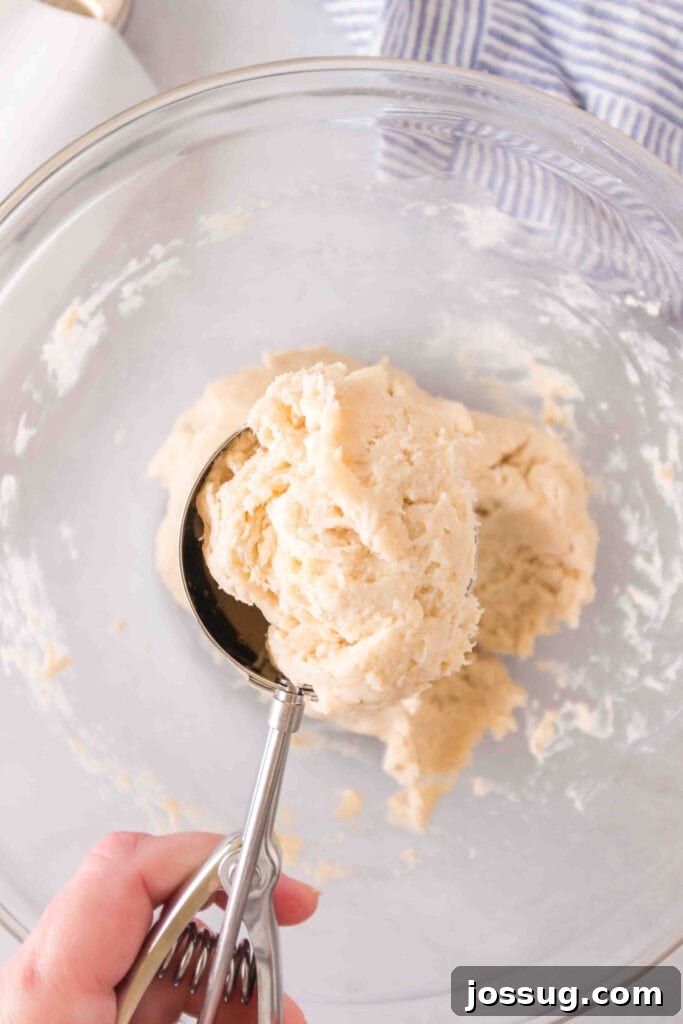
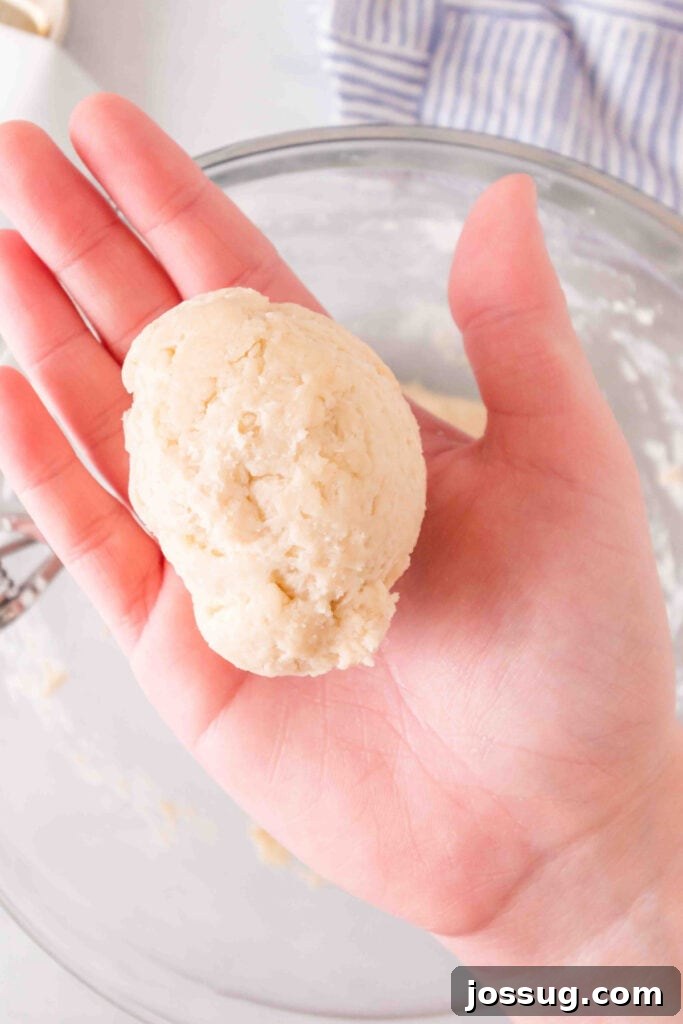
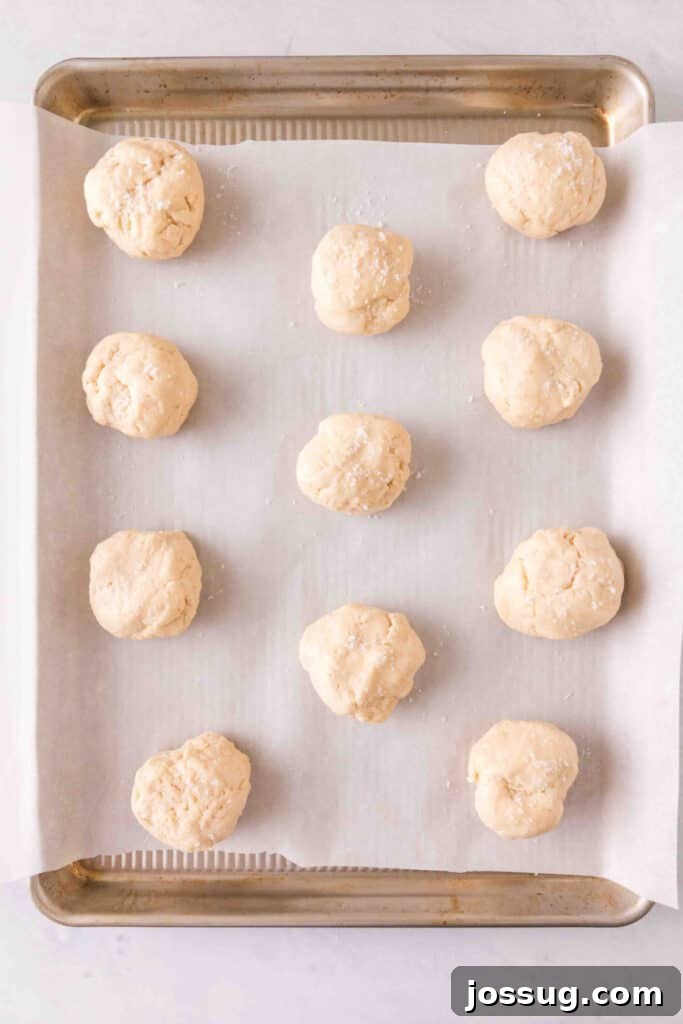
Scoop Evenly for Uniform Baking: For consistent results, aim to portion your dough into similarly sized balls. A large cookie scoop (around 3 tablespoons) works wonders for this, creating uniform scones that bake evenly and beautifully. This prevents smaller scones from overbaking while larger ones are still underdone.
-
Don’t Skip the Parchment Paper: Lining your baking sheet with parchment paper is a small step that makes a big difference. It prevents the bottoms of your scones from sticking, ensures they bake more evenly by insulating the base, and makes cleanup an absolute breeze.
-
Avoid Overcrowding the Baking Sheet: Give your scones space to breathe and expand. Arranging them too close together can prevent proper air circulation, resulting in scones that steam rather than bake, hindering their ability to rise and turn golden brown.
-
Work with Cold Ingredients (Mostly!): While this recipe uses liquid honey and cream, ensuring your cream is cold helps keep the dough cool. In traditional scone making, cold butter is key. Here, the heavy cream’s high fat content acts similarly, preventing premature melting and ensuring a tender crumb. Keeping ingredients cool helps achieve that desirable flaky texture.
❓ Frequently Asked Questions (FAQs) About Scones
Unlike many traditional scone recipes that rely on cold butter, this 3-ingredient version uses heavy cream, which provides enough fat to keep the dough tender without the need for chilling. Simply mix, scoop, and bake immediately for perfectly fluffy results!
Absolutely! You can prepare the dough, cover it tightly with plastic wrap, and refrigerate it for up to 12 hours before baking. This makes it perfect for prepping the night before for a fresh morning treat. Before scooping and baking, allow the dough to sit at room temperature for 10-15 minutes to take off the chill, which helps with a more even rise.
Baking can be influenced by environmental factors like humidity, and even different brands of flour can vary in absorption. If your dough feels too dry and crumbly, add 1-2 tablespoons more heavy cream, one tablespoon at a time, until it comes together. If it’s too sticky to handle, incorporate an additional tablespoon of self-rising flour at a time until it reaches a manageable consistency.
It’s not strictly required, as these scones will still bake beautifully. However, brushing the tops with a little extra heavy cream before baking will give them a lovely golden-brown finish. For an added delightful crunch and sparkle, you can also sprinkle coarse granulated sugar on top before they go into the oven.
Yes, you certainly can! Instead of scooping, gently pat the dough into a circular shape about 1 inch thick on a lightly floured surface. Then, you can use a sharp knife to cut it into 8-12 wedges, or use a round biscuit cutter for traditional scone shapes. You may need to adjust the baking time slightly if you choose a different shape or thickness, so keep an eye on them for that perfect golden hue.
🍽️ Other Delicious Recipes You May Enjoy
Breakfast
Iced Blueberry Scones
Breakfast
Cinnamon Raisin Biscuits
Breakfast
Eastern NC Cheese Biscuits
Breakfast
Orange & Ginger Scones

3 Ingredient Scones
Jamie Sherman
5 minutes
24 minutes
4 minutes
33 minutes
Equipment
-
baking sheets
-
parchment paper
-
large mixing bowl
-
Danish Dough Whisk Stainless Steel Dough Whisk Dutch Style Bread Dough Hand Mixer Wooden Handle or sturdy mixing spoon
-
cookie scoop (large – approx. 3 tablespoons)
-
wire cooling rack
Ingredients
- 3 cups self-rising flour
- 4 tablespoons honey
- 1-½ cups heavy cream
Instructions
-
Preheat your oven to 350°F (175°C).
-
Line a baking sheet with parchment paper to prevent sticking and ensure even baking. Set it aside.
-
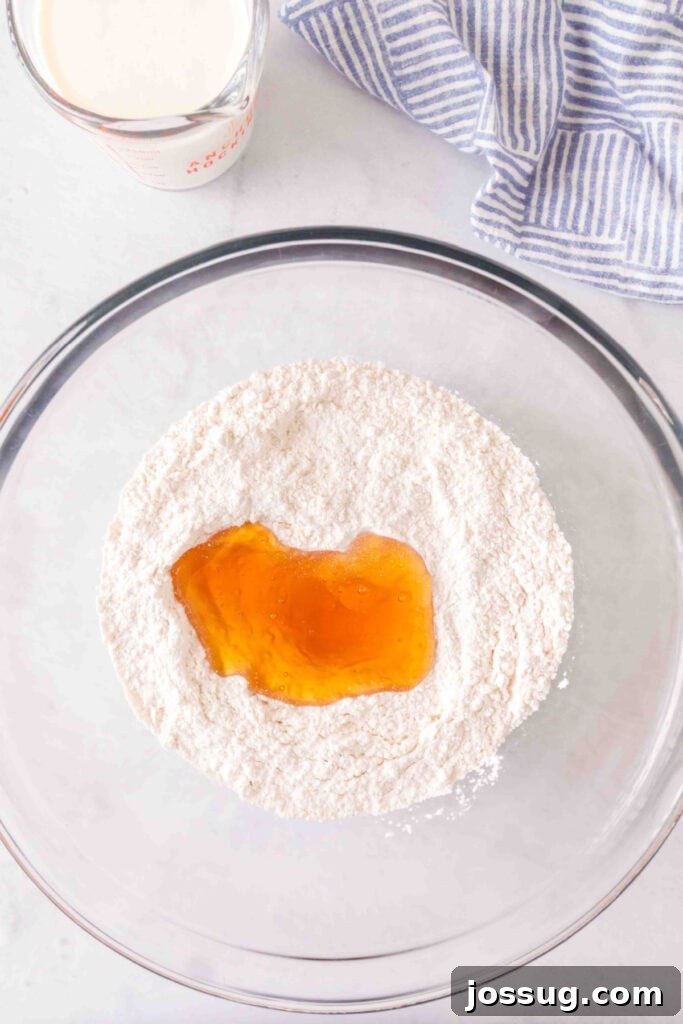
In a large mixing bowl, combine the self-rising flour, honey, and heavy cream.
-
Mix with a sturdy spoon or a Danish dough whisk until a thick, shaggy dough forms. Be careful not to overmix; stop as soon as the ingredients are just combined.
-
Use a large cookie scoop (approximately 3 tablespoons in size) to portion the dough into even balls.
-
Place the dough balls onto the prepared baking sheet, leaving some space between each scone for expansion. If desired, sprinkle the tops with a little granulated sugar for a lovely crunchy finish.
-
Bake for 24 minutes, or until the scones are beautifully golden brown on top and cooked through.
-
Allow the freshly baked scones to cool in the pan for 3-4 minutes before carefully transferring them to a wire cooling rack to cool completely.
-
Serve warm from the oven or at room temperature. Enjoy them plain or with your favorite toppings!
Notes
🥡 STORAGE
- Store baked and cooled scones at room temperature in an airtight container for up to 2 days.
- For longer freshness, refrigerate for up to 1 week.
♨️ REHEATING
- Air fryer: Reheat at 320°F (160°C) for 2-3 minutes until warmed through.
- Toaster: Slice older scones in half and toast until lightly crisp and warm.
- Microwave: Heat in 10-15 second intervals until warm, but be cautious not to overheat as they can become chewy.
❄️ FREEZING
- Freeze baked and completely cooled scones in a freezer-safe bag or airtight container for up to 3 months.
- Thaw frozen scones at room temperature for a few hours or overnight, then reheat before serving.
💡 TIPS FOR BEST RESULTS
- Use a Danish dough whisk or a sturdy spoon instead of an electric mixer to avoid overmixing.
- Do not overmix; stir gently until the ingredients are just combined and no dry flour remains.
- Sprinkle coarse sugar on top before baking for a delightful light, crunchy texture and beautiful shimmer.
- Ensure your heavy cream is cold for the best texture.
🍳 ALTERNATE COOKING METHODS
- Convection oven: If using a convection oven, bake at 325°F (160°C) for 20-22 minutes, as convection ovens cook faster and more evenly.
- Toaster oven: For smaller batches, bake at 350°F (175°C), checking for doneness at 18-20 minutes. Keep a close eye on them to prevent burning due to proximity to heating elements.
♻️ LEFTOVERS
- Give leftover scones new life by splitting them in half and toasting them for a crisp edge.
- Serve them with a smear of honey butter, a dollop of your favorite fruit jam, or a drizzle of extra honey for a gourmet touch.
Nutrition
Calories: 257kcal,
Carbohydrates: 32g,
Protein: 5g,
Fat: 12g,
Saturated Fat: 8g,
Polyunsaturated Fat: 1g,
Monounsaturated Fat: 3g,
Cholesterol: 37mg,
Sodium: 10mg,
Potassium: 69mg,
Fiber: 1g,
Sugar: 7g,
Vitamin A: 478IU,
Vitamin C: 0.2mg,
Calcium: 27mg,
Iron: 0.4mg
Nutrition information is automatically calculated, so should only be used as an approximation.
Loved this recipe? Leave a comment below!
Your feedback helps us create more delicious recipes for you.