
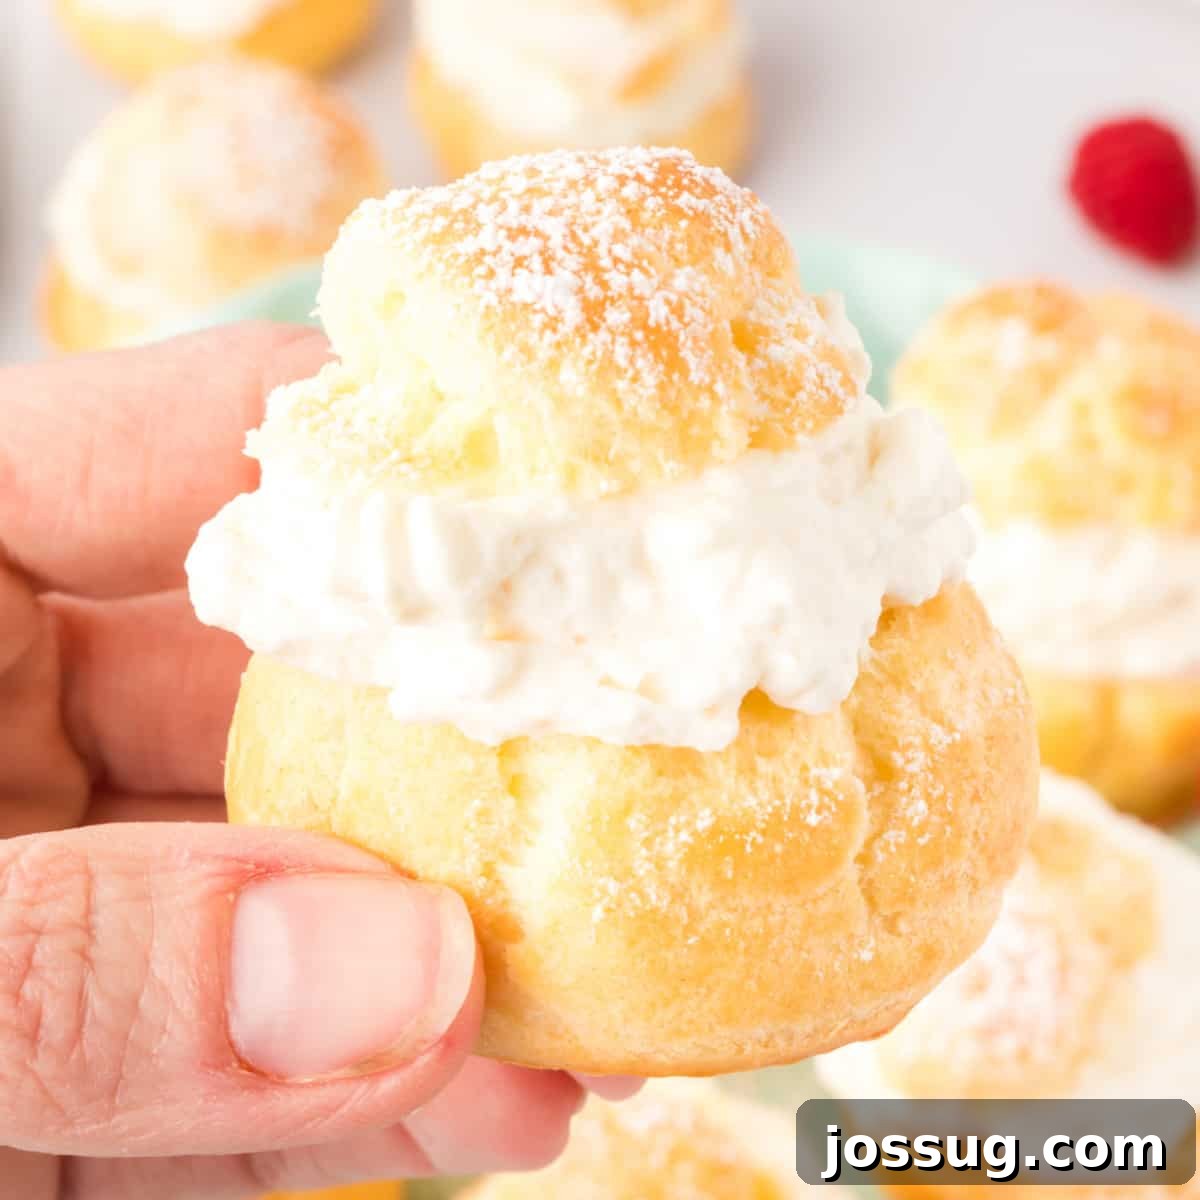
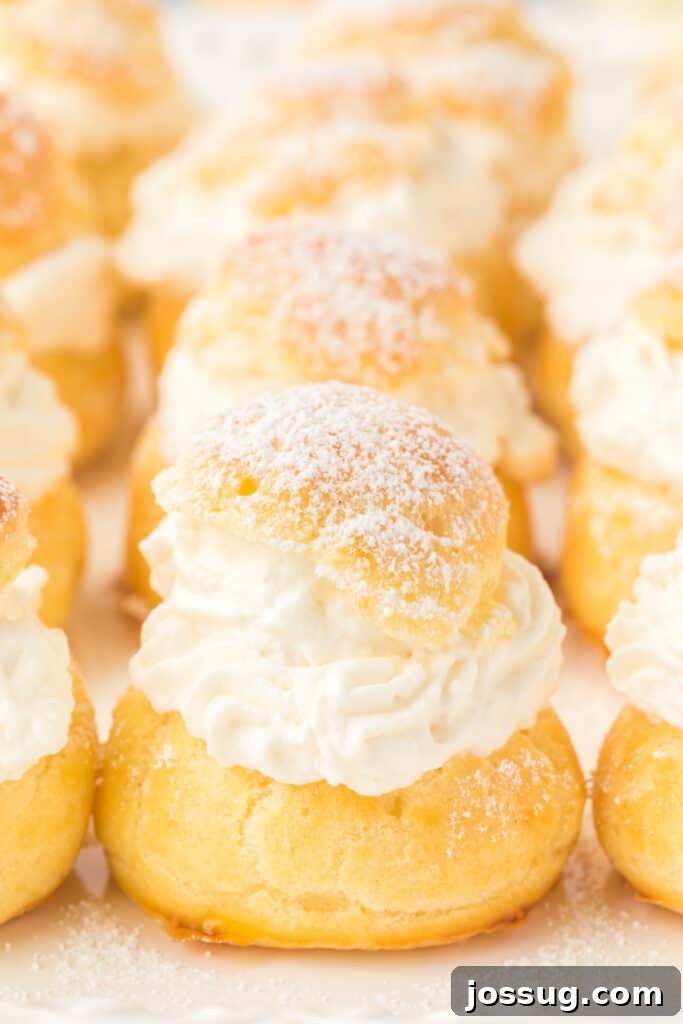
Embark on a delightful culinary journey to master the art of homemade cream puffs. These quintessential French pastries, known for their delicate, airy shells and rich, velvety fillings, are a testament to elegant simplicity in baking. Far from being an intimidating challenge, our foolproof cream puffs recipe is designed to guide you through each step, ensuring a batch of perfectly golden, delightfully puffy choux pastry cases brimming with a smooth, vanilla-infused cream. Ideal for elevating any dessert table, whether for a grand celebration or a luxurious self-indulgent treat, these homemade delights are surprisingly accessible and guaranteed to impress. Prepare to bring the charm of a Parisian patisserie directly into your kitchen with this comprehensive guide to crafting truly spectacular cream puffs.
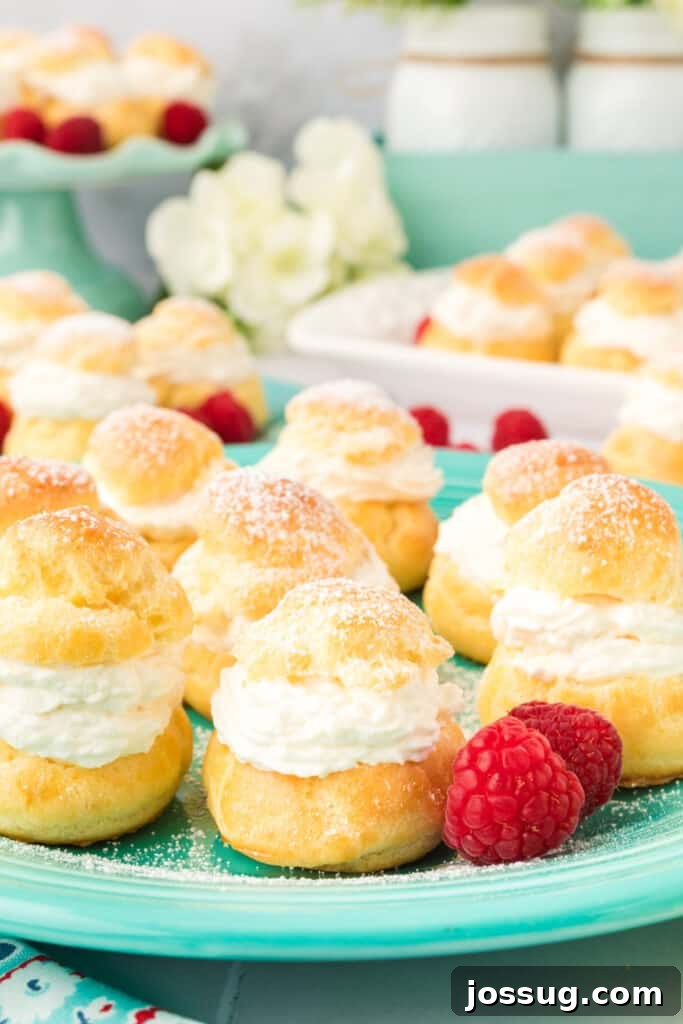
Unveiling the Secret to Perfect Cream Puffs
Cream puffs, or Profiteroles as they are known in France, are more than just a dessert; they are a culinary experience. Their delicate structure and rich filling make them a beloved treat worldwide. The secret to their irresistible charm lies in two main components: the light-as-air pâte à choux pastry shell and the rich, creamy filling.
The Elegance and History of Cream Puffs
The history of cream puffs dates back to the 16th century, credited to Popelini, the pastry chef to Catherine de’ Medici. What began as a simple hot paste evolved into the sophisticated pâte à choux we know today. This unique dough is characterized by its ability to puff up dramatically when baked, creating a hollow center perfect for filling. The elegance of a Cream Puffs dessert is not just in its appearance but also in its texture—a crisp exterior yielding to a tender, hollow interior, all complementing the luscious cream within. Each bite offers a harmonious blend of textures and flavors, making it a truly timeless classic.
Mastering the Art of Choux Pastry (Pâte à Choux)
While the idea of making cream puffs might seem intimidating, mastering the pâte à choux dough is the most crucial step, and it’s simpler than you might think. The key to successful choux pastry lies in achieving the right consistency. It starts with a cooked dough made from butter, water (or milk), salt, and flour, which creates a thick paste. Eggs are then incorporated one by one, giving the dough its elasticity and ability to puff. The steam generated inside the dough during baking is what creates those signature hollow centers. Understanding this science helps prevent common issues like deflated or dense puffs. Proper beating, temperature control during cooking the dough, and careful incorporation of eggs are all vital for an optimal rise. Don’t be afraid to practice; the rewards of a perfect choux are well worth the effort!
Crafting the Perfect Cream Puffs Filling
The filling is undoubtedly the heart and soul of any cream puff. While classic vanilla pastry cream (crème pâtissière) reigns supreme, the beauty of cream puffs lies in their versatility. Our recipe focuses on a rich, velvety, vanilla-infused whipped cream filling that is both simple and divine. However, for those looking to customize, the possibilities are endless. Consider experimenting with:
- Chocolate Ganache: A decadent option for chocolate lovers.
- Lemon Curd: Adds a bright, tangy contrast to the rich pastry.
- Coffee Cream: A sophisticated flavor for coffee enthusiasts.
- Fruit Purees: Incorporate seasonal fruit flavors like raspberry or strawberry.
- Nutella or Dulce de Leche: For a sweet, nutty, or caramel twist.
No matter your choice, ensure the filling is well-chilled before piping to maintain its structure and provide a refreshing contrast to the freshly baked shell.
A Dessert Worth the Effort: Why Bake Cream Puffs?
Learning how to make homemade cream puffs is an incredibly rewarding experience for any baking enthusiast. It’s a skill that builds confidence, a dessert that consistently delights, and a recipe that, once mastered, will become a treasured part of your culinary repertoire. Imagine the joy of presenting these elegant pastries, knowing you crafted each one from scratch. Beyond their aesthetic appeal, cream puffs offer a light yet satisfying bite of bliss, making them a perfect ending to any meal or a sophisticated treat for a casual gathering. They truly offer an unmatched combination of texture, flavor, and visual charm, proving that some efforts in the kitchen are genuinely worth every moment.
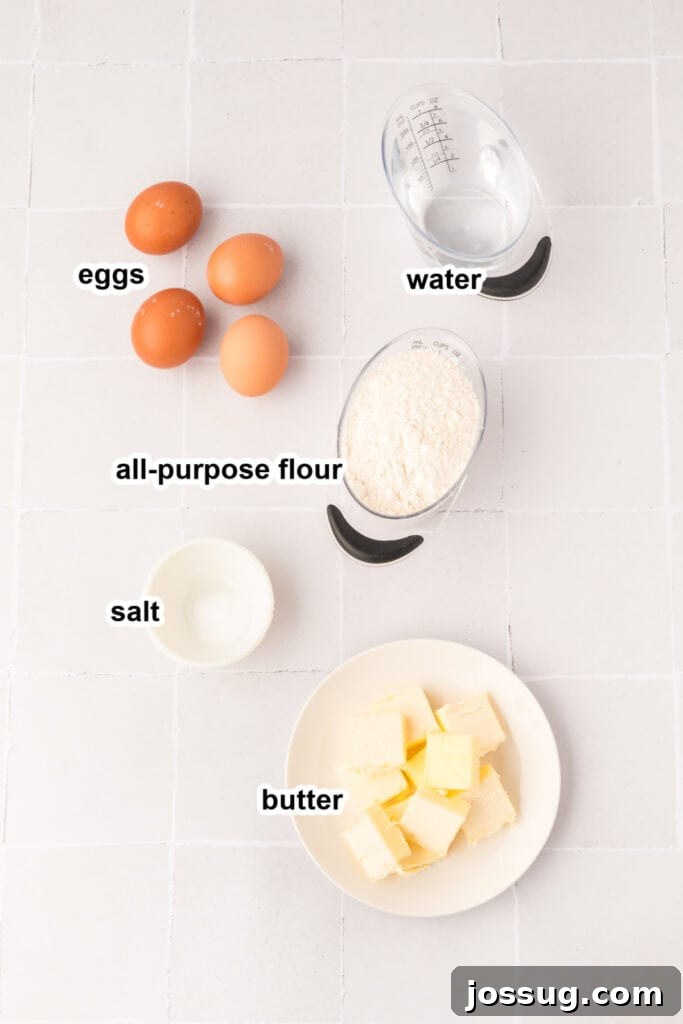
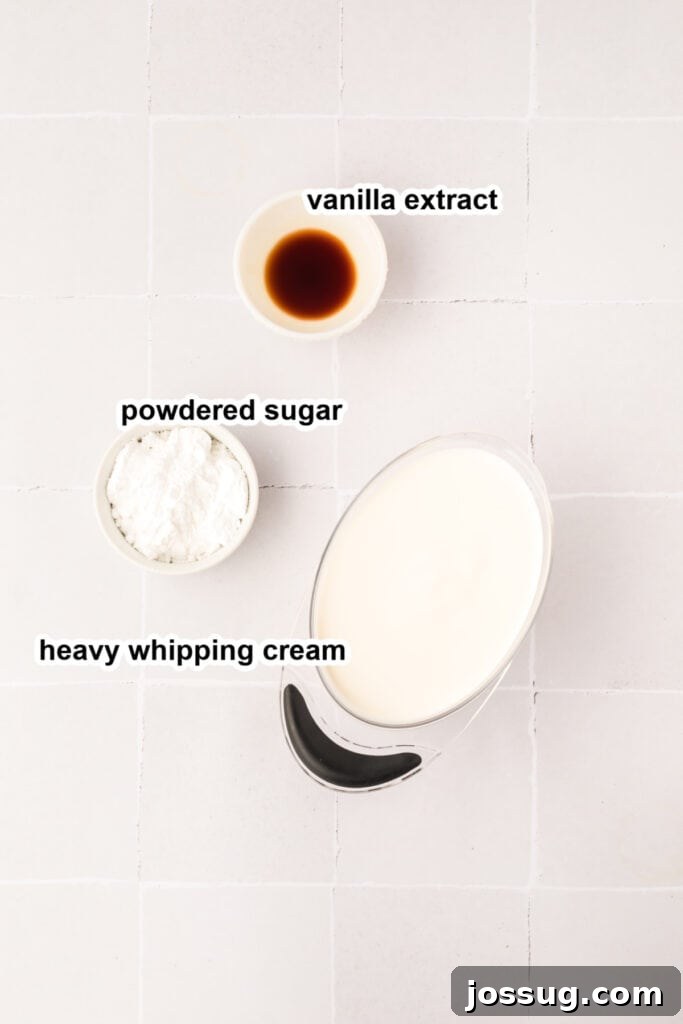
Cream Puffs Recipe: Essential Ingredients & Smart Substitutions
Having the right ingredients is the first step towards perfect cream puffs. Here’s a detailed look at what you’ll need and potential substitutions for dietary preferences.
Ingredients for the Pâte à Choux Pastry
- Unsalted butter: Crucial for richness and texture. If a dairy-free option is needed, a high-quality plant-based butter (like a vegan stick butter) can be used. Ensure it has a similar fat content to regular butter to avoid affecting the dough’s consistency.
- Salt: A pinch of salt enhances the flavor of the pastry and balances the sweetness of the filling. Use fine sea salt for best results.
- Water: The primary liquid for the dough. Whole milk can be substituted for part or all of the water to yield a richer, slightly softer pastry with a more golden crust.
- All-purpose flour: Provides the structure for the choux pastry. For a gluten-free version, opt for a reliable 1:1 gluten-free all-purpose flour blend, preferably one that contains xanthan gum for elasticity. Be aware that the texture may vary slightly, sometimes being a bit denser.
- Large eggs: Eggs are indispensable for pâte à choux, providing both structure and lift as they emulsify and create steam. They are the primary leavening agent. There is no direct, easy substitute for eggs in traditional choux pastry without significantly altering the outcome. For vegan recipes, aquafaba (the liquid from canned chickpeas) can be used as a binding and leavening agent, but achieving consistent results often requires experience. Always use room-temperature eggs, as they incorporate more smoothly into the warm dough.
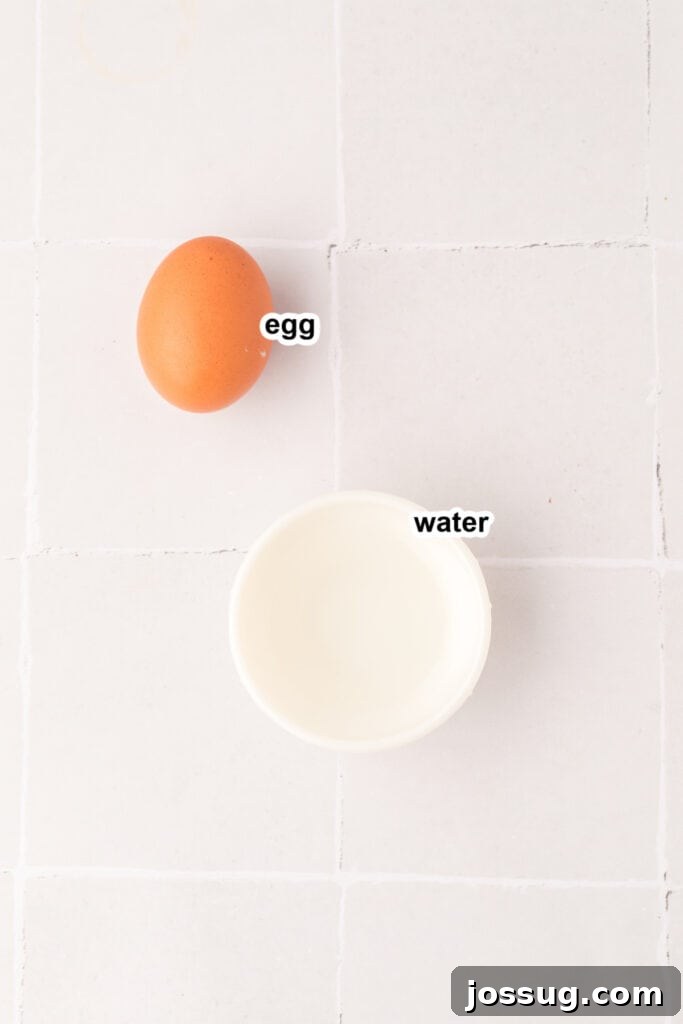
For the Egg Wash
- Egg and water: This simple mixture provides a beautiful golden sheen to the baked puffs. For a plant-based alternative, a mixture of plant-based milk (like almond or soy milk) with a touch of maple syrup or agave nectar can give a similar glossy, golden-brown finish.
Ingredients for the Pastry Cream Filling
- Heavy whipping cream: Forms the luxurious base of our vanilla cream filling. For a dairy-free option, full-fat canned coconut milk (chilled overnight and using only the thick cream part) can be a suitable substitute. Note that this will impart a subtle coconut flavor.
- Powdered sugar: Also known as confectioners’ sugar, it sweetens the cream and helps stabilize it without adding grittiness. If avoiding refined sugars, powdered forms of coconut sugar or sugar-free powdered sweeteners can be used, though adjustments to sweetness levels and flavor profiles may be necessary.
- Pure vanilla extract: Essential for that classic, comforting flavor. Feel free to experiment with other extracts like almond, orange, or coffee to create diverse flavor profiles for your cream puffs. A high-quality vanilla bean paste can also elevate the vanilla flavor significantly.

How to Make the Perfect Homemade Cream Puffs
Creating these delightful French pastries is a process that’s both fun and rewarding. Follow these detailed steps to ensure your cream puffs are light, airy, and perfectly delicious.
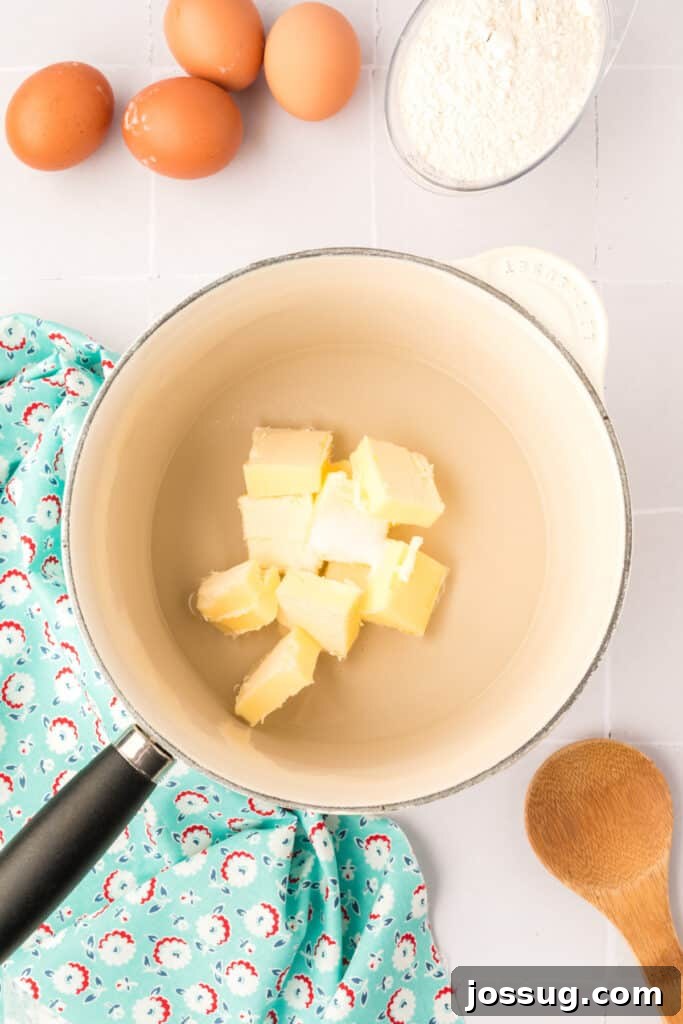
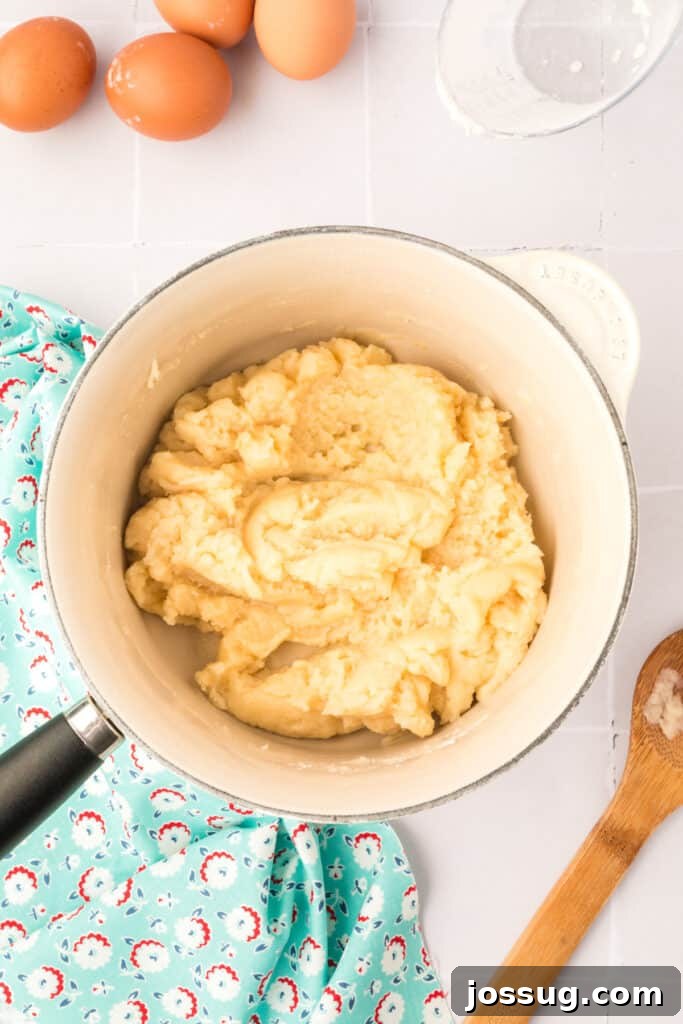
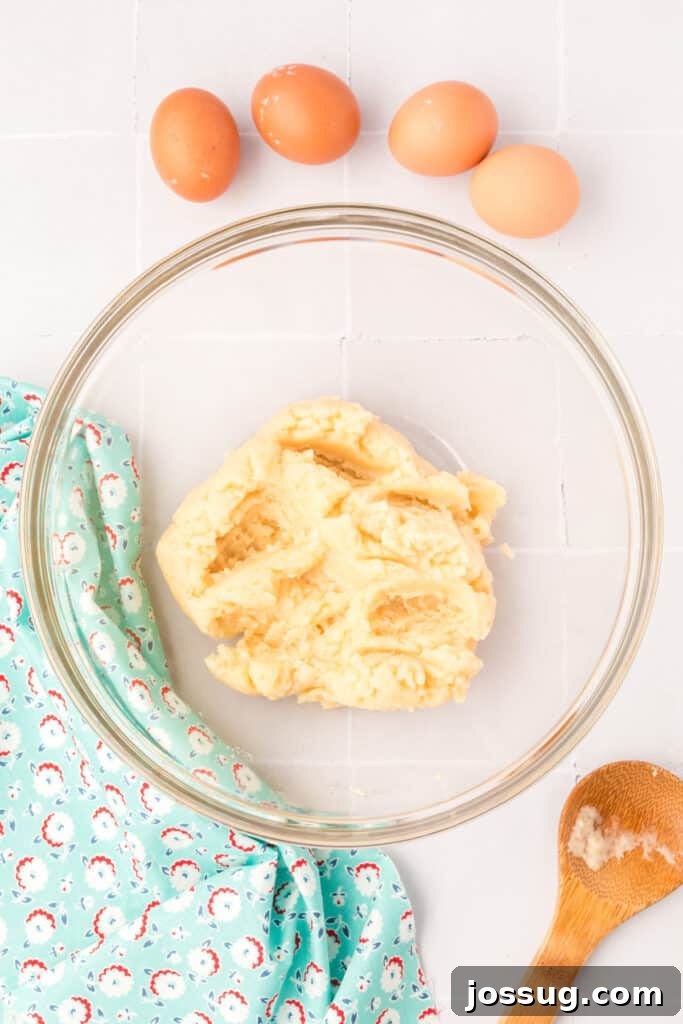
Pro Tips for Perfect Pâte à Choux
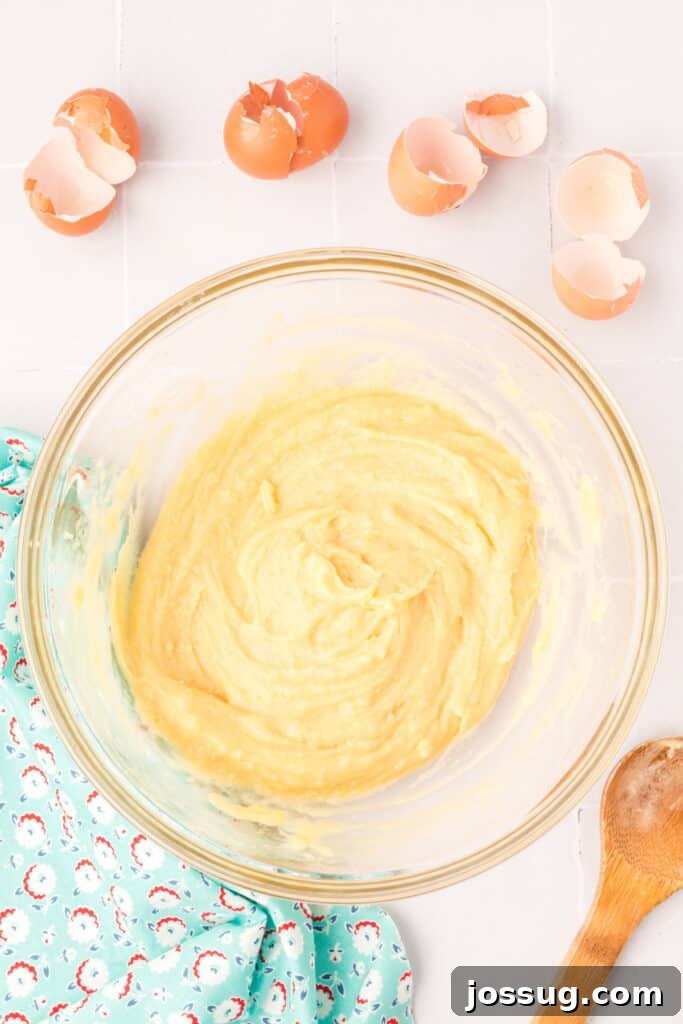
- Consistency is Key: When adding eggs, the dough should be shiny and smooth, pulling away from the spoon in a thick V-shape. If it’s too runny, the puffs won’t hold their shape.
- Avoid Opening the Oven Door: Resist the urge to peek during the first 20 minutes of baking. Opening the oven door can cause your delicate puffs to deflate due to a sudden drop in temperature.
- Dry Them Out: After baking, turn off the oven, prop the door open slightly, and leave the puffs inside for another 10-15 minutes. This helps to dry out the interior and prevent them from collapsing.
- Room Temperature Eggs: Ensure your eggs are at room temperature. They incorporate more smoothly into the warm dough, creating a more uniform emulsion.
Elevate Your Cream Puffs: Creative Serving Suggestions
Once you’ve mastered the art of baking cream puffs, the fun continues with presentation and flavor variations. Here are some ideas to make your cream puffs truly unforgettable:
Classic Elegance and Simple Garnishes
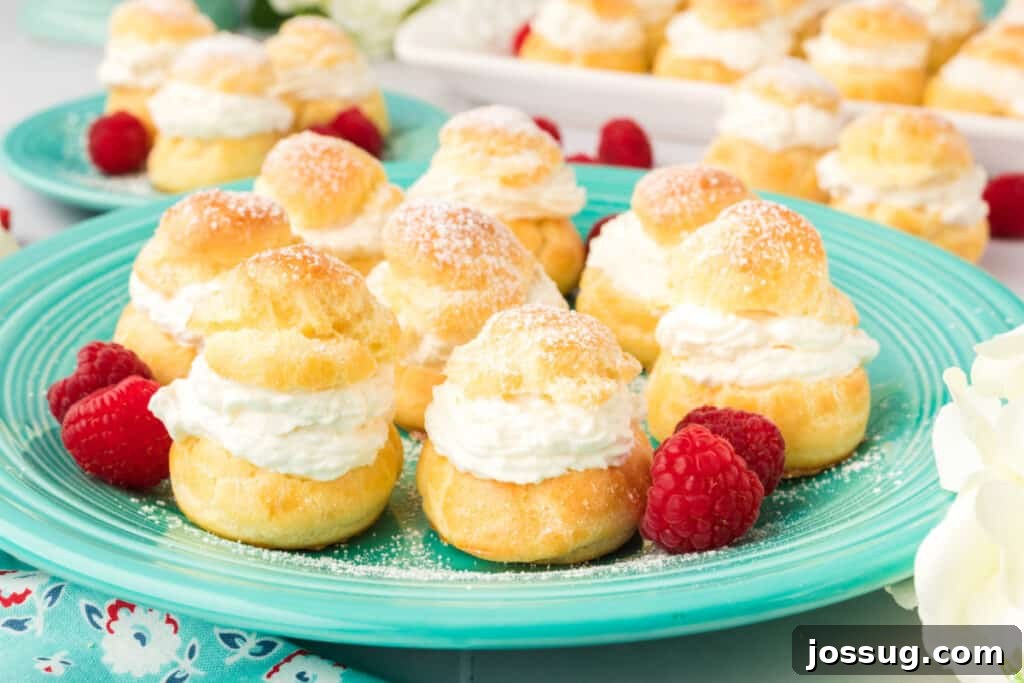
- Dust with Powdered Sugar: A simple, timeless dusting of powdered sugar adds a delicate touch of sweetness and an elegant finish. It’s perfect for letting the natural beauty and flavor of the cream puff shine.
- Drizzle with Chocolate: Melt dark, milk, or white chocolate and elegantly drizzle it over the top of each cream puff. This classic combination adds a sophisticated look and an irresistible flavor boost. For extra flair, you can temper the chocolate for a snappy finish.
Fruity Twists for Freshness
- Fresh Fruit Garnish: Brighten up your cream puffs with vibrant fresh fruits. A slice of strawberry, a few plump blueberries, or a juicy raspberry on top of each puff provides a burst of color, freshness, and a pleasant textural contrast.
- Lemon or Orange Zest: For a zesty kick that cuts through the cream’s richness, finely grate lemon or orange zest directly into your cream filling before whipping, or sprinkle it lightly over the finished pastries. This citrusy zing is particularly refreshing.
Perfect Pairings for Coffee or Tea Time
- Dust with Cocoa Powder: If you prefer a less sweet chocolate hint, a light dusting of unsweetened cocoa powder offers a sophisticated, slightly bitter note that pairs wonderfully with coffee.
- Serve with Coffee or Tea: Cream puffs are the ultimate accompaniment to a warm cup of coffee, a robust espresso, or a fragrant tea. Their lightness and creaminess make them an ideal choice for an afternoon treat or a relaxed coffee break.
Deluxe Variations for the Connoisseur
- Dip in Chocolate: For an extra layer of decadence, dip the entire top half of each cream puff into melted chocolate. Allow it to set on parchment paper for a luxurious texture and an intense chocolate flavor. This creates a more substantial chocolate shell.
- Layered Cream Puff Tower (Croquembouche-style): For an impressive dessert centerpiece, especially for special occasions, arrange your cream puffs in a tower. You can use caramel or chocolate to glue them together, layering with additional whipped cream, custard, or fruit compote between layers for a truly show-stopping display.
Seasonal Flavors and Festive Touches
- Incorporate Seasonal Fruits: Tailor your cream puffs to the season by filling or garnishing them with a compote or fresh slices of seasonal fruits. Think peaches in summer, apples in autumn, or berries in spring.
- Spiced Cream Filling: During the holiday season, infuse your cream filling with warm spices like cinnamon, nutmeg, ginger, or pumpkin spice for a festive and comforting twist.
For Special Occasions and Events
- Mini Cream Puffs: Pipe smaller dough circles to create bite-sized cream puffs, perfect for dessert buffets, party platters, or as elegant canapés. They are easier to eat and equally delightful.
- Decorate with Edible Flowers: For weddings, garden parties, or spring gatherings, a few delicate edible flowers can add an incredibly beautiful and elegant touch, transforming your cream puffs into works of art.
No matter how you choose to serve them, cream puffs are a delightful and sophisticated dessert sure to please any crowd. Experiment with these suggestions to find your favorite way to enjoy this classic treat and impress your guests.
Cream Puffs: Frequently Asked Questions
No worries! A sturdy zip-top bag with one corner snipped off (start with a small snip and widen if needed) works perfectly well as a makeshift piping bag. It might not be as precise, but it gets the job done for piping your choux pastry and cream.
This is a common issue and usually means your cream puffs were undercooked. The steam inside needs enough time to solidify the pastry shell. When you take them out, ensure the dough is completely dry and the centers are hollow. If they still feel moist or soft, pop them back in the oven for another 2-5 minutes at a slightly reduced temperature to finish drying out. A good indicator is a truly golden-brown color and a firm shell.
The most common culprit here is opening the oven door too early during the baking process. The sudden drop in temperature causes the steam inside the choux pastry to condense prematurely, leading to deflation. Resist the temptation to open the oven for at least the first 20 minutes of baking. Also, ensure your oven is preheated to the correct temperature; an oven that isn’t hot enough won’t provide the initial burst of heat needed for the dough to puff.
Absolutely! You can bake the choux pastry shells ahead of time. Once completely cooled, store them in an airtight container at room temperature for up to 2 days, or freeze them for up to a month. If they soften slightly, a quick reheat in a 300°F (150°C) oven for 5-10 minutes will crisp them right back up before filling.
Filled cream puffs are best enjoyed the same day they are assembled, as the cream can start to soften the pastry over time. If you have leftovers, store them in an airtight container in the refrigerator for up to 1-2 days. You can also freeze filled cream puffs: place them on a baking sheet until firm, then transfer to a freezer-safe bag. Thaw them at room temperature for about 30 minutes before serving. While still delicious, the texture of the pastry might be slightly softer than freshly made.
Both cream puffs and éclairs use the same pâte à choux dough. The primary difference is their shape and traditional filling. Cream puffs are typically round and filled with whipped cream or pastry cream. Éclairs, on the other hand, are elongated and often filled with pastry cream, then topped with a rich glaze, usually chocolate.
Other Recipes You May Enjoy
- Berry Mojito Fruit Tarts
- Lemon Blueberry Danish
- Almond Bear Claw
- Cinnamon Crescent Rolls
- Lemon Brownies
28
servings
Cream Puffs
Jamie Sherman
15 minutes
30 minutes
45 minutes
Pin Recipe |
Rate Recipe |
Print Recipe
Equipment
- Fine mesh strainer
- Piping tip
- Silicone Basting Brush (Orange), Set of 2
- Hand mixer
- Parchment paper
- Baking sheets
- Piping bags
- Mixing bowl
- Rubber spatula or wooden spoon
- Simply Calphalon Nonstick 10 Piece Cookware Set
Ingredients
Ingredients for the Pâte à Choux Pastry
- ½ cup unsalted butter, cut into pieces (1 stick)
- ½ teaspoon salt
- 1 cup water
- 1 cup all-purpose flour
- 4 large eggs, room temperature
Ingredients for Egg Wash
- 1 large egg
- 1 tablespoon water
Pastry Cream Filling
- 2 cups heavy whipping cream, chilled
- 4 tablespoons powdered sugar, plus more for garnish if desired
- 1 teaspoon pure vanilla extract
Instructions
For the Pâte à Choux Pastry:
- In a medium saucepan over medium-high heat, combine butter, salt, and 1 cup water. Bring the mixture to a rolling boil and quickly stir in the flour with a sturdy wooden spoon. Continue cooking, stirring constantly for 1-2 minutes, until a film forms on the bottom of the pan and the dough pulls away from the sides. This helps dry out the dough.
- Remove from heat and transfer the mixture to a large bowl. Let it cool slightly for about 5 minutes; it should still be warm but not scalding.
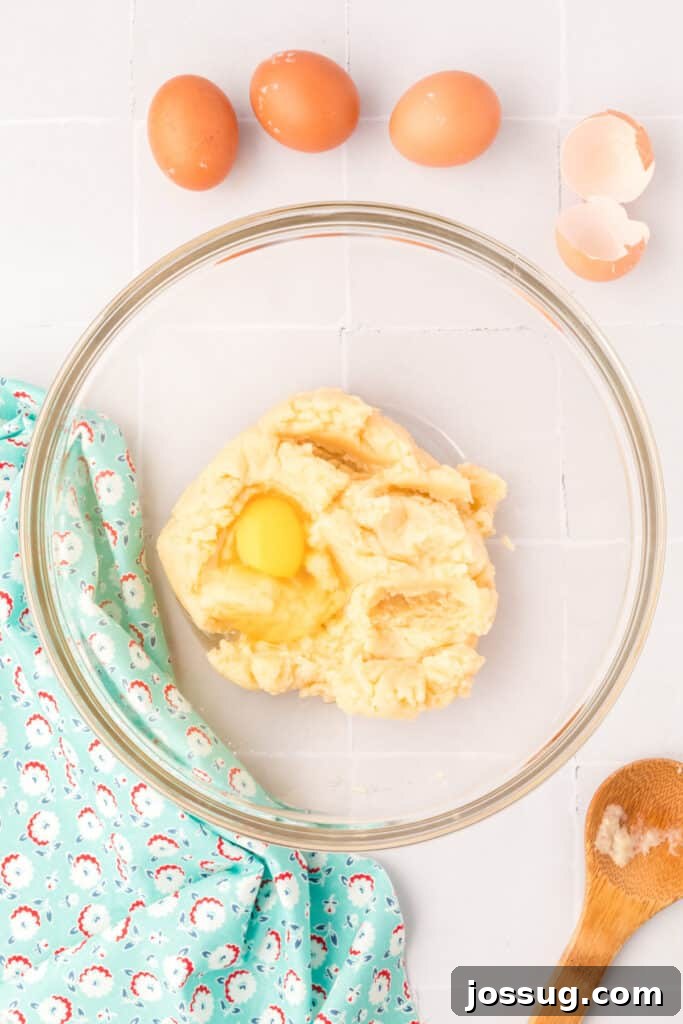
- Add the 4 eggs, one at a time, beating vigorously after each addition to fully incorporate the egg into the dough. The mixture may look curdled at first, but keep mixing until it’s smooth and glossy before adding the next egg. The final dough should be shiny and thick, dropping from a spoon in a “V” shape.
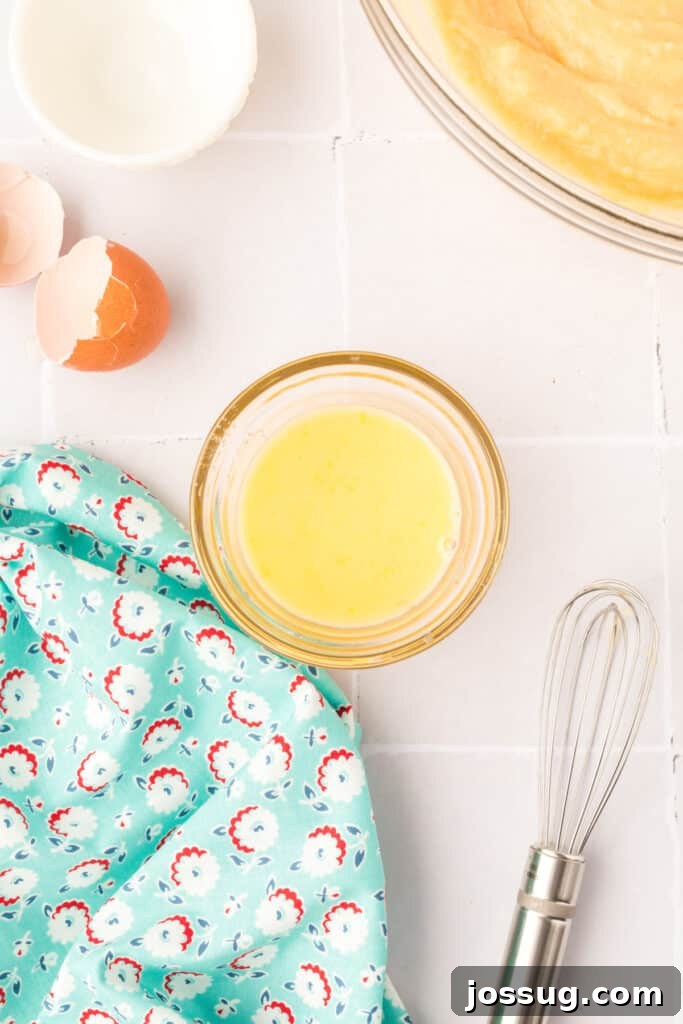
- Prepare an egg wash by whisking the remaining 1 large egg with 1 tablespoon of water in a small bowl. Set aside.
- Preheat your oven to 375°F (190°C).
- Transfer the choux dough mixture to a large disposable decorator pastry bag fitted with a large round tip (or use a zip-top bag with the corner snipped).
- Line a baking sheet with parchment paper.
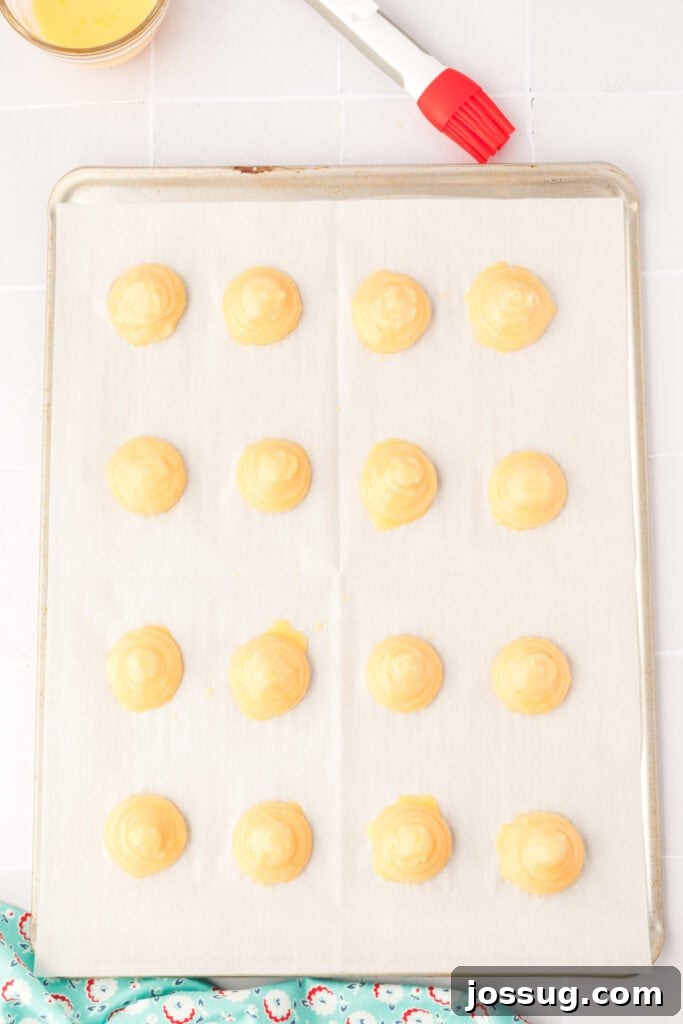
- Pipe circles approximately 1 ½ inches in diameter onto the parchment paper, leaving about 2 inches between each puff. If any pointed peaks form, gently moisten your finger with water and smooth them down.
- Lightly brush the top of each piped pastry with the prepared egg wash.
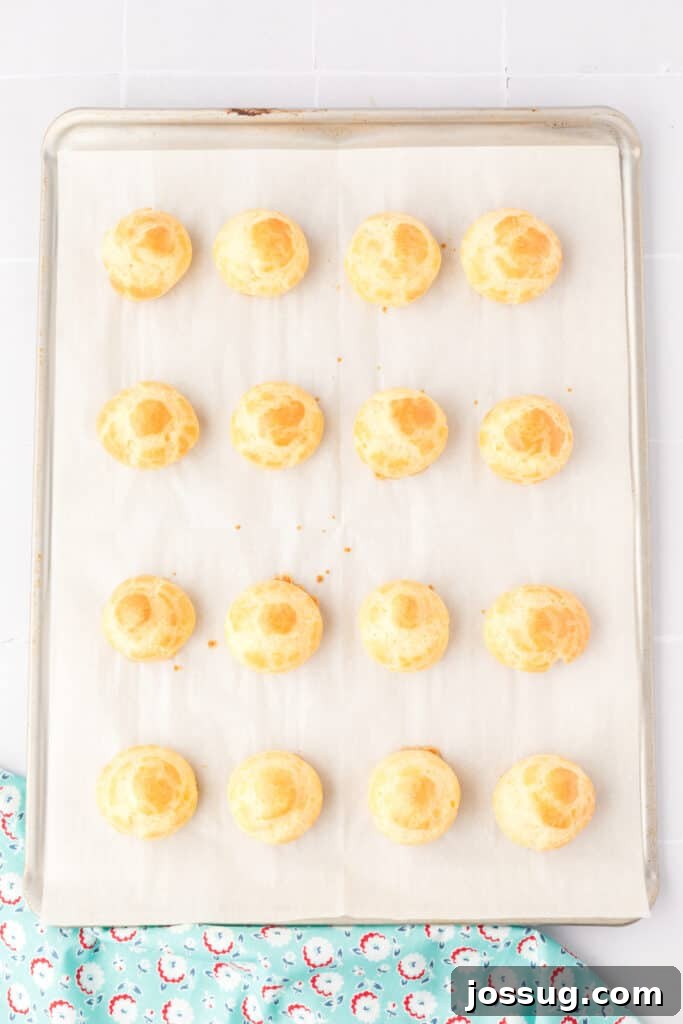
- Bake for 25-30 minutes, or until the puffs have risen significantly, are golden brown, and feel firm and hollow when tapped. Do NOT open the oven door during the first 20 minutes of baking.
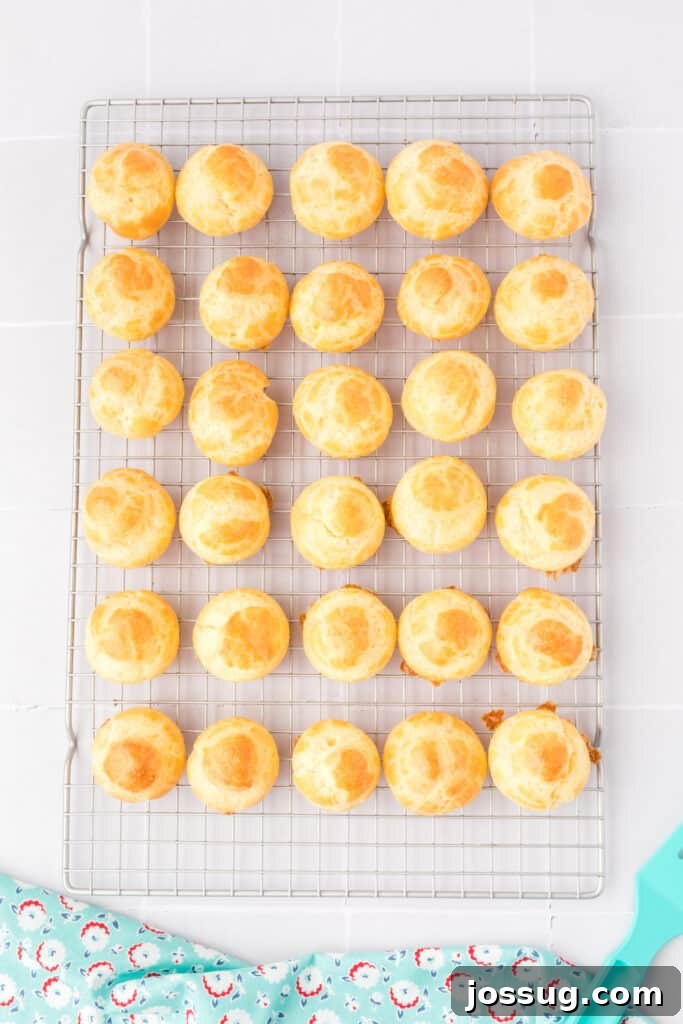
- Once baked, turn off the oven, prop the door open slightly, and let the cream puffs cool completely inside the oven for another 10-15 minutes. This helps them dry out and prevents deflation. Then, transfer them to wire racks to cool completely.
For the Pastry Cream Filling and Assembly:
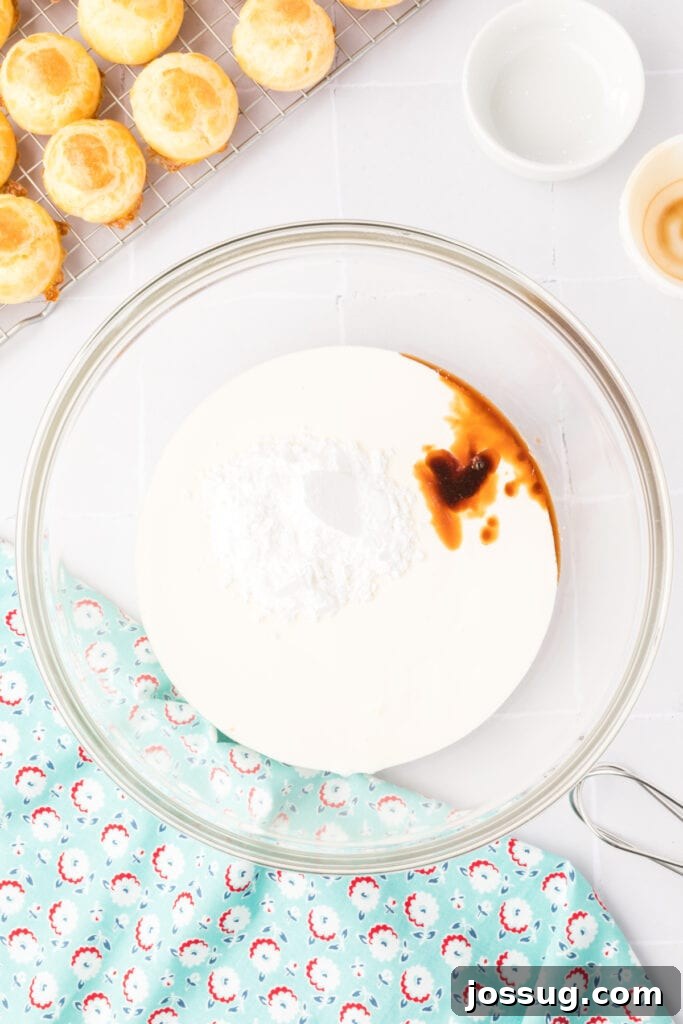
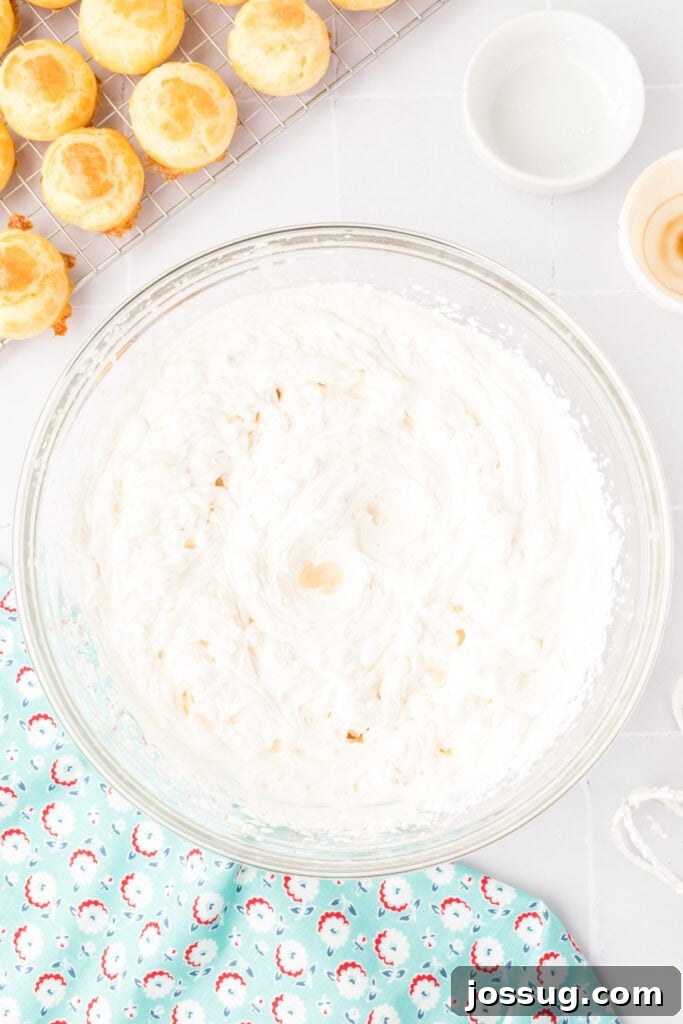
- In a large, chilled bowl, combine the heavy whipping cream, pure vanilla extract, and powdered sugar. Using a hand mixer (or stand mixer with a whisk attachment), beat on medium speed for 1-2 minutes. Gradually increase the speed to high and continue beating for several minutes until stiff peaks form and the cream is light and airy.
- Transfer the whipped cream to a disposable decorator pastry bag fitted with a small round tip (or a zip-top bag with a small snip).
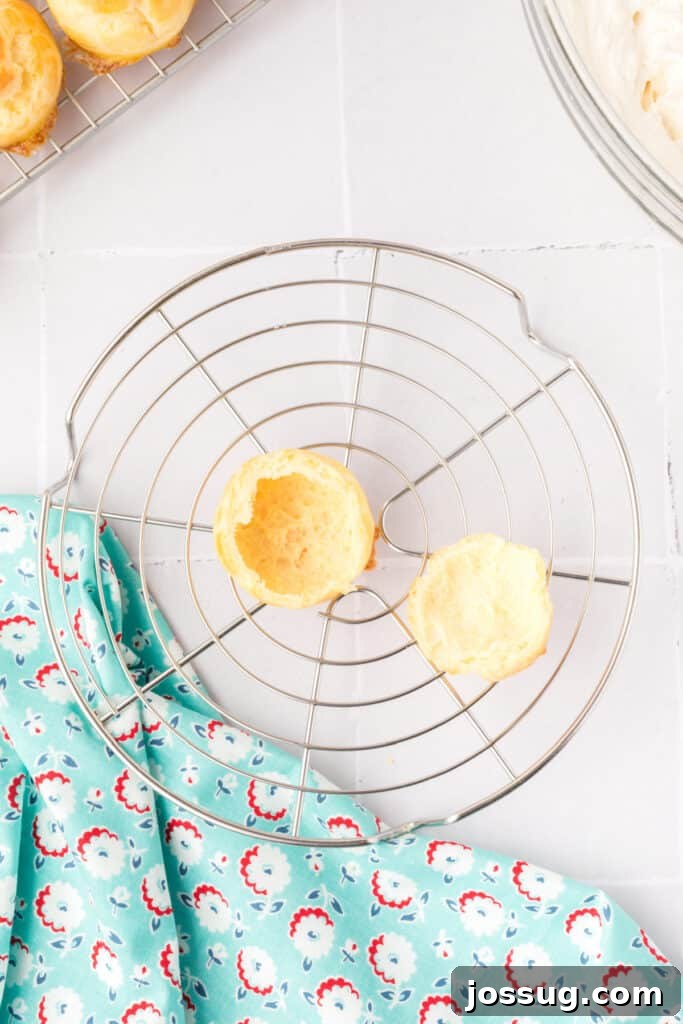
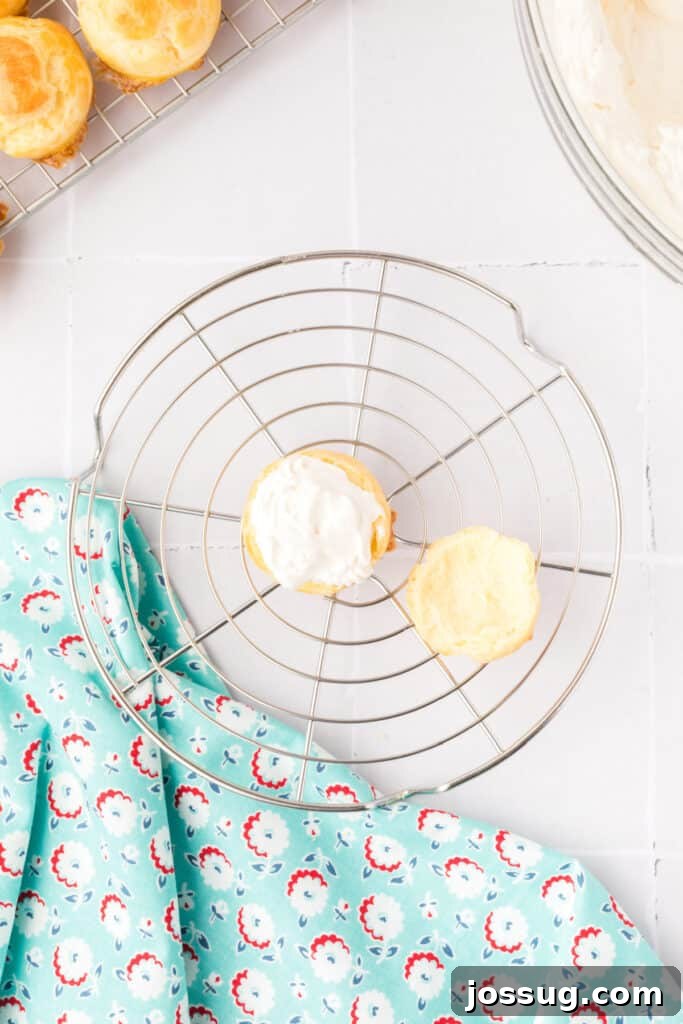
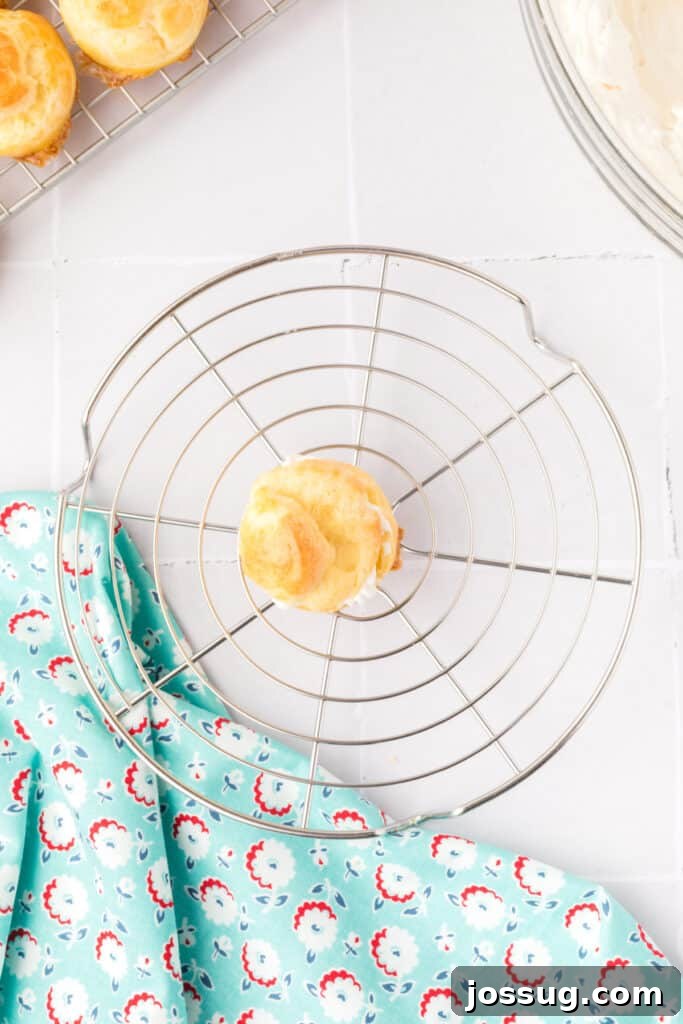
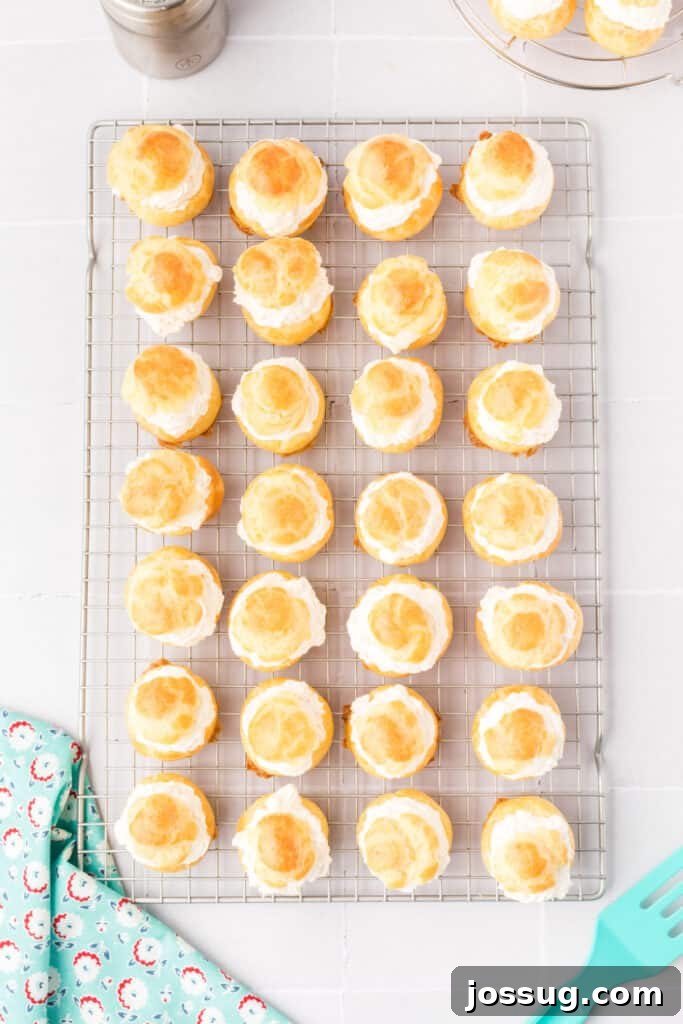
- To fill, you have two options: either carefully slice the top portion of each cooled cream puff off with a knife (like a lid), then pipe in the pastry cream and replace the top. Alternatively, you can make a small hole in the bottom of each puff with the piping tip and fill it from there.
- Dust the assembled cream puffs with additional powdered sugar for garnish, if desired, just before serving.
- Serve immediately for the best texture and flavor. Store any leftovers in the refrigerator.
Notes
- Always store any leftover filled cream puffs in an airtight container in the refrigerator to maintain freshness and prevent spoilage of the cream filling.
- Unfilled choux pastry shells can be frozen for up to one month in an airtight container. Reheat them in a 300°F (150°C) oven for 5-10 minutes to crisp them up before filling. Filled cream puffs can also be frozen, then thawed at room temperature, though their texture might be slightly softer.
Nutrition
Nutrition information is automatically calculated, so should only be used as an approximation.
Originally published on November 11, 2020. Updated on March 30, 2024.