
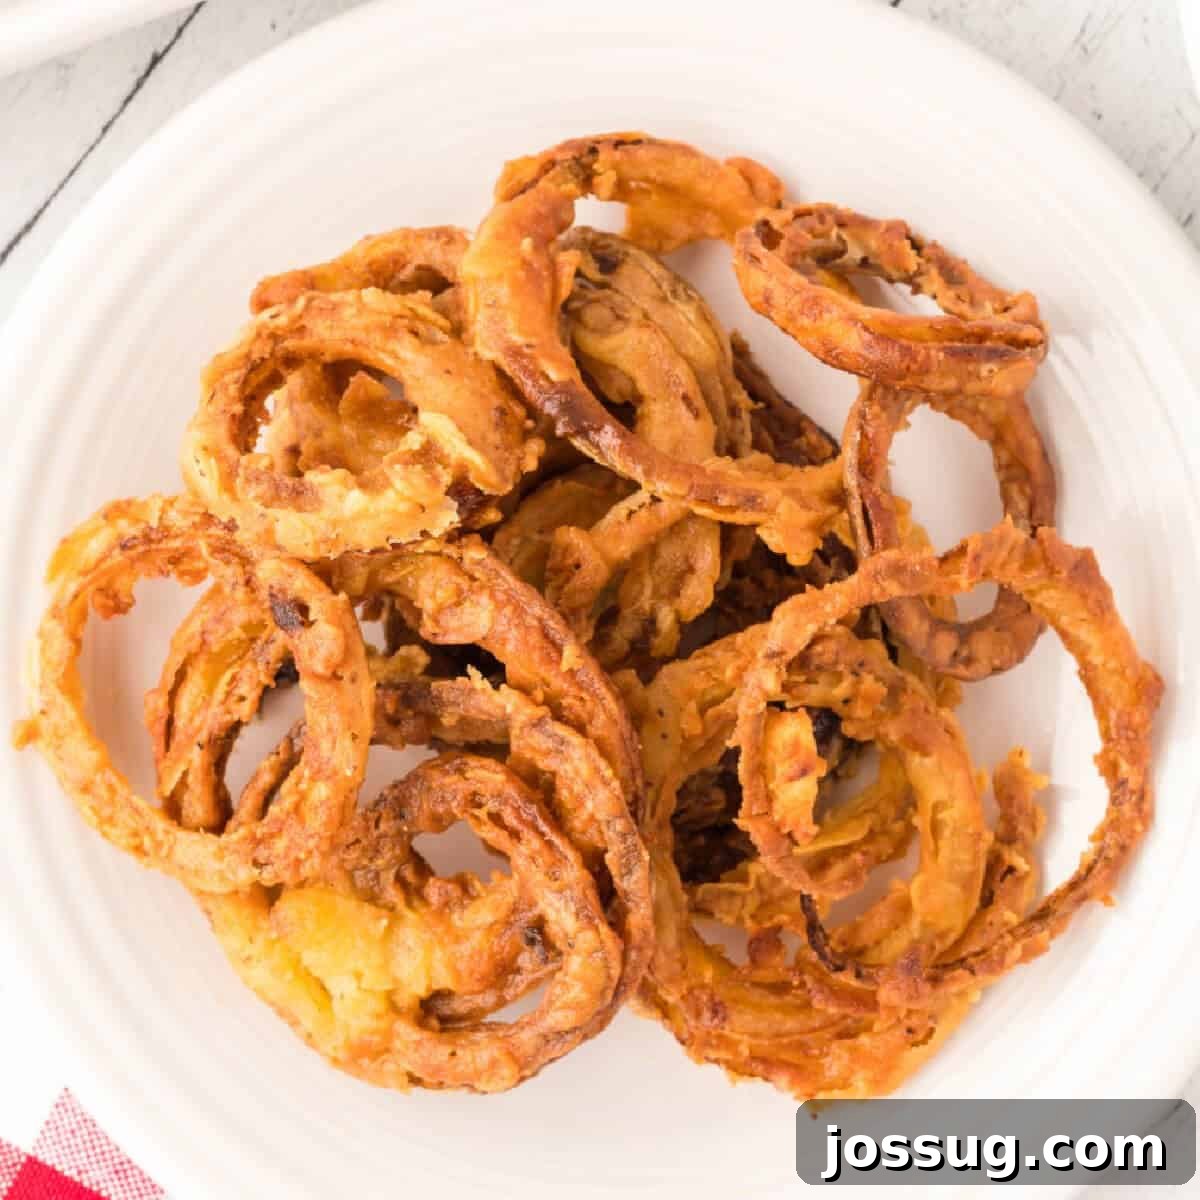
Prepare to fall in love with these incredibly thin and crispy homemade onion rings. Perfect as a delectable side dish, a crunchy burger topping, or an irresistible snack, they’re so good you’ll want to make a double batch! There’s a certain magic in transforming simple ingredients into something so utterly delicious, and this recipe captures it perfectly.

Achieve Onion Ring Perfection: Thin, Crispy, and Homemade!
There’s nothing quite like the satisfying crunch of a perfectly made onion ring. Forget those thick, bready versions that hide the onion; our recipe focuses on ultra-thin slices enrobed in a light, flavorful batter, ensuring every bite delivers that distinct, sweet onion taste with an unbeatable crispy texture. Whether you call them “onion straws,” “onion strings,” or simply “the best darn onion rings,” this recipe guarantees a delicious outcome that will have everyone asking for more.
These homemade crispy onion rings are incredibly versatile. They make an exceptional companion to your favorite burgers or sandwiches, elevating a simple meal into a culinary experience. Imagine them piled high next to a juicy steak, scattered over a fresh salad for an added crunch, or served as an appetizer with your favorite dipping sauces. During the holidays, I even love to use them as a topping for my Classic Green Bean Casserole, adding an unexpected layer of flavor and texture. This classic, snackable treat is truly a crowd-pleaser for any occasion.
Why Make Homemade Onion Rings?
While frozen options are convenient, making onion rings from scratch offers an unparalleled level of flavor and freshness. You get to control every ingredient, ensuring no artificial additives or preservatives. The result is a lighter, crispier, and significantly more delicious snack. Plus, there’s immense satisfaction in creating such a beloved treat in your own kitchen. It’s an easy and rewarding process that tastes infinitely better than anything you can buy pre-made, promising a gourmet experience right at your dining table.
The Quest for the Perfect Crispy Texture
Achieving that coveted, shatteringly crisp exterior on your onion rings isn’t just luck; it’s a combination of key techniques and understanding how ingredients interact. The secret lies in a few crucial steps: starting with uniformly thinly sliced onions, a proper buttermilk soak that both tenderizes and helps adhesion, and a meticulously seasoned, light flour coating. These elements work in harmony to create a delicate, golden crust that crisps up beautifully in hot oil, providing that irresistible crunch without being overly greasy or heavy. Precision in these steps is what elevates a good onion ring to a truly exceptional one.
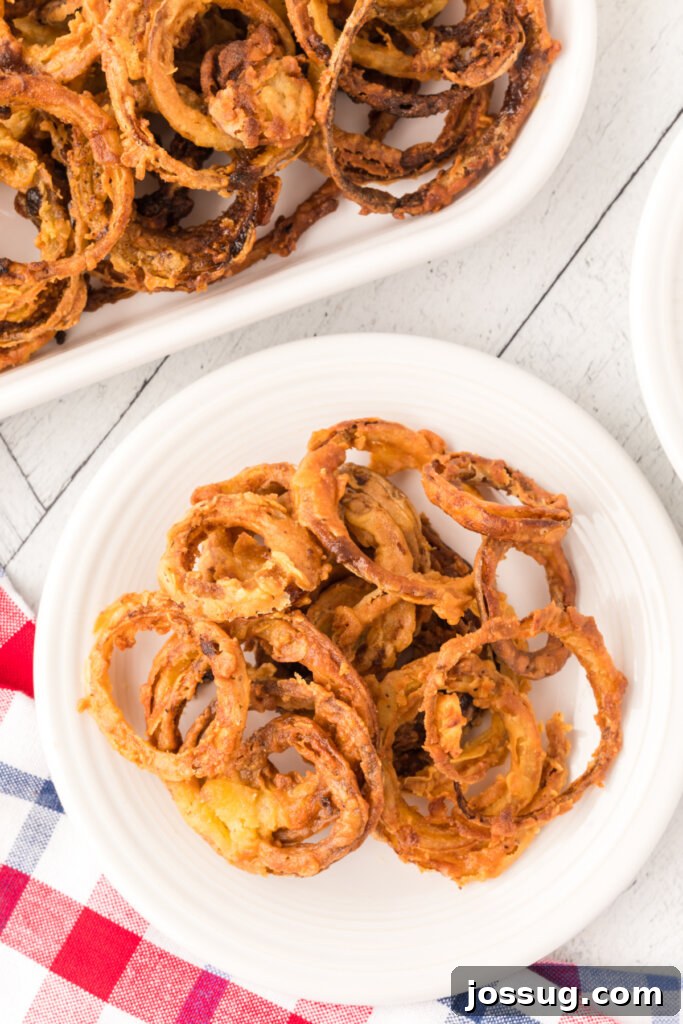
Homemade Onion Rings: Essential Ingredients & Smart Substitutions
Crafting the perfect batch of crispy onion rings requires just a handful of straightforward ingredients. Each component plays a vital role in developing their distinct flavor and signature crunch. Let’s break down what you’ll need and how to make smart choices or substitutions to ensure your onion rings are nothing short of spectacular.
Key Ingredients for Onion Ring Success
- Onion: Naturally, the star of the show! You’ll want a large onion for a good yield of rings. The type of onion can significantly influence the final taste and sweetness. Sweet onions like Vidalia, Walla Walla, or Maui onions are excellent choices for their milder flavor profile, which becomes beautifully caramelized and mellow when fried. Yellow onions also work very well, offering a slightly sharper, more traditional onion flavor that is still incredibly delicious. The most critical aspect is consistent, thin slicing – more on that below!
- All-Purpose Flour, Salt, and Pepper: This trio forms the foundational crispy coating. All-purpose flour provides the necessary structure for the batter to cling to the onion slices. Salt and freshly ground black pepper are absolutely essential for seasoning; do not underestimate their importance. It’s where much of the savory depth of flavor comes from. Ensure your onions are thoroughly coated in this mixture to achieve that desirable golden-brown, crunchy crust. You can also experiment with other flour types like cornstarch or rice flour for added crispiness.
- Buttermilk: This is a secret weapon for tender and perfectly coated onion rings. Soaking the onion slices in buttermilk serves multiple purposes: it tenderizes the onion slightly, mellows its raw bite, and most importantly, it creates a slightly acidic, textured surface that helps the flour mixture adhere much more effectively. While some recipes suggest a shorter soak, allowing your onion rings to sit in the buttermilk for at least an hour (or even longer, up to overnight in the refrigerator for maximum effect) yields the best results. The acidity in buttermilk works wonders for both flavor and texture.
- Oil: For frying your onion rings, the choice of oil is crucial. Always opt for a neutral-flavored vegetable oil with a high smoke point. Excellent options include peanut oil (for its classic frying taste and high smoke point), canola oil, sunflower oil, or standard vegetable oil. These oils won’t impart unwanted flavors to your delicate onion rings and, more importantly, can withstand the high temperatures needed for deep frying, ensuring your onion rings cook evenly, rapidly, and achieve a beautifully crisp, golden hue without becoming greasy.
Slicing Secrets for Ultra-Thin Onion Rings
The thinness and uniformity of your onion slices directly impact the crispiness and overall appeal of the final product. Thinner slices mean more surface area for the batter, a quicker and more even cook, and ultimately, a lighter, crispier ring that holds its shape. The easiest and most efficient way to achieve uniform, super-thin slices is by using a mandoline slicer or a food processor equipped with a slicing attachment. These tools offer unparalleled precision and speed, making prep work a breeze. However, if these tools aren’t available, a very sharp chef’s knife and a steady hand will certainly do the trick. Just be sure to exercise extreme caution and always prioritize safety to protect your fingers while slicing!
Buttermilk’s Magic: Why it’s Essential (and How to Substitute)
Buttermilk plays a vital double role in this recipe, acting as both a tenderizer and an adhesion enhancer. Its mild acidity helps to break down some of the onion’s stronger compounds, mellowing its flavor and making it more palatable. Simultaneously, its slightly thicker, curdled consistency creates an ideal, textured surface for the dry flour dredge to cling to, ensuring a comprehensive and even coating. If you find yourself without buttermilk, don’t fret – a convenient substitute is easily made at home! For every cup of buttermilk required, simply add 1 tablespoon of lemon juice or white vinegar to a liquid measuring cup. Then, fill the rest of the cup with regular milk (any fat percentage works, though reduced-fat is often preferred here for lighter results). Give it a gentle stir and allow the mixture to stand for 5-10 minutes until it slightly curdles and thickens. Voila, you have instant buttermilk ready for use!
Frequently Asked Questions About Crispy Onion Rings
How long does it take to make these crispy onion rings from start to finish?
The total time required for these delectable onion rings is just over an hour. This includes approximately 1 hour for the onions to soak in buttermilk (a crucial step that significantly enhances their flavor and texture!), followed by about 15 minutes of active cooking and frying time. The hands-on time is relatively short, making this a perfect weekend project.
Do you have any suggestions for buttermilk substitutions?
Absolutely! If you’re short on buttermilk, you can easily create a substitute. For every cup of buttermilk needed, simply add 1 teaspoon of lemon juice or white vinegar to a measuring cup. Then, fill the remainder of the cup with regular milk (reduced-fat is often preferred for a lighter coating). Stir the mixture gently and allow it to sit for about 5 minutes until it slightly thickens and curdles. This quick hack works perfectly in a pinch.
What kind of buttermilk yields the best results for crispy onion rings?
For achieving the thinnest, lightest, and crispiest onion rings, reduced-fat buttermilk is highly recommended. Full-fat buttermilk, while delicious, can sometimes result in a slightly thicker and heavier coating that might not achieve the same delicate crispness we’re aiming for. The aim is a light, ethereal crunch, and reduced-fat buttermilk helps prevent the rings from feeling “heavy” or dense.
Can I add extra seasonings to customize this recipe?
Oh yes, this recipe is wonderfully adaptable to your flavor preferences! The flour mixture is a blank canvas for customization. Feel free to experiment by adding spices like smoked or sweet paprika, garlic powder, onion powder, a pinch of cayenne pepper for a subtle kick, or even a pre-mixed blend like Old Bay or Cajun seasoning for a more complex profile. Don’t be shy; adjust to your taste and discover your perfect onion ring flavor!
What are some essential tips for perfectly fried onion rings?
Achieving perfectly fried onion rings hinges on a few crucial factors:
- Maintain Optimal Oil Temperature: Use a reliable kitchen thermometer to keep your oil consistently at 375°F (190°C). If the oil is too cool, your rings will absorb too much oil and become greasy; if it’s too hot, they’ll burn on the outside before the onion cooks through.
- Avoid Overcrowding the Fryer: Fry the onion rings in small batches. Overcrowding the skillet or fryer will cause the oil temperature to drop significantly, leading to soggy and unevenly cooked rings. Patience is key for maximum crispiness.
- Proper Draining is Essential: As soon as the onion rings reach a beautiful golden-brown color, remove them promptly from the oil using a metal slotted spoon or spider. Immediately transfer them to a plate generously lined with several layers of paper towels. This step is vital for absorbing any excess oil and ensuring they remain wonderfully crisp.
Troubleshooting Common Onion Ring Problems
Even seasoned cooks can encounter a hiccup or two when deep-frying. Here’s how to diagnose and tackle some common onion ring issues to ensure your batches are always perfect:
- Soggy Onion Rings: This is arguably the most common complaint and is almost always due to the oil not being hot enough or overcrowding the fryer. Ensure your oil is consistently at the correct temperature (375°F / 190°C) using a thermometer. Fry in small batches to maintain that heat, allowing each ring to cook quickly and evenly. Also, ensure you’re draining them thoroughly on paper towels immediately after frying.
- Batter Falling Off: The buttermilk soak is absolutely key here. Ensure your onions have soaked for at least the recommended hour, and gently shake off excess buttermilk before dredging in flour. When coating, press the flour mixture firmly onto the onion slices to help it adhere well. Don’t let the dredged rings sit too long before frying.
- Burnt Exterior, Raw Interior: If your onion rings are browning too quickly on the outside while the onion inside remains hard, your oil might be too hot. Reduce the heat slightly and fry for a bit longer. Uniformly thin slices also play a significant role in preventing this issue, allowing the onion to cook at the same rate as the coating browns.
- Too Greasy: Similar to sogginess, excess grease usually points to an oil temperature that is too low. If the oil isn’t hot enough, the rings will slowly cook and absorb too much oil instead of quickly crisping up. A high-quality, neutral oil (like peanut or canola) and proper draining are also important.
Storage and Reheating Tips for Leftovers
While homemade onion rings are undeniably at their best when enjoyed fresh and hot right out of the fryer, you can certainly store leftovers and reheat them for a delicious encore. To store, allow the onion rings to cool completely before placing them in an airtight container. They can be refrigerated for up to 2-3 days. For reheating and restoring their glorious crispiness, avoid the microwave at all costs! Instead, spread them in a single layer on a baking sheet and bake in a preheated oven at 375°F (190°C) for 5-10 minutes, or until they are heated through and have regained their desired crisp texture. An air fryer is also a fantastic tool for reheating, typically taking only 3-5 minutes at 350°F (175°C) for perfect results.
Delightful Pairings & Serving Suggestions
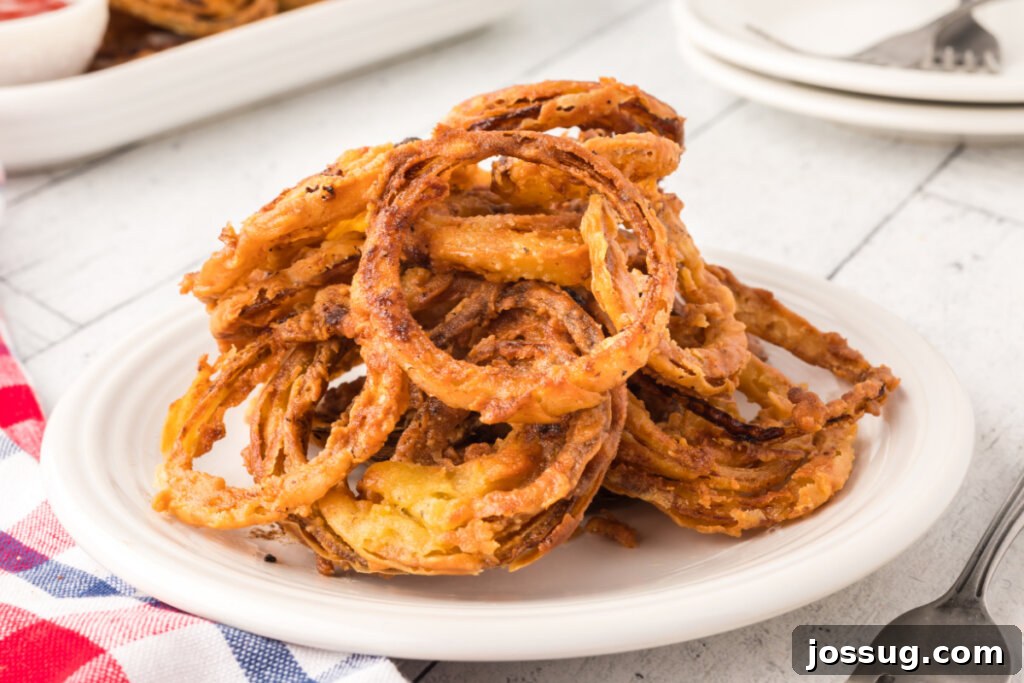
Beyond the classic burger companion, these crispy homemade onion rings open up a world of culinary possibilities. Their delicate crunch and savory flavor make them an incredibly versatile addition to many meals. Here are some ideas to inspire your next serving:
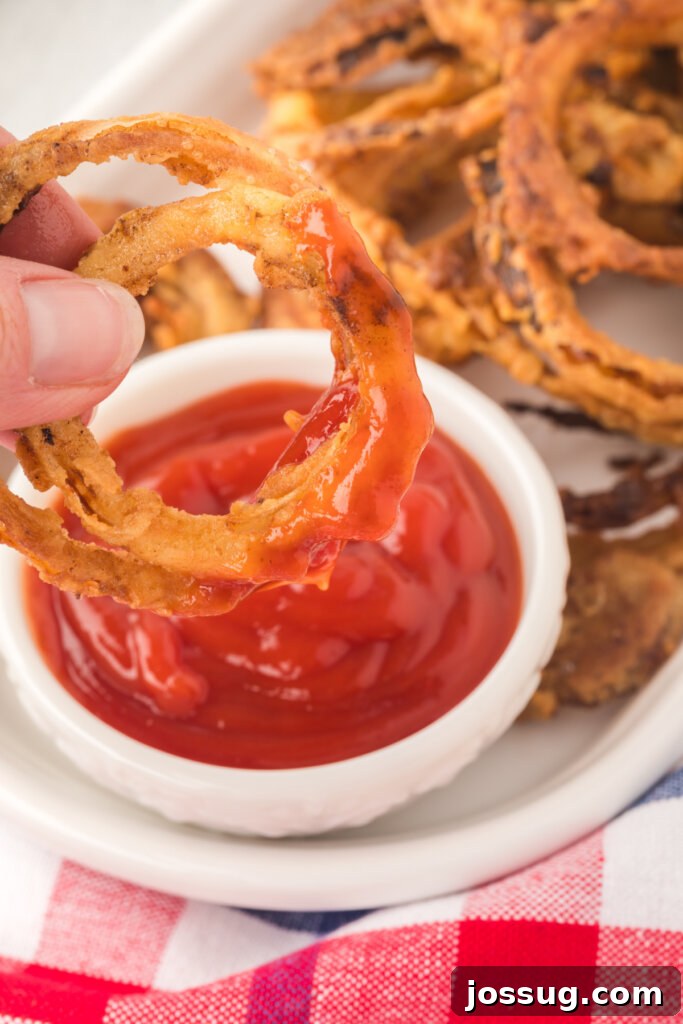
- Dip Extravaganza: Offer a variety of dipping sauces! Classic ketchup is a must, but also consider spicy mayonnaise (Sriracha mayo), a tangy barbecue sauce, creamy ranch dressing, a homemade honey mustard, or even a garlicky aioli.
- Ultimate Burger & Sandwich Topper: Stack these rings high on gourmet burgers, pulled pork sandwiches, or even a grilled chicken sandwich for an incredible boost in texture and savory flavor.
- Steakhouse Side: A luxurious and satisfying alternative to traditional french fries, these rings pair wonderfully with a perfectly cooked steak, roasted chicken, or even fish and chips.
- Salad Crunch: Break them into smaller pieces and sprinkle generously over green salads, cobb salads, or even taco salads for a delightful crispy element that adds a new dimension of flavor.
- Appetizer Platter: Serve them hot as a standalone appetizer with a medley of other fried treats or alongside cheese boards and charcuterie for a satisfying crunch.
- Creative Casseroles: As mentioned, they are fantastic on green bean casserole, but don’t stop there! Try them on top of shepherd’s pie, baked mac and cheese, or other hearty baked dishes needing a savory, crispy topping.
- Breakfast/Brunch Side: A surprising but utterly delicious addition to a hearty breakfast or brunch spread, serving as a flavorful counterpoint to eggs, bacon, or sausage.
Other Recipes You May Enjoy
- Crispy Green Bean Fries
- Sweet Churros Poppers
- Loaded Bacon and Cheese Fries
- Apple Cinnamon Curly Fries
- Savory Low Carb Sausage Balls

Thin and Crispy Homemade Onion Rings
By Jamie Sherman
These thin and crispy homemade onion rings are an absolute delight! Perfect for burgers, as a side dish, or even a standalone snack. Be warned: they are incredibly addicting! You’ll wonder how something so simple can taste so unbelievably good.
1 hr
15 mins
1 hr 15 mins
4 servings
4.45 from 52 votes
Equipment
- Measuring cups and spoons
- Breading station (or shallow dishes)
- Glass Pie Plate with Lid (or similar container for soaking)
- Cutting board
- Sharp knife
- Adjustable Mandoline Slicer (optional, for extra thin slices)
- Deep Fryer or Large Heavy-Bottomed Skillet
- Slotted spoon or spider for frying
- Kitchen thermometer
- Paper towels for draining
Ingredients
- 1 large onion (e.g., Vidalia or yellow onion), thinly sliced and separated into rings
- 2 cups buttermilk (or homemade substitute; see notes)
- 2 cups all-purpose flour
- 1 teaspoon salt (or to taste)
- ½ teaspoon freshly ground black pepper (or to taste)
- Oil, for frying (e.g., peanut, canola, or vegetable oil)
- Optional seasonings for flour mixture: 1 tsp paprika, ½ tsp garlic powder, ¼ tsp cayenne pepper, or 1 tbsp Cajun seasoning
Instructions
- Prepare Onions for Soaking: Separate the thinly sliced onion rings and place them in a non-reactive container (like a glass pie plate or bowl).
- Buttermilk Soak: Pour buttermilk over the onions, ensuring they are fully submerged. Cover the container with plastic wrap and refrigerate for at least one hour. This step is crucial for tenderizing the onions and helping the flour coating adhere properly.
- Prepare Flour Mixture: In a separate shallow dish (a pie plate or wide bowl works well for dredging), combine the all-purpose flour with salt and pepper. Whisk well to ensure the seasonings are evenly distributed throughout the flour. If using any optional spices (paprika, garlic powder, etc.), add them to this mixture now and stir.
- Heat the Oil: In a deep skillet, Dutch oven, or electric deep fryer, heat about 2-3 inches of your chosen frying oil to 375°F (190°C). Use a reliable kitchen thermometer to monitor the temperature for the best results; maintaining this temperature is key to crispy, non-greasy onion rings.
- Dredge and Fry in Batches: Working in small batches (to prevent overcrowding the fryer and causing the oil temperature to drop), remove some onion slices from the buttermilk, allowing any excess liquid to drip off briefly. Immediately transfer these damp onion rings to the seasoned flour mixture, pressing gently to ensure a thorough and even coating on all sides. Shake off any excess flour.
- Fry to Golden Perfection: Carefully place the coated onion rings into the hot oil. Gently stir them with a metal slotted spoon or spider to separate any rings that might stick together. Fry for 2-4 minutes, or until they turn a beautiful, rich golden brown and are visibly crispy.
- Drain: Using the slotted spoon, promptly remove the cooked onion rings from the hot oil and transfer them to a plate generously lined with several layers of paper towels. This step is vital for absorbing any excess oil and ensuring your onion rings remain wonderfully crisp.
- Repeat & Serve: Allow the oil to return to 375°F (190°C) between batches. Repeat the dredging and frying process with the remaining onion slices until all are cooked. Serve your hot, crispy homemade onion rings immediately with your favorite dipping sauces!
Recipe Notes
- Customizing Flavor: Don’t hesitate to experiment with the flour mixture! A dash of smoked paprika, garlic powder, onion powder, or a pinch of cayenne can add exciting dimensions. Cajun seasoning is a personal favorite for a zesty kick and extra depth of flavor.
- Buttermilk Substitute: If you’re out of buttermilk, you can easily make your own. For every cup of buttermilk needed in the recipe, measure out 1 tablespoon of lemon juice or white vinegar into a measuring cup. Then, fill the rest of the cup with regular milk (dairy or non-dairy), stir, and let it sit for 5-10 minutes until it slightly curdles and thickens.
- Oil Temperature is Key: Maintaining the correct oil temperature (375°F / 190°C) is paramount for achieving perfectly crispy, non-greasy onion rings. A reliable kitchen thermometer is your best friend here, helping you prevent both soggy and burnt results.
Nutrition Information (Approximate per serving)
- Calories: 317 kcal
- Carbohydrates: 57 g
- Protein: 11 g
- Fat: 5 g
- Saturated Fat: 2 g
- Polyunsaturated Fat: 1 g
- Monounsaturated Fat: 1 g
- Cholesterol: 13 mg
- Sodium: 129 mg
- Potassium: 284 mg
- Fiber: 2 g
- Sugar: 8 g
- Vitamin A: 200 IU
- Vitamin C: 3 mg
- Calcium: 156 mg
- Iron: 3 mg
Nutrition information is automatically calculated and should be used as an approximation. It may vary based on specific ingredients and preparation methods.
Originally published on August 29, 2014. Updated on May 11, 2022. This article has been refreshed and expanded to provide the most comprehensive guide to making irresistible crispy onion rings at home.