

🌸🥥 Welcome the vibrant spirit of spring with these absolutely adorable and incredibly delicious **Coconut Easter Nests**! These charming treats are the quintessential sweet indulgence for the season, bringing smiles and festive cheer to any Easter table. Crafted with a delightful combination of sweet, chewy coconut and adorned with an array of colorful, egg-shaped candies, they are surprisingly simple to prepare and undeniably festive! They are guaranteed to become a cherished part of your family’s Easter traditions. 🐣💛

Coconut Easter Nests – The Quintessential Fun & Festive Easter Treat!
As spring awakens and Easter approaches, there’s nothing quite like a homemade treat to brighten the festivities. These delightful **Coconut Easter Nests** are not just simple to make, but they are also incredibly charming and visually appealing. Imagine biting into a sweet, chewy coconut cookie that perfectly cradles a vibrant collection of candy eggs – it’s a tiny edible masterpiece! This recipe is designed to be effortless, making it an ideal baking project for families, and it’s guaranteed to enchant both children and adults alike with its whimsical appearance and delicious taste. Forget complicated desserts; these nests bring maximum impact with minimal fuss, embodying the joyful essence of the season.
Embrace the Easter Spirit with These Easy Coconut Treats
The beauty of these Coconut Easter Nests lies in their simplicity and versatility. They require only a few pantry staples, come together quickly, and offer a fantastic opportunity for creative decoration. Whether you’re hosting a grand Easter brunch, contributing to a potluck, or simply looking for a fun activity with the kids, these nests fit the bill perfectly. Their unique texture and festive design make them stand out, ensuring they are always a talking point. Plus, their naturally gluten-free base makes them accessible to more guests, adding to their universal appeal. Get ready to create some delicious memories this spring!
⭐ Why You’ll Adore This Easy Easter Nest Recipe
- Simple, Wholesome Ingredients – You won’t need to scour specialty stores for obscure items. This recipe relies on a handful of common pantry staples, making it accessible and budget-friendly. Most likely, you already have everything you need on hand to whip up a batch of these sweet treats!
- Fun & Visually Festive – These nests are an instant crowd-pleaser for any Easter celebration, spring party, or even a simple weekend treat. Their charming nest shape and colorful candy fillings make them incredibly appealing, sparking joy and excitement from the moment they’re presented. They truly capture the essence of spring and renewal.
- Perfectly Kid-Friendly – Involve your little ones in the baking process! From mixing the coconut dough to shaping the individual nests and, of course, adding the colorful candy eggs, children will delight in helping create these masterpieces. It’s a wonderful way to spend quality time together and encourage their budding culinary skills.
- Naturally Gluten-Free Goodness – For those with dietary restrictions, this recipe offers a delicious solution. Made without any gluten-containing flours, these coconut nests are a naturally gluten-free treat, ensuring everyone at your gathering can enjoy a festive dessert without worry. Always double-check ingredient labels for certified gluten-free products if serving to individuals with celiac disease.
- Quick Preparation Time – With minimal prep and baking time, you can have a batch of these beautiful nests ready in under an total of 1 hour 25 minutes, with only 10 minutes of active prep time, making them ideal for busy schedules or last-minute dessert needs.
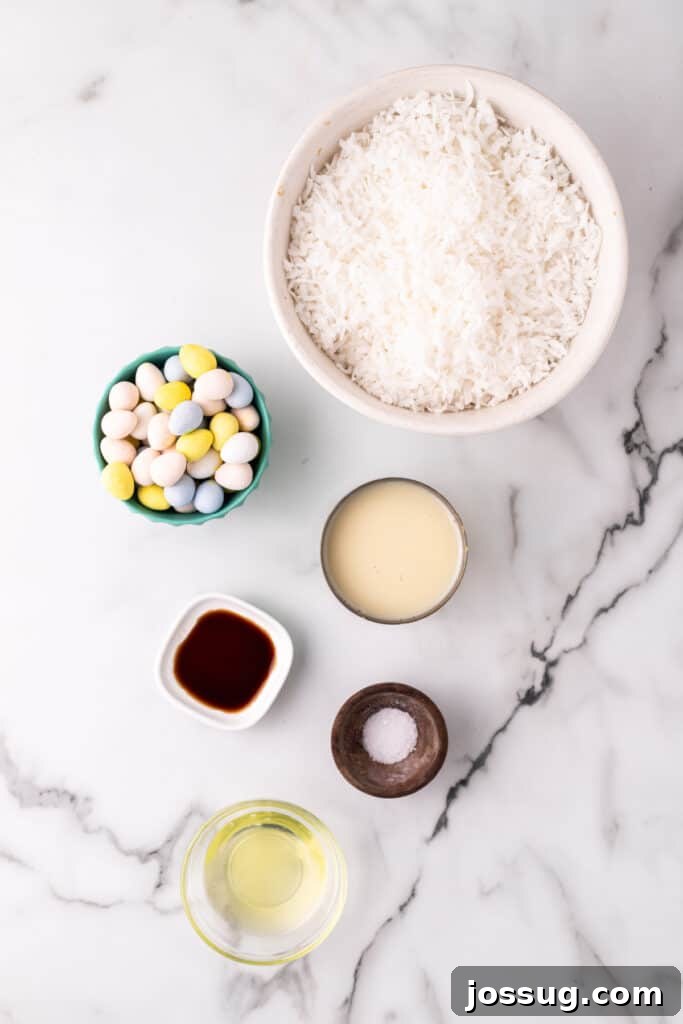
🛒 Essential Ingredients & Clever Substitutions
Crafting these delectable Coconut Easter Nests requires just a few key components. Here’s a detailed look at what you’ll need and how you can adapt the recipe to suit various preferences or dietary needs:
- Flake Coconut: This is the star of our nests, providing that signature chewy texture and sweet tropical flavor. You’ll need one 14 oz bag. While flake coconut gives a more distinct texture, shredded coconut can also be used. Keep in mind that shredded coconut is finer and may result in a slightly different, denser texture in the final nests. For an even richer flavor, you can lightly toast the coconut before mixing it with other ingredients.
- Sweetened Condensed Milk: This ingredient acts as both a sweetener and a binder, ensuring the coconut holds its shape beautifully and tastes incredibly rich. You’ll need one 14 oz can. For a vegan or dairy-free alternative, simply swap in a good quality dairy-free sweetened condensed milk, often made from coconut or oat milk. This will maintain the texture and sweetness without compromising on taste.
- Large Egg White: The egg white helps bind the mixture and creates a slightly crispier exterior while keeping the interior chewy. If you’re looking for an egg-free or vegan option, a flax egg is an excellent substitute: combine 1 tablespoon of ground flaxseed with 3 tablespoons of water, stir, and let it sit for 5-10 minutes until it forms a gel-like consistency. This will mimic the binding properties of the egg white effectively.
- Vanilla Extract: A touch of pure vanilla extract enhances all the sweet flavors in the nests, adding a warm, aromatic depth. Don’t skip this! You can also experiment with other extracts like almond or coconut for a different flavor profile.
- Salt: Just a pinch of salt is crucial for balancing the sweetness and bringing out the full flavor of the coconut. It’s a small addition that makes a big difference.
- Cadbury Mini Egg-Shaped Candies or Similar: These iconic candies are perfect for filling the nests and providing that unmistakable Easter aesthetic. Their pastel colors and chocolatey centers are a delightful contrast to the coconut. If Cadbury Mini Eggs aren’t available, or if you prefer other options, feel free to substitute with jelly beans, chocolate-covered almonds, M&M’s, small chocolate eggs, or even finely chopped colorful gummy candies. The key is to use candies that resemble small eggs to maintain the festive theme.
By understanding the role of each ingredient and the available substitutions, you can confidently create these festive treats tailored to your taste and dietary requirements!
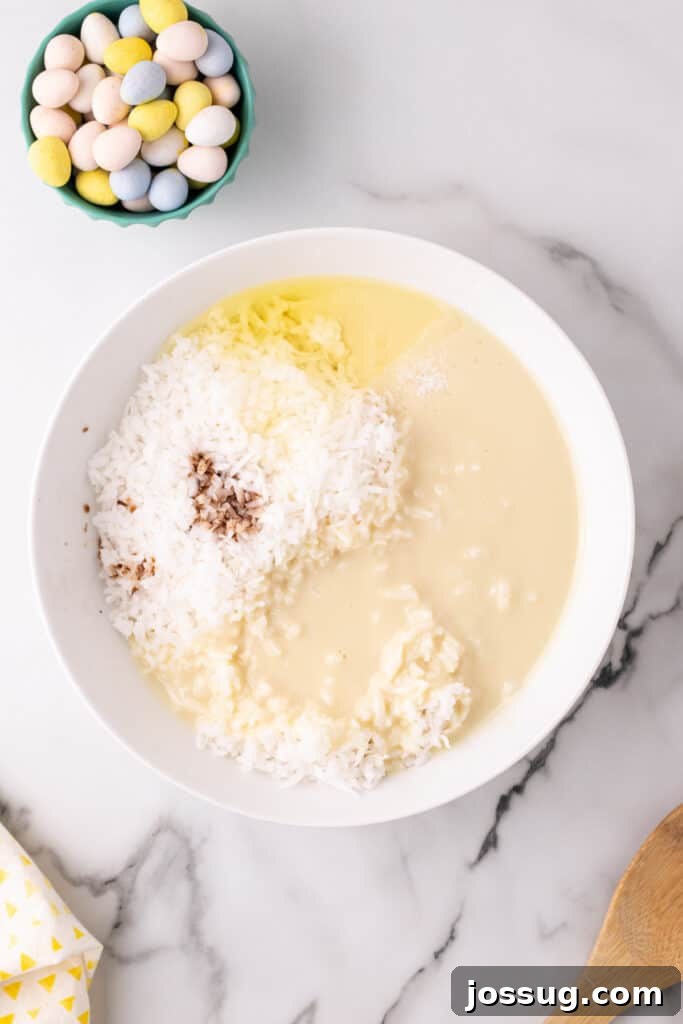
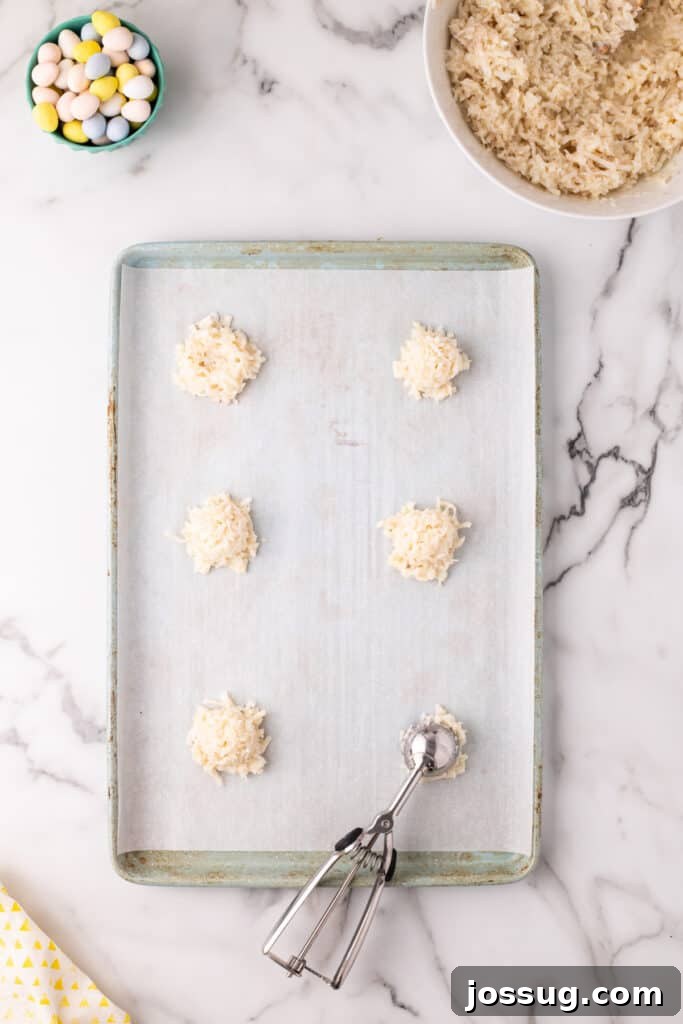
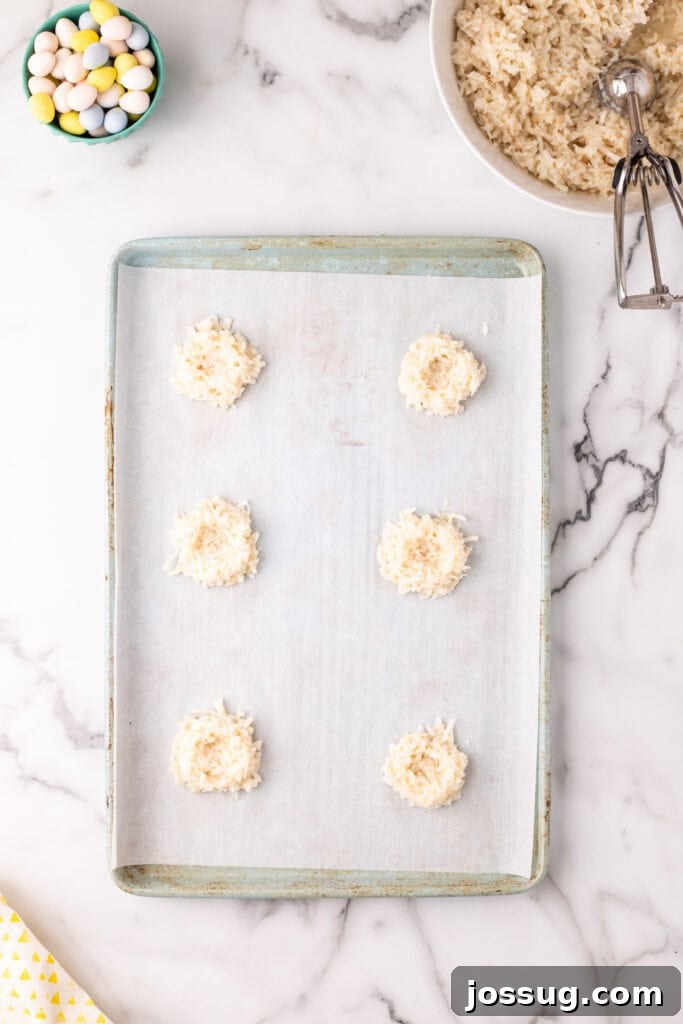
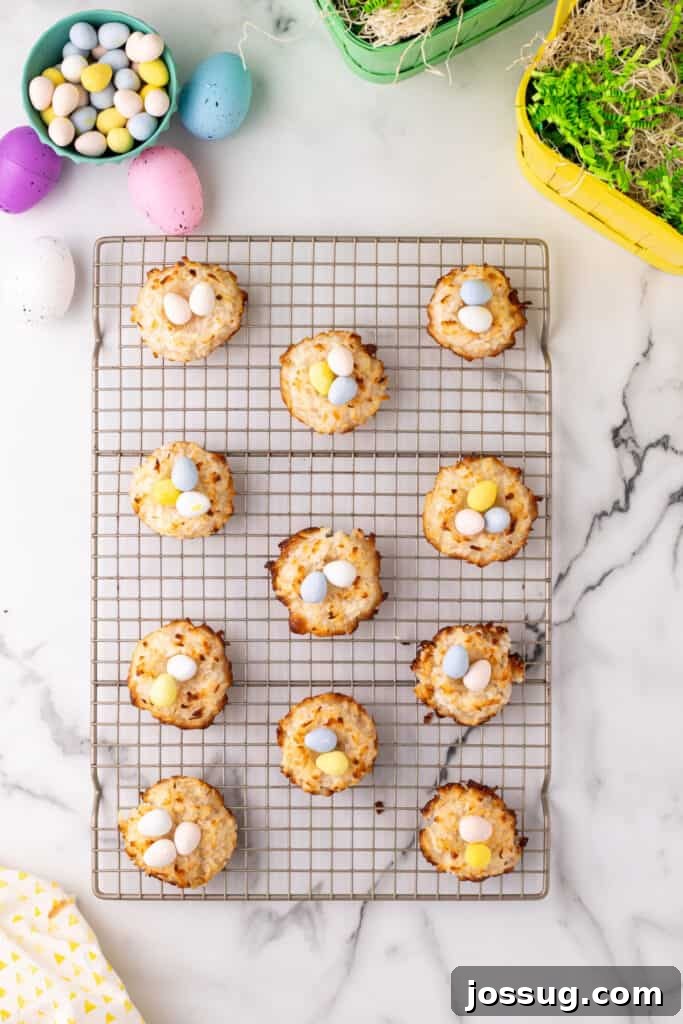
👩🍳 Step-by-Step Guide: How to Bake Perfect Coconut Easter Nests
Creating these charming Easter nests is incredibly straightforward. Follow these detailed steps to ensure your treats turn out beautifully chewy, golden, and perfectly formed:
- Prepare Your Workspace: Begin by preheating your oven to 375°F (190°C). Line a large baking sheet with parchment paper. This crucial step prevents the coconut from sticking and makes for incredibly easy cleanup. Set the prepared baking sheet aside.
- Combine Wet and Dry Ingredients: In a spacious mixing bowl, combine the entire bag of flake coconut, the can of sweetened condensed milk, the large egg white, vanilla extract, and salt. Use a sturdy rubber spatula or a wooden spoon to mix all the ingredients thoroughly until they are well blended and the coconut is evenly coated. The mixture should be cohesive and sticky.
- Form the Coconut Mounds: Using a 1/4 cup cookie scoop or a regular spoon, portion out even mounds of the coconut mixture onto your prepared baking sheet. Leave a little space between each mound as they will spread slightly during baking. For best results, aim for uniform sizes to ensure even baking.
- Bake to Golden Perfection: Place the baking sheet in the preheated oven and bake for 15-18 minutes. Keep a close eye on them; you’re looking for a beautiful golden-brown color around the edges and on top. The baking time can vary depending on your oven, so watch carefully.
- Reshape While Warm (If Needed): It’s common for coconut cookies to spread a bit while baking. If your nests lose some of their shape and look more like flat cookies, don’t fret! Immediately after removing them from the oven, while they are still warm and pliable, use the back of a small measuring cup or a round cookie cutter (slightly larger than your nests) to gently push the edges back in, forming a more defined circular shape.
- Create the Nest Indentation: Still working while the cookies are warm and soft, use your thumb or the back of a rounded measuring spoon (like a teaspoon or half-teaspoon) to create a clear indentation in the center of each coconut mound. This hollow will be where your candy eggs reside, giving them their characteristic “nest” appearance.
- Cool Completely: Carefully transfer the warm, shaped nests to a wire cooling rack. Allow them to cool completely before proceeding to the final step. It’s essential for them to be fully set and firm before adding the candies; otherwise, the heat could melt delicate chocolate eggs or cause the nests to crumble.
- Fill and Serve: Once the coconut nests are entirely cool, gently fill each indentation with your chosen egg-shaped candies, such as Cadbury Mini Eggs or jelly beans. Arrange them on a festive platter and serve these delightful, chewy treats to eager guests!
🔥 Expert Tips for Crafting the Best Coconut Nests
To ensure your Coconut Easter Nests are absolutely perfect every time, keep these handy tips in mind:
- Always Use Parchment Paper: Lining your baking sheet with parchment paper is non-negotiable for this recipe. Coconut can be quite sticky, and parchment paper will prevent your nests from adhering to the pan, making removal effortless and cleanup a breeze.
- Shape While Still Warm: The coconut mixture is most pliable immediately after baking. If your nests spread slightly during the baking process, don’t worry! Use the back of a small glass or a rounded cookie cutter to gently reshape them into perfect circles while they are still warm on the baking sheet. Then, use your thumb or a rounded spoon to press the indentation for the nest.
- Ensure Complete Cooling: Patience is key here. Allow the coconut nests to cool completely on a wire rack before you even think about adding the candies. If the nests are still warm, the heat can cause chocolate eggs to melt or soften, leading to a messy presentation and potentially compromising the texture of the nests themselves.
- Don’t Overmix the Dough: While you want the ingredients to be well combined, avoid overmixing. Overmixing can sometimes lead to tougher cookies. Mix just until everything is incorporated and the coconut is thoroughly coated.
- Consider Toasting Coconut (Optional): For an extra layer of flavor and a slightly richer aroma, you can lightly toast a portion of your flake coconut in a dry pan over medium-low heat until golden before adding it to the mixture. This step is entirely optional but adds a wonderful depth.
- Store Candies Separately: For optimal freshness and presentation, store the unfilled coconut nests and candy eggs separately. Fill the nests just before serving to keep the candies vibrant and firm, especially if they are chocolate-based.
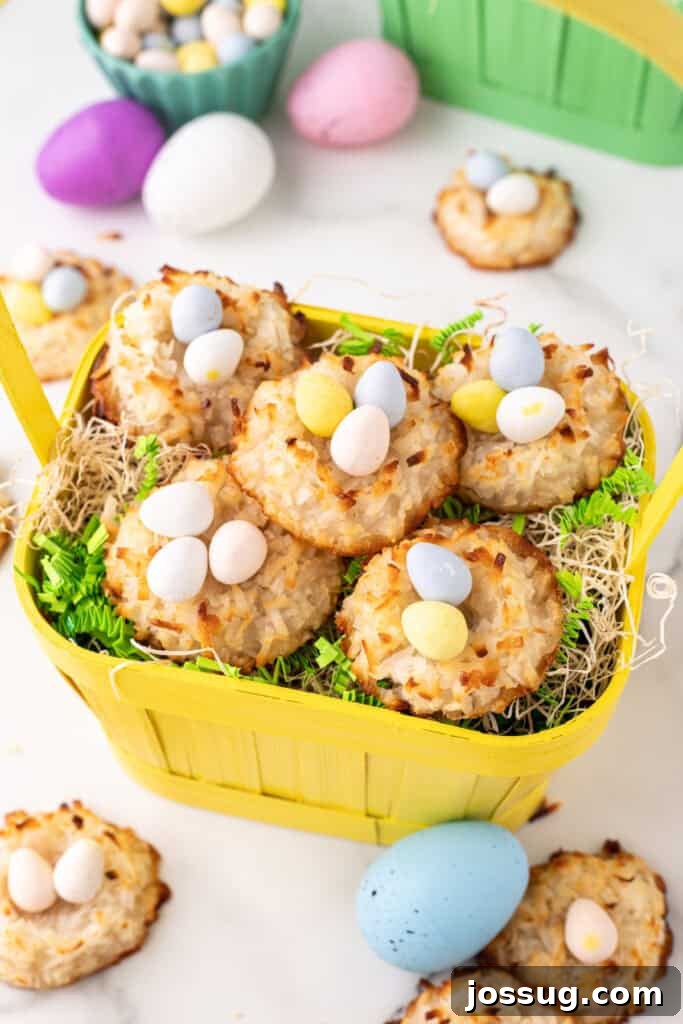
❓ Frequently Asked Questions About Coconut Easter Nests
Here are some common questions about making and enjoying these delightful Coconut Easter Nests:
Absolutely! These Coconut Easter Nests are an excellent make-ahead dessert. You can prepare them up to 3 days in advance. Store the baked and cooled nests (unfilled with candy) in an airtight container at room temperature. For optimal freshness, fill them with the egg candies just before you plan to serve them.
Yes, they freeze beautifully! Once the nests are completely cooled, arrange them in a single layer in an airtight freezer-safe container. If you need to stack them, place a piece of parchment paper between layers to prevent sticking. Freeze for up to 1 month. To serve, simply thaw them at room temperature for about 30 minutes, then add your festive candy eggs.
You can, but be aware that the flavor and sweetness will be less intense. Unsweetened coconut will yield a less sweet and possibly drier nest. If you opt for unsweetened coconut, you might consider adding an extra tablespoon or two of sweetened condensed milk to compensate for the lost sugar and moisture, or drizzle a little melted white chocolate over them after baking.
The key is to ensure your coconut mixture isn’t too wet. If it feels excessively sticky or loose, you can try refrigerating the dough for 10-15 minutes before shaping the nests. This will help firm up the mixture, allowing them to hold their shape better during baking. Also, ensure your oven temperature is accurate; an oven that runs too cool can cause excessive spreading.
Absolutely! Chocolate is a wonderful addition. You can drizzle melted dark, milk, or white chocolate over the finished nests for an extra layer of indulgence. Alternatively, place a small chocolate disc (like a chocolate wafer or a melted chocolate blob that has set) in the center of the nest before adding the candy eggs for a hidden surprise.
For a crispier texture, bake the nests for a few extra minutes until they are a deeper golden brown. Be careful not to burn them, as coconut can brown quickly. Another trick is to toast the flake coconut lightly in a dry pan before mixing it into the dough; this not only enhances the crunch but also deepens the coconut flavor.
Yes, you certainly can! To make them into bars, simply press the entire coconut mixture evenly into a parchment-lined 8×8 or 9×9 inch baking pan. Bake as directed until golden brown. Once cooled completely, cut the large slab into squares or rectangles and press candy eggs into the top of each piece. This is a great option for a larger crowd or for easier transport.
Fresh coconut contains significantly more moisture than dried flake coconut, so it might not hold its shape as well and could result in a softer, less chewy texture. If you decide to use fresh coconut, you would need to squeeze out as much excess liquid as possible before mixing it into the dough. You might also need to adjust the amount of sweetened condensed milk to achieve the right consistency.
Beyond mini eggs, consider edible glitter for sparkle, a sprinkle of finely chopped pistachios for a ‘moss’ effect, or a dusting of powdered sugar. You could also tint a small amount of coconut green with food coloring to create realistic “grass” for the eggs to sit on!
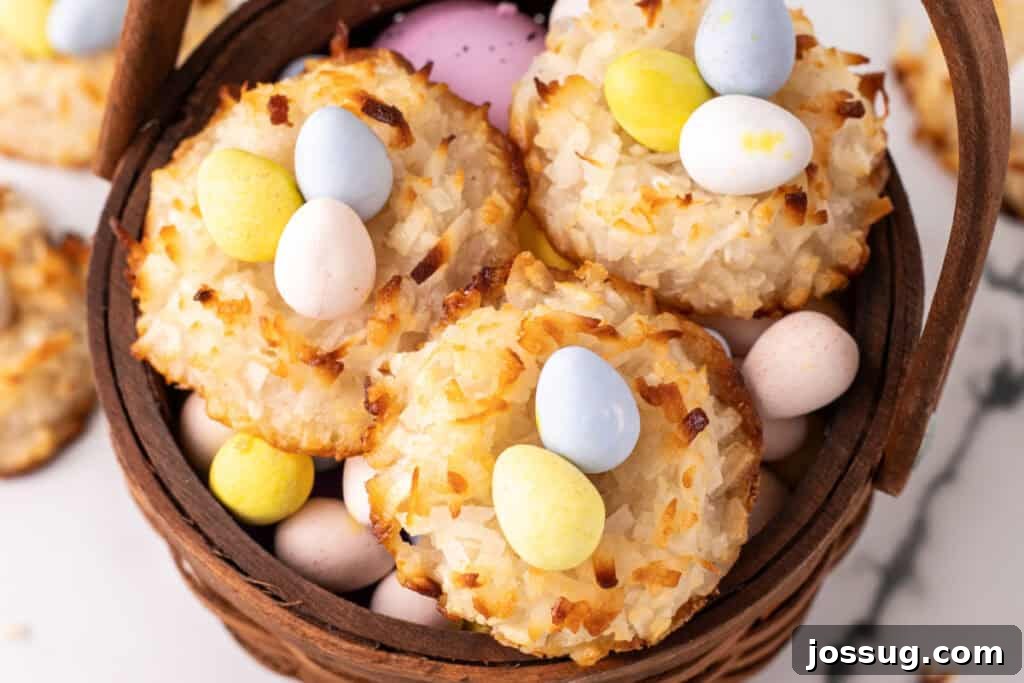
🍬 Variations & Serving Suggestions
While delicious as is, these Coconut Easter Nests offer a canvas for creativity! For variations, consider adding a teaspoon of lemon or orange zest to the coconut mixture for a bright, citrusy note. A handful of mini chocolate chips can also be mixed in for an extra layer of chocolatey goodness. For serving, arrange the nests on a bed of edible grass or finely shredded green coconut for an enchanting presentation. They pair wonderfully with a light tea or coffee, or as a delightful finish to your Easter meal.
🍽️ More Spring & Easter Recipes You May Enjoy
If you loved making these Coconut Easter Nests, you’re sure to find more delights in our collection of spring-inspired treats. Explore these other fantastic recipes perfect for the season:
- Robin Nest Snack Pack Cups
- Homemade Peanut Butter Easter Eggs
- Decadent Coconut Cream Poke Cake
- Fun Easter Sprinkle Cookies
- Irresistible Cherry Coconut Magic Bars
10
servings
Coconut Easter Nests
Jamie Sherman
10 minutes
15 minutes
1 hour
1 hour
25 minutes
Rate
Equipment
-
Baking Sheets
-
Parchment Paper
-
Large Mixing Bowl
-
Rubber Spatula or Wooden Spoon
(for mixing) -
Cookie Scoop
-
Wire Cooling Rack
Ingredients
-
1
bag
flake coconut,
14 oz (sweetened) -
1
can
sweetened condensed milk,
14 oz -
1
large egg white -
1
teaspoon
vanilla extract -
½
teaspoon
salt -
Cadbury mini egg-shaped candies or similar colorful candy
(for filling)
Instructions
-
Prepare Oven and Baking Sheet: Preheat your oven to 375°F (190°C). Line a baking sheet with parchment paper and set it aside.
-
Mix Ingredients: In a medium bowl, combine the flake coconut, sweetened condensed milk, egg white, vanilla extract, and salt. Mix thoroughly with a rubber spatula or wooden spoon until all ingredients are well blended and the coconut is evenly coated.
-
Scoop Nests: Place about 1/4 cup mounds of the coconut dough onto the prepared parchment-lined baking pan, leaving some space between each for slight spreading.
-
Bake: Bake for 15-18 minutes, or until the edges and tops are beautifully golden brown. If the cookies spread during baking and lose their nest shape, you can gently reshape them immediately after taking them out of the oven. Use a small cup or a round cookie cutter to push the edges back in, rotating carefully.
-
Form Nest Indentations: While the nests are still warm and pliable, use your thumb or the back of a rounded measuring spoon to create an indentation in the center of each cookie, forming the nest shape.
-
Cool & Fill: Allow the coconut nests to cool completely on a wire rack. Once fully cooled and set, carefully fill each indentation with your chosen egg-shaped candies. Serve and enjoy!
Notes
Storage & Freezing Instructions
How to Store Leftovers:
- Store the baked, unfilled coconut nests in an airtight container at room temperature for up to 3 days.
- For extended freshness, refrigerate the sealed container for up to 1 week. Always add candies just before serving.
Can These Be Frozen?
Yes! Coconut Easter Nests freeze exceptionally well, allowing you to prepare them far in advance. Here’s how:
- Prepare for Freezing: Place the completely cooled and unfilled nests in a single layer in an airtight freezer-safe container. If you need to stack them, separate each layer with a piece of parchment paper to prevent sticking.
- Freeze Duration: They can be safely frozen for up to 1 month without significant loss of quality or flavor.
- Thawing and Serving: When you’re ready to enjoy them, simply remove the desired number of nests from the freezer and let them thaw at room temperature for approximately 30 minutes. Once thawed, fill them with your colorful candy eggs and they are ready to serve.
These storage and freezing instructions ensure that you can enjoy these delightful Easter treats at your convenience, perfectly fresh and festive whenever you desire.
Nutrition
Nutrition information is automatically calculated and should only be used as an approximation. Actual values may vary based on specific ingredients and preparation methods.
Enjoyed this recipe? Share your thoughts below!