
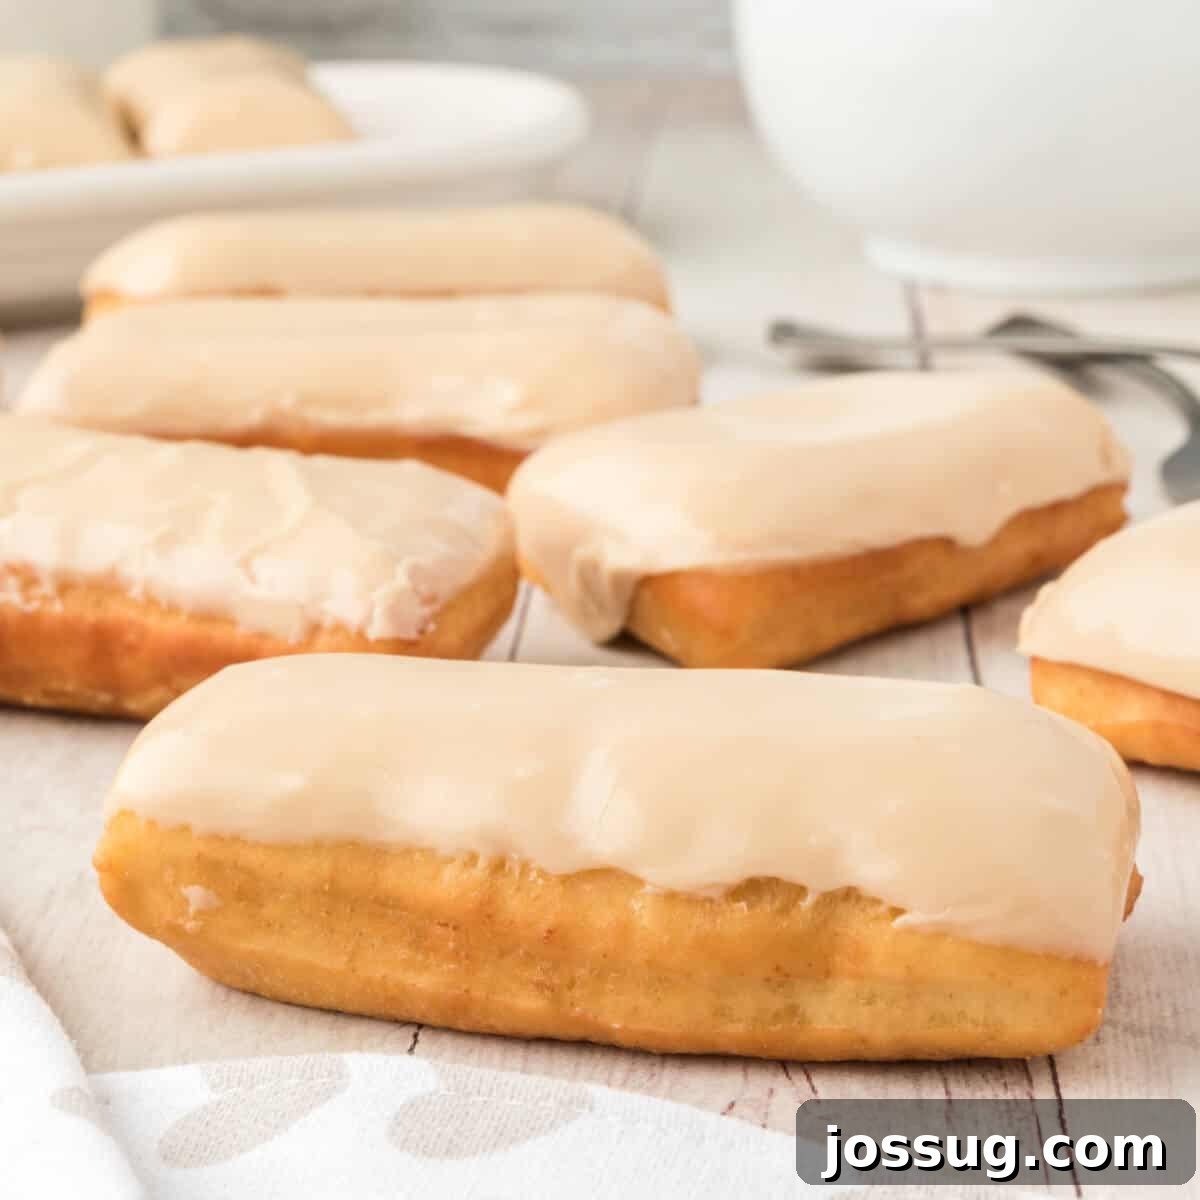
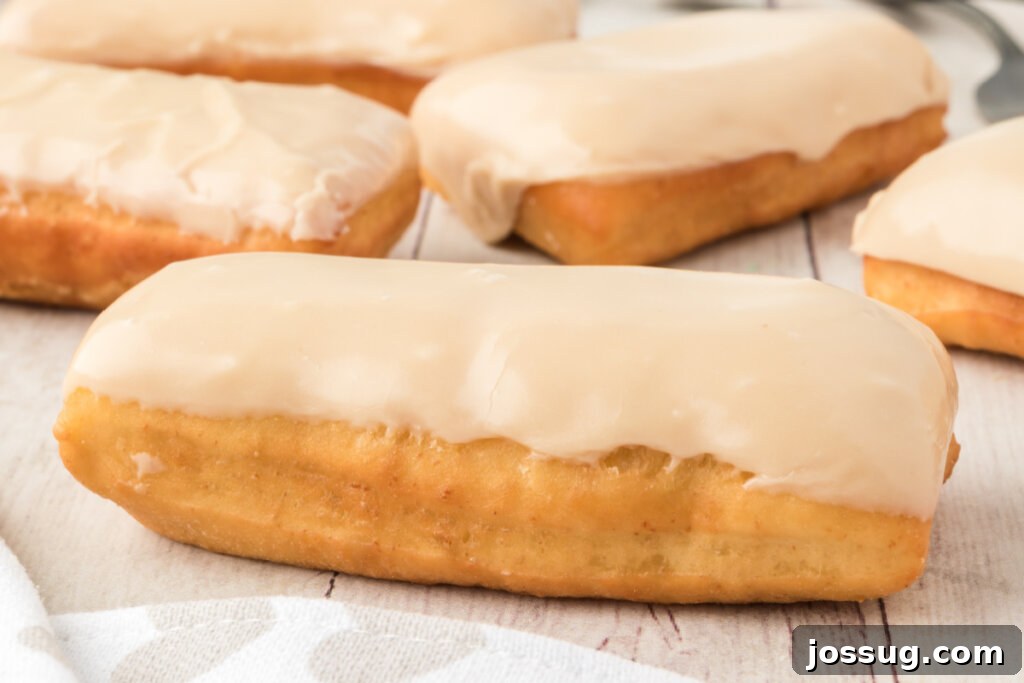
Why settle for store-bought when you can effortlessly create bakery-quality Maple Bars right in your own kitchen? These delightful from-scratch treats are the ultimate addition to any weekend brunch or a special morning breakfast. Get ready to impress your family and friends with fluffy doughnuts generously coated in a rich, sweet maple glaze!
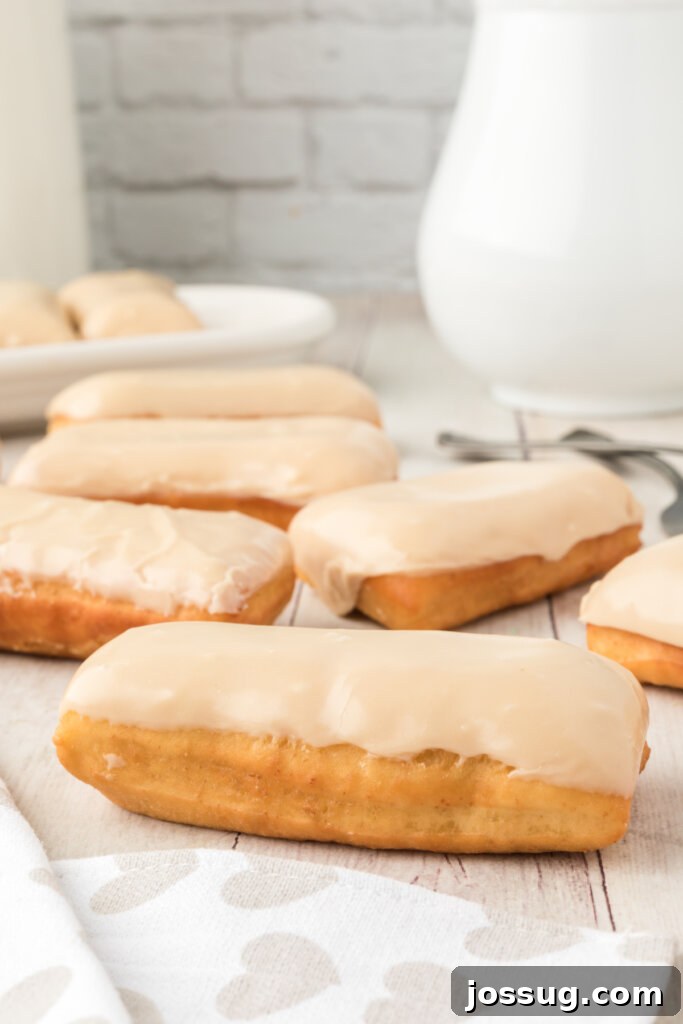
Homemade Maple Bars: A Sweet Tradition You’ll Love
For many years, the idea of making homemade donuts seemed like an intimidating culinary challenge, reserved only for seasoned bakers. Perhaps it was the thought of working with yeast, or the perceived complexity of deep-frying at home. However, I’m here to tell you that crafting your own maple bars from scratch is not only surprisingly simple but also incredibly rewarding!
Forget the long lines at the donut shop and the mystery ingredients. When you make maple bars at home, you control every delicious aspect, from the tender dough to the perfectly balanced maple glaze. While it does require a bit of patience for the dough to rise, the active prep and cooking time are minimal, making this a fantastic project for a leisurely weekend morning. The result? Warm, pillowy doughnuts that far surpass anything you can buy, infused with that unmistakable maple flavor that evokes comfort and nostalgia.
Though I don’t bake doughnuts every single week (a little self-control is key when they’re this good!), I truly cherish the occasional opportunity to whip up a batch. The aroma alone is enough to bring everyone to the kitchen, eager for a taste of these golden-brown beauties. This comprehensive guide will walk you through every step, ensuring your first (or fiftieth!) batch of homemade maple bars is an absolute success.
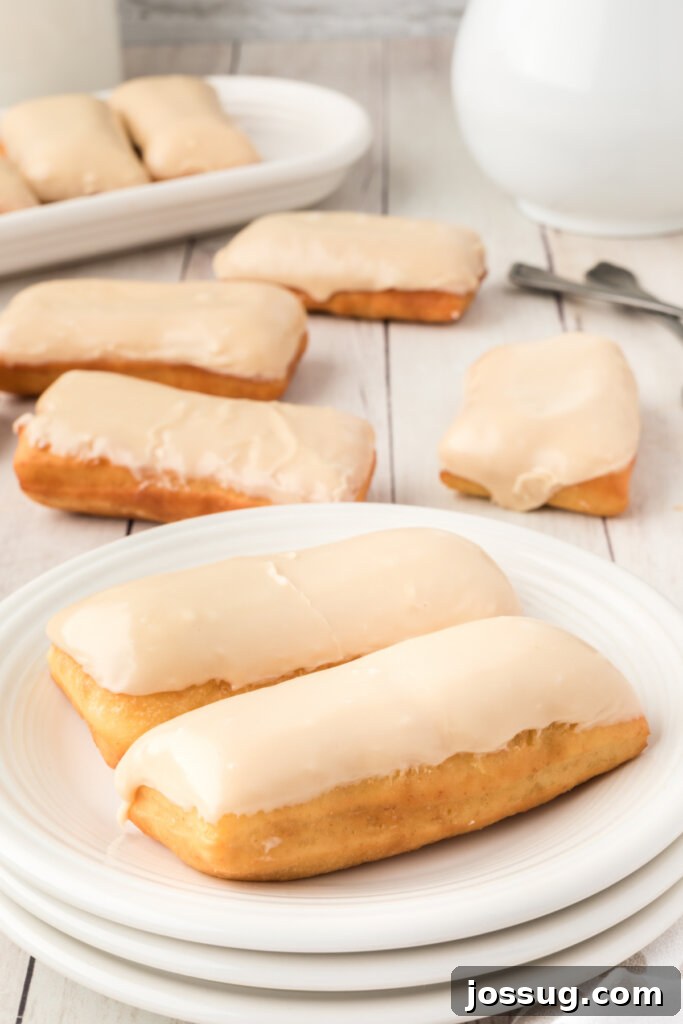
The Secret to Perfect Maple Bars: Key Ingredients & Smart Substitutions
Every exceptional recipe begins with quality ingredients. For our irresistible maple bars, we’ll be using a combination of pantry staples and a few special items that come together to create that classic, fluffy texture and signature sweet glaze. Don’t worry, even if you’re new to baking, these ingredients are readily available and straightforward to work with.
Ingredients for the Fluffy Doughnut Bars
- All-Purpose Flour: The foundation of our dough. While this recipe calls for all-purpose, some bakers might experiment with bread flour for a chewier texture or a mix for a lighter crumb. Stick to all-purpose for classic results.
- Granulated Sugar & Salt: Essential for flavor balance and yeast activation. Sugar feeds the yeast, contributing to the dough’s rise, while salt enhances the overall taste.
- Quick-Rise Yeast: The magic behind the rise! Using quick-rise yeast (also known as instant yeast) streamlines the process as it doesn’t require proofing before mixing. The critical tip here is ensuring your liquids are warm, but not too hot, to activate the yeast without killing it. Aim for a temperature around 120-130°F (49-54°C).
- Milk & Butter: These wet ingredients add richness, moisture, and tenderness to the dough. Whole milk generally yields the best flavor and texture, but 2% milk can also work. Unsalted butter is preferred to control the overall saltiness of the recipe.
- Large Eggs: Eggs contribute to the dough’s structure, richness, and golden color. They also help bind the ingredients together.
- Vanilla Extract: A splash of vanilla enhances all the other flavors, adding a subtle warmth to the doughnut base.
- Oil for Frying: A neutral oil with a high smoke point, such as vegetable oil, canola oil, or peanut oil, is crucial for achieving perfectly golden and evenly cooked maple bars. Ensure you have enough to reach the recommended depth for frying.
Ingredients for the Irresistible Maple Glaze
- Unsalted Butter & Brown Sugar: This duo forms the rich, caramel-like base of our decadent maple glaze. Brown sugar adds a deeper flavor profile compared to granulated sugar alone.
- Milk: Used to thin the glaze to the perfect consistency. You might need to adjust the amount slightly based on desired thickness.
- Powdered Sugar (Confectioners’ Sugar): This fine sugar thickens the glaze, giving it that smooth, quick-setting finish characteristic of classic maple bars.
- Corn Syrup: The secret ingredient for a super-sticky, glossy glaze! Corn syrup prevents crystallization, ensuring your glaze remains smooth and shiny.
- Maple Extract: This is where the magic happens! Maple extract delivers that iconic, intense maple flavor without the need for actual maple syrup, allowing for a more stable and cost-effective glaze.
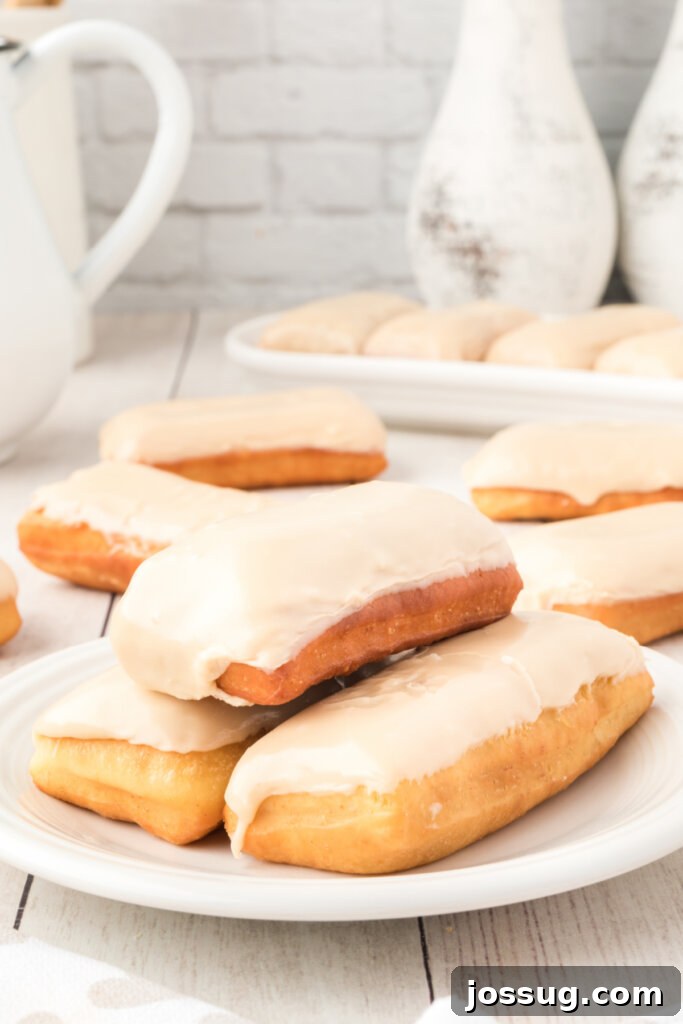
Expert Tips for Flawless Homemade Maple Bars
Achieving bakery-quality maple bars at home is easier than you think, especially with these insider tips:
- Yeast Activation is Key: The temperature of your milk and butter mixture is crucial. Too cold, and the yeast won’t activate; too hot, and it will die. A range of 120-130°F (49-54°C) is ideal. Use a kitchen thermometer for accuracy.
- Don’t Rush the Rise: Doughnuts rely on two good rises for that airy, tender texture. Ensure your rising environment is warm and draft-free. Patience during these stages will be rewarded.
- Proper Dough Consistency: The dough for these maple bars will be sticky, which is perfectly normal. Avoid adding too much extra flour during kneading or rolling, as this can lead to dry, tough doughnuts. A lightly floured surface and floured rolling pin are your best friends.
- Frying Temperature Matters: Maintaining the correct oil temperature (around 350-375°F / 175-190°C) is vital. Too low, and your doughnuts will absorb too much oil and become greasy. Too high, and they’ll brown too quickly on the outside while remaining raw inside. A deep-fry thermometer is indispensable here. Fry in small batches to avoid overcrowding the pan and dropping the oil temperature.
- The Perfect Glaze Consistency: The glaze should be thick enough to coat the doughnuts generously but thin enough to drip slightly. If your glaze is too thick, add a tiny bit more milk (1 teaspoon at a time). If it’s too thin, whisk in a little more powdered sugar. The corn syrup helps keep it smooth and glossy.
- Glaze While Warm (But Not Hot): Dip the doughnuts into the glaze when they are still warm, but cool enough to handle. This allows the glaze to melt slightly and adhere beautifully without running off completely.
- Cooling Rack is Essential: Always place glazed doughnuts on a wire rack with parchment paper underneath to catch any drips and allow air circulation, which helps the glaze set properly.
Maple Bars: FAQs – All Your Questions Answered
This recipe is designed to make approximately 12 delicious maple bars. Be warned, they are so good you’ll be tempted to eat them all yourself!
Excluding the hands-off rising time, you’ll need about 15 minutes for active preparation and another 15 minutes for cooking (frying). The dough will require a total of approximately 1 hour and 15 minutes of rising time, bringing the total estimated time from start to finish to about 1 hour and 45 minutes. Most of this is waiting time, so it’s a perfect project for a relaxed day!
To keep your maple bars fresh, store them in an airtight container or a Ziploc bag at room temperature for up to 2-3 days. For longer storage, they can be kept in the refrigerator for about a week. Although they are best enjoyed fresh, you can gently warm them in the microwave for a few seconds to restore some of their softness.
While traditional maple bars are fried for that classic crispy exterior and soft interior, you can bake them. For baked maple bars, place them on a parchment-lined baking sheet and bake at 350°F (175°C) for 10-12 minutes, or until golden brown. Keep in mind the texture will be different—more like a cake donut than a classic fried one—but still delicious!
Choose a neutral-flavored oil with a high smoke point, such as canola oil, vegetable oil, peanut oil, or sunflower oil. These oils won’t impart unwanted flavors to your maple bars and can withstand the necessary high temperatures for frying.
Yes! You can prepare the dough up to the first rise, then punch it down gently, cover it tightly with plastic wrap, and refrigerate it overnight (up to 24 hours). The next day, let it come to room temperature for about 30-60 minutes before rolling out and shaping, then proceed with the second rise and frying.
Serving Suggestions and Delicious Variations
These homemade maple bars are exceptional on their own, but here are a few ideas to elevate your experience or customize them:
- Brunch Centerpiece: Serve alongside fresh fruit, scrambled eggs, and crispy bacon for an unforgettable brunch spread.
- Coffee Companion: There’s nothing quite like a warm maple bar with a hot cup of coffee or a cold glass of milk.
- A Touch of Spice: Add a pinch of cinnamon or nutmeg to your dough for a subtle spiced flavor that complements the maple.
- Nutty Topping: Before the glaze sets, sprinkle some finely chopped toasted pecans or walnuts over the top for added crunch and flavor.
- Bacon Maple Bars: For a sweet and savory twist, crumble crispy cooked bacon over the wet glaze. It’s a flavor combination that’s incredibly popular!
- Maple Cream Cheese Glaze: For an extra rich glaze, whisk a tablespoon or two of softened cream cheese into the warm maple glaze mixture.
Other Delightful Recipes You May Enjoy
- Maple Bacon Chocolate Chip Cookies
- Glazed Chocolate Donuts
- Maple Bacon Butter
- Buttermilk Doughnuts with Cherry Glaze
- Maple Bacon Monkey Bread
12
bars
Maple Bars Recipe
Jamie Sherman
15
15
1
15
1
45
Print Recipe
Equipment
-
Stand Mixer
-
Pot and Pan Set
-
Basketweave Kitchen Towel (Set of Six)
-
Baking Sheets
-
Candy/Jelly/Deep Fry Thermometer
-
Mixing Bowl
-
Whisk
-
Tongs
-
GranPappy Electric Deep Fryer
Ingredients
For the Bars
- ¾ cup milk
- 3 tablespoons butter
- 3 ¼ cups all-purpose flour
- ⅓ cup granulated sugar
- ½ teaspoon salt
- 1 package quick-rise yeast, 2 1/2 teaspoons
- 2 large eggs
- ½ teaspoon vanilla extract
- Oil, for frying
For the Glaze
- ¼ cup unsalted butter, 1/2 stick
- ½ cup brown sugar
- 3 tablespoons milk
- 1 tablespoon corn syrup
- 2 teaspoons maple extract
- 2 cups powdered sugar
Instructions
For the Doughnut Bars:
-
Gently heat the milk and butter in a medium saucepan over medium heat until the butter is fully melted and the mixture is warm (approximately 125°F / 52°C), but definitely not boiling. Remove from heat immediately.
-
In the bowl of a stand mixer fitted with a paddle attachment, combine 2-1/4 cups of the all-purpose flour, granulated sugar, salt, and quick-rise yeast. Mix on low speed to combine. Gradually pour in the warm milk mixture and increase the speed to medium. Beat until thoroughly combined. Add the eggs and vanilla extract. Continue to beat on medium speed until the mixture is fluffy and well-incorporated, about 2-3 minutes. Incorporate the remaining 1 cup of flour and beat for another 1-2 minutes until the dough is smooth. Note: The dough will be noticeably sticky.
-
Lightly grease a large mixing bowl. Scrape the sticky dough into the greased bowl. Cover the bowl with a clean kitchen towel and allow the dough to rise in a warm, draft-free place until it has almost doubled in size, which typically takes about 45 minutes.
-
While the dough is rising, prepare your workstation. Line one baking sheet with waxed paper and lightly brush it with oil. This will prevent the cut doughnut bars from sticking during their second rise. Line another baking sheet with several layers of paper towels; this will be used to drain the fried doughnuts. Set aside.
-
Once the dough has risen, turn it out onto a generously floured surface. Using a floured rolling pin, carefully roll the dough into a rectangular shape, approximately 12-x-8 inches. With a sharp knife or a pizza cutter, slice the rectangle into 12 individual bars, each measuring about 4-inches long by 2-inches wide. Gently transfer these bars to the oiled, waxed paper-lined baking sheet. Cover the bars with a clean kitchen towel and let them rise for an additional 30 minutes.
-
In a deep fryer or a heavy skillet with high sides, heat 1-1/2 to 2 inches of neutral frying oil to a temperature of 350-375°F (175-190°C). Carefully place 2-4 doughnut bars into the hot oil at a time, being careful not to overcrowd the pan. Fry for 1-2 minutes per side, or until they achieve a beautiful dark golden color. Using tongs, transfer the cooked bars to the paper towel-lined baking sheet to drain excess oil. Repeat with the remaining bars, ensuring the oil returns to the proper temperature before frying each new batch.
For the Maple Glaze:
-
In a small saucepan, combine the unsalted butter and brown sugar. Whisk in the milk and heat the mixture over medium heat for 3-5 minutes, stirring frequently, until the butter is completely melted and the sugar has dissolved. Remove the saucepan from the heat and stir in the corn syrup and maple extract. Gradually add the powdered sugar, ½-cup at a time, whisking vigorously until the glaze is smooth and free of lumps. If the glaze is too thick, add an additional 1-2 teaspoons of milk until the desired consistency is reached.
To Assemble Maple Bars:
-
Once the fried doughnut bars are cool enough to comfortably handle (but still warm), dip the top side of each bar into the prepared maple glaze. Allow any excess glaze to drip off. Place the glazed bars, glaze side up, on a wire rack to allow the glaze to set. This will take approximately 10-15 minutes. Serve warm and enjoy!
Notes
- The glaze recipe was adapted from Butter with a Side of Bread.
Nutrition
Serving:
1bar
Calories:
347kcal
Carbohydrates:
63g
Protein:
5g
Fat:
8g
Saturated Fat:
5g
Polyunsaturated Fat:
1g
Monounsaturated Fat:
2g
Trans Fat:
0.3g
Cholesterol:
51mg
Sodium:
144mg
Potassium:
97mg
Fiber:
1g
Sugar:
36g
Vitamin A:
282IU
Vitamin C:
0.002mg
Calcium:
43mg
Iron:
2mg
Nutrition information is automatically calculated and should only be used as an approximation.
Enjoyed this recipe? Leave a comment below!
Your feedback helps us create more delicious content.
Originally published on October 13, 2015. Updated for clarity, SEO, and expanded content on February 21, 2022 and [Current Date, e.g., November 1, 2023].