
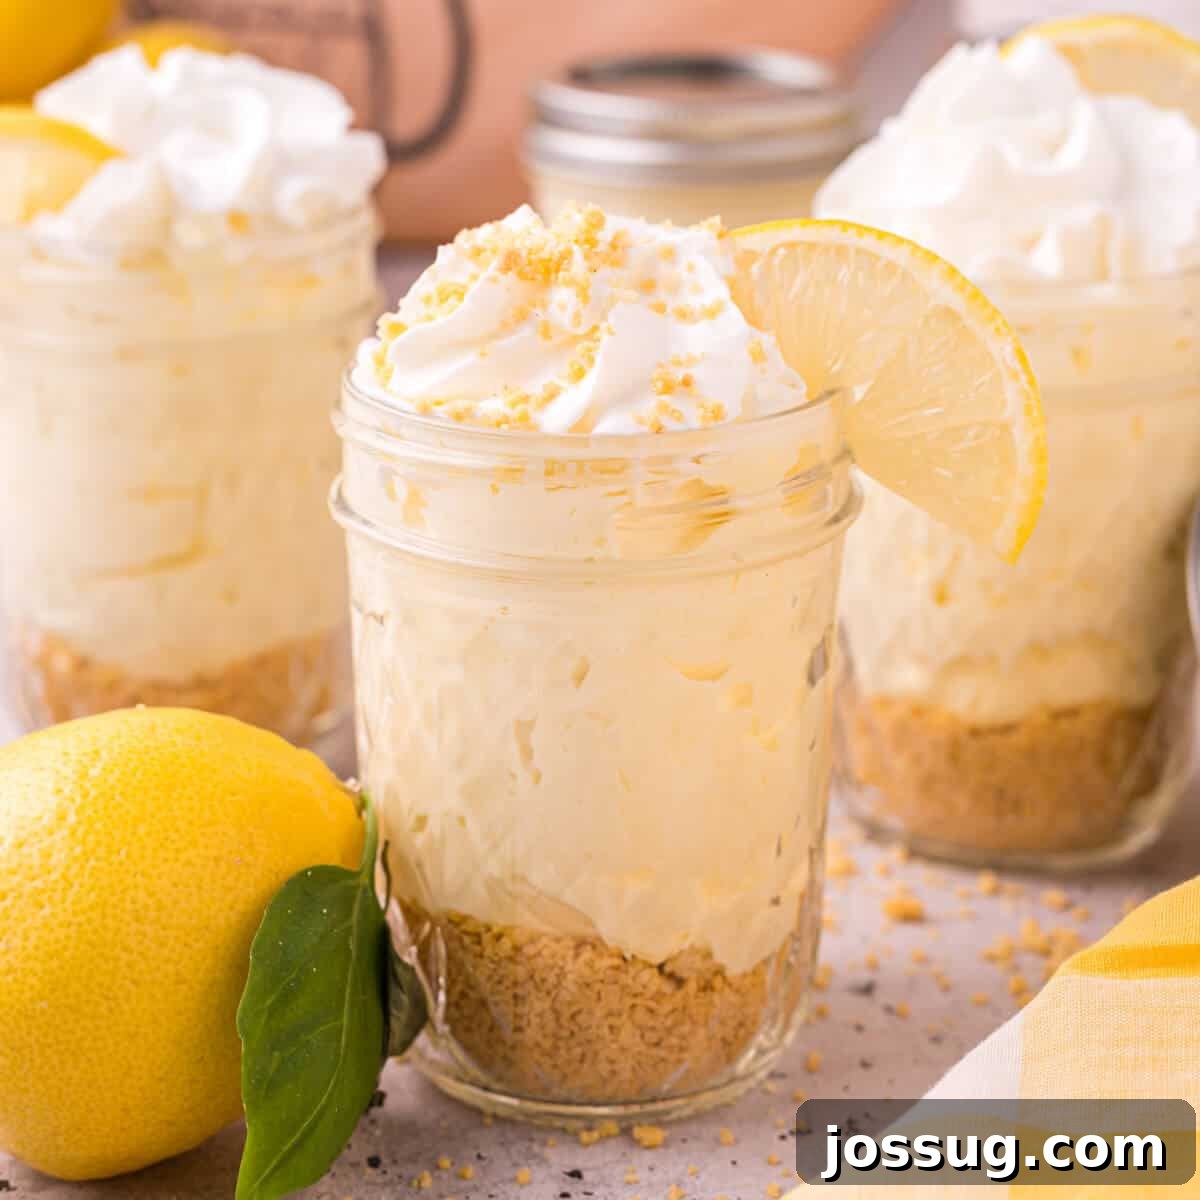
Craving a dessert that’s both decadently creamy and wonderfully refreshing? Look no further than these delightful **No-Bake Lemon Cheesecake Jars**! Light, fluffy, and bursting with zesty lemon flavor, these individual treats are incredibly simple to make, requiring no oven and minimal effort. Whether you’re planning a summer picnic, a special gathering, or just need a quick, impressive dessert, these tangy-sweet jars are the perfect solution, guaranteed to satisfy every sweet tooth.
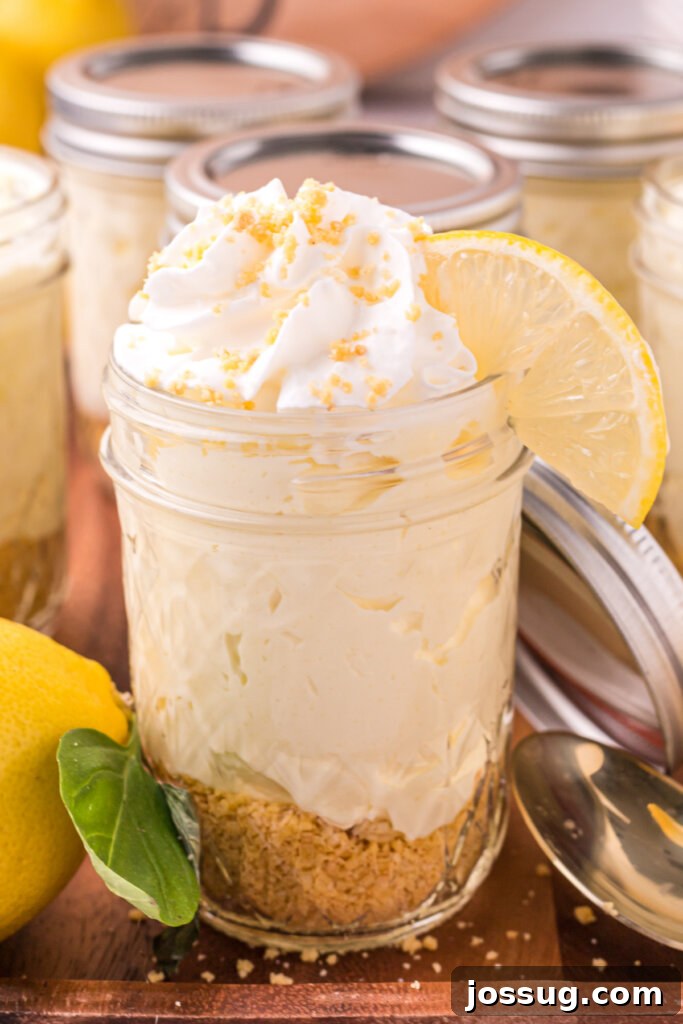
No-Bake Lemon Cheesecake Jars: The Ultimate Refreshing Treat
No-Bake Lemon Cheesecake Jars stand out as an exceptional dessert for countless reasons. Beyond their undeniable deliciousness, they offer unparalleled convenience and versatility, making them a favorite for home bakers and dessert lovers alike. Imagine a dessert that delivers the rich, creamy texture of classic cheesecake coupled with the bright, invigorating zing of fresh lemon, all without the need to turn on your oven. That’s precisely what these jars bring to your table.
The beauty of a no-bake cheesecake lies in its simplicity. Perfect for those scorching summer days when the thought of heating your kitchen is unbearable, or for last-minute entertaining when time is of the essence. These individual portions are not only easy to prepare but also incredibly convenient to serve. Each guest gets their own perfectly portioned dessert, eliminating the need for slicing and messy plates. This makes them ideal for barbecues, potlucks, bridal showers, or any event where grab-and-go treats are appreciated.
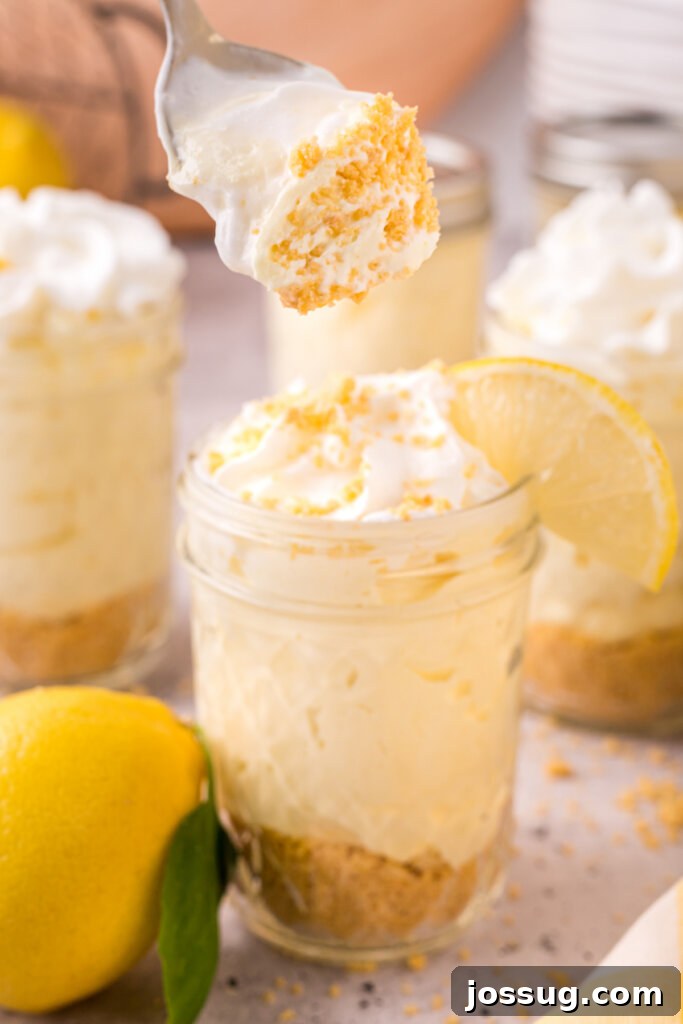
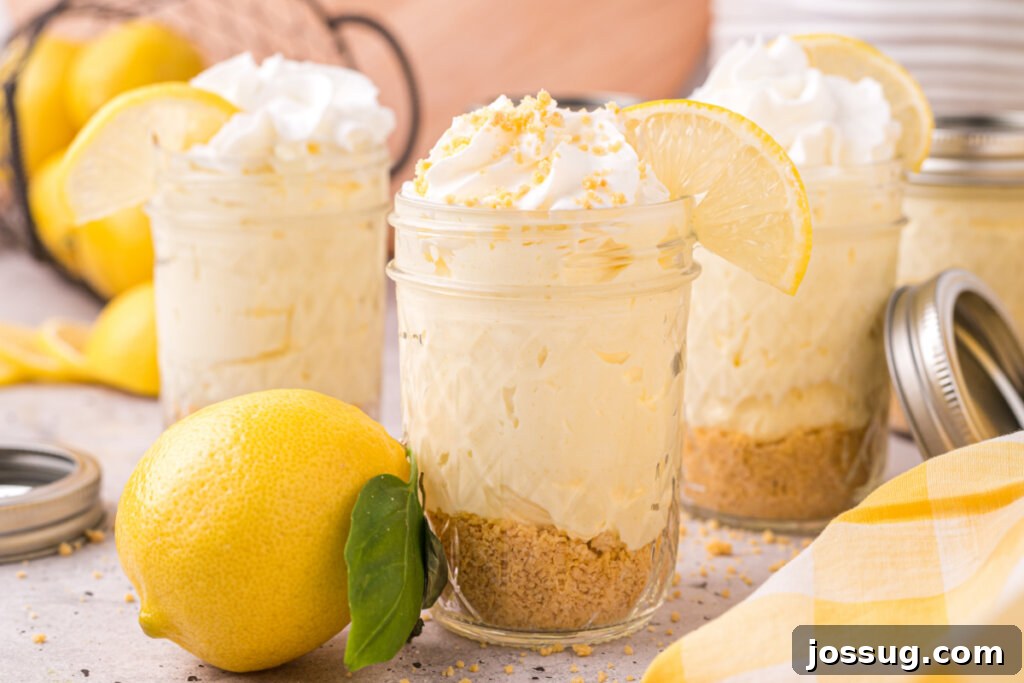
At the heart of these jars is a velvety smooth, luscious cheesecake filling, infused with a vibrant lemon flavor that provides a delightful citrus tang. This creamy core rests upon a crunchy base, typically made from crushed graham crackers or lemon-flavored cookies, adding a wonderful textural contrast. The grand finale is often a swirl of fluffy whipped cream or a scattering of fresh berries and lemon slices, enhancing both the visual appeal and the fresh taste. The layering in transparent jars makes for a stunning presentation, allowing the beautiful construction of the dessert to shine through, promising a feast for the eyes before the first spoonful.
These No-Bake Lemon Cheesecake Jars are more than just a dessert; they are a statement of effortless elegance and pure indulgence. Their light and airy texture, combined with the harmonious balance of sweet and tangy notes, ensures they are a crowd-pleaser every time. Get ready to impress your family and friends with a dessert that’s as easy to love as it is to make!
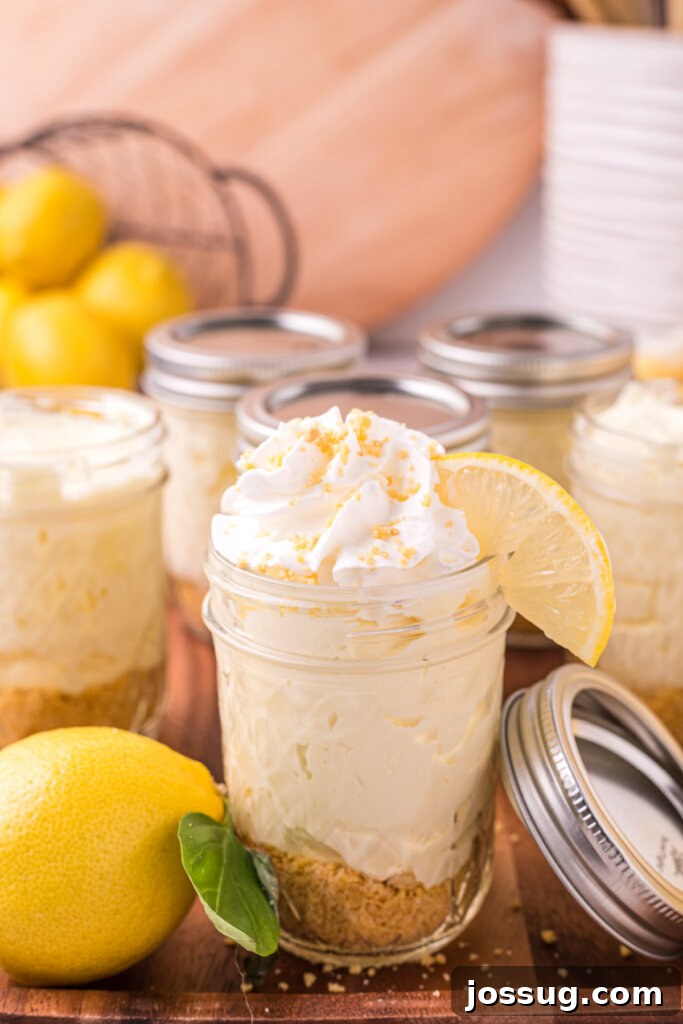
No-Bake Lemon Cheesecake Jars: Essential Ingredients and Clever Substitutions
Creating these heavenly No-Bake Lemon Cheesecake Jars requires a handful of accessible ingredients that come together to form a magical symphony of flavors and textures. Here’s a detailed look at what you’ll need and how you can get creative with substitutions to customize your jars.
The Crust: Foundation of Flavor
- Oreo cookies: The recipe specifically calls for **lemon-flavored Oreo cookies**, which add an extra layer of lemon zest right from the base. When crushed, they form a wonderfully crumbly and flavorful crust.
- Substitution Tip: If lemon Oreos aren’t available, **Golden Oreos** are an excellent alternative, offering a buttery vanilla flavor that complements the lemon filling beautifully. Alternatively, classic **graham crackers** are a traditional and reliable choice for a cheesecake crust. You can also experiment with other cookies like shortbread, vanilla wafers, or digestive biscuits for different flavor profiles and textures. For a richer crust, consider mixing a tablespoon or two of melted butter with your crushed cookies.
The Creamy Lemon Filling: Star of the Show
- Cream cheese: The cornerstone of any great cheesecake! Ensure your cream cheese is softened to room temperature for a smooth, lump-free filling. Full-fat cream cheese yields the richest, creamiest texture, but you can use reduced-fat cream cheese if preferred, though the consistency might be slightly different.
- Granulated sugar: Provides the perfect amount of sweetness to balance the tartness of the lemon. Adjust to your taste preferences.
- Lemon-flavored gelatin: This is the secret ingredient that gives the cheesecake its vibrant lemon flavor and helps it set beautifully without baking. A 3 oz. box is typically sufficient.
- Vanilla-flavored dry coffee creamer: Adds a subtle hint of vanilla and a lovely creaminess to the filling, enhancing its overall richness and smooth texture.
- Substitution Tip: If you don’t have vanilla-flavored dry coffee creamer, you can omit it or substitute with a tablespoon of vanilla extract and a touch more powdered sugar for sweetness, adjusting to taste.
- Frozen whipped topping (thawed): Contributes to the light, airy, and fluffy consistency of the no-bake cheesecake. Make sure it’s thawed completely but still cold before folding it into the cream cheese mixture.
- Substitution Tip: For an even richer taste, you can use homemade sweetened whipped cream instead of frozen whipped topping. Just ensure it’s whipped to stiff peaks and gently folded in.
Garnish: The Perfect Finish (Optional)
- Sweetened whipped cream: A dollop of whipped cream adds a luxurious touch and visually completes the dessert.
- Lemon slices: Fresh lemon slices or twists are excellent for garnish, emphasizing the lemon flavor and adding a pop of color.
- Additional garnish ideas: For an extra special touch, consider sprinkling some lemon zest, adding a mini lemon-flavored Oreo cookie, or placing fresh berries like raspberries or blueberries on top. A sprig of fresh mint can also add a beautiful contrast.
With these ingredients in hand, you’re well on your way to creating an unforgettable dessert experience!
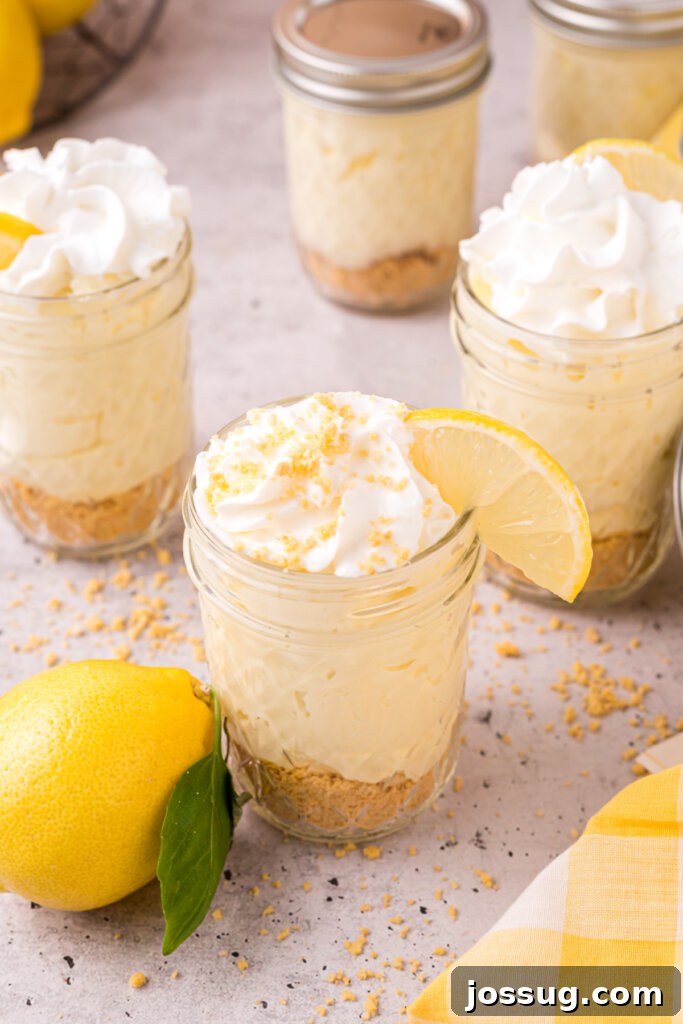
How to Make No-Bake Lemon Cheesecake Jars: A Step-by-Step Guide
Making these No-Bake Lemon Cheesecake Jars is incredibly straightforward and a joy to assemble. Follow these simple steps to create your delicious individual desserts:
Step 1: Prepare the Crust Base
First, take your lemon-flavored Oreo cookies (or your chosen substitute like graham crackers). You’ll need to crush them into fine crumbs. You can do this by placing them in a Ziploc bag and crushing them with a rolling pin, or by pulsing them in a food processor until finely ground. Evenly divide these crushed cookies among six pint-size jars. Use the back of a spoon or your fingers to gently press the crumbs into a firm, even layer at the bottom of each jar. This creates a sturdy and flavorful base for your cheesecake. Set these jars aside while you prepare the filling.
Step 2: Craft the Creamy Cheesecake Filling
In a large mixing bowl, place the softened cream cheese. Using an electric mixer, beat the cream cheese thoroughly until it’s light, fluffy, and completely smooth. This is a crucial step to ensure a lump-free filling. Next, gradually add the granulated sugar, lemon gelatin, and vanilla-flavored dry coffee creamer to the cream cheese mixture. Continue mixing with the electric mixer until all the ingredients are well combined and the mixture is smooth and evenly colored. Finally, gently fold in the thawed frozen whipped topping. Mix until just combined, being careful not to overmix, as this can deflate the airiness of the whipped topping. The goal is a light, smooth, and creamy consistency.
Step 3: Assemble and Chill
Now it’s time to fill your jars! Carefully divide the creamy lemon cheesecake mixture evenly among the six jars, layering it on top of the crushed cookie crust. You can use a spoon or a piping bag for a neater presentation. Smooth the top of the cheesecake layer in each jar. Once filled, cover each jar tightly, either with its lid or plastic wrap, and refrigerate for a minimum of 2 hours. This chilling time is essential, as it allows the gelatin to set and the cheesecake to firm up, ensuring a perfect texture when served.
Step 4: Garnish and Serve
Just before you’re ready to serve, retrieve the chilled cheesecake jars from the refrigerator. Top each jar with a generous dollop of sweetened whipped cream. For an elegant finish, garnish with a thin lemon slice, a curl of lemon zest, or a few fresh berries. These jars are best enjoyed immediately after garnishing, offering the freshest flavors and textures. Prepare for compliments – these individual treats are truly irresistible!
No-Bake Lemon Cheesecake Jars: Your Questions Answered
No-Bake Lemon Cheesecake Jars are individual-sized desserts consisting of delectable layers. Typically, they feature a crunchy base made from crushed graham crackers or cookies, followed by a thick, creamy, and tangy lemon-flavored cheesecake filling, and often crowned with a light whipped cream or fresh fruit topping. The “no-bake” aspect means they don’t require an oven, relying instead on refrigeration to set, making them incredibly quick and easy to prepare, perfect for any occasion when you want a delightful treat without the fuss of baking.
Absolutely! Making these cheesecake jars gluten-free is quite simple. The key is to substitute the regular cookies or graham crackers for a gluten-free alternative. Many brands now offer delicious gluten-free graham crackers or cookies that work perfectly for creating the crust. Ensure all other ingredients, like whipped topping and gelatin, are also certified gluten-free, though most are naturally so. This small modification allows everyone to enjoy these luscious lemon treats.
Yes, these No-Bake Lemon Cheesecake Jars are fantastic for making ahead of time, which adds to their convenience for entertaining or meal prepping desserts. Once assembled, cover the jars tightly (with their lids or plastic wrap) and store them in the refrigerator. They can typically be stored and enjoyed for 2-3 days while maintaining their freshness and optimal texture. This makes them an ideal dessert option for parties, as you can prepare them days before the event, freeing up your time on the day itself.
Absolutely! The versatility of no-bake cheesecake jars is one of their most exciting features. You can easily experiment with different flavors by simply changing the type of gelatin used. For instance, strawberry, lime, raspberry, or even orange gelatin can create entirely new and exciting cheesecake experiences. You can also incorporate different fruits, either as a topping or layered within the cheesecake filling, such as fresh berries, peaches, or even a fruit compote. Don’t hesitate to get creative with different cookie crusts and toppings to match your desired flavor profile!
The calorie count for No-Bake Lemon Cheesecake Jars can vary significantly based on the specific ingredients used and the portion size. Generally, as a rich and indulgent dessert, they tend to have a moderate to high-calorie count. Factors like using full-fat cream cheese versus reduced-fat, the amount of sugar, the type of cookies for the crust, and the richness of the whipped topping all contribute. If you are concerned about calorie intake, consider making substitutions with lower-calorie options, such as using light cream cheese, sugar substitutes, or smaller serving sizes. Always refer to a reliable nutrition calculator for precise information based on your exact recipe.
Pro Tips for No-Bake Cheesecake Perfection
Achieving the perfect No-Bake Lemon Cheesecake Jar is simple, but a few expert tips can elevate your dessert from great to extraordinary:
- Room Temperature Cream Cheese: This is crucial! Ensure your cream cheese is thoroughly softened at room temperature. Cold cream cheese will result in a lumpy filling, no matter how much you beat it.
- Don’t Overmix the Whipped Topping: When incorporating the thawed whipped topping, fold it in gently. Overmixing can cause the topping to lose its airiness, resulting in a denser cheesecake filling.
- Crush Cookies Finely: For a cohesive crust, make sure your cookies or graham crackers are crushed into fine crumbs. This helps them pack down well and prevents a crumbly mess.
- Evenly Packed Crust: Press the crust mixture firmly and evenly into the bottom of each jar. This provides a stable foundation for your creamy filling.
- Piping Bag for Filling: For a clean and professional look, transfer the cheesecake filling into a piping bag (or a large Ziploc bag with the corner snipped off) before piping it into the jars. This makes layering much easier and neater.
- Chill Time is Key: Do not rush the chilling process. The minimum 2 hours (or preferably longer, up to 4-6 hours) allows the gelatin to fully activate and the cheesecake to set properly, ensuring a firm yet creamy texture.
- Experiment with Jars: While pint-size jars are common, feel free to use smaller or larger jars depending on your desired serving size. Smaller jars are great for mini portions or tasting menus.
- Creative Toppings: Beyond whipped cream and lemon slices, consider candied lemon peel, a drizzle of raspberry sauce, a sprinkle of toasted coconut, or even a light dusting of powdered sugar.
Other Irresistible No-Bake Dessert Recipes You May Enjoy
If you loved the ease and deliciousness of these No-Bake Lemon Cheesecake Jars, you’ll surely want to explore more no-bake wonders. Here are some other delightful recipes that require no oven and are perfect for any occasion:
- No-Bake Mint Chocolate Chip Cheesecake
- White Chocolate Peppermint Oreo Cheesecake Jars
- Easy No-Bake Cheesecake
- No-Bake Peach Cheesecake
- No-Bake Caramel Apple Cheesecake
No-Bake Lemon Cheesecake Jars
Print Recipe
Equipment
-
Hand Mixer
-
Mixing Bowl
-
Rubber Spatula or Wooden Spoon
-
Measuring Cups and Spoons
-
Pint (16-oz.) Wide Mouth Jars, Clear, 1-Pack of 4
Ingredients
- 12 lemon-flavored Oreo cookies, crushed (or graham crackers)
- 2 packages cream cheese, softened, 8 oz. each
- ½ cup granulated sugar
- 1 box lemon-flavored gelatin, 3 oz.
- ⅓ cup vanilla-flavored dry coffee creamer
- 1 container frozen whipped topping, thawed, 8 oz
- Sweetened whipped cream and lemon slices, for garnish (optional)
Instructions
-
Divide the crushed lemon Oreo cookies evenly between 6 pint-size jars. Press firmly to form a crust. Set aside.
-
In a large mixing bowl, beat the softened cream cheese with an electric mixer until light and fluffy. Add the sugar, lemon gelatin, and coffee creamer; mix well until smooth. Gently fold in the thawed whipped topping until just combined.
-
Divide the cheesecake mixture evenly among the 6 jars, layering it over the cookie crust. Cover each jar and refrigerate for at least 2 hours, or until set.
-
Just before serving, top with sweetened whipped cream and garnish with a lemon slice or zest. Serve immediately.
Notes
- Feel free to use different flavors of gelatin to create new no-bake cheesecake variations!
- Store the cheesecake jars, covered, in the refrigerator for up to three days.
- These jars can easily be made gluten-free by using gluten-free graham crackers or cookies for the crust.
Nutrition
Nutrition information is automatically calculated, so should only be used as an approximation.
Originally published on May 15, 2016. Updated on April 6, 2023.