
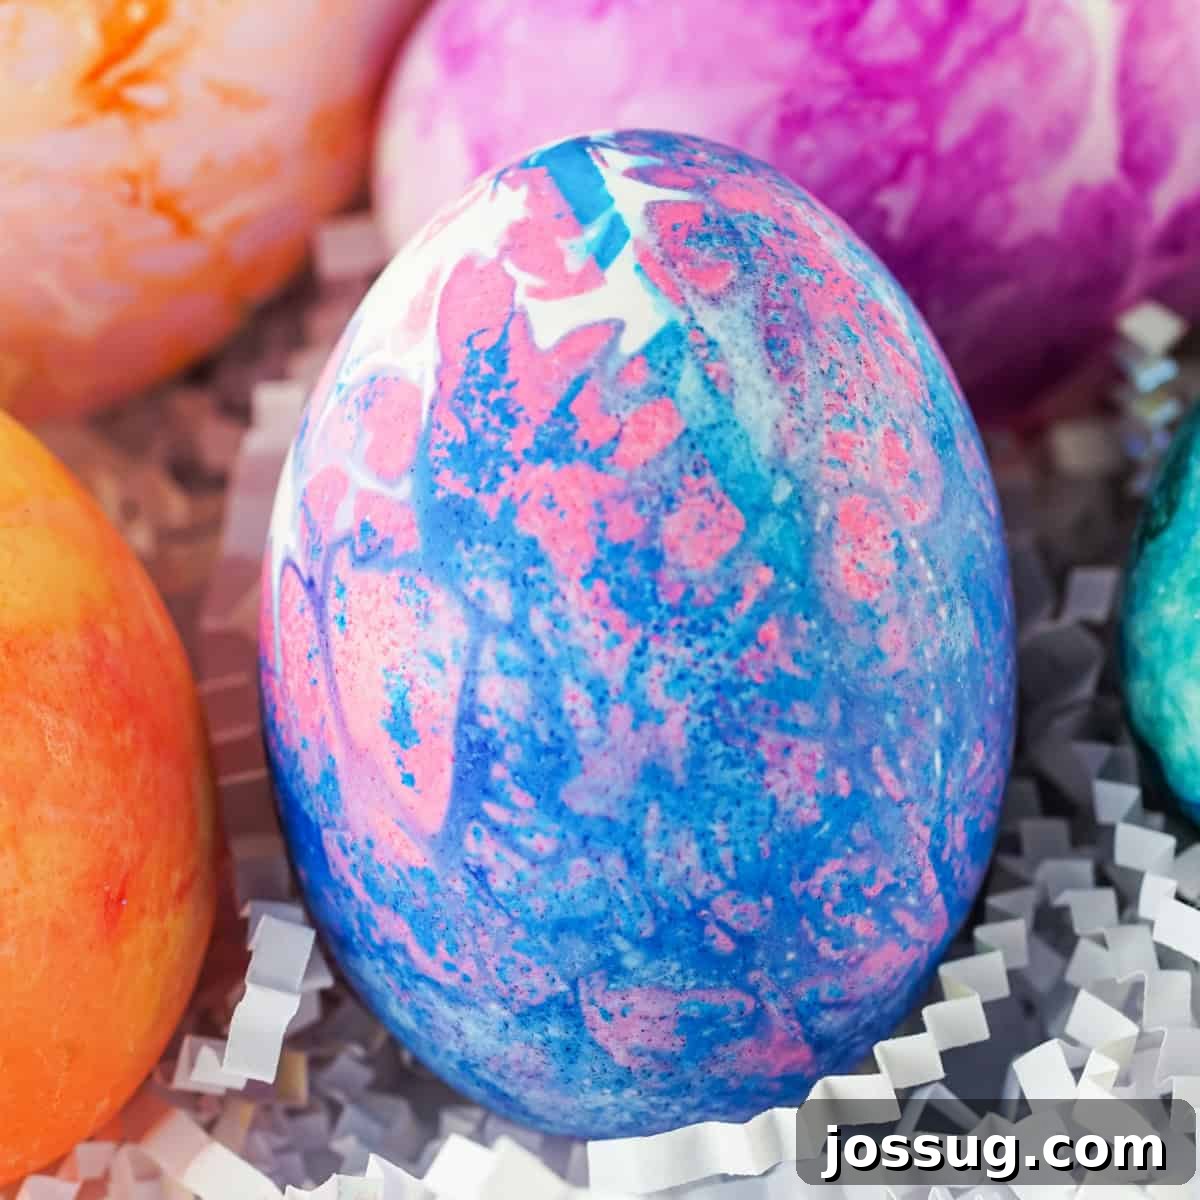
Unleash a burst of color this Easter with a craft that’s as delightful as it is simple: **Tissue Paper Dyed Easter Eggs!** This engaging DIY project promises vibrant results with minimal mess, making it an ideal activity for families. All you need are a few basic supplies – primarily bleeding tissue paper, distilled white vinegar, and a batch of hard-boiled eggs – to transform ordinary eggs into stunning, kaleidoscopic works of art. Perfect for little hands and creative minds, this method adds a unique, artistic touch to your Easter celebrations, creating memories and beautiful decorations that stand out. 🐣🌈
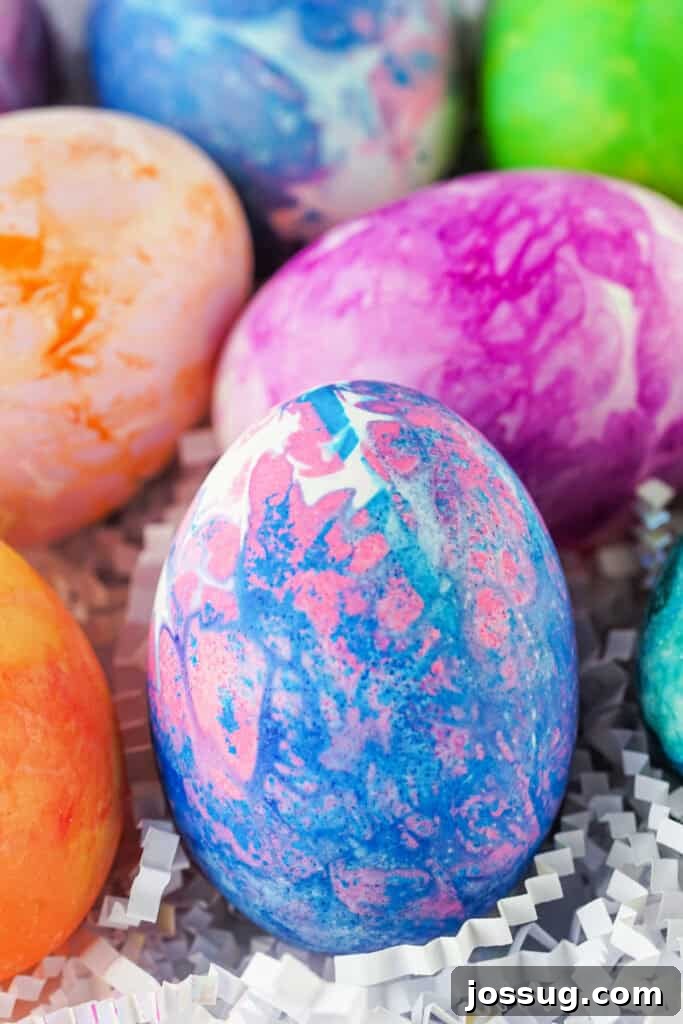
DIY Easter Egg Dye: A Creative Twist for Your Holiday
Are you searching for an Easter activity that offers both creativity and convenience? Look no further than these Tissue Paper Dyed Easter Eggs. They are wonderfully bright, exceptionally beautiful, and incredibly simple to create, making them a fantastic alternative to traditional dye kits. If you’re eager to explore unique ways to dye Easter eggs, this method requires only a handful of readily available supplies and a dash of imagination. It’s an engaging project that brings joy to both children and adults alike, fostering shared moments of artistic expression and holiday cheer. Unlike conventional dyeing methods that can often lead to spills and stained tabletops, this tissue paper technique offers a relatively mess-free experience, allowing you to focus purely on the fun of crafting.
⭐ Why You’ll Adore This Easter Egg Craft
- Kid-Friendly & Safe: This craft is designed to be super easy and safe for crafters of all ages, from toddlers to teens. There are no harsh chemicals or messy dyes to worry about, just simple, non-toxic materials. It’s a wonderful way to introduce younger children to the magic of color mixing and pattern creation, boosting their fine motor skills and creativity.
- Low Mess, High Fun: Say goodbye to multiple dye cups and inevitable spills! The tissue paper method significantly reduces cleanup, making it a stress-free option for busy parents and teachers. You’ll be amazed at how much vibrant color you can achieve without a single drop of liquid dye on your countertop.
- Creative Freedom & Unique Designs: The possibilities for color combinations and patterns are truly endless. Each egg becomes a unique masterpiece, reflecting the individual creativity of its decorator. Experiment with overlapping colors, tearing paper for abstract designs, or wrapping for bold, solid hues.
- Fast, Easy & Instantly Rewarding: This isn’t a craft that requires hours of waiting. You’ll see beautiful results in just minutes, providing instant gratification and keeping everyone engaged. The setup is quick, the process is straightforward, and the reveal of the beautifully dyed eggs is always exciting.
- Vibrant & Eye-Catching: The bleeding tissue paper creates incredibly rich and saturated colors that truly pop, resulting in Easter eggs that are more like miniature works of art than simple dyed shells. Their unique patterns and intensity will be a focal point of your holiday decor.
🛒 Gathering Your Essential Supplies & Materials
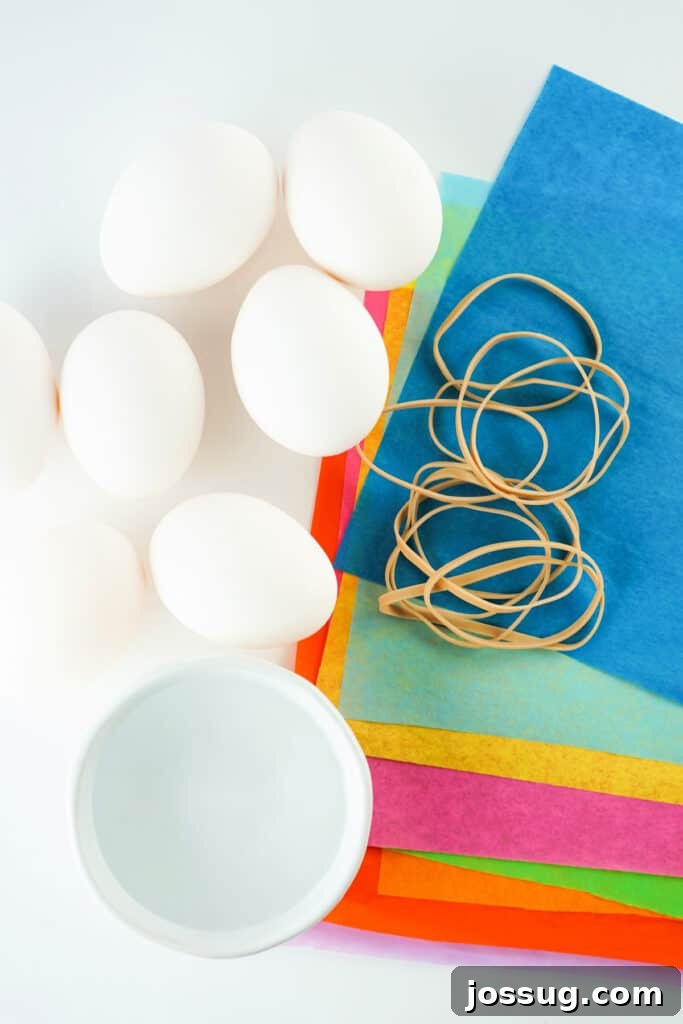
One of the best aspects of tissue paper dyed Easter eggs is the minimal and accessible supply list. You likely have some of these items already, and the rest are easily found at craft stores or supermarkets. Ensuring you have the correct type of tissue paper is the most crucial step for success!
- Hard-Boiled Eggs: While white eggs are ideal for achieving the brightest and truest colors, brown eggs work wonderfully too! Just note that the dye will result in slightly deeper, richer, and perhaps more muted tones on brown shells. For perfect results every time, you can follow our guide on how to make perfect hard-boiled eggs. Ensure they are completely cool before starting your craft.
- Bleeding Tissue Paper: This is the star ingredient and non-negotiable! Regular tissue paper will not release its color when wet. Look specifically for packages labeled “bleeding,” “art,” or “wet-strength” tissue paper. It’s designed to transfer its dye when moisture is applied. You can find it at most craft stores, educational supply stores, or online retailers.
- Distilled White Vinegar: The acid in vinegar is what activates the dye in the bleeding tissue paper, helping it transfer beautifully onto the eggshells. No need for fancy or expensive varieties; standard distilled white vinegar works perfectly.
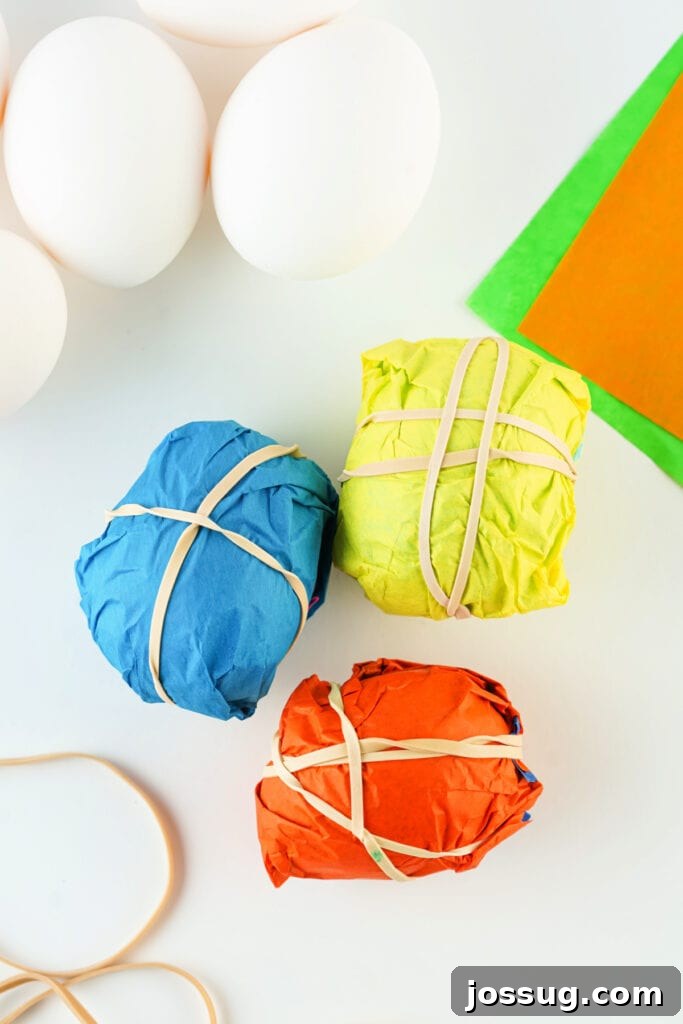
- Rubber Bands or String: These are used to secure the tissue paper tightly around your eggs, ensuring good contact and even dye transfer. You can also use masking tape or simply twist the paper ends.
- Paper Towels or Old Rags: Essential for protecting your workspace, gently patting dry the finished eggs, and for quick cleanups.
- Rubber Gloves (Optional, but Recommended): While the dye is generally non-toxic, it can temporarily stain your fingers, especially with brighter colors. Gloves are a great way to keep your hands clean, particularly when crafting with children.
- Protective Surface (Recommended): Lay down old newspapers, a plastic tablecloth, or parchment paper to safeguard your crafting area from any stray color transfer.
- Egg Carton or Drying Rack: A safe place for your newly dyed eggs to rest and fully dry after unwrapping.
✨ Creative Variations & Design Inspiration
The beauty of this craft lies in its versatility. Don’t be afraid to experiment with different techniques to achieve unique patterns and effects on your Easter eggs!
- Torn Paper Mosaic Method: Instead of wrapping, let kids tear small, irregular pieces of bleeding tissue paper. Press these pieces onto vinegar-dampened eggs, overlapping them for a mosaic effect. If the paper starts to dry, simply mist with more vinegar using a spray bottle to reactivate the color transfer. This method creates fascinating, organic patterns.
- Single Color Eggs for Bold Statements: For eggs with a deeply saturated, uniform color, use two or even three layers of the same color tissue paper. Wrap each layer tightly, ensuring full coverage, and allow it to sit for the recommended time to achieve an intense hue.
- Ombre Effect: To create a beautiful gradient, use light and dark shades of the same color tissue paper on a single egg. For example, wrap one end of the egg with a pale blue and the other with a dark blue, allowing them to slightly overlap in the middle. The vinegar will help blend the colors seamlessly.
- Stripes and Geometric Patterns: Before wrapping your egg, you can use masking tape to create stripes or geometric shapes. The areas covered by tape will remain undyed, creating a resist effect. Remove the tape carefully after the tissue paper has been removed and the egg is dry.
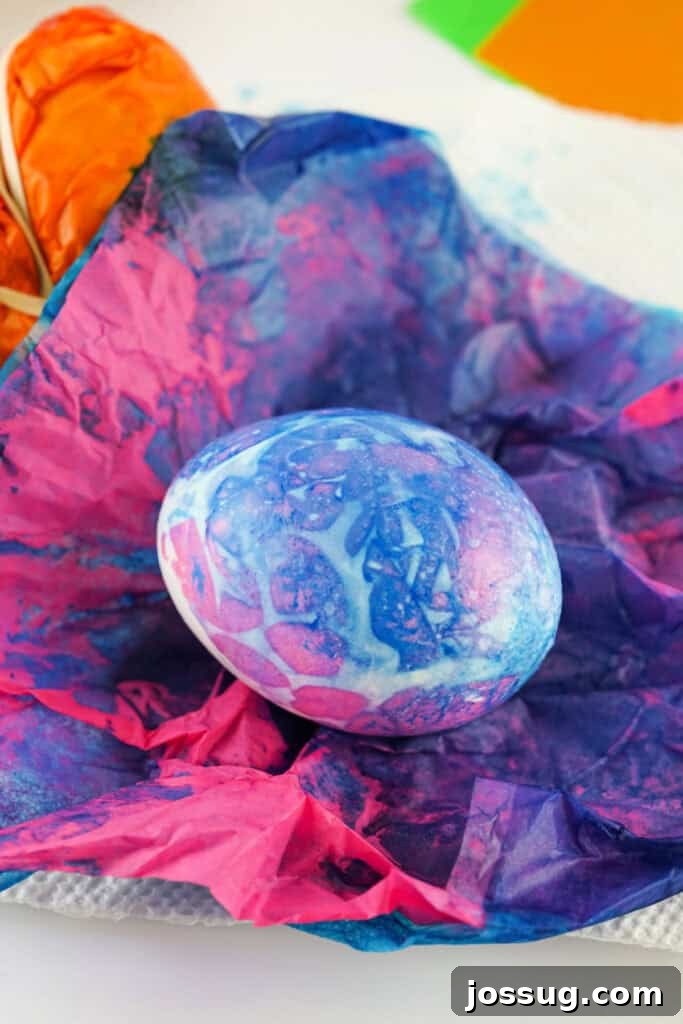
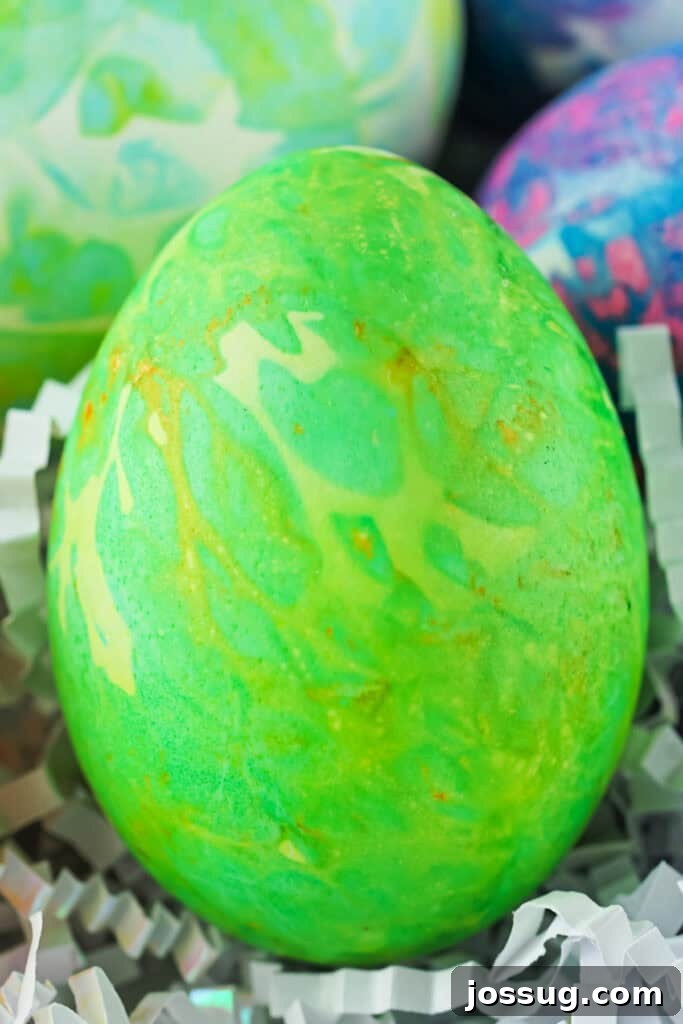
- Marbleized Masterpieces: Lightly crumple your tissue paper before wrapping it around the egg. This creates natural folds and creases, resulting in a stunning marble-like effect once the dye transfers. You can use multiple colors crumpled together for an even more dynamic look.
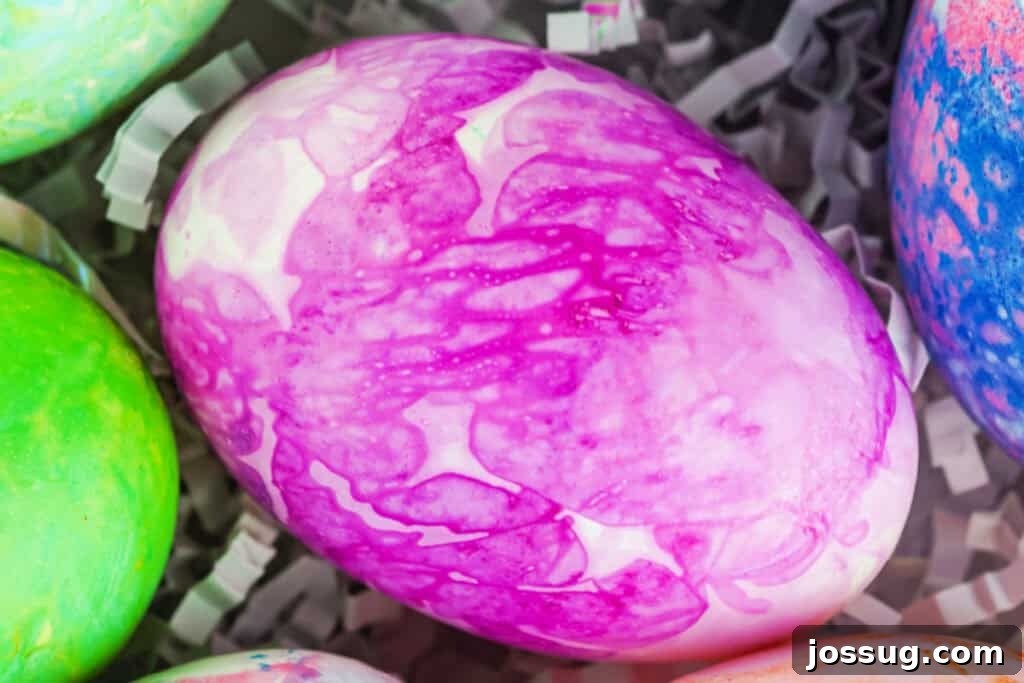
- Multi-Color Swirls: Combine several different colored tissue papers on one egg. Twist them around the egg, allowing colors to touch and blend. The interplay of hues creates a captivating, swirling design.

🔥 Expert Tips for Vibrant & Flawless Results
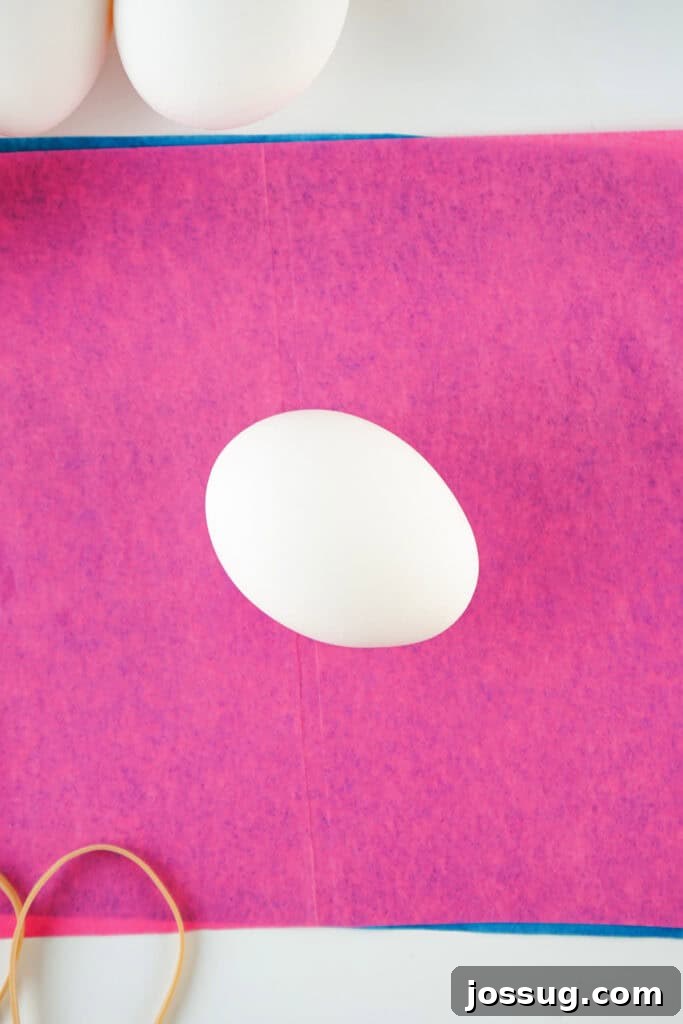
Achieving stunning tissue paper dyed Easter eggs is simple, but a few insider tips can elevate your craft from good to absolutely gorgeous. Follow these guidelines for the best possible outcomes and a truly enjoyable experience:
- Always Use the Right Paper: This is the golden rule! Ensure the tissue paper packaging explicitly states “bleeding” or “wet-strength.” Standard dollar-store or craft tissue paper, often used for gift wrapping, is usually colorfast and will not release its dye. Investing in the correct type of tissue paper is key to success.
- No Fancy Wrapping Required: Don’t stress about perfectly symmetrical or aesthetically pleasing wrapping. The exact way you wrap the egg doesn’t significantly impact the final design, as long as the tissue paper is in continuous contact with the eggshell. Tightly securing it is more important than intricate folding.
- Mind the Vinegar Soak Time: While vinegar is essential for dye transfer, soaking the egg for too long (much more than 30 seconds) can sometimes lead to duller, less vibrant colors as the dye may start to wash away. A quick 30-second dip is typically perfect for achieving rich, bright hues.
- Don’t Worry About Vinegar Color Changes: The vinegar in your cup will change color with each egg you dip, absorbing some of the excess dye. However, this discoloration of the vinegar will not affect the color transfer of subsequent eggs. The vinegar’s primary role is to act as an acid, not as a dye solution itself.
- Brown Eggs Work Beautifully, Differently: While white eggs provide a canvas for the brightest, most accurate color representation, brown or farm-fresh eggs can also be dyed successfully. The resulting colors will be slightly deeper, richer, and may have an earthy undertone, creating a unique aesthetic.
- Layer Up for Bolder Colors: If you desire intensely vibrant and saturated colors, use at least two layers of tissue paper for each color you apply. The extra layer allows for more dye to transfer, resulting in a more profound and striking finish.
- Longer Rest, Bolder Color: After soaking the egg in vinegar, letting it sit wrapped in the tissue paper for a longer period (e.g., 10-15 minutes instead of 5) before unwrapping can help the colors set more deeply and appear even bolder. Experiment to find your preferred intensity.
- Protect Your Hands & Surfaces: Bleeding tissue paper, true to its name, can transfer color to skin and porous surfaces. Always lay down newspaper, a plastic mat, or parchment paper to protect your workspace. Wearing rubber gloves is highly recommended, especially for children, to prevent stained fingers.
- Cool Eggs are Key: Ensure your hard-boiled eggs have cooled completely to room temperature before you begin. Hot eggs can cause the tissue paper to tear easily and the dye to bleed too quickly or unevenly, potentially compromising the final design.
- Embrace Imperfection: Part of the charm of this craft is the organic, sometimes unpredictable nature of the dye transfer. Don’t strive for perfection; instead, celebrate the unique patterns and artistic flair that each egg naturally develops.
❓ Your Questions Answered: Tissue Paper Dyed Easter Eggs
Here are some frequently asked questions to help you master the art of tissue paper dyed Easter eggs and enjoy them safely.
➡️ Can I eat the eggs after dyeing them with tissue paper?
Yes, absolutely! As long as you used food-safe hard-boiled eggs, distilled white vinegar, and non-toxic bleeding tissue paper, the eggs are safe to eat. Ensure they were stored properly (refrigerated) after boiling and dyeing. Avoid using any materials not intended for food contact.
➡️ What if the tissue paper won’t stick to the egg?
If the tissue paper isn’t adhering well to the egg, it’s likely too dry. You can lightly mist the egg with vinegar using a spray bottle before applying the tissue paper, or simply dip the egg in vinegar first, then press the tissue paper onto the damp surface. The vinegar acts as the adhesive and dye activator.
➡️ Can I use this dyeing method on plastic eggs?
No, this tissue paper dyeing method is specifically designed for real, porous eggshells. The vinegar facilitates the transfer of dye into the microscopic pores of the shell. Plastic eggs lack this porous surface, so the dye will not transfer effectively or at all.
➡️ Where can I purchase bleeding tissue paper?
Bleeding tissue paper is commonly found at craft stores (like Michaels, Hobby Lobby, or Jo-Ann Fabrics), educational supply stores, and online retailers (such as Amazon). Always look for labels that clearly state “bleeding,” “art tissue,” or “wet-strength” to ensure it will release its color. Regular tissue paper, often used for gift wrapping, is usually colorfast and will not work.
➡️ What if my eggs crack during boiling? Can I still dye them?
Yes, you can! Eggs that crack while boiling will still take on color and can look just as beautiful. Just be extra gentle when wrapping and handling them to prevent further breakage. The dye might seep into the cracks, creating interesting patterns.
➡️ Do I need to let the eggs cool before dyeing?
Yes, it’s important to let your hard-boiled eggs cool completely to room temperature before you start the dyeing process. Hot eggs can cause the tissue paper to become overly soggy and tear more easily, and the dye may spread too quickly or unevenly.
➡️ Can I reuse the vinegar for multiple eggs?
Absolutely! The vinegar will change color as you dip more eggs into it, but it remains effective as an acid for dye transfer. As long as there isn’t excessive debris or torn tissue paper floating in it, you can continue to use the same batch of vinegar for an entire session.
➡️ How long do the dyed eggs last if I plan to eat them?
If kept refrigerated, hard-boiled eggs (dyed or un-dyed) are generally safe to eat for up to one week after boiling. Remember to promptly refrigerate them after the dyeing process is complete. If left at room temperature for more than two hours, they should be discarded.
➡️ Will the color stain my hands or surfaces?
Yes, bleeding tissue paper can stain both hands and surfaces! It’s highly recommended to wear rubber gloves during the craft, especially for children. Always protect your crafting area by laying down newspaper, old towels, or parchment paper to catch any dye transfer and ensure easy cleanup.
➡️ Do I have to use rubber bands to secure the tissue paper?
Not necessarily! Rubber bands are a quick and easy option for securing the tissue paper, but they are not the only method. You can also twist and tuck the ends of the tissue paper, use string, twine, or even small clips to hold the paper in place. The goal is simply to keep the paper in firm contact with the eggshell.
➡️ What’s the best way to display decorative tissue paper dyed eggs?
For eggs dyed purely for decoration (not consumption), consider using hollowed-out eggshells (blown eggs). These will last indefinitely without refrigeration. You can display them in bowls, on tiered trays, or even string them up as a festive garland.
🍽️ Explore More Easter Egg Decorating Adventures!
If you loved creating these vibrant tissue paper eggs, you’re sure to enjoy exploring other creative ways to decorate for Easter. Each method offers a unique artistic experience and results in beautiful, personalized eggs perfect for gifting, decorating, or an exciting egg hunt!
- Fabric-Textured Easter Eggs: Add a touch of elegance and tactile interest by applying fabric scraps to your eggs.
- Cool Whip Dyed Easter Eggs: A surprisingly simple and fun method that uses whipped cream and food coloring for swirled, marbleized designs.
- Classic Food Coloring Dyed Easter Eggs: Revisit the traditional, beloved method of dyeing eggs with basic food coloring.
- Galaxy Easter Eggs: Create cosmic wonders with stunning starry night effects on your eggshells.
- Shaving Cream Dyed Easter Eggs: Another fantastic marbleizing technique that’s incredibly easy and yields beautiful, unique patterns.
Tissue Paper Dyed Easter Eggs Craft Card
By Jamie Sherman
Tissue Paper Dyed Easter Eggs are a fun, kid-friendly craft using bleeding tissue paper and vinegar to create vibrant, colorful designs in minutes! This mess-free activity is perfect for adding a personalized and artistic touch to your Easter celebration.
Prep Time: 5 mins
Dyeing Time: 5 mins
Additional Time: 5 mins (for resting and drying)
Total Time: 15 mins
Materials Needed
- 7×7-inch squares of bleeding tissue paper (assorted colors)
- Rubber bands (or string)
- Paper towels (for cleanup and drying)
- Rubber gloves (optional, but recommended for clean hands)
- Small cup or jar (for vinegar dip)
- Protective surface (old newspaper, plastic tablecloth)
- Egg carton or drying rack
Ingredients
- Hard-boiled eggs (cooled to room temperature, white eggs preferred for brightest colors)
- Distilled white vinegar
Instructions
- Prepare Your Workspace: Lay down paper towels or newspaper to protect your work surface from any potential dye transfer.
- Wrap the Egg: Take 1-2 pieces of bleeding tissue paper (same or different colors for unique effects) and tightly wrap them around a cooled hard-boiled egg. Ensure the paper is in close contact with the eggshell.
- Secure It: Use 1-2 rubber bands to firmly hold the tissue paper in place around the egg. You can also twist and tuck the paper ends or use string.
- Vinegar Dip: Pour distilled white vinegar into a small cup or jar. Carefully drop the wrapped egg into the vinegar, ensuring it is fully submerged. Let it soak for approximately 30 seconds.
- Let It Rest: Remove the egg from the vinegar with a spoon and place it in an egg carton or on your protected surface. Allow it to sit, still wrapped, for about 5 minutes. This allows the dye to further set onto the shell.
- Unwrap and Gently Pat Dry: (Wearing gloves if desired) carefully unwrap the egg, peeling off the tissue paper. You’ll reveal the vibrant colors and patterns. Gently pat the egg dry with a clean paper towel to remove any excess moisture.
- Final Dry: Place the unwrapped egg back into a clean spot in the egg carton or on a drying rack to fully air dry for another 5-10 minutes. Once completely dry, your stunning tissue paper dyed Easter egg is ready for display!
Notes
- Do not leave the egg in the vinegar for too long (beyond 30-45 seconds), as this can sometimes cause the colors to become dull or wash out rather than intensify.
- Using two layers of tissue paper per color generally yields brighter and more saturated results.
- The vinegar in your cup will change color as you dip eggs, but this will not negatively affect the dye transfer to subsequent eggs.
- Always use rubber gloves, especially when crafting with children, to prevent temporary staining of hands.
- These eggs are edible if made with food-safe materials (hard-boiled eggs, distilled vinegar, non-toxic bleeding tissue paper) and stored properly.
- Shelf Life of Dyed Boiled Eggs:
- Refrigerated: Up to 1 week after boiling.
- Room Temperature: 2 hours maximum (after this, they should be discarded for safety).
- Storage Tips:
- If you plan to eat your dyed eggs, keep them promptly refrigerated.
- If eggs have been left out for an egg hunt or display for more than two hours, it’s best not to consume them – simply enjoy them for their beautiful colors!
- Tip for Decoration Only: If you are dyeing eggs strictly for decorative purposes and not to eat, consider using hollowed-out eggshells (blown eggs). These will last indefinitely and do not require refrigeration.
We hope you have an absolutely fantastic time creating these wonderfully vibrant Tissue Paper Dyed Easter Eggs! This craft is not just about making beautiful decorations; it’s about making memories, sparking creativity, and enjoying the simple joys of the Easter season. Share your colorful creations with us and inspire others to try this delightful DIY. Happy Easter and happy crafting! 🐰🎨