
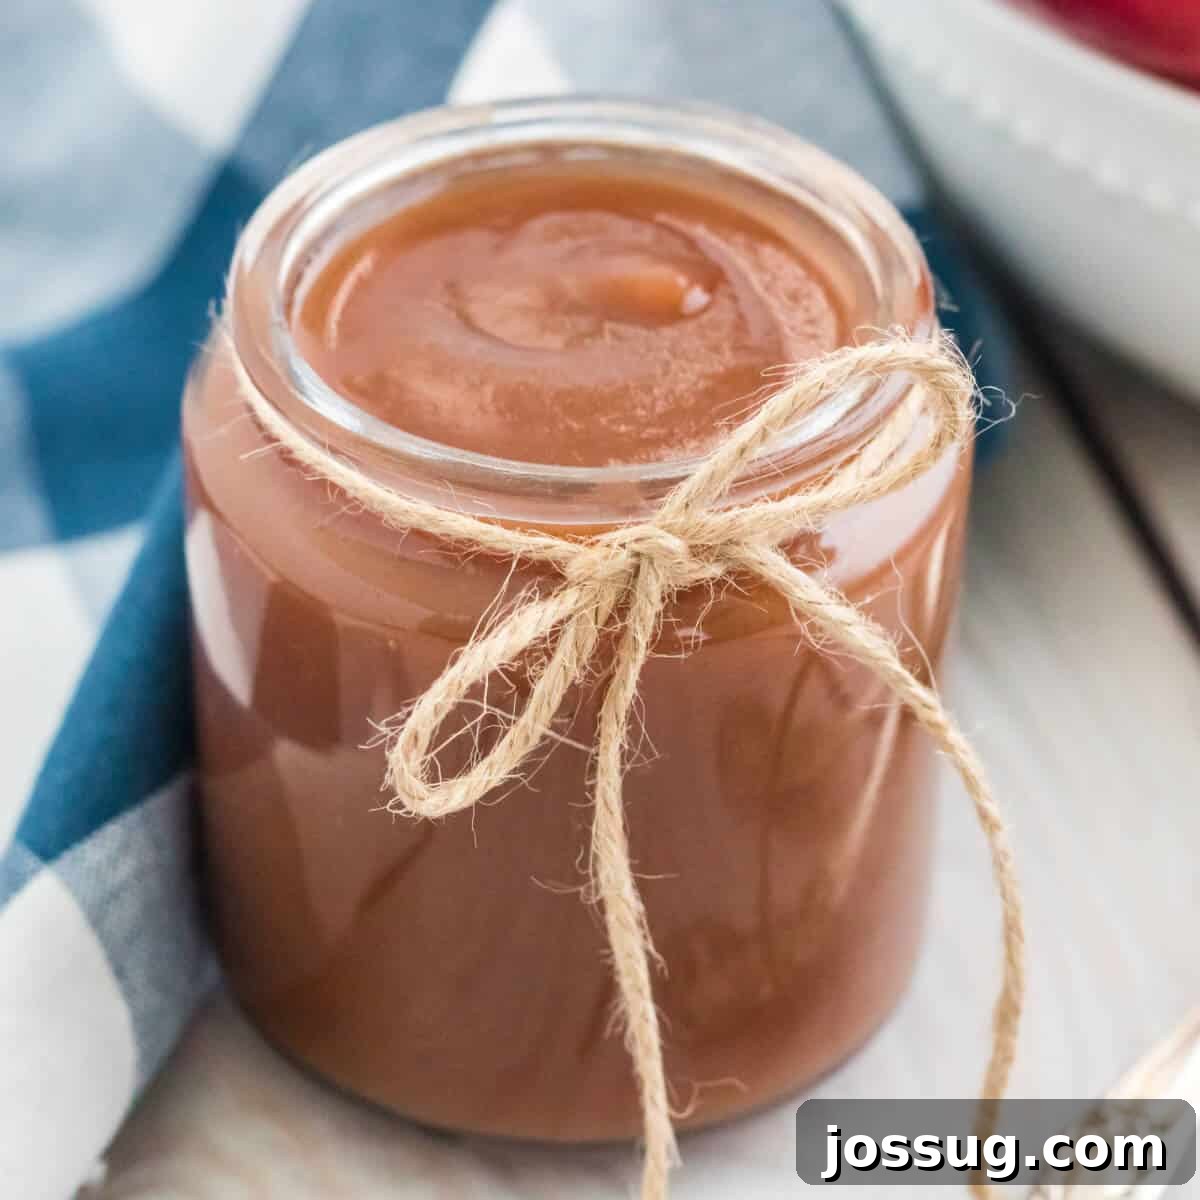
Transform fresh apples into a rich, velvety spread with this quick and simple Instant Pot Apple Butter recipe. Perfect for toast, desserts, and beyond, it brings cozy fall flavors right to your table!
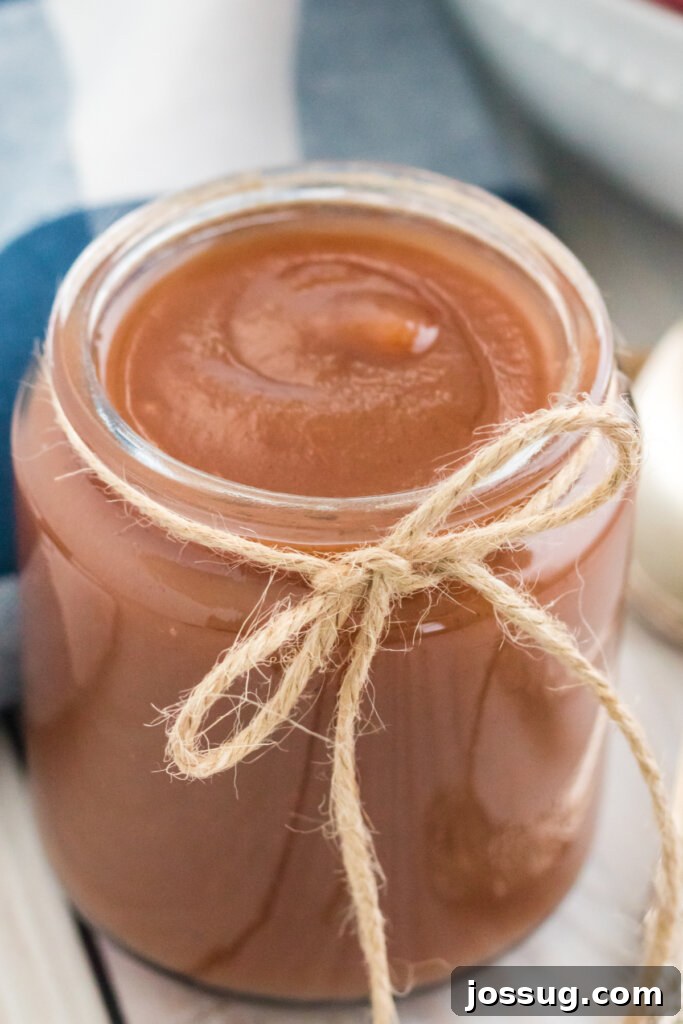
Effortless Instant Pot Apple Butter: Your Guide to a Delicious Homemade Spread
Are you searching for a heartwarming, flavorful addition to your morning routine or a delightful way to elevate your culinary creations? Look no further than this incredibly easy Instant Pot Apple Butter recipe! This homemade apple butter offers a lusciously smooth, deeply spiced, and naturally sweet spread that promises to turn ordinary breakfasts and desserts into extraordinary experiences. Imagine the comforting aroma of cinnamon, nutmeg, and apples filling your kitchen as this magical spread comes to life with minimal effort.
The beauty of crafting apple butter in an Instant Pot lies in its unparalleled convenience and speed. Gone are the days of constant stirring over a hot stove for hours on end, monitoring for scorching. With a pressure cooker, you achieve that same rich, thick, and perfectly caramelized texture in a mere fraction of the traditional time. This hands-off approach makes creating this autumn staple accessible to even the busiest home cooks, ensuring a consistent, delicious result every single time. It’s truly a game-changer for anyone who loves the taste of homemade goodness without the extensive time commitment.
Why Choose the Instant Pot for Homemade Apple Butter?
Making apple butter the traditional way is a labor of love, often requiring hours of simmering and stirring to achieve that coveted thick consistency and deep flavor. The Instant Pot revolutionizes this process, offering several distinct advantages:
- Speed and Efficiency: Pressure cooking drastically reduces the cooking time. Apples soften much faster under pressure, allowing you to go from raw fruit to a smooth puree in minutes, not hours. This means less time in the kitchen and more time enjoying your homemade treat.
- Hands-Off Cooking: Once the lid is sealed and the pressure is set, the Instant Pot does all the heavy lifting. This frees you up to tackle other tasks or simply relax while your kitchen fills with the delightful scent of apples and spices. No more continuous stirring required!
- Consistent Results: The controlled environment of the Instant Pot ensures even cooking, leading to a consistently tender texture and perfectly melded flavors every time. You can count on a velvety smooth spread without guesswork.
- Rich Flavor Development: While quick, pressure cooking helps to infuse the apples deeply with the added spices. This creates a more robust and complex flavor profile that tastes like it’s been simmering all day, delivering that authentic, comforting homemade taste.
Embrace the efficiency of your Instant Pot and discover just how simple it is to enjoy homemade pressure cooker apple butter, anytime you crave it. It’s the perfect way to capture the essence of fall in a jar.
Essential Ingredients for Your Luscious Apple Butter
Crafting this irresistible homemade apple butter requires a few simple, wholesome ingredients. The magic truly happens when these components come together under pressure, transforming into a spread that’s far superior to any store-bought alternative. Here’s a breakdown of what you’ll need and why each ingredient is key to achieving that perfect flavor:
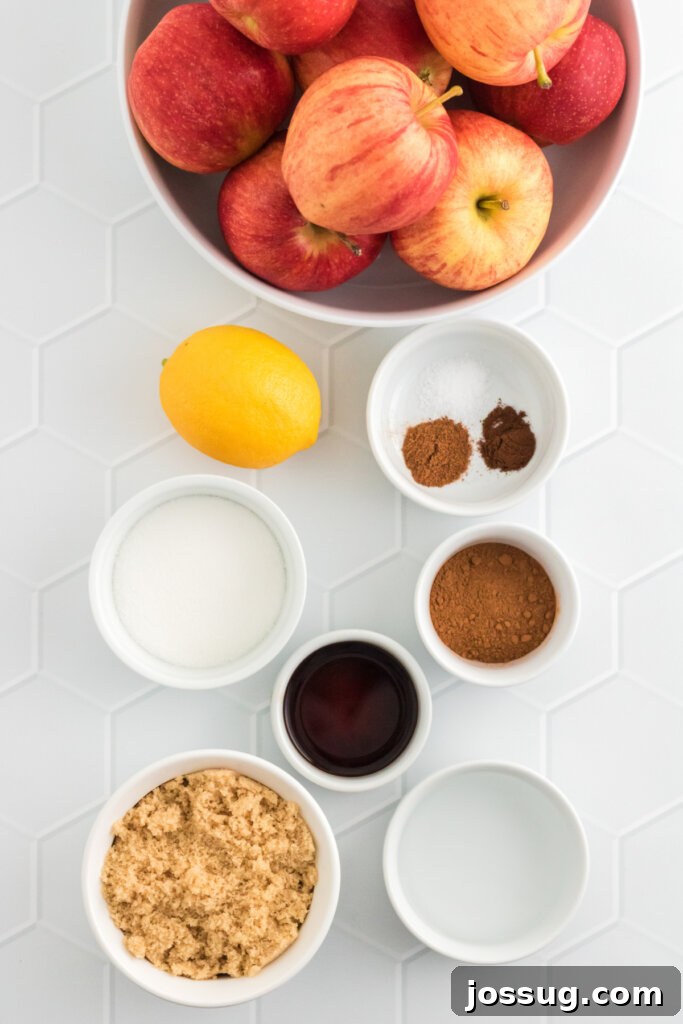
- Apples (5 pounds): The undeniable star of this recipe. The type of apples you choose will significantly impact the final flavor. We recommend a blend of sweet and tart varieties for a balanced taste profile that is neither too sugary nor too sharp.
- Light Brown Sugar (½ cup) & Granulated Sugar (⅓ cup): This combination of sweeteners provides depth and classic apple butter flavor. Brown sugar adds a subtle caramel note, while granulated sugar contributes to the overall sweetness and helps achieve a good consistency. Adjust these quantities based on the natural sweetness of your apples and your personal preference.
- Water (¼ cup): A small amount of liquid is essential for the Instant Pot to come to pressure. It also prevents the apples from scorching during the initial cooking phase, ensuring a smooth cook.
- Lemon Juice (1 tablespoon): Fresh lemon juice is crucial for brightening the flavors of the apples and spices. It also helps to prevent browning and provides a delightful tartness that balances the sweetness beautifully.
- Aromatic Spices (Ground Cinnamon, Vanilla Extract, Ground Nutmeg, Ground Cloves, Salt): This carefully selected blend of spices is what transforms simple apple puree into classic, comforting apple butter.
- Ground Cinnamon (1 tablespoon): The dominant spice, lending warmth and a familiar, cozy aroma.
- Vanilla Extract (2 teaspoons): Enhances the overall sweetness and provides a comforting depth, adding a layer of rich aroma.
- Ground Nutmeg (½ teaspoon): Offers a warm, slightly sweet, and woody note that complements cinnamon perfectly.
- Ground Cloves (¼ teaspoon): Contributes a pungent, sweet, and aromatic warmth, adding complexity to the spice blend.
- Salt (¼ teaspoon): A small pinch of salt is vital for balancing all the flavors, making them pop without making the apple butter taste salty.
Selecting the Perfect Apples for Your Instant Pot Apple Butter
The success of your homemade apple butter begins with choosing the right apples. For the most well-rounded and delightful spread, aim for a blend of sweet and tart varieties. This combination ensures a complex flavor profile that isn’t overly sweet or too sharp. Here are some excellent choices and why they work:
- For Sweetness and Body:
- Fuji: Known for their crisp texture and very sweet, juicy flesh, Fuji apples cook down beautifully and provide a good base sweetness.
- Honeycrisp: Exceptionally sweet and incredibly crisp, Honeycrisp apples add a vibrant sweetness and delightful flavor that shines through the cooked butter. They also contribute to a lovely thick texture.
- Gala: Mildly sweet and aromatic, Gala apples contribute a pleasant sweetness without overpowering other flavors, making them a great blending apple.
- Golden Delicious: These apples have a soft flesh and sweet, mellow flavor. They break down easily during cooking, which helps achieve that desired smooth consistency.
- For Tartness and Brightness:
- Granny Smith: A classic choice for baking and cooking, Granny Smiths offer a bright, tangy flavor that cuts through the sweetness and prevents the apple butter from becoming cloying. They are essential for balancing the richness.
- Braeburn: These apples offer a good balance of sweet and tart with a firm texture that holds up during initial cooking before blending. They add a nice complexity.
- Pink Lady (Cripps Pink): Sweet-tart with a crisp bite, Pink Lady apples contribute both a balanced flavor and can even lend a beautiful pinkish hue to your apple butter.
A great strategy is to use approximately 60-70% sweet apples and 30-40% tart apples. For example, a mix of Honeycrisp or Fuji with Granny Smith creates a truly exceptional spiced apple butter. Don’t hesitate to experiment with what’s fresh and available in your local market; even a single variety can work, but a blend offers the best complexity.
Step-by-Step Guide: How to Make Instant Pot Apple Butter
Making delicious Instant Pot Apple Butter is a straightforward process, making it perfect for both novice and experienced cooks. Follow these simple steps to create your own luscious homemade spread:
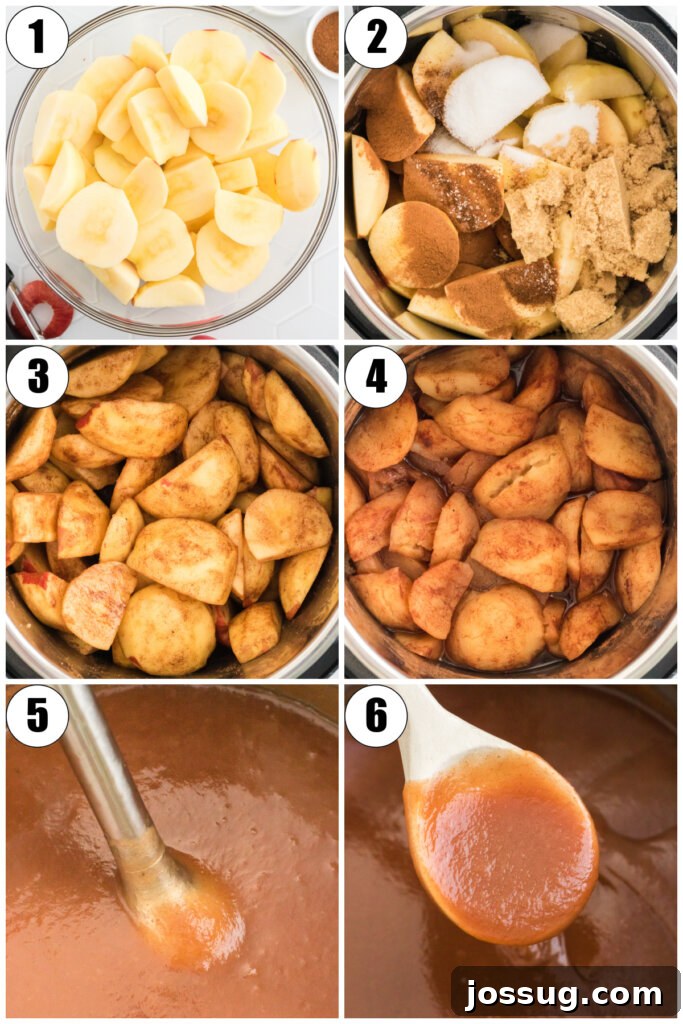
- Prepare the Apples: Begin by washing your apples thoroughly under cold water. Next, pare (peel) them if you prefer a silky-smooth texture, or leave the skins on for a slightly more rustic finish. Core the apples and cut them into large, roughly 1-2 inch pieces. Uniform pieces will ensure even cooking.
- Combine Ingredients in the Instant Pot: Transfer all the prepared apple pieces into the Instant Pot insert. Then, add the light brown sugar, granulated sugar, water, lemon juice, ground cinnamon, vanilla extract, ground nutmeg, ground cloves, and salt. Stir all the ingredients gently to ensure the apples are evenly coated with the sugars and spices.
- Seal and Pressure Cook: Secure the Instant Pot lid, making sure the sealing ring is properly in place. Rotate the pressure release valve to the “Sealing” position. Select the “Manual” or “Pressure Cook” setting (High Pressure) and set the cooking time for 10 minutes. Allow the pot to build pressure; this will take some time before the cooking countdown begins.
- Natural and Quick Pressure Release: Once the 10-minute cooking cycle is complete, allow the pressure to naturally release for 15 minutes. This natural pressure release (NPR) helps to further tenderize the apples and prevents a sudden, forceful release of steam. After 15 minutes, carefully flip the pressure release valve to the “Venting” position for a quick release (QR) to release any remaining pressure. Once the float valve drops, you can safely open the lid.
- Blend for Smoothness: Using an immersion blender directly in the Instant Pot, carefully blend the cooked apples until they reach your desired smooth consistency. For an ultra-smooth finish, blend until no lumps remain. If you don’t have an immersion blender, carefully transfer the apple mixture to a regular blender or food processor and blend until silky. (Always be cautious when blending hot liquids, blending in batches if necessary).
- Thicken (Sauté Function): Switch the Instant Pot to the “Sauté” function, setting it to a lower heat option (often indicated by a “–” or “Less” setting). Allow the apple butter to simmer gently, stirring constantly with a rubber spatula or wooden spoon, for 20-30 minutes. This crucial step reduces the moisture content and allows the apple butter to thicken to a rich, spreadable consistency. Constant stirring is essential to prevent it from sticking to the bottom and burning.
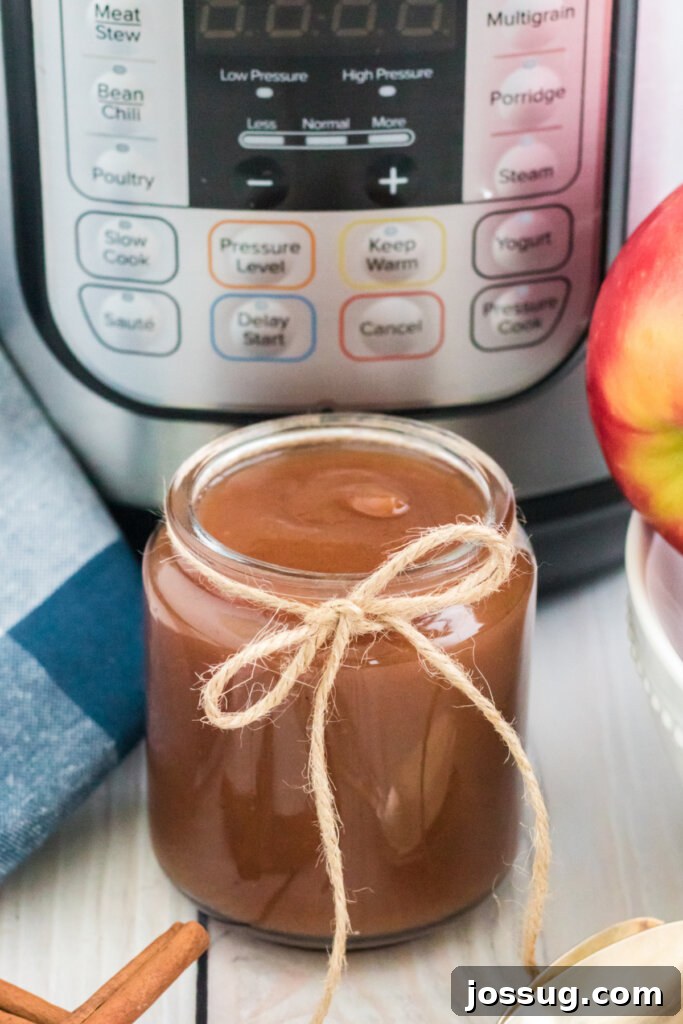
- Cool and Final Thickening: Once the apple butter has reached your preferred thickness, turn off the Instant Pot. Transfer the apple butter to clean, sterilized jars or an airtight container. Allow it to cool completely at room temperature. The homemade apple butter will continue to thicken significantly as it cools, achieving its final spreadable texture.
- Serve and Store: Your delicious homemade Instant Pot Apple Butter is now ready to be savored! Serve it warm or chilled, and store any leftovers as recommended below.
Tips for Perfect Instant Pot Apple Butter Every Time
Achieving the perfect batch of easy Instant Pot Apple Butter is simple with a few helpful tips and tricks:
- Achieving Ideal Consistency: Remember that apple butter thickens considerably as it cools. If, after cooling in the refrigerator for a few hours, it’s still too thin for your liking, you can return it to the Instant Pot on the sauté function and simmer longer, continuing to stir constantly. Alternatively, for a quicker fix, you can mix 1 tablespoon of cornstarch with 2 tablespoons of cold water to create a smooth slurry, then stir it into the warm apple butter while sautéing. Simmer for a few more minutes until thickened to your preference.
- To Peel or Not to Peel: The decision to peel your apples is entirely up to you and your desired texture. Peeling them before cooking will result in an incredibly smooth, luxurious apple butter, free of any skin remnants. If you prefer a slightly more rustic texture and don’t mind tiny, soft flecks of peel, leaving the skins on is perfectly fine. The Instant Pot will soften them significantly, and an immersion blender will effectively break them down.
- Enhance the Flavor Profile: For an extra layer of depth and a bolder apple flavor, consider adding a splash of apple cider (about ¼ cup) along with the water and lemon juice. This can really amplify the fruit’s essence. Experiment with other spices too: a pinch of ground ginger, allspice, or cardamom can introduce delightful variations to the classic spice blend.
- Adjusting Sweetness: The amount of sugar in this recipe is a guideline. It can be adjusted based on the inherent sweetness of your chosen apple varieties and your personal dietary preferences. Taste the blended apple mixture before the final sauté, and if you desire more sweetness, stir in an additional tablespoon or two of sugar, ensuring it dissolves completely as it simmers.
Creative Ways to Enjoy Your Homemade Apple Butter
Once you’ve made a batch of this luscious spiced apple butter, the possibilities are endless! It’s incredibly versatile and can be enjoyed in countless ways beyond just a simple spread:
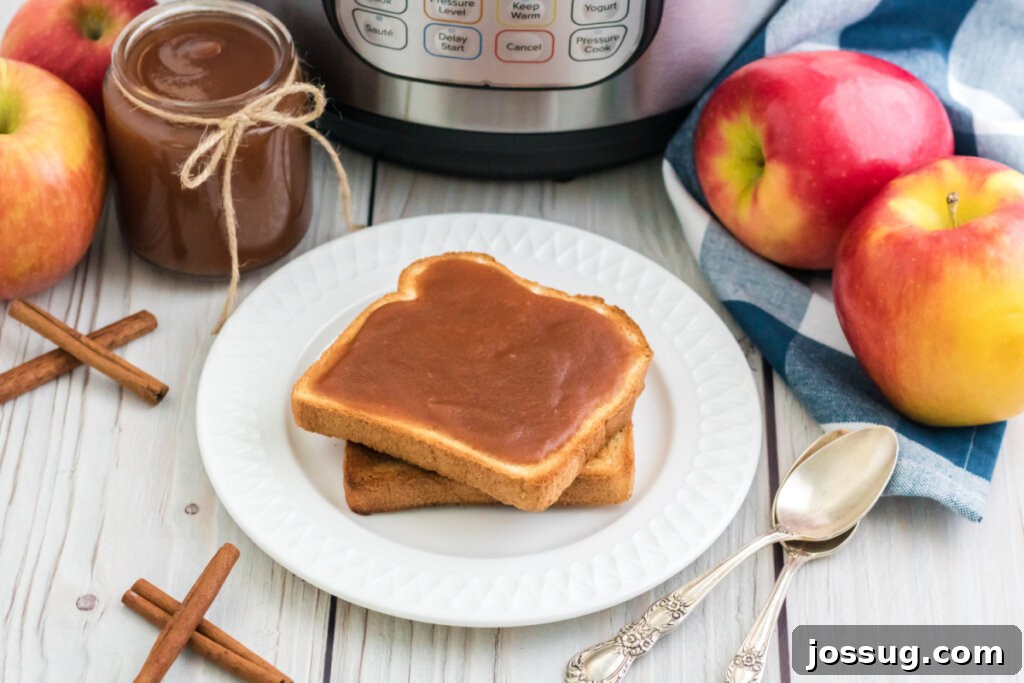
- Classic Breakfast Spreads: Slather it generously on warm toast, bagels, English muffins, or croissants for a truly comforting and delicious start to your day. It’s also fantastic as a filling for pastries, crepes, or inside a flaky biscuit.
- Elevate Your Morning Bowl: Stir a spoonful or two into your morning oatmeal, cream of wheat, or even cottage cheese for an added burst of natural sweetness and warm spice. It transforms simple grains into a gourmet experience.
- Divine Dessert Topping: Drizzle warm apple butter over vanilla ice cream, plain cheesecake, or pancakes and waffles. Use it as a delectable filling for apple pie, hand pies, or tarts for an intensified apple flavor.
- Surprising Savory Pairings: Don’t limit this gem to sweet dishes! Apple butter pairs wonderfully with savory items. Serve it as a delicious condiment alongside roasted pork tenderloin or chicken. It’s also an exceptional addition to a charcuterie board, complementing sharp cheeses and crackers beautifully, or as a flavorful glaze for baked ham.
- Thoughtful Homemade Gifts: Pack your homemade apple butter into decorative jars with a ribbon and a tag for a thoughtful and much-appreciated gift during the holiday season or any time of year. It’s a gift that truly comes from the heart.
Storing Your Instant Pot Apple Butter for Longevity
Proper storage is key to ensuring your delicious homemade apple butter stays fresh and flavorful for as long as possible. Here are the best ways to keep your bounty:
- Refrigeration: For immediate use and short-term storage, transfer the completely cooled apple butter into clean, airtight containers or sterilized jars. Store it in the refrigerator, where it will remain fresh and delicious for up to two weeks.
- Freezing: For longer preservation, apple butter freezes beautifully. Spoon the cooled apple butter into freezer-safe containers or heavy-duty freezer bags, leaving a small amount of headspace to allow for expansion. It can be safely stored in the freezer for up to one year. Thaw frozen apple butter in the refrigerator overnight before use, or gently warm it on the stovetop.
- Canning: For shelf-stable, long-term storage, canning is an excellent option. If you plan to can your apple butter, ensure you follow approved, safe water bath canning practices. Use sterilized canning jars and lids, and process according to recommended guidelines for fruit spreads. This method allows your apple butter to be stored at room temperature for an extended period.
Instant Pot Apple Butter: Frequently Asked Questions
What kind of apples should I use for apple butter?
For a beautifully balanced flavor, it’s highly recommended to use a mix of sweet and tart apple varieties. Excellent choices include Fuji, Honeycrisp, and Gala for sweetness, combined with Granny Smith or Braeburn for a refreshing tartness. This blend creates a complex and irresistible flavor profile.
Can I make apple butter without added sugar?
Yes, you can absolutely omit or significantly reduce the added sugars if you prefer a less sweet apple butter. The natural sugars present in the apples will still provide sweetness, especially if you use naturally sweet varieties. You might also consider adding a date puree or a touch of maple syrup after blending if you desire a natural sweetener.
How long does homemade apple butter last?
When stored in an airtight container and kept refrigerated, your homemade Instant Pot apple butter will stay fresh for up to two weeks. For extended preservation, it can be frozen for up to one year. If properly canned using safe water bath canning methods, it can be shelf-stable for even longer.
Is it necessary to peel the apples before making apple butter?
Peeling the apples is entirely optional and depends on your preference for texture. If you desire a super smooth, velvety apple butter, then peeling is recommended. However, if you don’t mind a slightly more rustic texture with very fine flecks of peel, you can certainly leave the skins on. The Instant Pot will soften them significantly, and an immersion blender will handle most of the blending effectively.
How do I know when the apple butter is sufficiently thickened?
During the sauté phase, the apple butter will visibly thicken as moisture evaporates. A good test is to drag a spoon across the bottom of the pot; if it leaves a clear trail that doesn’t immediately fill in, it’s likely thick enough. Remember that apple butter continues to thicken considerably as it cools, so err on the side of slightly thinner if unsure. If it ends up too thin after cooling, you can always simmer it longer or use a cornstarch slurry.
What are some creative uses for apple butter?
Apple butter is incredibly versatile! Beyond spreading it on toast, try incorporating it into oatmeal, blending it into smoothies, or dolloping it over pancakes, waffles, or ice cream. It makes an excellent filling for pastries, a glaze for roasted meats (especially pork or chicken), or a flavorful addition to a cheeseboard. You can even use it in baked goods like muffins or cakes for added moisture and flavor.
Can I double this Instant Pot Apple Butter recipe?
Yes, you can easily double this recipe! Just ensure that you do not exceed the maximum fill line indicated inside your Instant Pot to avoid overfilling. The cooking time under pressure (10 minutes) generally remains the same for a doubled batch, but the time it takes for the pot to come to pressure and the sauté thickening time might increase slightly. Always stir well during the sauté phase to prevent any sticking or burning.
Do I have to use an Instant Pot for this recipe?
While this post focuses on the convenience and efficiency of using an Instant Pot, you can certainly adapt the apple butter recipe for traditional stovetop or slow cooker methods. However, using an Instant Pot significantly reduces the active cooking time and makes the process much more hands-off, which is its primary advantage for this recipe.
What are the best methods for long-term storage of apple butter?
For short to medium-term storage, refrigeration (up to 2 weeks) and freezing (up to 1 year) are excellent options. For long-term, shelf-stable storage, canning in sterilized jars using a water bath canner is ideal. Always refer to reputable canning guidelines for safe and effective preservation to ensure your homemade apple butter remains delicious and safe to consume.
Other Delicious Recipes You May Enjoy
- Instant Pot Chili
- Easy Apple Cake – Only 3 Ingredients!
- Apple Cinnamon Roll Bake
- Instant Pot Baked Beans
- Instant Pot Pork Roast
12 servings
Instant Pot Apple Butter
Jamie Sherman
10 mins
40 mins
50 mins
Print Recipe
Equipment
-
knife
-
cutting board
-
Apple Peeler and Corer with Countertop Suction Cup
-
measuring cups and spoons
-
immersion blender
-
rubber spatula or wooden spoon
-
6 Qt. Instant Pot
Ingredients
- 5 pounds apples (mix of sweet and tart recommended)
- ½ cup light brown sugar
- ⅓ cup granulated sugar
- ¼ cup water
- 1 tablespoon lemon juice
- 1 tablespoon ground cinnamon
- 2 teaspoons vanilla extract
- ½ teaspoon ground nutmeg
- ¼ teaspoon ground cloves
- ¼ teaspoon salt
Instructions
-
Thoroughly wash, pare (peel or not, depending on preference), core, and cut the apples into large, uniform pieces (approximately 1-2 inches).
-
Place the prepared apples into the Instant Pot. Add light brown sugar, granulated sugar, water, lemon juice, ground cinnamon, vanilla extract, ground nutmeg, ground cloves, and salt. Stir gently to coat all the apple pieces evenly.
-
Secure the Instant Pot lid, ensuring the pressure release valve is set to the “Sealing” position. Cook on high pressure (Manual/Pressure Cook setting) for 10 minutes.
-
Once the cooking cycle finishes, allow for a natural pressure release (NPR) for 15 minutes. After 15 minutes, carefully turn the pressure release valve to “Venting” for a quick release (QR) of any remaining pressure. Open the lid once the float valve drops.
-
Using an immersion blender, blend the cooked apple mixture directly in the Instant Pot until it achieves a perfectly smooth and creamy consistency. Alternatively, carefully transfer to a regular blender or food processor, blending until silky.
-
Switch the Instant Pot to the “Sauté” function (use the “Low” or “Less” setting if available). Simmer the apple butter, stirring constantly, for 20-30 minutes. This step is crucial for evaporating excess moisture and thickening the butter to a spreadable texture.
-
Once thickened to your liking, turn off the Instant Pot. Transfer the hot apple butter into clean jars or an airtight container. Allow it to cool completely at room temperature, during which time it will continue to thicken further.
-
Serve your delicious homemade apple butter immediately or store as directed.
Notes
- The apple butter will significantly thicken as it cools. If it’s still too thin after cooling, you can re-sauté or mix in a cornstarch slurry (1/2 tablespoon cornstarch mixed with 1 tablespoon cold water) during the sauté phase.
- For optimal flavor balance, use a mix of sweet apples (Fuji, Honeycrisp, Gala) and tart apples (Granny Smith, Braeburn).
- Store cooled apple butter in an airtight container in the refrigerator for up to two weeks, or freeze for up to one year.
- Peeling apples is optional. For a smoother texture, peel them. For a more rustic feel, leave the skins on (they will soften during cooking).
- Consider adding a splash of apple cider (1/4 cup) with the water for an enhanced apple flavor profile.
Nutrition
Serving: 2tablespoons
,
Calories: 159kcal
,
Carbohydrates: 41g
,
Protein: 1g
,
Fat: 0.4g
,
Saturated Fat: 0.1g
,
Polyunsaturated Fat: 0.1g
,
Monounsaturated Fat: 0.02g
,
Sodium: 53mg
,
Potassium: 220mg
,
Fiber: 5g
,
Sugar: 34g
,
Vitamin A: 104IU
,
Vitamin C: 9mg
,
Calcium: 26mg
,
Iron: 0.4mg
Nutrition information is automatically calculated, so should only be used as an approximation.
Enjoyed this recipe? Leave a comment below and share your creations!