
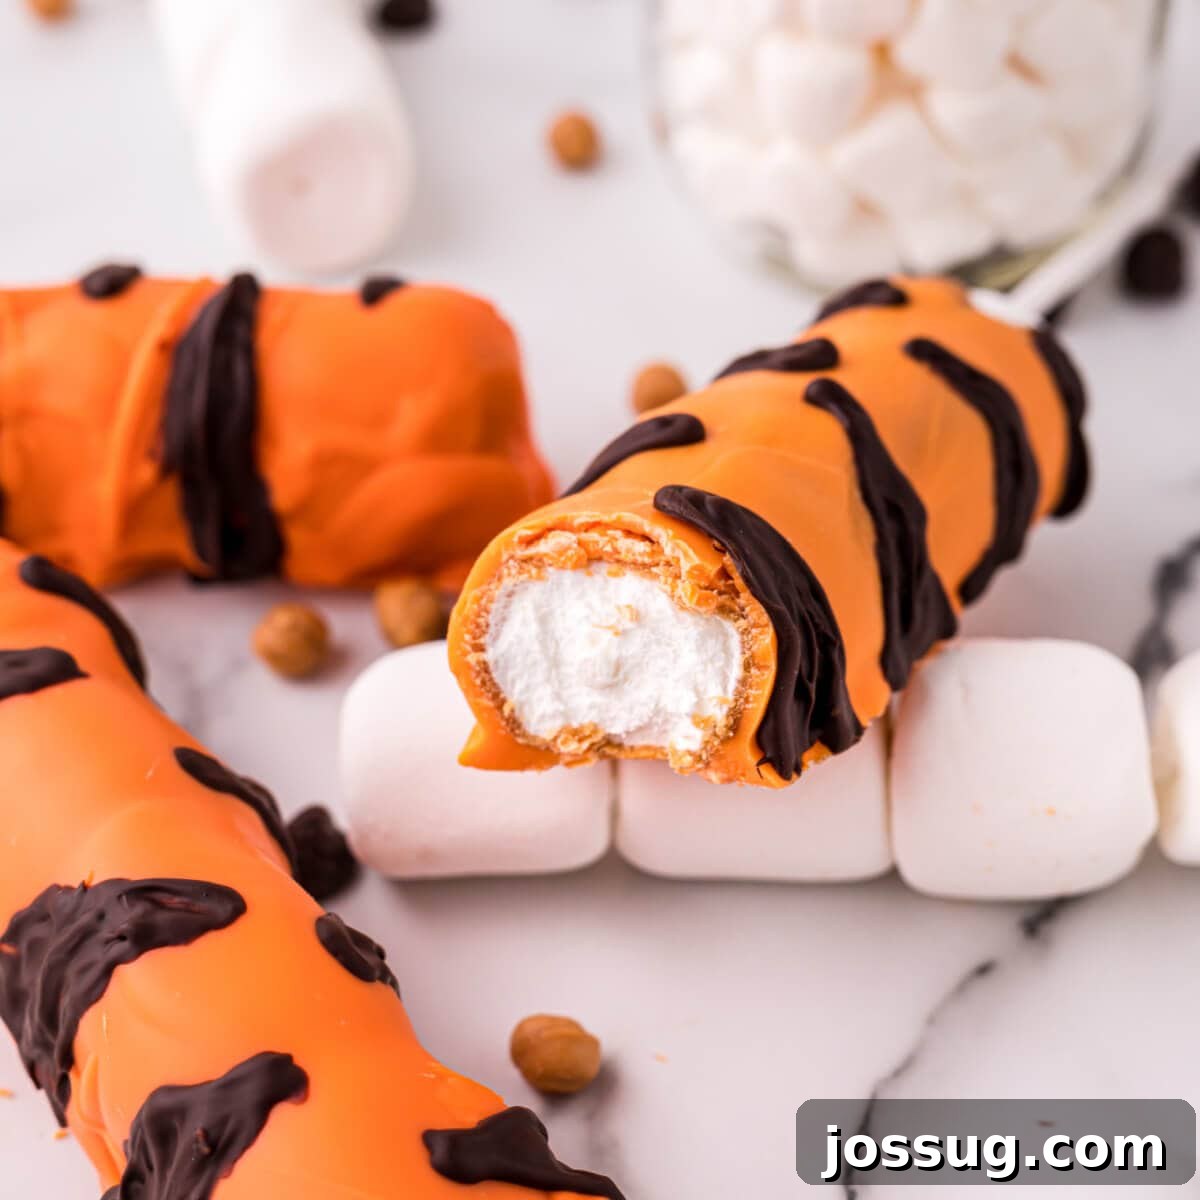
Dive into a whimsical world of flavor with these enchanting Tigger Tails, a delightful copycat recipe inspired by the beloved treats found at Disneyland! Imagine the joyous bounce of Tigger brought to life in a sweet, chewy confection that’s perfect for delighting every child, and certainly every “kid at heart,” in your life. Whether you’re planning a Disney-themed party, a special family dessert, or simply craving a taste of park magic from the comfort of your home, these homemade Tigger Tails are guaranteed to bring smiles and a touch of nostalgic charm.
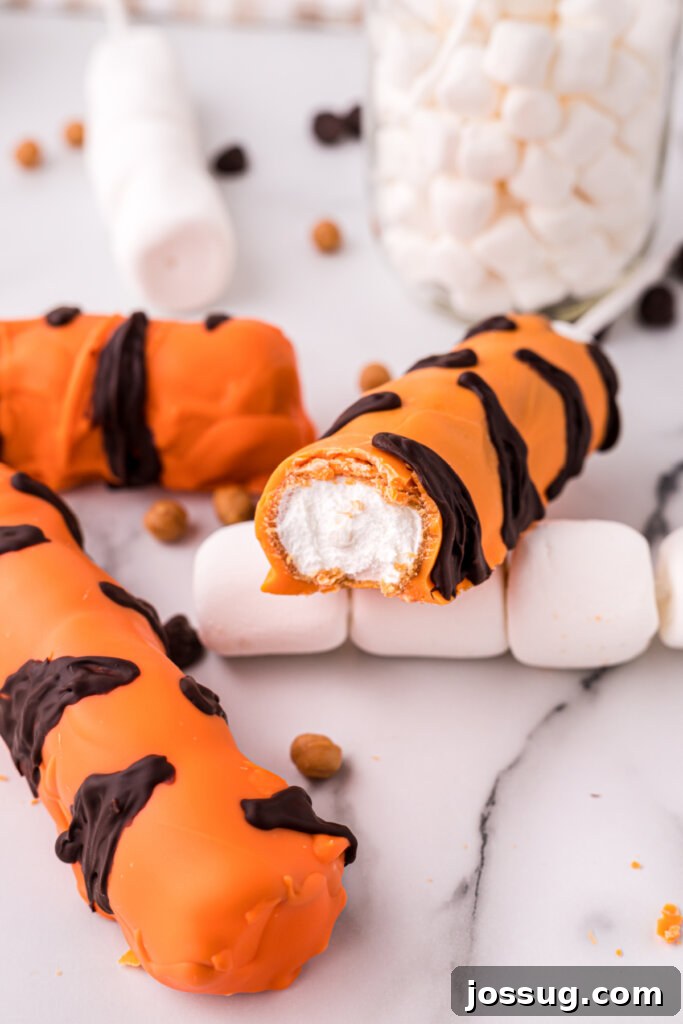
Disneyland-Inspired Tigger Tails: A Taste of Magic at Home
Disneyland and other Disney parks are renowned not just for their thrilling rides and captivating shows, but also for an incredible array of mouth-watering, often iconic, food experiences. From the moment you step onto Main Street, U.S.A., the aroma of churros, popcorn, and other delectable snacks fills the air, creating an unforgettable sensory experience. It’s not just hype; the culinary offerings at Disney are genuinely legendary, drawing visitors from around the globe who come specifically to savor these unique treats. I’ve known countless adults who plan their entire park day around their favorite Disney snacks, and honestly, who could blame them?
Think about it: the refreshing Dole Whip Float, the adorable Mickey Mouse red velvet cake pops, the classic ice cream bars, and the exquisite gourmet meals served at places like the Beauty and the Beast-themed Be Our Guest Restaurant – the list of culinary delights seems endless! These aren’t just snacks; they’re an integral part of the immersive Disney magic, transforming simple ingredients into memorable moments.
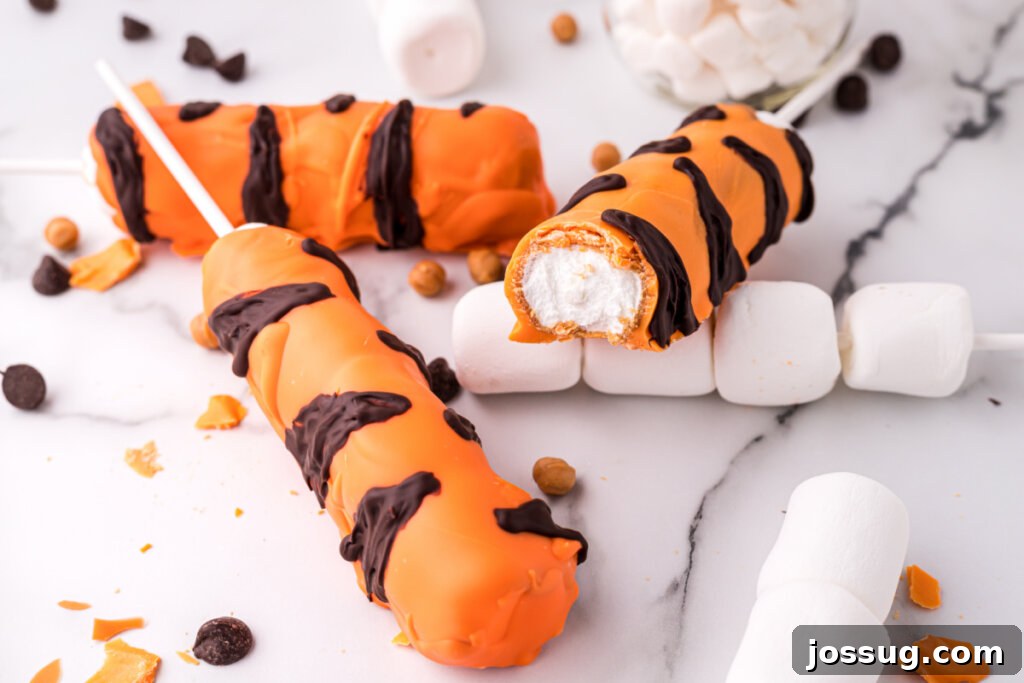
Among these cherished Disney treats are the beloved Tigger Tails, a playful nod to Winnie the Pooh’s bouncy friend. These charming confections are a staple at Disneyland in California, and possibly other parks, though their availability can vary. At their core, Tigger Tails are a delightful combination of four fluffy marshmallows stacked neatly on a lollipop stick, then generously coated with rich caramel. The magic truly begins when they’re dipped in vibrant orange chocolate or a coating of sparkling orange sugar crystals – creating Tigger’s signature hue. The iconic stripes, which make these treats instantly recognizable, are then artfully drizzled on with dark chocolate. The result? A treat that’s as visually appealing as it is delicious!
The best part? You don’t need a theme park ticket to enjoy these delightful Tigger Tails. This recipe shows you just how incredibly easy it is to recreate these whimsical treats right in your own kitchen. Gather your ingredients, follow our simple steps, and prepare to bring the joy and bounce of Tigger to your next family gathering or snack time!
Essential Ingredients for Perfect Tigger Tails & Smart Substitutions
Crafting these adorable Tigger Tails requires a few key ingredients, each playing a vital role in achieving that authentic Disneyland taste and look. We’ll walk you through what you need and offer some clever substitutions to ensure your homemade treats are nothing short of spectacular.
The Core Ingredients:
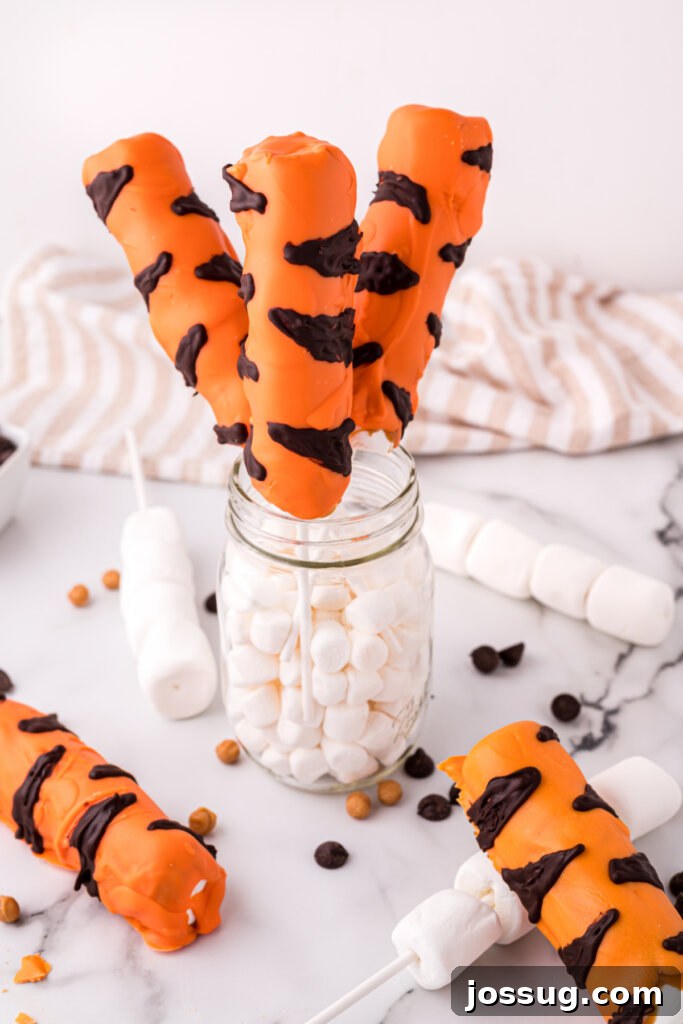
- Large Marshmallows (24 count): These fluffy white clouds are the foundation of your Tigger Tails! Stacked four high on each lollipop stick, they create the distinctive shape and chewy texture that forms Tigger’s iconic tail. Their soft, pliable nature makes them perfect for skewering and coating.
- Caramel Bits (1 bag, 11 oz): The first luscious layer, melted caramel bits provide that classic sweet, buttery flavor and a wonderfully sticky texture that holds everything together. When melted, they form the smooth, rich base coat, mimicking Tigger’s warm orange “fur” color before the final orange coating.
- Orange Candy Melts (1 bag, 12 oz): These vibrant candy melts are essential for giving your Tigger Tails their signature bright orange hue. When gently melted, they create a smooth, hard shell that encases the caramel and marshmallows, adding a delightful crunch and intense color. They are specifically designed for easy melting and a beautiful finish.
- Dark Chocolate Chips (½ cup): Dark chocolate is key for creating Tigger’s bold, contrasting stripes. Its slightly bitter notes beautifully balance the sweetness of the caramel and marshmallows, adding depth of flavor and a rich, eye-catching visual.
- Coconut Oil (½ teaspoon): A small amount of coconut oil, when mixed with the dark chocolate chips, helps thin the melted chocolate to a perfect drizzling consistency. This ensures you can create those fine, distinct stripes without the chocolate becoming too thick or clumpy. It also adds a subtle sheen to the finished stripes.
Optional Additions and Clever Substitutions:
For an extra touch of Disney sparkle, consider sprinkling your freshly dipped orange Tigger Tails with orange sanding sugar immediately after dipping them into the orange candy melts, before they set. This adds a beautiful shimmer and an additional textural element.
If orange candy melts aren’t available, you can use white candy melts and tint them with orange food coloring (gel food coloring works best for vibrant results). For the caramel, classic caramel squares can be used in place of bits, just ensure they are fully melted and smooth. While dark chocolate offers the best contrast for stripes, milk chocolate or even white chocolate (also tinted black with food coloring for fun!) could be used for a different flavor profile.
Tigger Tails: Frequently Asked Questions
Here are some common questions and helpful answers to ensure your Tigger Tails turn out perfectly every time.
This recipe is designed to yield approximately 6 delightful Tigger Tails. This quantity is often just right for a small family gathering, a fun afternoon project, or enough for each child (and adult!) to enjoy a magical treat. If you’re hosting a larger party or simply want more of these irresistible snacks, feel free to double or even triple the recipe!
Patience is a virtue, but when it comes to delicious treats, a little speed can be appreciated! To significantly accelerate the hardening of both the caramel and chocolate coatings, you can safely place your Tigger Tails in the refrigerator. Just a short stint in the fridge will help them set much faster without negatively affecting their flavor or texture. Lay them flat on parchment paper to prevent sticking.
These homemade Tigger Tails maintain their freshness and deliciousness for a good amount of time when stored properly. Keep them in an airtight container in the refrigerator for approximately 4 to 5 days. To prevent them from sticking together and preserve their beautiful stripes, make sure to place a piece of parchment paper or wax paper between each layer of Tigger Tails in the container.
This is a very common issue, and the solution is simple: ensure your melted caramel is not too hot! Overheated caramel will quickly melt the delicate marshmallows, causing them to lose their shape and create a messy situation. After melting the caramel according to package directions, allow it to cool slightly, stirring occasionally, until it’s warm enough to be fluid but not scalding hot. A quick dip is all you need!
Sometimes a wide, shallow bowl isn’t the most effective for achieving a complete and even coating, especially for taller items like stacked marshmallows. A clever trick is to transfer your melted caramel or orange candy melts into a narrow, deep container like a mason jar or a tall drinking glass. This allows you to fully submerge the marshmallow stacks and easily rotate them to get an even, generous coating without excessive dripping.
Absolutely! Using a squeeze bottle for drizzling the dark chocolate stripes is an excellent technique, especially if you want very fine, controlled lines. It can often provide more precision and a cleaner finish than a spoon, particularly for intricate designs. Many find it easier to handle and achieve consistent stripes. Just make sure the chocolate is thin enough to flow smoothly through the nozzle.
To ensure your lollipop sticks stay firmly in place, gently twist them as you insert them into the marshmallows. You can also slightly melt the tip of the marshmallow before inserting the stick for a more secure grip, but be careful not to overheat. A small dab of melted chocolate or candy melt at the base of the first marshmallow around the stick can also help reinforce it once it hardens.
While traditional Tigger Tails are orange and dark chocolate, feel free to get creative! You could experiment with different colored candy melts for themed parties or holidays. Imagine red and green for Christmas, or pastel colors for Easter. The possibilities are endless, allowing you to customize these treats for any occasion!
Recipe: Tigger Tails

Tigger Tails
Equipment
- Small Squeeze Bottles (optional, for stripes)
- 8-Inch Lollipop Sticks
- Parchment Paper
- Baking Sheets
- Mixing Bowl
- Wide-mouthed quart-size mason jar or similar glass (recommended for dipping)
Ingredients
- 24 large marshmallows
- 1 bag caramel bits, 11 oz.
- 1 bag orange candy melts, 12 oz.
- ½ cup dark chocolate chips
- ½ teaspoon coconut oil
Instructions
- Carefully stack 4 large marshmallows onto each lollipop stick. You will have 6 marshmallow sticks in total.
- Melt the caramel bits in a microwave-safe bowl or according to package directions, stirring until smooth. Allow the melted caramel to cool slightly so it’s warm and fluid but not too hot to melt the marshmallows. If using a mason jar for dipping, transfer the caramel into it.
- Dip each stacked marshmallow stick into the cooled caramel, ensuring it’s completely coated. Gently shake off any excess caramel. Place the caramel-coated marshmallow sticks on a baking sheet lined with parchment paper and let the caramel harden for about 15 minutes, or speed up the process in the refrigerator.
- Next, melt the orange candy melts in a separate microwave-safe bowl or according to package directions, stirring until completely smooth. Similar to the caramel, ensure the candy melts are just melted and not overly hot. If using a mason jar, transfer the orange candy melts into it.
- Dip each caramel-coated marshmallow stick into the orange candy melts, covering the caramel layer completely. Gently tap off any excess coating. Return the marshmallow sticks to the parchment-lined baking sheet to allow the orange candy coating to harden fully. Again, you can use the refrigerator to speed this up.
- In a small, microwave-safe bowl, combine the dark chocolate chips and coconut oil. Microwave in 15-second intervals, stirring thoroughly after each interval, until the chocolate is smooth and completely melted. Be careful not to scorch the chocolate.
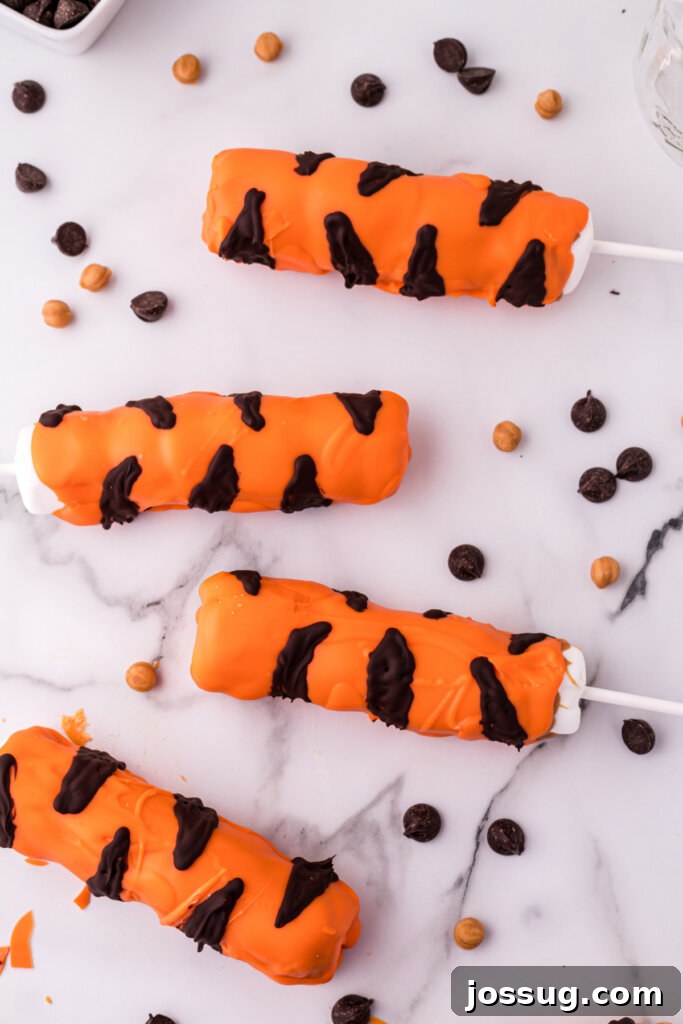
- Using a spoon for a rustic look or a food-grade squeeze bottle for more precision, drizzle the melted dark chocolate over the orange Tigger Tails to create Tigger’s distinctive stripes. Get creative with your stripe patterns!
- Allow the dark chocolate stripes to cool and harden completely before serving. For best results, chill them in the refrigerator until firm.
Notes
- For the easiest and most thorough coating, I highly recommend placing the melted caramel and orange candy coating into a wide-mouthed quart-size mason jar or a similar tall, narrow glass. This allows you to hold the stick securely, tilt the jar, and rotate the marshmallow stack for an even and complete coverage.
- To expedite the hardening and cooling process for both caramel and chocolate layers, you can place the Tigger Tails in the refrigerator. This will not impact the taste or texture.
- For a dazzling, sparkly finish, after dipping your Tigger Tails into the orange candy melts, quickly sprinkle them with orange sanding sugar before the candy coating sets. This adds a beautiful shimmer!
- Store your finished Tigger Tails in an airtight container in the refrigerator for up to 5 days. To prevent them from sticking together, place wax paper or parchment paper between the layers.
Nutrition
Serving: 1 Tigger Tail
Calories: 496kcal
Carbohydrates: 87g
Protein: 4g
Fat: 16g
Saturated Fat: 12g
Polyunsaturated Fat: 2g
Monounsaturated Fat: 1g
Cholesterol: 4mg
Sodium: 191mg
Potassium: 208mg
Fiber: 1g
Sugar: 71g
Vitamin A: 23IU
Vitamin C: 0.3mg
Calcium: 118mg
Iron: 0.3mg
Nutrition information is automatically calculated and should only be used as an approximation.
Other Copycat Recipes You May Enjoy
If you loved bringing a piece of the magic home with these Tigger Tails, you’re in for a treat! We have a fantastic collection of other copycat recipes inspired by your favorite restaurants and theme parks. Why not try your hand at recreating these popular dishes and snacks?
- Sonic Copycat Cherry Limeade
- Copycat Red Lobster Cheddar Bay Biscuits
- Copycat Wendy’s Chili
- Red Robin Whiskey River BBQ Burger
- Maid-Rites