
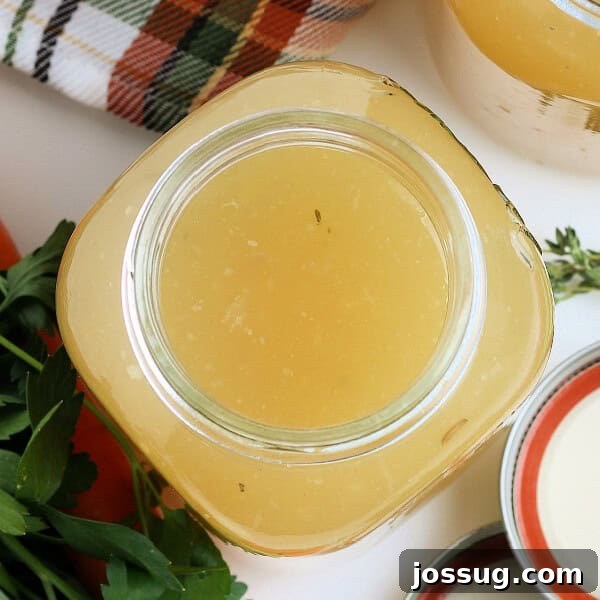
Unlock the secret to deeply flavorful home cooking by learning how to make your own **homemade turkey stock**. Using a leftover turkey carcass, fresh vegetables, and aromatic herbs, you can create a rich, versatile liquid that far surpasses anything store-bought. It’s the perfect foundation for everything from comforting soups and stews to velvety gravies and sauces, elevating your culinary creations to a new level.
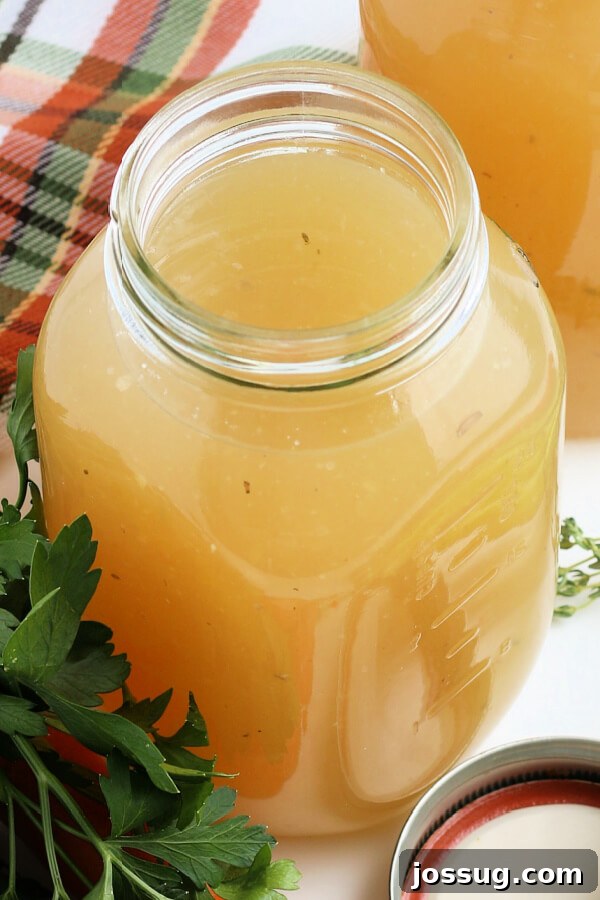
After the feast, especially Thanksgiving, the turkey carcass often goes to waste. But savvy home cooks know that this framework of bones and residual meat is a treasure trove of flavor, ready to be transformed into a liquid gold: homemade turkey stock. This simple, yet profoundly rewarding recipe is a cornerstone of a well-stocked kitchen, offering a depth of flavor that no bouillon cube or carton of store-bought broth can match.
Homemade Turkey Stock Recipe: The Ultimate Flavor Booster
If you’re planning a holiday turkey or have just finished a festive meal, I implore you to save that valuable carcass! Making your own turkey stock is an incredibly easy and rewarding process that maximizes the value of your bird and provides an unparalleled base for an array of culinary delights. While it does require a few hours of simmering, most of that time is hands-off, allowing the flavors to slowly meld and intensify.
This recipe is designed for ease and maximum flavor extraction. The beauty of homemade stock lies in its clean taste and nutrient richness, free from the excessive sodium and artificial additives often found in commercial products. It’s not just a cooking liquid; it’s an ingredient that enhances every dish it touches. Think beyond soups and gravies—consider using it for braising meats, cooking grains like rice or quinoa, enriching risottos, or making deeply flavorful pan sauces.
Essential Ingredients for a Rich Turkey Stock
The magic of turkey stock comes from a harmonious blend of simple, fresh ingredients. You don’t need anything fancy, just quality components working together to create a deeply satisfying flavor profile.
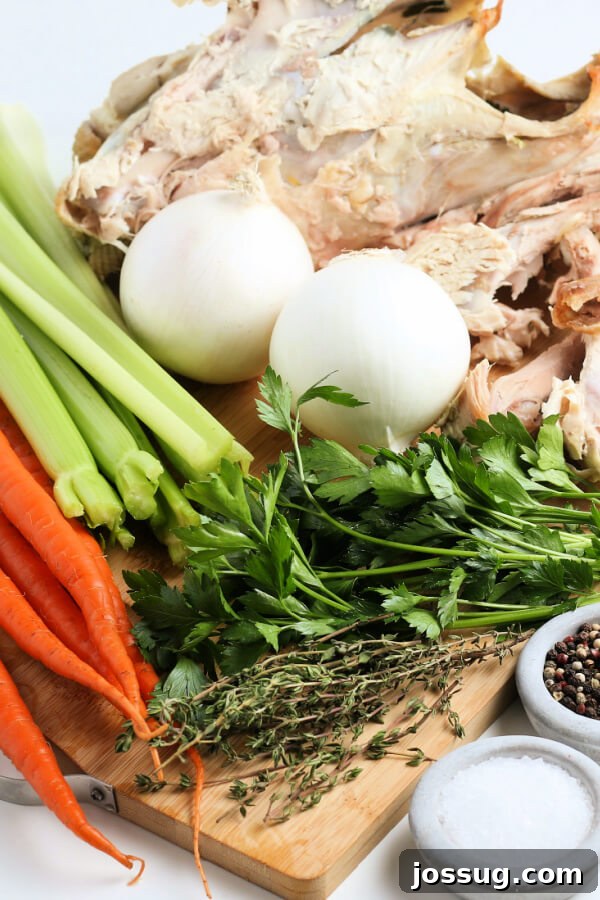
- Turkey Carcass: The star of the show! This includes the bones, any remaining bits of meat, skin, and even the neck and wing bones. For a richer flavor, consider roasting the carcass and bones briefly before making stock, which adds a wonderful depth and color. Breaking the carcass into smaller pieces can help it fit in your pot and expose more surface area for flavor extraction.
- Onions: Quartered, with their skins left on, onions add a foundational sweetness and savory depth. The skins can also contribute a beautiful golden hue to your stock.
- Celery Ribs: Chopped into 2-inch pieces, celery contributes a mild, earthy, and slightly peppery note, essential for the classic “mirepoix” flavor base.
- Carrots: Also cut into 2-inch pieces, carrots lend natural sweetness and a subtle earthiness, balancing the savory elements of the turkey bones.
- Fresh Parsley: A generous bunch of fresh parsley adds a clean, herbaceous note that brightens the overall flavor of the stock.
- Fresh Thyme: Earthy and slightly minty, fresh thyme is a classic pairing with poultry and adds a wonderfully aromatic complexity. Tying the parsley and thyme together with kitchen twine creates a “bouquet garni” making them easy to remove later.
- Black Peppercorns: Whole black peppercorns provide a gentle, background warmth and a subtle spice without overpowering the delicate turkey flavor.
- Salt (Optional): It’s often best to omit or use very little salt during the initial stock-making process. If your turkey was heavily seasoned, the carcass may already impart enough salinity. You can always season the stock to taste when you use it in your final dishes. This gives you more control over the sodium content of your finished meals.
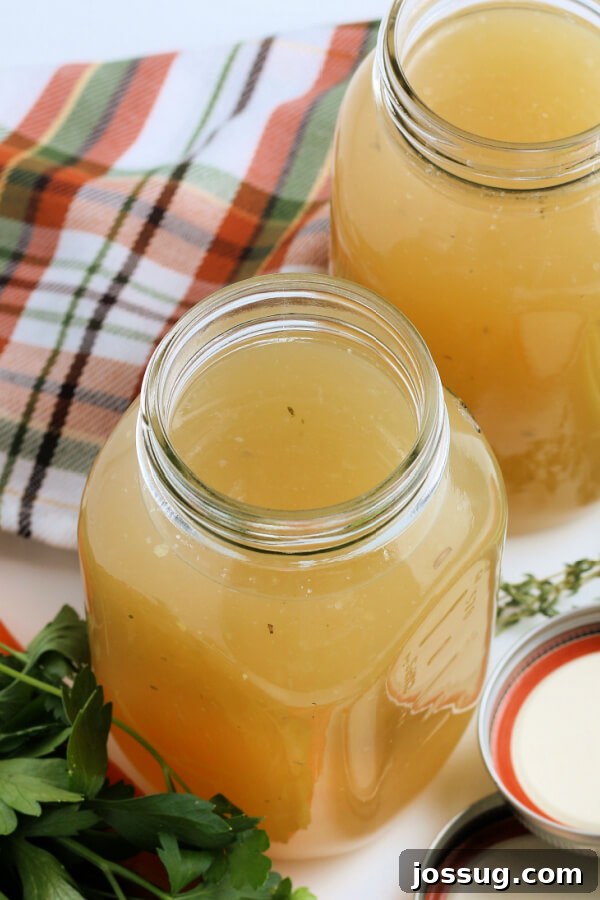
Step-by-Step Guide to Making Perfect Turkey Stock
Total Time: Approximately 3 hours and 10 minutes
Crafting homemade turkey stock is a straightforward process that yields incredible results. Follow these steps for a clear, deeply flavored stock.
-
Prepare and Combine Ingredients:
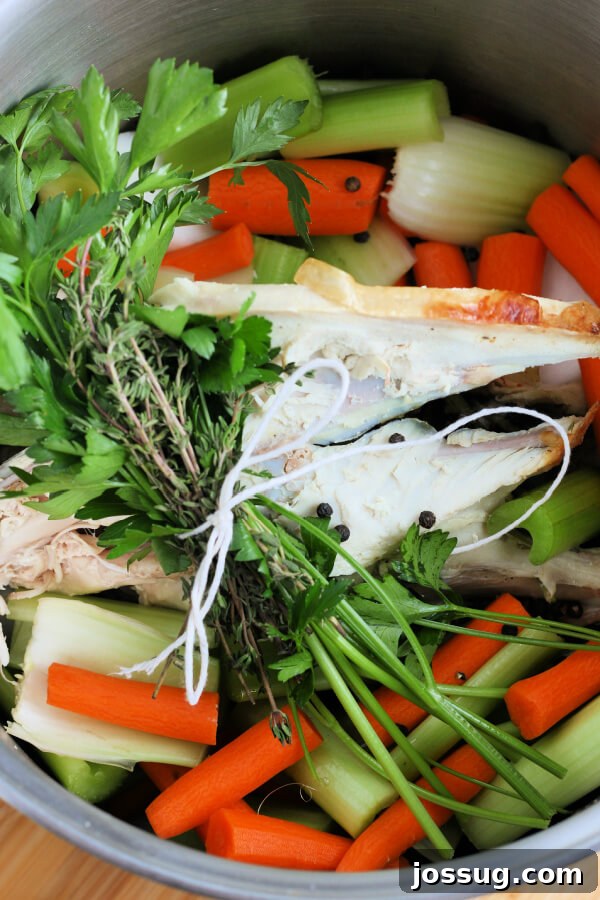
Carefully place your turkey carcass (broken into manageable pieces if necessary), quartered onions, 2-inch pieces of celery and carrots, the tied bouquet of fresh parsley and thyme, and whole black peppercorns into a very large stockpot. Ensure the pot is large enough to comfortably hold all ingredients. Cover everything with cold water, making sure all solids are fully submerged by at least an inch or two. Starting with cold water is crucial as it allows impurities to slowly rise to the surface and helps extract more flavor from the bones.
-
Simmer to Perfection:
Bring the pot to a gentle boil over medium-high heat. As it heats, you may notice foam or scum rising to the surface. Skim this off with a ladle or spoon; this step contributes to a clearer, cleaner-tasting stock. Once boiling, reduce the heat to low, just enough to maintain a bare simmer. Cover partially and let it simmer for 3 to 4 hours. The goal is to reduce the liquid by about half, concentrating the rich flavors. A long, slow simmer is key to extracting maximum flavor and nutrients from the bones and vegetables without boiling them vigorously, which can lead to a cloudy stock.
-
Cool Slightly for Safety:
Once the simmering time is complete, remove the stockpot from the heat. Allow the stock to cool slightly at room temperature for at least 30-60 minutes. This makes it safer to handle and helps prevent thermal shock when straining. Cooling also allows any fat to rise to the surface, which you can skim off later if desired.
-
Remove Solids:
Carefully remove and discard the turkey carcass, all cooked vegetables, and herb stems. These ingredients have given all their flavor to the stock and are no longer needed. You can use tongs or a large slotted spoon for this step.
-
Strain for Clarity:
Place a fine-mesh strainer over a very large heatproof bowl or another large pot. For extra clarity, you can line the strainer with a layer or two of cheesecloth. Carefully pour the stock through the strainer. This process removes any small particles, ensuring your homemade stock is beautifully clear and smooth. Avoid pressing on the solids in the strainer, as this can make your stock cloudy.
-
Store or Use Immediately:
Your homemade turkey stock is now ready! You can use it immediately in your favorite recipes, or properly cool and store it for future use. For faster cooling, you can divide the stock into smaller containers before refrigerating.
Pro Tips and Storage for Your Homemade Turkey Stock
A few expert tips can make your turkey stock-making experience even better and ensure you get the most out of your efforts.
- Salt Adjustment: Always taste your stock before adding extra salt. If the turkey carcass was seasoned heavily prior to cooking (e.g., with salt and pepper rubs), the bones may have already imparted sufficient salinity to the stock. It’s much easier to add salt later when you’re using the stock in a specific recipe than to try and reduce it.
- Roasting the Bones: For a deeper, richer color and more intense flavor, consider roasting the turkey carcass and bones in a hot oven (around 400°F / 200°C) for 30-45 minutes until nicely browned before adding them to the stockpot. This step caramelizes the bones and any residual meat, adding layers of complex flavor.
- Skimming Fat: As the stock cools, a layer of fat will typically rise to the surface. You can skim this off once the stock is completely chilled. A spoon works well, or you can use a fat separator. While some fat adds flavor, removing excess fat can make the stock lighter and more versatile, especially for clear soups.
- Refrigeration: Store your cooled turkey stock in airtight containers in the refrigerator for up to 5-7 days. Always ensure it has cooled completely before sealing and storing to prevent bacterial growth.
- Freezing for Long-Term Storage: For longer preservation, turkey stock freezes beautifully for up to 3 months, and sometimes even longer without significant loss of quality.
- Ice Cube Trays: Freeze stock in ice cube trays for convenient, single-serving portions. Once frozen, transfer the cubes to freezer-safe bags.
- Deli Containers or Jars: Store larger quantities in freezer-safe plastic deli containers or wide-mouth glass jars, leaving about an inch of headspace to allow for expansion. Label with the date.
- Vacuum Sealing: For ultimate freshness and to prevent freezer burn, vacuum-seal portions of stock.
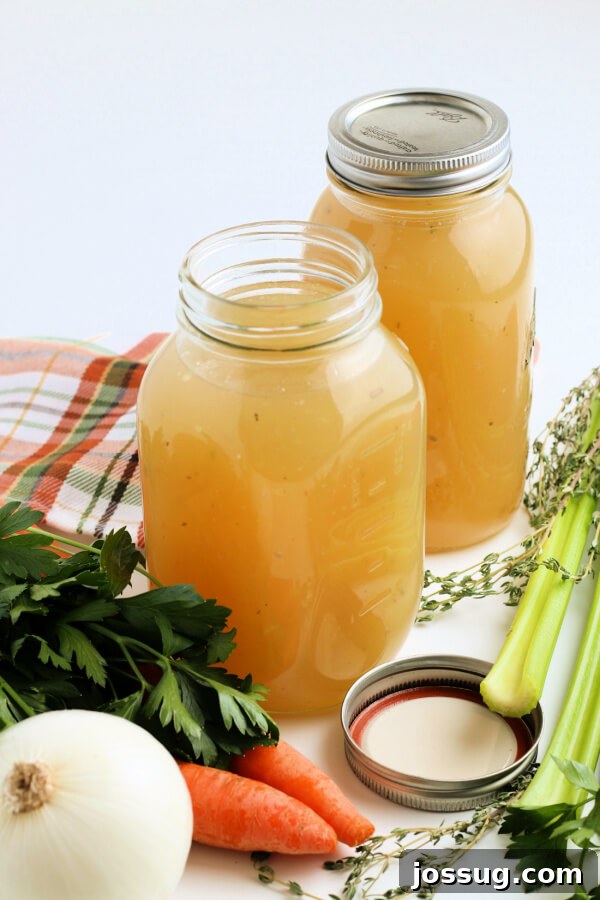
Turkey Stock: Frequently Asked Questions (FAQs)
Have questions about turkey stock? We’ve got answers to help you master this kitchen staple.
While often used interchangeably, there are key differences. **Stock** is primarily made from bones (often roasted), vegetables, and aromatics, simmered for an extended period. The bones, especially marrow and connective tissue, release collagen, which breaks down into gelatin, giving stock a richer body and often a slightly gelatinous texture when chilled. This gelatin contributes a luxurious mouthfeel and adds nutritional value. **Broth** is generally made from meat (sometimes with bones), vegetables, and seasonings, simmered for a shorter time. It tends to be thinner, lighter, and more immediately palatable as a standalone drink. Stock provides a more robust foundation for cooking.
The uses for turkey stock are incredibly diverse! It’s a fundamental ingredient for:
- Soups and Stews: The obvious choice, providing a rich, savory base.
- Gravies and Sauces: Essential for a deeply flavored pan gravy or a sophisticated reduction sauce.
- Braising Liquids: Ideal for slowly cooking meats like pot roasts, short ribs, or even tougher cuts of poultry, resulting in tender, flavorful dishes.
- Risotto and Grains: Use it to cook rice, quinoa, or couscous, infusing them with savory depth.
- Casseroles and Pot Pies: Enhances the flavor of creamy fillings and hearty bakes.
- Roast Vegetables: A splash can add moisture and flavor to roasted vegetables.
- Deglazing Pans: Use it to deglaze a pan after searing meat, capturing all those delicious browned bits to create a quick, flavorful sauce.
Properly stored in a covered, airtight container, homemade turkey stock will keep in the refrigerator for up to 5 to 7 days. Always make sure it cools down completely before storing to ensure food safety.
Absolutely! Turkey stock freezes exceptionally well. Store it in freezer-safe containers, leaving a little headspace for expansion, for up to 3 months. For best quality, use within this timeframe. Consider freezing in smaller portions (like ice cube trays) for easy retrieval of just the amount you need.
A gelatinous stock is a sign of a highly successful stock! It means you’ve effectively extracted a good amount of collagen from the turkey bones and connective tissues. When heated, this gelatin will liquefy, but when chilled, it firms up, giving your stock a rich body and desirable mouthfeel. There’s nothing wrong with your stock; in fact, it’s exactly what you want for maximum flavor and richness!
Yes, both pressure cookers and slow cookers are excellent alternatives for making turkey stock, offering convenience and slightly different results:
For an Instant Pot (Pressure Cooker): Add all your ingredients to the Instant Pot. Use about 10 cups of water, or fill to the maximum fill line, ensuring ingredients are submerged. Secure the lid and set the valve to sealing. Cook on HIGH pressure for 30-45 minutes. Once cooking is complete, allow for a natural pressure release (NPR) for at least 15-20 minutes, or until the valve drops completely, for the richest flavor. Carefully remove the lid and proceed with the straining step. The Instant Pot significantly cuts down cooking time while still yielding a flavorful stock.
For a Slow Cooker: This method is incredibly hands-off. Place all ingredients into at least a 6-quart slow cooker. Fill the slow cooker with water, leaving at least 1 inch of room at the top. Cook on LOW for 6-8 hours, or even up to 10-12 hours for a more intense flavor. The gentle, prolonged heat of the slow cooker is perfect for slow extraction. Once cooking is done, carefully proceed with the straining step as directed in the main recipe.
You can, but be mindful of the flavors. While roasted vegetables add depth, some highly seasoned or very soft roasted vegetables might impart an undesirable flavor or cloudiness. It’s generally best to use fresh, raw aromatic vegetables (onions, carrots, celery) for a clean, classic stock flavor. If you do use roasted vegetables, ensure they are not burnt and don’t contain strong spices that would clash with your desired stock profile.
No problem! You can still make excellent turkey stock using turkey necks, backs, wings, or even turkey leg bones. The key is to have enough bones to create a rich gelatinous base. Combine these parts, ideally roasting them first, and proceed with the recipe. The more bone material, the richer your stock will be.
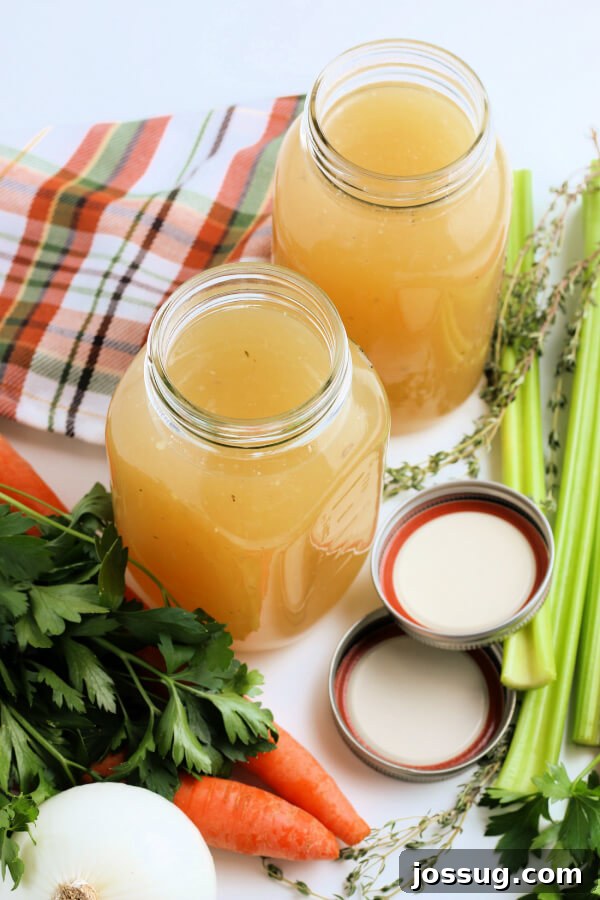
Share Your Homemade Turkey Stock Success!
Making homemade turkey stock is a fundamental cooking skill that empowers you to create more delicious, wholesome meals from scratch. It’s incredibly satisfying to transform what might have been discarded into a rich, flavorful kitchen staple. How do you plan on using your golden homemade stock? Will it be for a hearty holiday soup, a decadent gravy, or perhaps a comforting weeknight risotto?
We’d love to hear about your experience! If you gave this recipe a try, please leave a comment below and let us know how it turned out for you. Your feedback and creative uses for turkey stock inspire our community of home cooks!
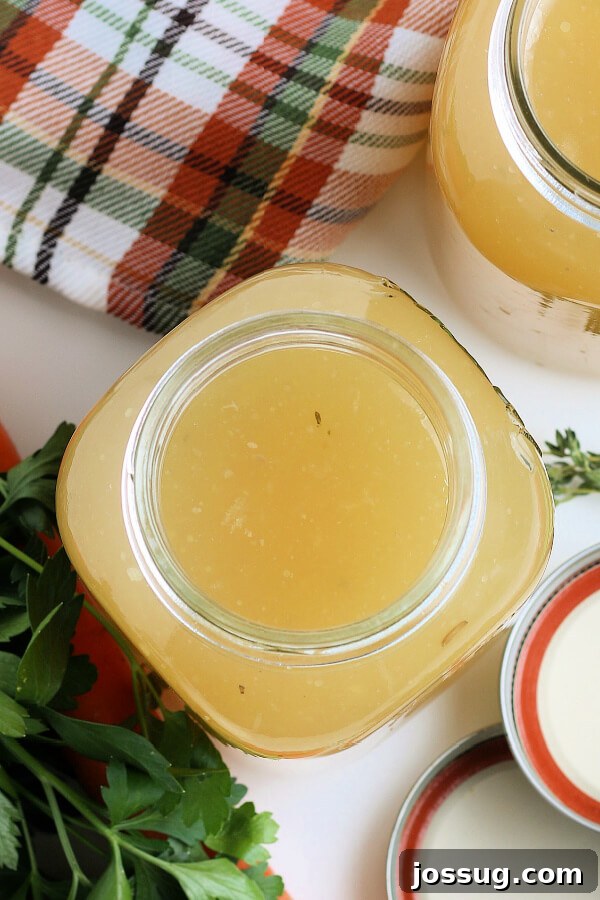
Other Homemade Staples You May Enjoy
Mastering basic homemade staples is a game-changer in the kitchen. If you enjoyed making this turkey stock, consider trying these other recipes to elevate your cooking even further:
- Homemade Hamburger Helper
- Homemade Baking Mix
- Homemade Ranch Dressing
- Homemade Chocolate Pudding
- Homemade Alfredo Sauce
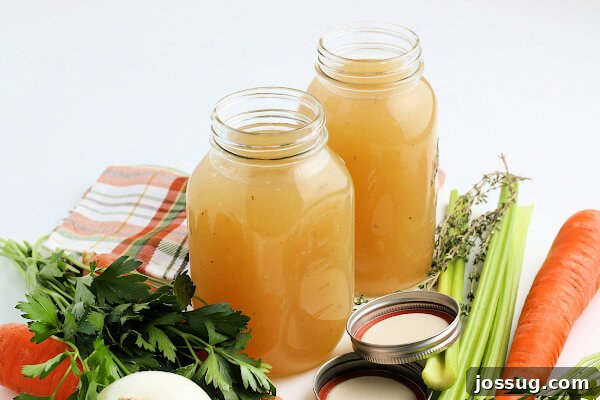
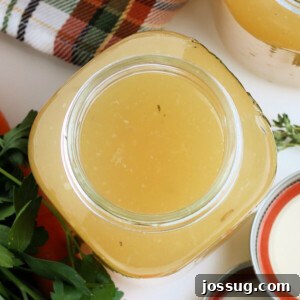
Turkey Stock
By Jamie Sherman
Learn how easy it is to make your own Turkey Stock with a turkey carcass, fresh vegetables, and fragrant herbs. It’s the essential base for creating rich soups, savory gravies, and countless other dishes.
Rating: 5 out of 5 stars (Based on 1 vote)
- Servings:
- 8 cups
- Prep Time:
- 10 mins
- Cook Time:
- 3 hrs
- Total Time:
- 3 hrs 10 mins
Equipment
- Extreme Freeze Deli Food Containers with Lids
- Fine Mesh Strainer
- 12-Quart Classic Stainless Steel Stockpot with Lid
- Cutting Board
- Knife
- Natural Cooking Twine
Ingredients
- 1 turkey carcass, including leg and wing bones separated into pieces
- 2 onions, quartered
- 5 ribs celery, cut into 2-inch pieces
- 5 carrots, cut into 2-inch pieces
- Fresh parsley and fresh thyme, tied in a bouquet (bouquet garni)
- 1 teaspoon black peppercorns
Instructions
- Place all your ingredients (turkey carcass, onions, celery, carrots, herb bouquet, and peppercorns) into a large stockpot. Cover completely with cold water.
- Bring the mixture to a boil over medium-high heat, then reduce the heat to low and simmer gently for 3-4 hours, or until the liquid has reduced by about half and is deeply flavorful.
- Allow the stock to cool slightly in the pot before handling.
- Carefully remove and discard the turkey carcass, cooked vegetables, and spent herbs from the pot.
- Strain the stock through a fine-mesh strainer (optionally lined with cheesecloth for extra clarity) into a very large bowl or clean pot.
- Use the strained stock immediately in your recipes, or cool it completely and store as directed.
Notes
- If you seasoned the turkey carcass’s body cavity when originally cooked with salt and pepper, there should not be a need for additional salt in the stock. Taste the stock and adjust with additional salt only if necessary, keeping in mind you can always add more when using it in a final dish.
- Store the cooled stock in airtight containers in the refrigerator for up to 1 week, or freeze it in freezer-safe containers for up to 3 months for longer storage.
Nutrition Information
Nutrition information is automatically calculated and should only be used as an approximation.
- Serving: 1 cup
- Calories: 32 kcal
- Carbohydrates: 7 g
- Protein: 1 g
- Fat: 0.2 g
- Saturated Fat: 0.04 g
- Polyunsaturated Fat: 0.1 g
- Monounsaturated Fat: 0.02 g
- Sodium: 48 mg
- Potassium: 234 mg
- Fiber: 2 g
- Sugar: 3 g
- Vitamin A: 6485 IU
- Vitamin C: 5 mg
- Calcium: 31 mg
- Iron: 0.3 mg
Like this recipe? Leave a comment below and share your thoughts!