
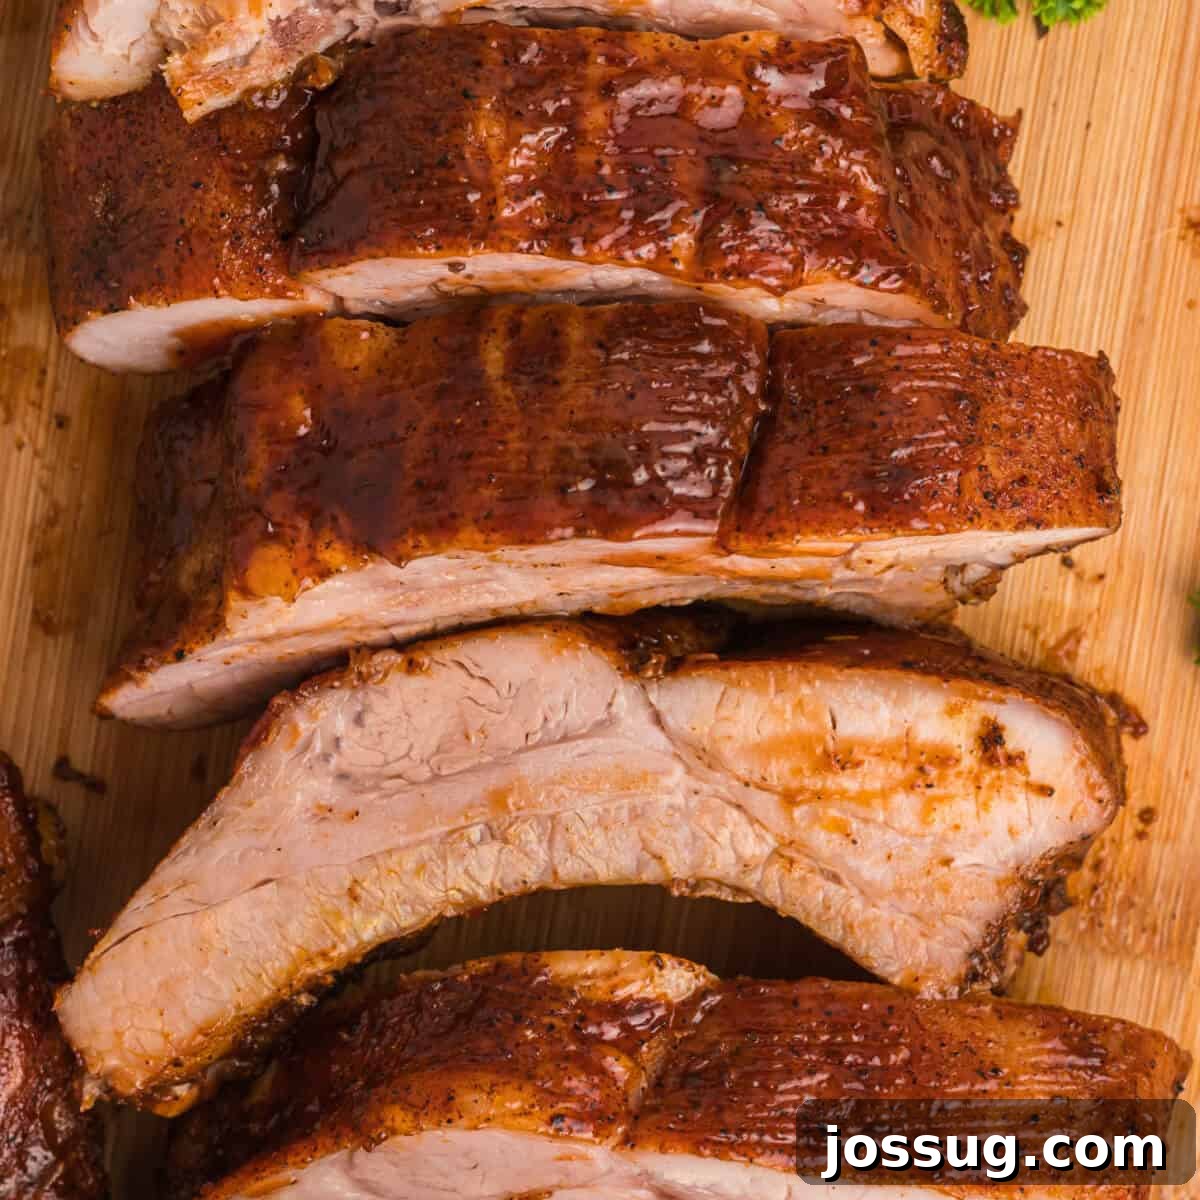
There’s nothing quite like a rack of perfectly cooked ribs, brimming with smoky, savory, and sweet flavors. While grilling often comes to mind, these Oven-Baked Ribs prove that you can achieve truly spectacular results right in your kitchen, any time of year. This comprehensive recipe will guide you through creating incredibly tender, juicy, and flavor-packed BBQ pork ribs that effortlessly fall off the bone. Forget the weather constraints and embrace the convenience and consistent perfection of oven-baked barbecue. Get ready to impress your family and friends with a dish that tastes like it came straight from a smokehouse, all with minimal fuss.
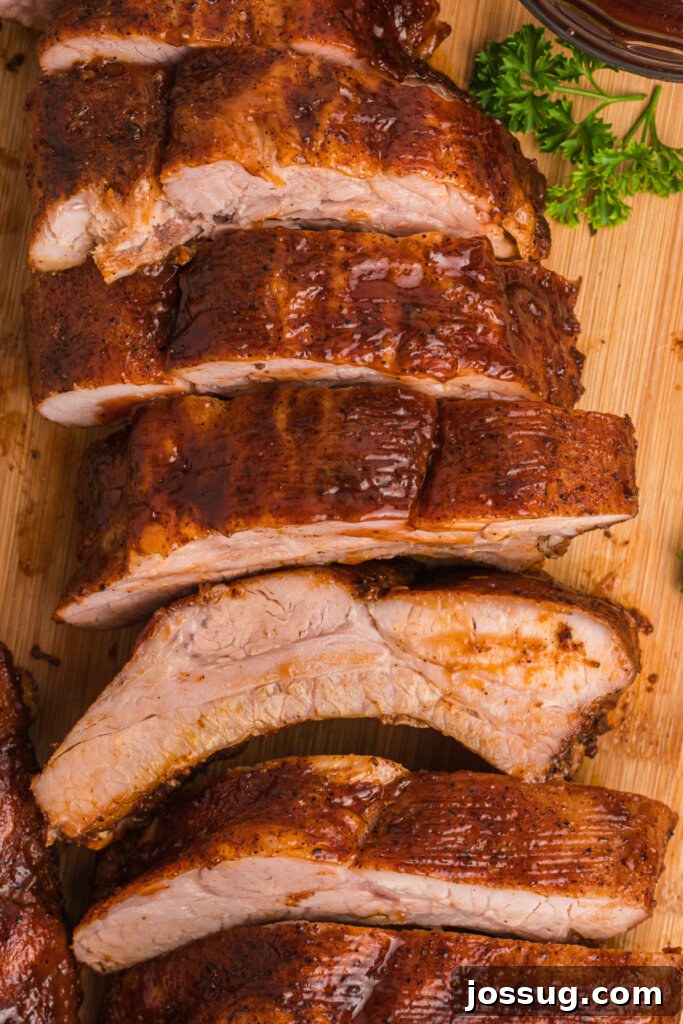
The Secret to Succulent, Fall-Off-the-Bone Oven-Baked Ribs
Achieving melt-in-your-mouth ribs in your oven is simpler than you might imagine. This method delivers all the rich, barbecue flavor you crave, without the need for a grill or smoker. The secret lies in a combination of careful preparation, a potent homemade rub, and a strategic baking process that ensures maximum tenderness and a beautifully caramelized finish. From selecting the right rack to applying the perfect glaze, every step is designed to guarantee delicious results every single time.
Choosing Your Ribs: The foundation of great ribs starts with the right cut. While this recipe specifically calls for baby back ribs, other varieties like spare ribs or St. Louis-style ribs can also be used with minor adjustments to cooking time. Baby back ribs are renowned for being lean, tender, and quick-cooking, making them a popular choice. Spare ribs, on the other hand, are meatier and fattier, offering a richer flavor and often requiring a bit longer in the oven. St. Louis-style ribs are spare ribs that have been trimmed to a more uniform rectangular shape, making them easier to cook evenly and present beautifully. Whichever you choose, look for ribs with a good amount of meat, avoiding those that look too fatty or too lean.
The Crucial Membrane Removal: Before you even think about seasoning, there’s one vital step that many home cooks overlook: removing the thin membrane from the underside of the ribs. This silvery layer, known as the peritoneum, can become tough and chewy when cooked, preventing your rub from fully penetrating the meat and hindering the ribs from reaching their ultimate tenderness. It’s a simple step that makes a monumental difference in the final texture of your ribs.
Crafting the Perfect Rub: A stellar dry rub is the backbone of truly flavorful ribs. Our carefully balanced blend of savory spices and a touch of sweetness creates a phenomenal crust that complements any BBQ sauce. This homemade rub transforms ordinary pork into a taste sensation. Each ingredient plays a crucial role: the brown sugar aids in caramelization, creating a beautiful glaze; the smoked paprika delivers that classic barbecue aroma without a smoker; and a hint of cinnamon adds an unexpected layer of warmth and complexity that will have everyone asking for your secret ingredient. Don’t be shy when applying the rub – generously coat both sides of the ribs, pressing it firmly into the meat to ensure it adheres well and infuses every bite with deliciousness.
The Low and Slow Baking Method: The magic of oven-baked ribs truly unfolds during the long, slow cooking process. By wrapping the ribs tightly in foil, you create a steamy, self-contained environment that locks in moisture and allows the meat to tenderize slowly and evenly. This low-and-slow approach at 275°F gently breaks down the tough collagen in the meat, transforming it into gelatin and resulting in those coveted fall-off-the-bone ribs. This hands-off cooking method is perfect for busy days, as the oven does most of the work for you.
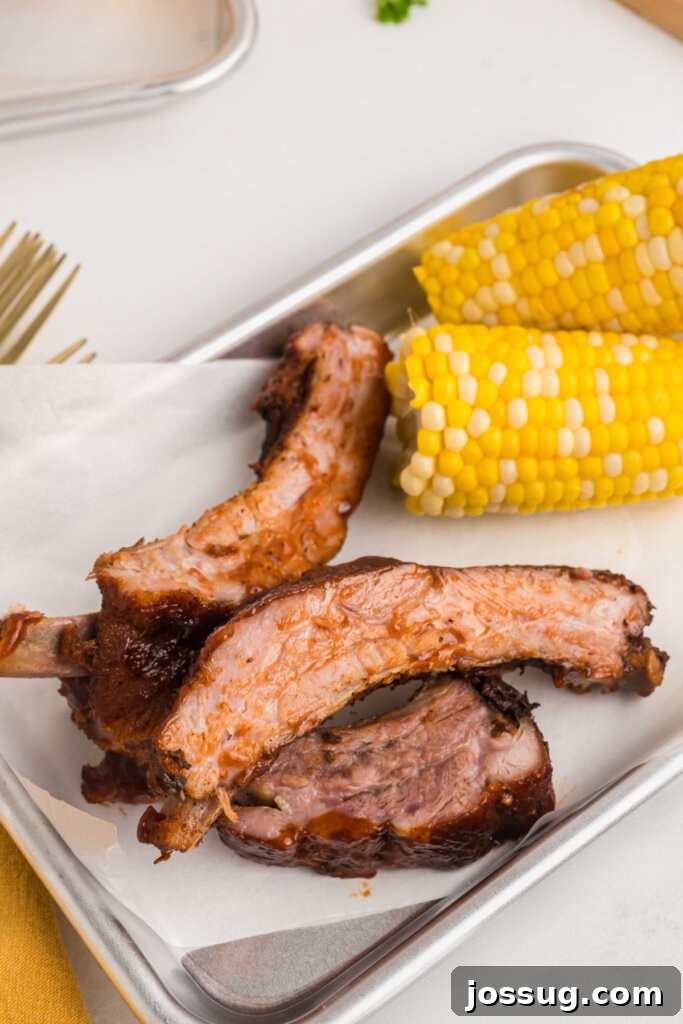
The Finishing Glaze: Once the ribs are incredibly tender, it’s time for the grand finale: brushing them with your favorite barbecue sauce and returning them to a higher temperature oven. This final stage allows the sauce to caramelize and thicken, creating that sticky, irresistible glaze that is the hallmark of truly great BBQ ribs. The heat also crisps up the edges slightly, adding another layer of texture to this already magnificent dish.
The Importance of Resting: Just like any fine cut of meat, ribs benefit immensely from a brief resting period after coming out of the oven. This allows the juices to redistribute throughout the meat, ensuring every morsel remains succulent and flavorful. Skipping this step can result in drier ribs, so be patient for those extra few minutes. Once rested, slice them up and serve with extra barbecue sauce on the side and your favorite accompaniments like creamy coleslaw, hearty potato salad, or classic corn on the cob. These Oven-Baked Ribs are a testament to how simple ingredients, combined with a bit of patience, can create an unforgettable meal in the comfort of your own home.
Oven Baked Ribs: Ingredients & Smart Substitutions
Crafting the perfect rack of ribs requires a blend of quality ingredients and a well-balanced rub. Here’s a detailed look at what you’ll need for this Fall-Off-the-Bone Oven Baked Ribs recipe, along with some helpful substitution ideas to ensure success every time.
Ingredients Overview
For the Ribs
- Baby Back Ribs (about 4 lbs): These are ideal for their tenderness and lean profile, cooking relatively quickly. You can use spare ribs or St. Louis-style ribs; just be aware they might require a slightly longer cooking time (add 30-60 minutes). Always aim for a good meat-to-bone ratio.
- BBQ Sauce (to brush and serve): The choice of BBQ sauce is highly personal. You can opt for your favorite store-bought brand – many home cooks swear by Sweet Baby Ray’s for its balanced sweet and tangy profile. Alternatively, a homemade BBQ sauce allows for complete customization of flavor, from smoky to spicy.
For the Signature Rub
This carefully formulated rub is designed to create a complex flavor profile that is both savory and sweet, with hints of smokiness and spice. It’s truly the best rub you’ll ever taste for ribs!
- Brown Sugar (packed): Provides essential sweetness and helps create a beautiful caramelization and crust on the ribs. Light or dark brown sugar works well.
- Kosher Salt: Essential for seasoning the meat and enhancing all other flavors. Kosher salt’s larger granules allow for more even distribution than table salt.
- Ground Black Pepper: Adds a classic, pungent spice that balances the sweetness. Freshly ground pepper always offers the best flavor.
- Smoked Paprika: A key ingredient that infuses the ribs with a wonderful smoky depth, mimicking traditional barbecue flavors without a smoker. Do not substitute with regular paprika if you want that smoky character.
- Chili Powder: Contributes a mild warmth and depth of flavor, as well as a rich red color to the rub. Adjust the amount based on your preference for heat.
- Granulated Garlic: A staple aromatic that provides a rich, savory garlic flavor. Garlic powder can be used as a direct substitute.
- Onion Powder: Adds another layer of savory aromatic flavor, complementing the garlic.
- Ground Mustard: Offers a subtle tang and acts as a binder, helping the rub adhere to the meat.
- Ground Cinnamon: This might seem unconventional, but a small amount of cinnamon adds an incredible warmth and complexity to the rub, elevating the overall flavor profile. It’s the secret ingredient that truly makes this rub special.
Step-by-Step Guide: How to Make Ultimate Oven-Baked Ribs
Follow these detailed steps to create tender, flavorful, and perfectly glazed ribs that are sure to be a hit!
First, prepare your equipment and the ribs. Begin by preheating your oven to 275°F (135°C). Pat the entire rack of ribs dry with paper towels to remove any excess moisture, which helps the rub adhere better. Next, turn the ribs meat-side down on a clean cutting board. Locate the thin, shiny membrane covering the back of the ribs. Carefully run a small knife under a corner of this membrane to loosen it. Using your fingers or a paper towel for better grip, pull the membrane away and discard it. This step is crucial for achieving tender ribs. Finally, lay two large sheets of heavy-duty aluminum foil on a baking sheet, overlapping them slightly to create a strong seal around the ribs. Place the prepared ribs on top of the foil and set aside.
Second, mix and apply the signature rub. In a small bowl, combine all the dry rub ingredients: brown sugar, kosher salt, ground black pepper, smoked paprika, chili powder, granulated garlic, onion powder, ground mustard, and ground cinnamon. Mix thoroughly until well combined. Generously sprinkle and rub this seasoning mixture over both sides of the ribs, pressing it firmly into the meat to ensure an even and thick coating. This creates the foundational flavor layer for your delicious ribs.
Third, bake the ribs low and slow. Once the ribs are seasoned, carefully fold the aluminum foil over them, crimping the ends tightly to create a completely sealed packet. This foil packet acts like a miniature steamer, trapping moisture and ensuring the ribs cook evenly and become incredibly tender. Place the foil-wrapped ribs on a baking sheet and bake for 2.5 to 3 hours, or until the internal temperature of the thickest part of the meat reaches 190°F (88°C). The ribs should be visibly tender and starting to pull away from the bone.
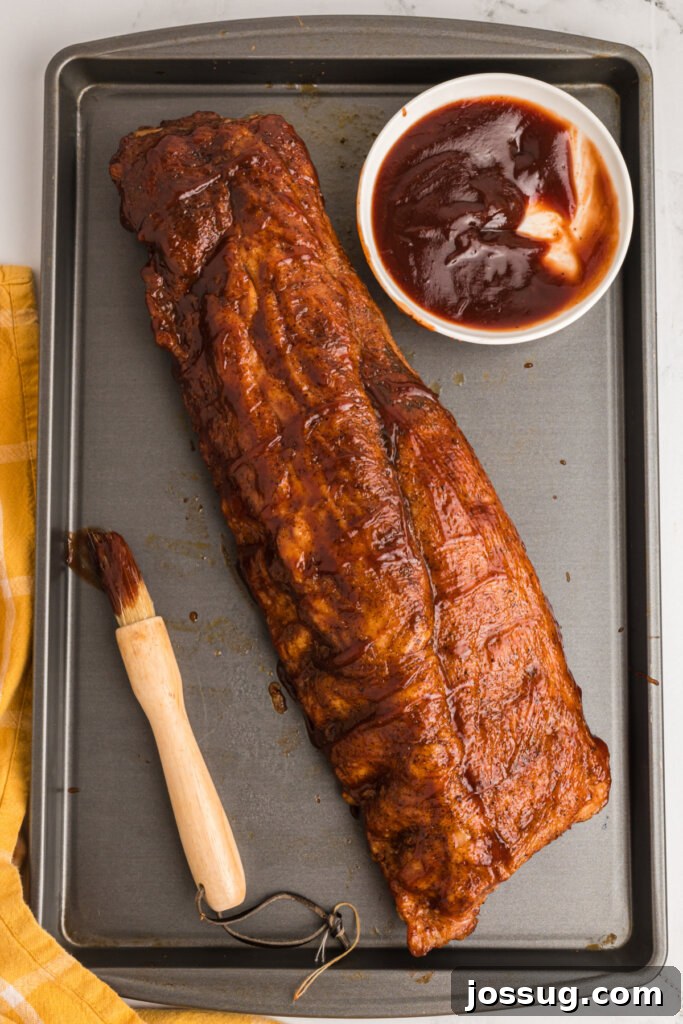
Fourth, braise and glaze for a perfect finish. After the initial baking, raise your oven temperature to 425°F (220°C). Carefully open the foil packet, allowing the steam to escape, and drain any accumulated juices (you can reserve these for another use if desired, like adding to beans or soup). Remove the ribs from the foil and place them directly onto the baking sheet. Using a pastry brush, liberally apply your favorite BBQ sauce over the top of the ribs, ensuring an even coating. Return the sauced ribs to the preheated 425°F oven and bake for an additional 10-15 minutes, or until the sauce is beautifully caramelized, sticky, and slightly bubbling. Keep a close eye on them to prevent burning.
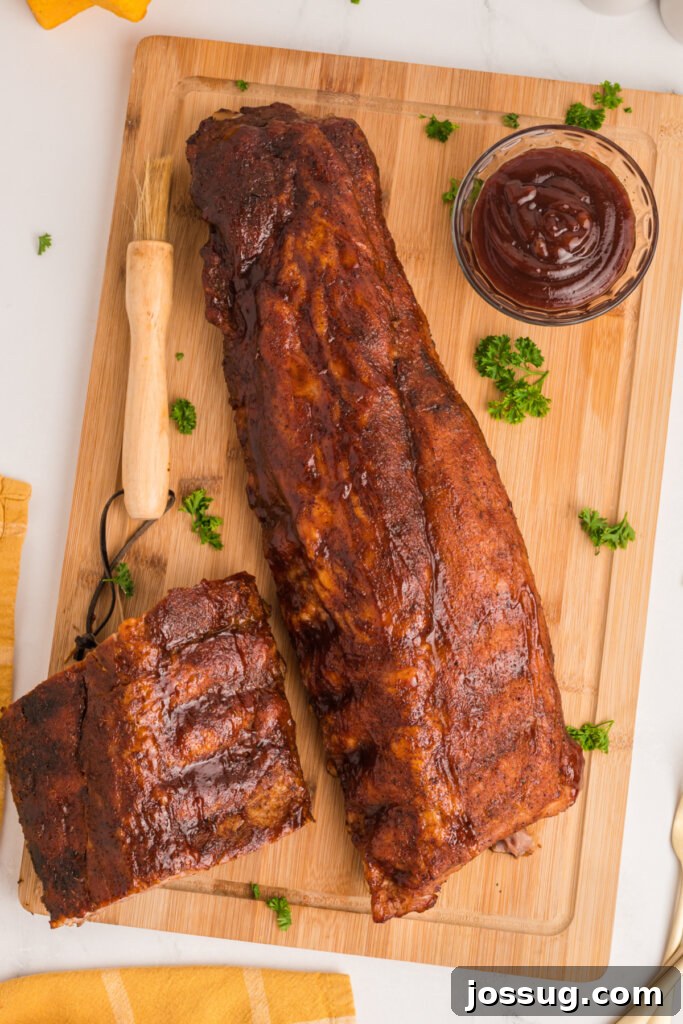
Finally, rest and savor those delicious ribs! Once glazed to perfection, remove the ribs from the oven and let them rest on the baking sheet for at least 10 minutes before slicing. This crucial resting period allows the juices within the meat to redistribute, ensuring maximum moisture and tenderness. Skipping this step can lead to drier ribs. After resting, slice the rack into individual or two-bone portions. Serve immediately with extra BBQ sauce on the side for dipping, and complement with your favorite side dishes. Enjoy!
Frequently Asked Questions About Oven-Baked Ribs
To keep your delicious ribs fresh, store any leftovers in an airtight container in the refrigerator for up to 3 days. For longer storage, wrap them tightly in plastic wrap and then aluminum foil, and place them in a freezer-safe container or bag. They will keep well in the freezer for up to 3 months. When you’re ready to enjoy them again, simply reheat them gently.
For refrigerated ribs, wrap them loosely in aluminum foil and bake at 300°F (150°C) for about 20-30 minutes, or until heated through. If reheating from frozen, allow them to thaw in the refrigerator overnight first, then follow the same reheating instructions. The lower temperature helps prevent the ribs from drying out while ensuring they warm evenly.
While the total cooking time for this recipe is approximately 3 to 3.5 hours, the actual hands-on preparation time is only about 10-15 minutes. The majority of the time is spent in the oven, cooking low and slow, allowing you to focus on other tasks or simply relax. The incredible fall-off-the-bone results are definitely worth the wait!
Yes, it is highly recommended to wrap your ribs tightly in heavy-duty aluminum foil during the initial baking phase. This technique creates a moist, steamy environment that prevents the ribs from drying out and is key to achieving that incredibly tender, fall-off-the-bone texture. The foil also helps to ensure the meat cooks evenly throughout.
Absolutely! Using a good quality store-bought BBQ sauce is a convenient and delicious option for oven-baked ribs. Brands like Sweet Baby Ray’s or your personal favorite work wonderfully. If you prefer, you can also experiment with making your own homemade sauce to customize the flavor profile exactly to your liking, from tangy to smoky to extra spicy.
Definitely! Removing the tough, silvery membrane from the underside of the ribs is a crucial step. This membrane, if left on, can make the cooked ribs chewy and prevent the dry rub and flavors from fully penetrating the meat. Its removal ensures a more tender, succulent, and enjoyable eating experience.
The best indicator of doneness for oven-baked ribs is tenderness. They should be fork-tender and the meat should easily pull away from the bone. For precision, use a meat thermometer; the internal temperature should ideally be between 190°F and 203°F (88°C – 95°C) for optimal tenderness. At this temperature, the collagen has broken down sufficiently.
Yes, you can certainly prepare parts of the recipe in advance. You can season the ribs with the dry rub, wrap them tightly in foil, and store them in the refrigerator for up to 24 hours before baking. Just be sure to allow the ribs to come closer to room temperature for about 30 minutes before placing them in the oven to ensure more even cooking.

Other Delicious Recipes You May Enjoy
- Smoked Ribs
- Instant Pot Pork Roast
- Dijon-Peach Pork Chops
- Honey-Baked Glazed Ham Recipe
- Pork Zucchini Skillet Dinner
8
servings
Oven-Baked Ribs
Jamie Sherman
10 minutes
3 hours
10 minutes
3 hours
20 minutes
Pin Recipe
Print Recipe
Equipment
-
Pastry Brush
-
Measuring Cups and Spoons
-
Heavy Duty Aluminum Foil
-
Baking Sheets
Ingredients
For the ribs
-
1 rack baby back ribs, 4 pounds -
1 cup BBQ sauce, your favorite brand
For The Rub
-
½ cup brown sugar, packed -
2 teaspoons kosher salt -
2 teaspoons ground black pepper -
1 teaspoon smoked paprika -
1 teaspoon chili powder -
1 teaspoon granulated garlic -
1 teaspoon onion powder -
1 teaspoon ground mustard -
1 teaspoon ground cinnamon
Instructions
-
Preheat the oven to 275°F (135°C).
-
Remove excess moisture from the ribs using paper towels.
-
On a cutting board, remove the thin membrane covering the back of the ribs. Place the ribs meat side down. Run a knife over the back of the ribs lightly under the membrane, then using your fingers, pull the membrane away and discard it.
-
Lay 2 sheets of aluminum foil on a baking sheet, overlapping them, and place the ribs over the foil.
-
In a small bowl, mix together all the rib rub ingredients until well combined.
-
Generously rub the mixed seasoning over both sides of the ribs, pressing it firmly into the meat.
-
Fold both sides of the foil over the ribs and crimp the ends up tightly to seal.
-
Place the foil-wrapped ribs on a baking sheet and bake for 2.5 to 3 hours, or until the ribs reach an internal temperature of 190°F (88°C) and are very tender.
-
Raise the oven temperature to 425°F (220°C).
-
Carefully open the foil from the ribs and remove any accumulated juices. Remove the ribs from the foil and place them directly on the baking sheet.
-
Using a pastry brush, liberally brush the BBQ sauce on top of the ribs. Bake for an additional 10-15 minutes, until the sauce is caramelized and sticky.
-
Remove the ribs from the oven and let them rest for 10 minutes before slicing and serving.
-
Serve with more BBQ sauce if desired and your favorite side dishes. Enjoy!
Notes
- Store any leftovers in an airtight container in the refrigerator for up to 3 days or freeze for up to 3 months.
- To reheat refrigerated ribs, wrap them in aluminum foil and bake for 20-30 minutes at 300°F (150°C). For frozen ribs, thaw first, then reheat as directed.
Nutrition
Carbohydrates: 29g,
Protein: 14g,
Fat: 12g,
Saturated Fat: 4g,
Polyunsaturated Fat: 2g,
Monounsaturated Fat: 5g,
Trans Fat: 0.1g,
Cholesterol: 49mg,
Sodium: 1020mg,
Potassium: 303mg,
Fiber: 1g,
Sugar: 25g,
Vitamin A: 296IU,
Vitamin C: 0.3mg,
Calcium: 54mg,
Iron: 1mg
Nutrition information is automatically calculated, so should only be used as an approximation.
Like this? Leave a comment below!