
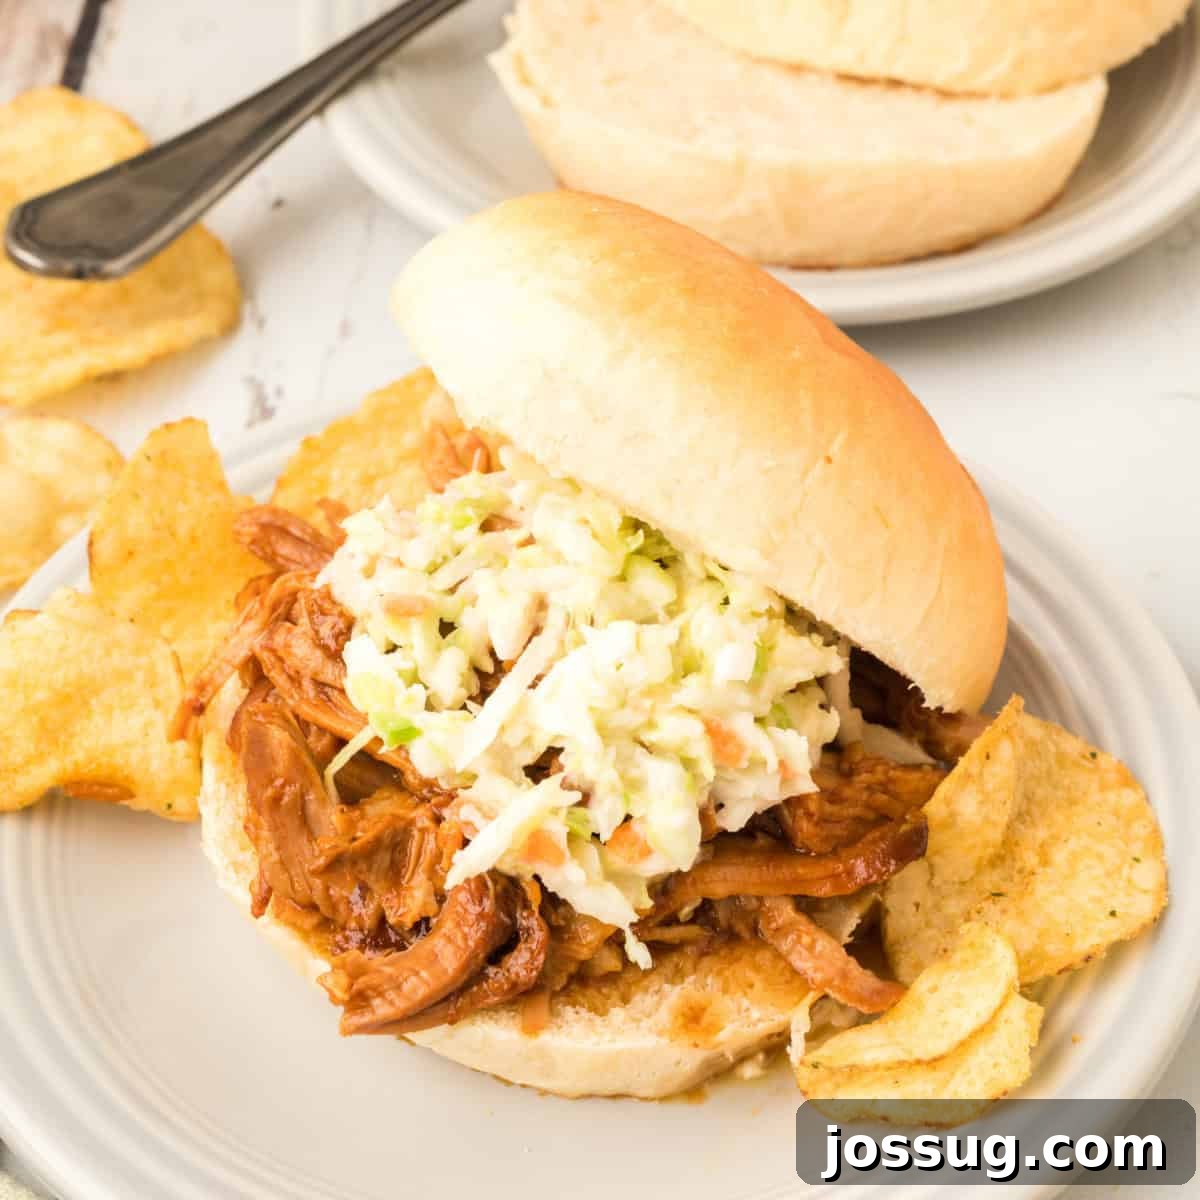
Embark on a culinary journey to create the most exquisite Homemade Onion Rolls you’ve ever tasted. These rolls are a true testament to the simple magic of baking: incredibly soft, wonderfully fluffy, and bursting with a rich, savory depth from perfectly caramelized onions. Forget store-bought options; if you’re searching for the ultimate onion rolls recipe to elevate your sandwiches, gourmet burgers, or hearty BBQ, this easy-to-follow guide promises bakery-quality results right from your home kitchen.
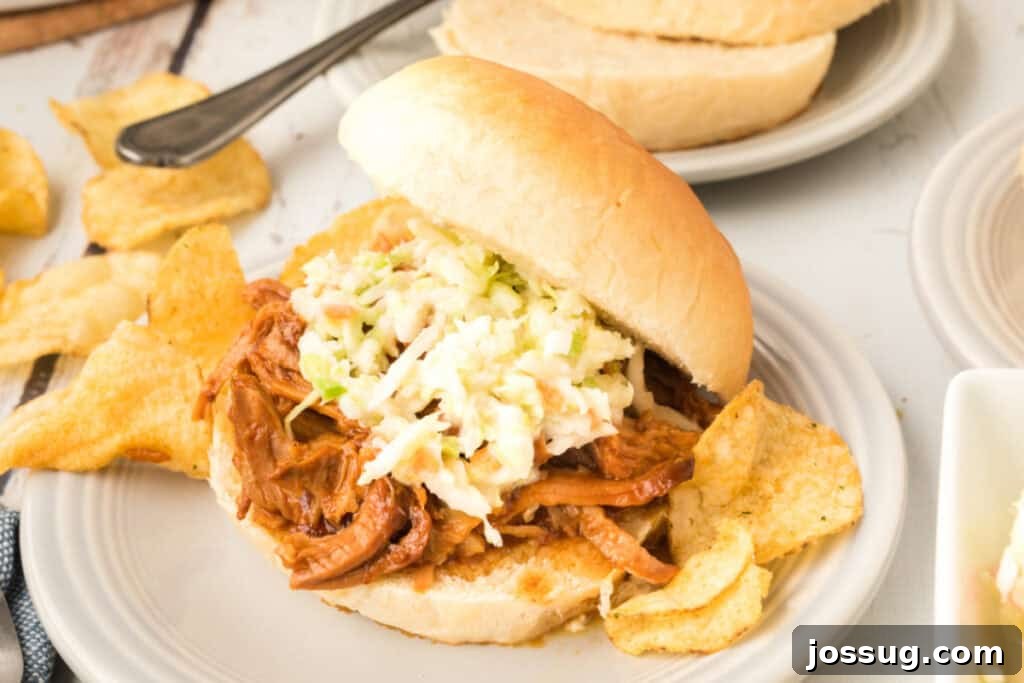
The beauty of this recipe lies in its versatility and consistent perfection. Whether you prefer the convenience of a bread machine, the power of a stand mixer, or the traditional satisfaction of making dough by hand, these homemade onion rolls will consistently turn out light, tender, and irresistibly delicious. They are particularly sublime when serving up juicy pulled pork sandwiches, adding an extra layer of flavor that complements the smoky meat, or as the foundation for your favorite burger creations, transforming an ordinary meal into an extraordinary feast.
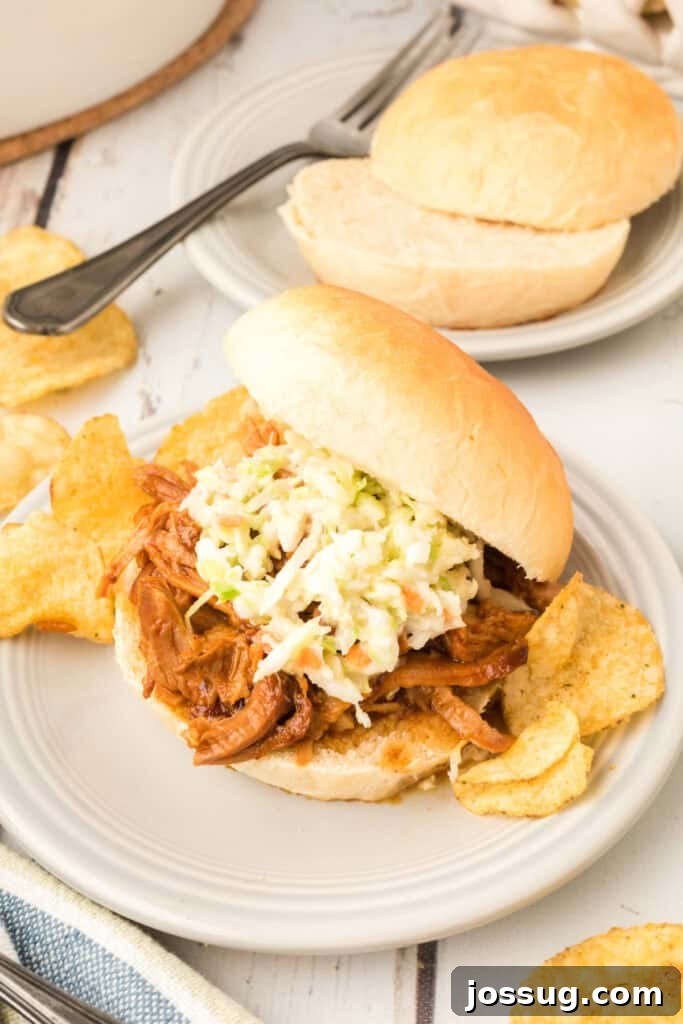
Table of Contents
- ❤️ Why You’ll Love This Recipe
- Key Ingredients for Perfect Onion Rolls
- Ingredients & Smart Substitutions
- Exciting Variations to Try
- Expert Tips for Best Baking Results
- Frequently Asked Questions (FAQs)
- How to Store, Reheat & Freeze Homemade Onion Rolls
- Step-by-Step Guide: How to Make Homemade Onion Rolls
- Homemade Onion Rolls Recipe Card
- 🍽️ Other Delicious Recipes You May Enjoy
❤️ Why You’ll Love This Recipe
There are countless reasons to fall in love with these homemade onion rolls, making them a staple in your baking repertoire. From their delightful texture to their deep, satisfying flavor, every bite is a pleasure:
- Unmatched Soft & Fluffy Texture: Experience a tender crumb and light, airy texture that truly melts in your mouth, far surpassing anything you’d find pre-packaged. The subtle hint of butter adds to their luxurious feel.
- Rich Caramelized Onion Flavor: The secret lies in the slow-cooked caramelized onions, which infuse every strand of dough with a sweet, savory, and incredibly deep umami flavor. This isn’t just an onion roll; it’s an onion experience.
- Incredibly Versatile: These rolls are the perfect companion for a wide array of dishes. They’re ideal for holding juicy burgers, piled-high deli sandwiches, or succulent pulled pork, soaking up all the delicious juices without falling apart.
- Made with Simple Pantry Ingredients: You’ll likely find most of what you need already in your pantry, making this a convenient recipe to whip up whenever the craving strikes. No exotic ingredients required!
- Freezer-Friendly & Excellent for Meal Prep: Bake a big batch and freeze them for later! These rolls maintain their incredible texture and flavor after thawing, making them perfect for quick weeknight meals or unexpected guests. Enjoy freshly baked taste anytime.
Key Ingredients for Perfect Onion Rolls
Crafting exceptional homemade onion rolls starts with understanding the role of each key ingredient. This section highlights the star players that contribute to their unique flavor and texture. Find the complete, detailed list in the recipe card below.
Onions
The heart and soul of these rolls! Caramelized onions are slow-cooked to bring out their natural sugars, transforming their sharp bite into a deep, rich, and slightly sweet flavor. This meticulous caramelization is what makes these rolls truly stand out, providing an unparalleled savory depth.
Instant Potato Flakes
A secret weapon in many bread recipes, instant potato flakes are crucial for achieving that incredibly soft, fluffy, and tender crumb. They also work wonders in retaining moisture, ensuring your rolls stay fresh and delicious for longer without drying out.
Active Dry Yeast
The leavening agent responsible for the delightful rise and airy, light texture of your rolls. Properly activated yeast ensures a beautifully risen dough and a soft interior.
All-Purpose Flour
This provides the essential structure for your rolls. While creating a soft interior, all-purpose flour also ensures the rolls are sturdy enough to hold up to your favorite sandwich fillings without crumbling.
Unsalted Butter
Used both for caramelizing the onions and in the dough itself, butter contributes significantly to the rolls’ rich flavor and tender texture. It adds a luxurious mouthfeel that elevates the overall experience.
Granulated Sugar
More than just for sweetness, sugar acts as food for the yeast, helping it activate and promoting a good rise. It also aids in achieving a beautiful golden-brown crust during baking.
Salt
Essential for enhancing all the other flavors in the rolls and controlling the yeast’s activity. Don’t skip it!
Ingredients & Smart Substitutions
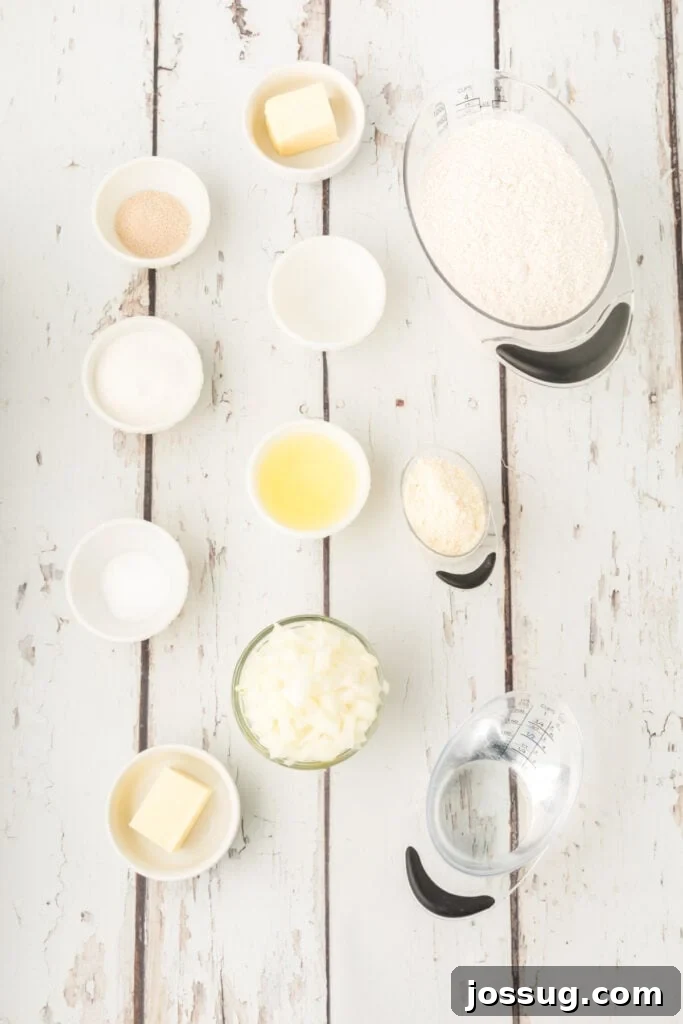
While this recipe is designed for optimal flavor and texture, sometimes substitutions are necessary. Here are some options to consider, along with notes on what works best. The full printable recipe with exact measurements can be found in the recipe card below.
- Large Onion, chopped: For a milder, sweeter flavor profile, consider substituting a sweet onion variety like Vidalia or Walla Walla.
- Unsalted Butter (for caramelizing and dough): If unsalted butter isn’t available, you can use salted butter and reduce the added salt in the recipe by about ¼ teaspoon per stick (8 tablespoons) used. Margarine can be used as a substitute in a pinch, though butter offers superior flavor and texture.
- Water: No substitution is recommended here; water is essential for the dough’s hydration and yeast activation. Ensure it’s lukewarm for best results.
- Salt: Salt is critical for flavor and dough structure. No substitution is recommended.
- Granulated Sugar: Essential for yeast activation and flavor balance. No direct substitution is recommended, as altering sugar can affect yeast activity.
- Instant Potato Flakes: These contribute significantly to the soft texture and moisture. While you can omit them, the rolls may be slightly less tender. No direct substitution provides the exact same effect.
- All-Purpose Flour: For a slightly chewier roll with more structure, you can substitute bread flour. This is a great option if you prefer a more robust bun for heavier fillings. Whole wheat flour can be used for a healthier alternative, but expect a denser roll and potentially a need for more liquid.
- Active Dry Yeast: You can directly substitute instant yeast. If using instant yeast, you won’t need to proof it separately; just add it directly with the dry ingredients. You might also notice a slightly shorter rise time.
- Large Egg White (for egg wash): The egg wash creates a beautiful golden crust. If you don’t have an egg white, you can use a whole egg whisked with water, or simply milk for a softer crust.
- Water (for egg wash): No substitution recommended for the egg wash.
Exciting Variations to Try
Once you’ve mastered the basic recipe, feel free to get creative! These homemade onion rolls are a fantastic canvas for additional flavors:
- Cheesy Onion Rolls: For an extra layer of indulgence, fold in 1 cup of shredded cheddar cheese (or your favorite cheese like Gruyere or Monterey Jack) into the dough during the last few minutes of kneading. The melted cheese will add a gooey, savory dimension.
- Seed-Topped Rolls: Before baking, sprinkle the egg-washed rolls with poppy seeds, sesame seeds, or even a mix of everything bagel seasoning for added texture and a classic bakery look.
- Garlic & Herb Infusion: Incorporate 1-2 teaspoons of garlic powder into the dry ingredients for a subtle garlic note. For a more intense flavor, roast a head of garlic, mash it, and mix it into the caramelized onions before adding to the dough. Fresh chopped herbs like chives or parsley can also be added.
- Slider-Size Rolls: Instead of shaping into full-size buns, divide the dough into 12-16 smaller pieces to create perfect slider buns. Adjust baking time accordingly (likely 12-15 minutes). These are fantastic for appetizers or mini sandwiches.
- Sweet & Savory Swirl: After the first rise, roll the dough into a rectangle, spread a thin layer of cream cheese, and then sprinkle with a mixture of brown sugar and finely chopped green onions before rolling up and slicing like cinnamon rolls. This creates a unique sweet and savory swirl!
Expert Tips for Best Baking Results
Achieving bakery-quality onion rolls is simple with a few key techniques. Follow these expert tips for consistently perfect results:
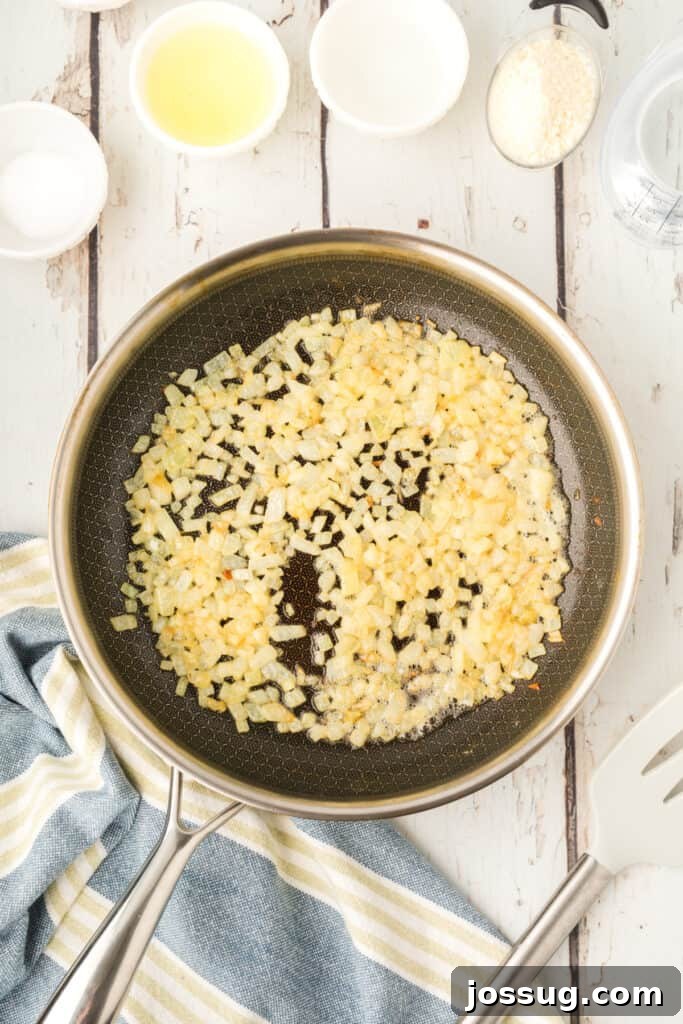
- Perfectly Caramelized Onions are Key: Don’t rush this step! Cook the onions slowly over medium-low heat until they are deeply golden brown and very soft. This process develops the rich, sweet, and savory flavor that defines these rolls. Rushing will result in crunchy or bitter onions.
- Respect the Dough’s Rest Time: If the dough feels too tight or shrinks back when you try to shape it, cover it and let it rest for 5-10 minutes. This allows the gluten to relax, making the dough much easier to work with and preventing dense rolls.
- The Magic of Egg Wash: Do not skip brushing the rolls with an egg wash (egg white whisked with water) before baking. This creates that beautiful, glossy, golden-brown crust and helps achieve an appealing finish.
- Measure Flour Accurately: Too much flour is the most common cause of dense, dry bread. Use a kitchen scale for precision, or lightly spoon flour into your measuring cup and level it off without compacting.
- Cool Completely Before Slicing: While tempting to slice into warm rolls, allowing them to cool completely (or at least mostly) on a wire rack is crucial. This allows the internal structure to set, preventing gummy texture and ensuring clean, even cuts.
- Maintain a Warm, Draft-Free Environment for Rising: Yeast thrives in warmth. Find a cozy spot for your dough to rise, away from cold drafts, to ensure it doubles in size effectively.
- Don’t Overbake: Bake until the rolls are just golden brown. Overbaking can dry them out, making them less tender. A quick test is to tap the bottom of a roll; it should sound hollow.
Frequently Asked Questions (FAQs)
Absolutely! This recipe is adaptable for various methods. You can easily mix and knead the dough by hand or with a stand mixer equipped with a dough hook. After kneading, simply let it rise in a warm, draft-free place until it has doubled in size, then proceed with shaping and baking as directed.
Yes, you can directly substitute instant yeast for active dry yeast. The main difference is that instant yeast doesn’t require proofing in warm water before being added to the dry ingredients. You can simply combine it directly with your flour and other dry ingredients. You might also find that the dough rises slightly faster with instant yeast, so keep an eye on it.
Dense rolls are typically caused by one of two common issues: either too much flour was added to the dough, or the dough wasn’t given enough time to rise properly. Ensure you measure flour accurately (preferably by weight or by spooning and leveling), and allow the dough to complete both its first and second rises in a warm, draft-free environment until it has visibly doubled in size.
Yes, this recipe is great for make-ahead convenience! After the first rise, you can punch down the dough, cover it tightly with plastic wrap, and refrigerate it for up to 24 hours. When you’re ready to bake, bring the dough to room temperature for about 30-60 minutes before shaping and proceeding with the second rise and baking steps.
For these homemade onion rolls, preheat your oven to 350°F (175°C). They typically bake for 15-20 minutes, or until they turn a beautiful golden brown on top and sound hollow when tapped on the bottom. Keep an eye on them, as oven temperatures can vary.
🍽️ If You Enjoyed Homemade Onion Rolls
If these Homemade Onion Rolls have captured your heart (and taste buds), you’re in for a treat! Be sure to explore these other reader-favorite recipes for more delicious baking adventures:
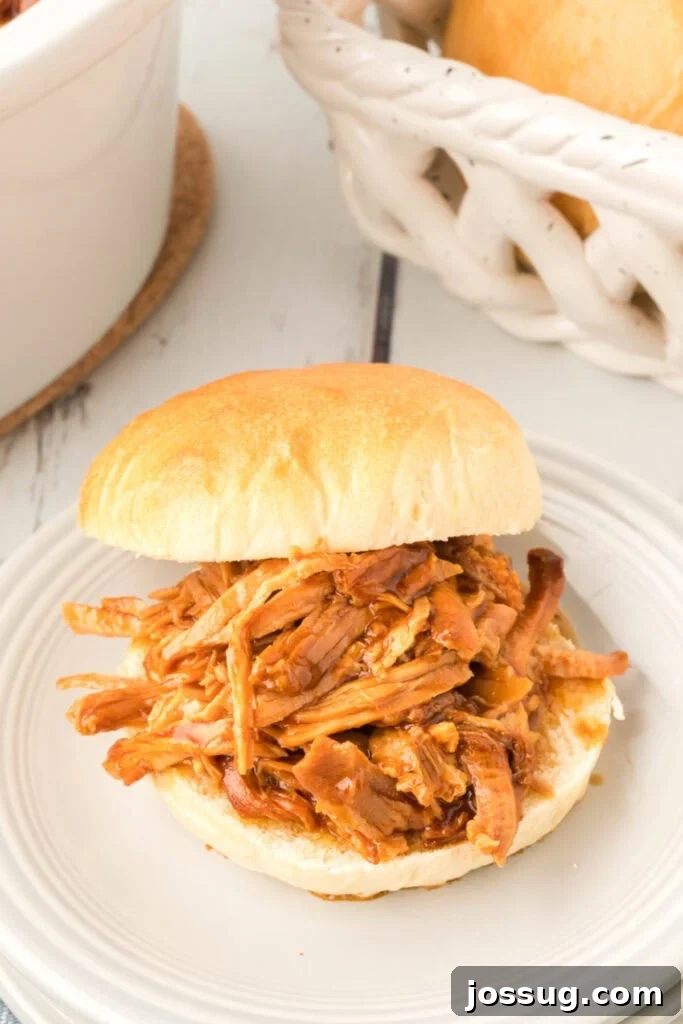
- For the ultimate homemade sandwich experience, pair these rolls with slow cooker BBQ pulled pork sandwiches. The savory rolls perfectly complement the tender, smoky pork.
- Expand your baking skills by browsing more homemade bread recipes to discover your next favorite loaf or roll.
- Looking for quick and delicious meal inspiration? Explore these easy sandwich recipes for lunch and dinner that are sure to please any crowd.
How to Store, Reheat & Freeze Homemade Onion Rolls
Proper storage is key to keeping your homemade onion rolls fresh and delicious for as long as possible. Here’s a comprehensive guide:
Storage
- Room Temperature: Store your cooled Homemade Onion Rolls in an airtight container or a large resealable plastic bag at room temperature for up to 3 days. This helps maintain their soft texture and prevents them from drying out.
- Refrigeration: For slightly longer storage, you can refrigerate the rolls in an airtight container for up to 5 days. Be aware that refrigeration can sometimes alter the texture of bread, making it a bit firmer.
Reheating
- Oven: To bring them back to their freshly baked glory, preheat your oven to 300°F (150°C). Lightly dampen the rolls with a sprinkle of water (this creates steam for a soft interior) and warm them for 5-8 minutes, or until heated through.
- Microwave: For a quick reheat, wrap a roll in a damp paper towel and microwave for 10-15 seconds. Be careful not to overcook, as this can make them tough.
- Air Fryer: Reheat in an air fryer at 300°F (150°C) for 2-3 minutes for a slightly crispy exterior and warm, soft interior.
Freezing
- For Longer Storage: Homemade Onion Rolls freeze beautifully! Once completely cooled, place them in a single layer on a baking sheet and freeze until solid (about 1-2 hours). Then, transfer the frozen rolls to a freezer-safe bag or airtight container, removing as much air as possible. They will keep well in the freezer for up to 2 months.
- Thawing: When ready to enjoy, simply remove the desired number of rolls from the freezer and let them thaw at room temperature for a few hours. Once thawed, you can reheat them using one of the methods above.
Step-by-Step Guide: How to Make Homemade Onion Rolls
Crafting these delectable Homemade Onion Rolls is a rewarding experience, and the process is simpler than you might think. This section provides a detailed step-by-step guide. You’ll find the full printable recipe with exact measurements and oven temperatures in the recipe card below.
These Homemade Onion Rolls can be made using your preferred method: a bread machine for ultimate convenience, a stand mixer for hands-off kneading, or the traditional by-hand method for a truly artisanal touch. No matter which technique you choose, you’ll achieve soft, fluffy rolls bursting with rich, savory onion flavor.
Quick steps at a glance:
- Caramelize onions in butter until beautifully soft and golden.
- Prepare your dough using your chosen method: bread machine, stand mixer, or by hand.
- Knead the dough until it’s smooth, elastic, and passes the windowpane test.
- Shape the dough into individual rolls and allow them a second rise until doubled.
- Brush with an egg wash for a golden sheen, then bake until perfectly cooked.
- Cool completely on a wire rack before serving to achieve the best texture.
Detailed Bread Machine Method
Using a bread machine simplifies the dough-making process immensely, allowing it to do all the mixing and initial rising for you.
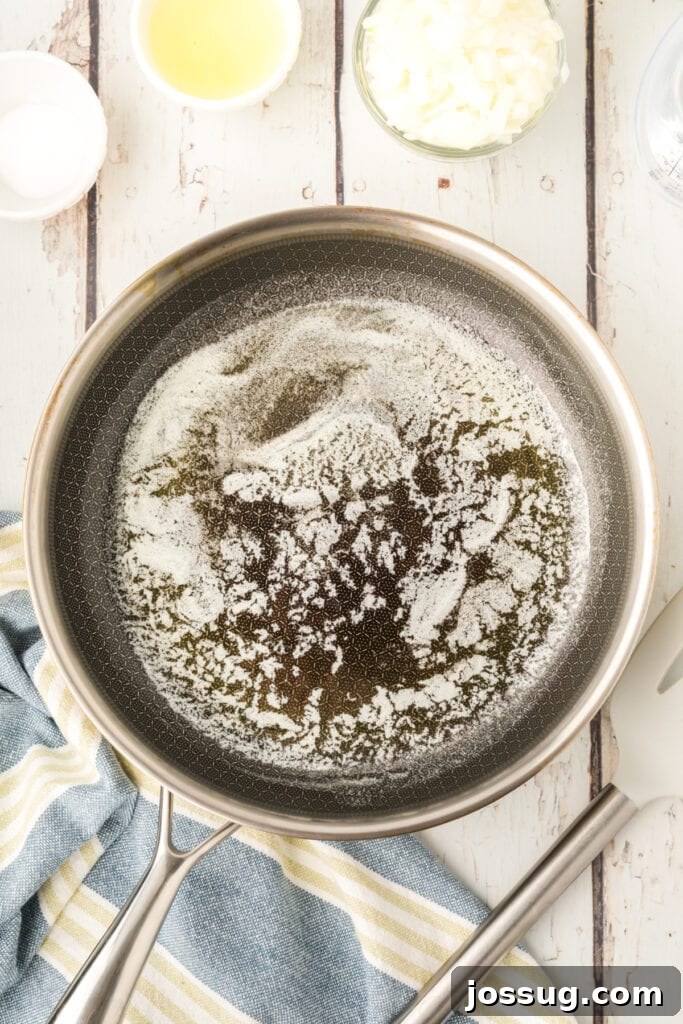
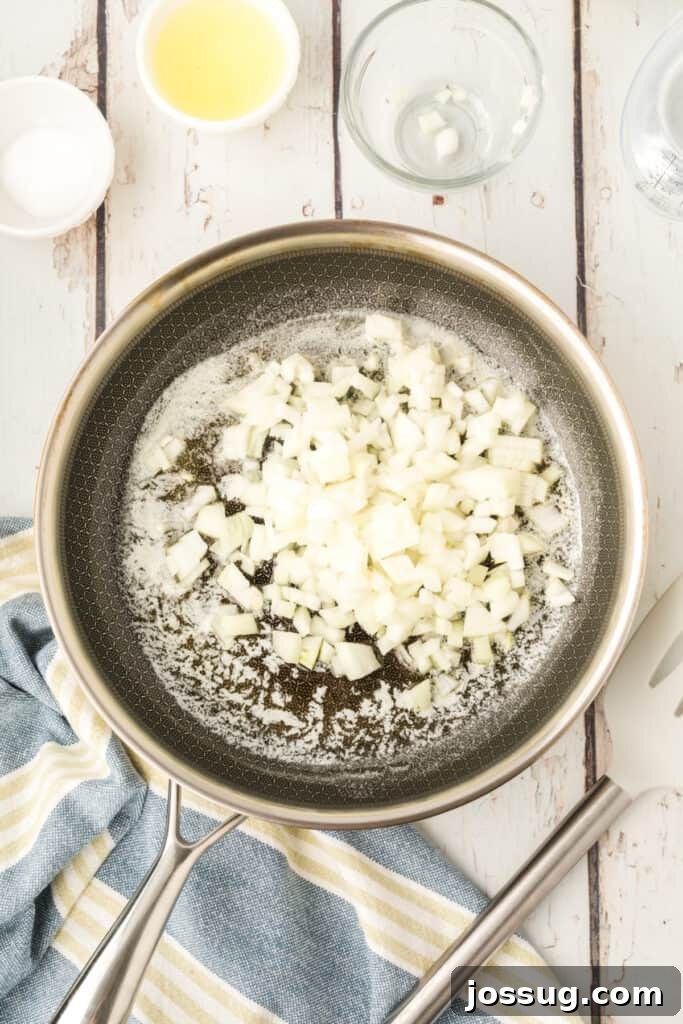
- Caramelize Onions: Begin by melting 3 tablespoons of unsalted butter in a skillet over medium heat. Add the chopped onion and cook, stirring frequently, for 15-20 minutes. Continue until the onions are deeply softened, translucent, and have achieved a rich, golden-brown caramelization. Remove from heat and set aside to cool slightly.
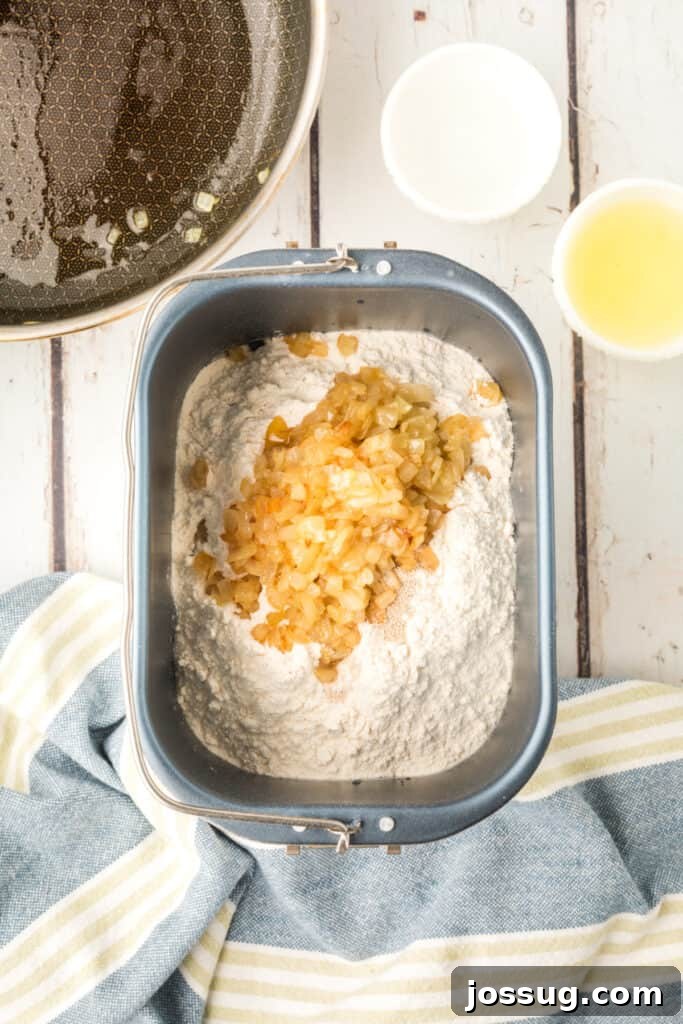
- Load Bread Machine: Carefully add the ingredients to your bread machine pan in the specific order recommended by your manufacturer. This typically involves liquids first: 1 cup lukewarm water, followed by 3 tablespoons softened unsalted butter, 1½ teaspoons salt, 3 tablespoons granulated sugar, and ¼ cup instant potato flakes. Then add the dry ingredients: 3 cups all-purpose flour, 2½ teaspoons active dry yeast, and finally, the cooled caramelized onions.
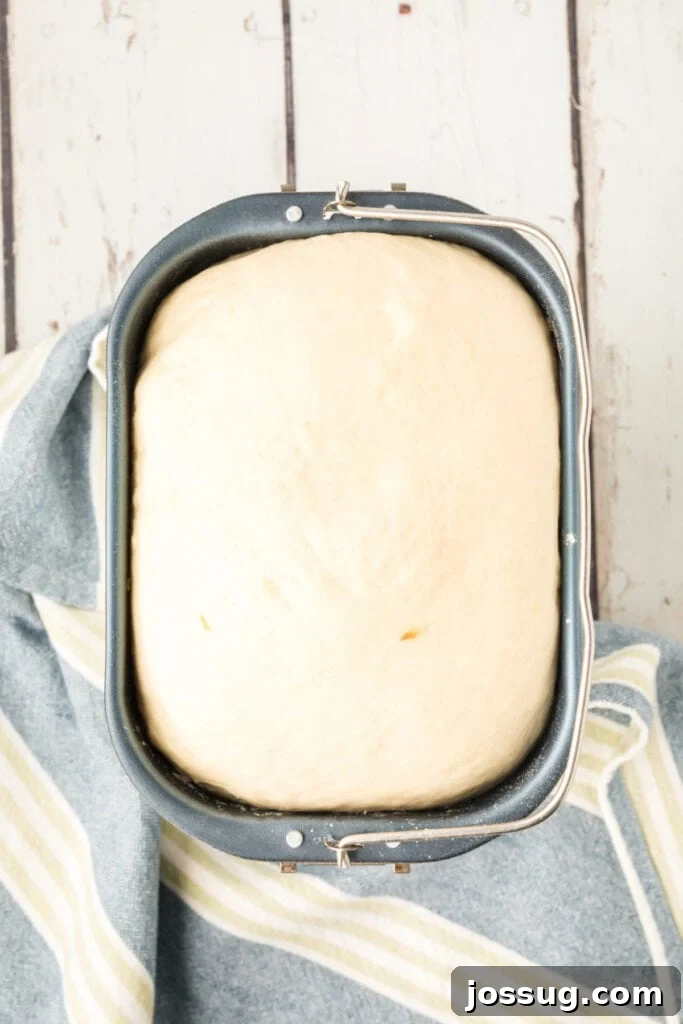
- Start Dough Cycle: Select the “Dough” cycle on your bread machine and press start. The machine will mix, knead, and complete the first rise. This usually takes between 1 hour 30 minutes to 2 hours, depending on your machine.
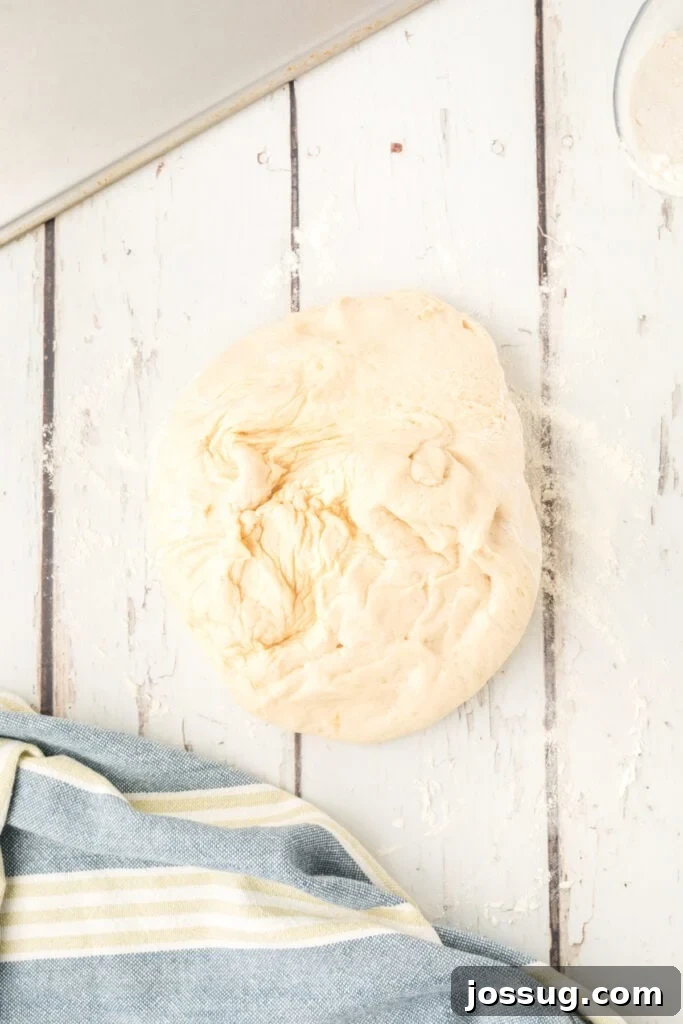
- Prepare for Shaping: Once the dough cycle is complete, transfer the soft, risen dough to a lightly floured surface. Gently knead the dough 6-8 times to release any large air bubbles and create an even texture.
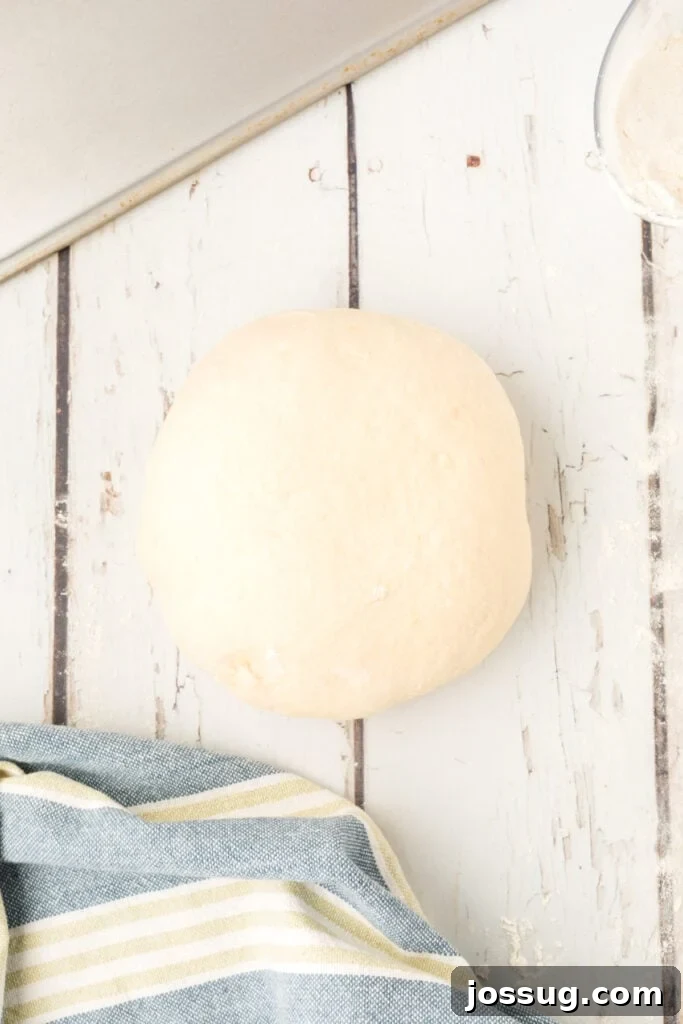
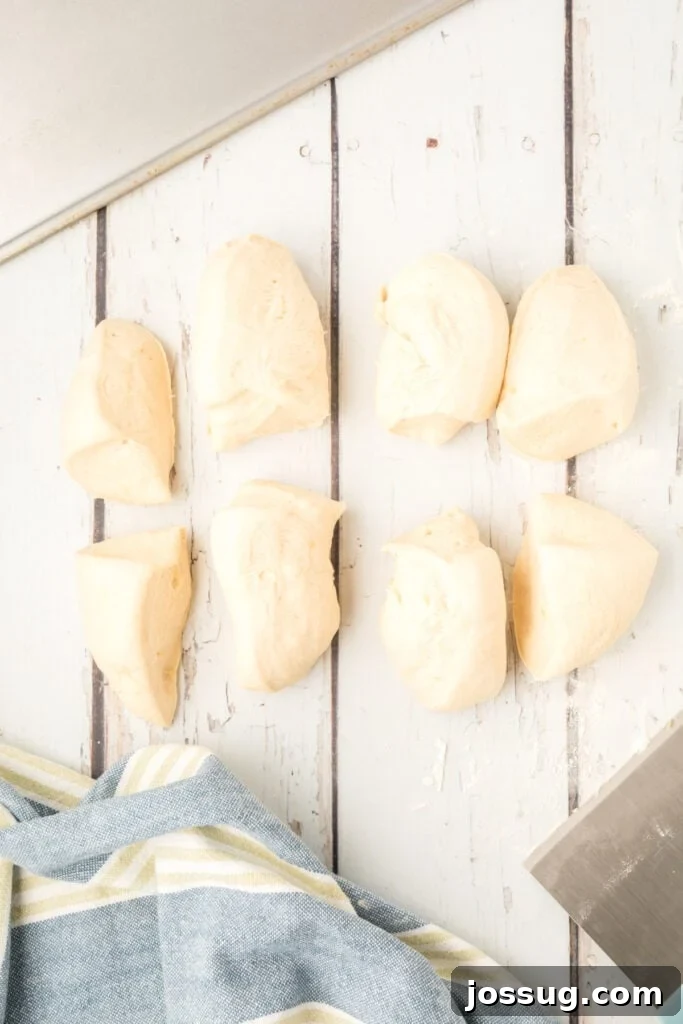
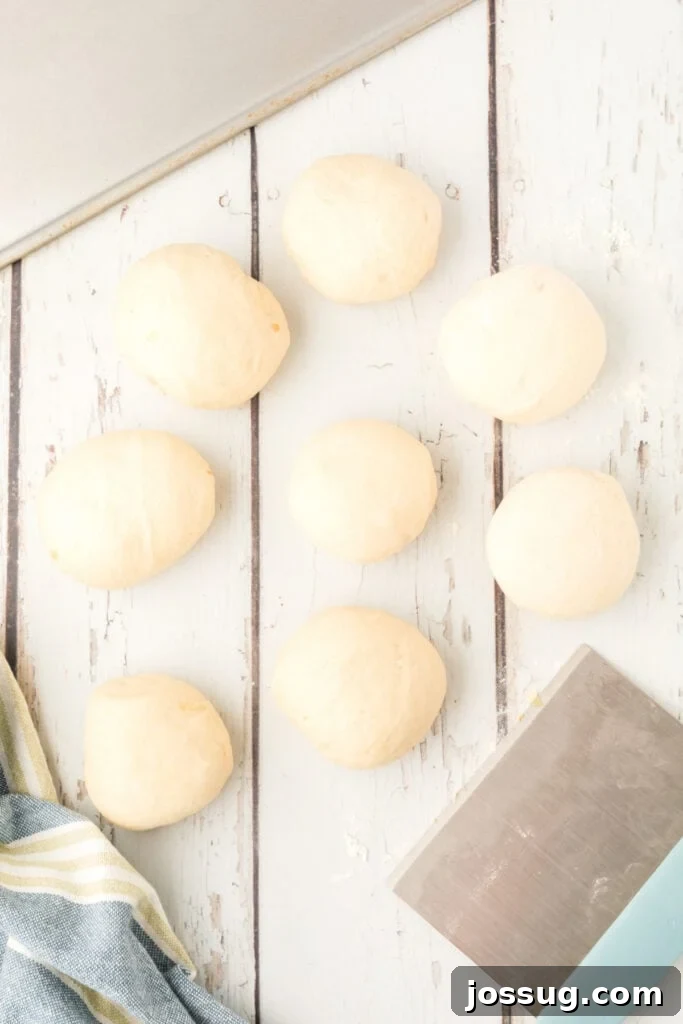
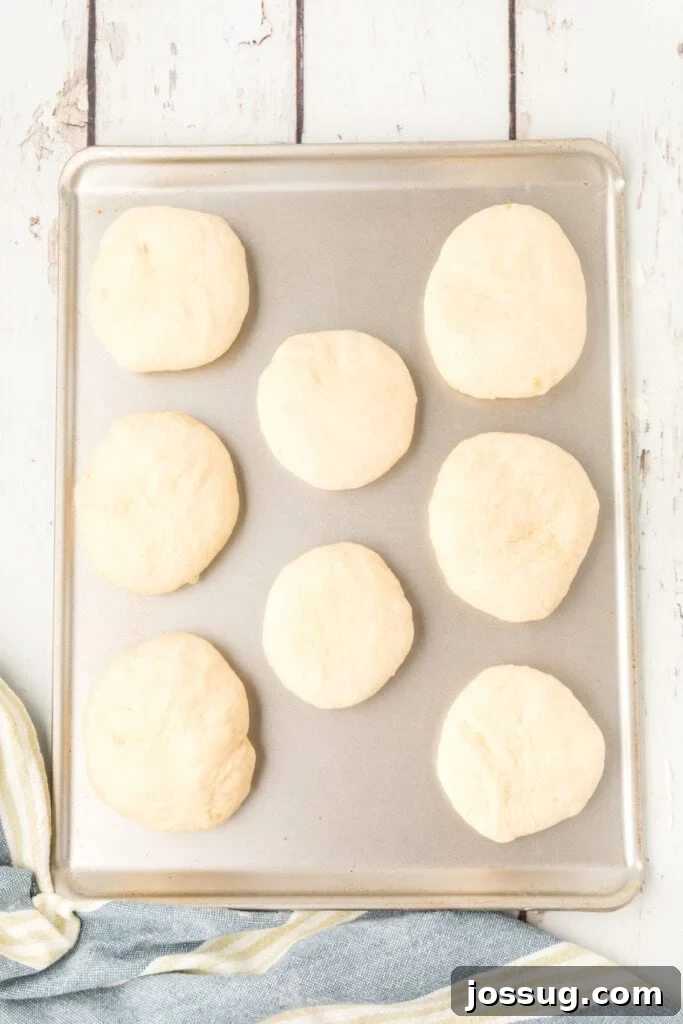
- Shape the Rolls: Divide the dough into 8 equal pieces. For best results, use a kitchen scale to ensure uniformity. Shape each piece into a smooth ball, then gently flatten it into a 4-inch circle. If the dough resists shaping and springs back too much, cover it and let it rest for 5-10 minutes to allow the gluten to relax, then try again.
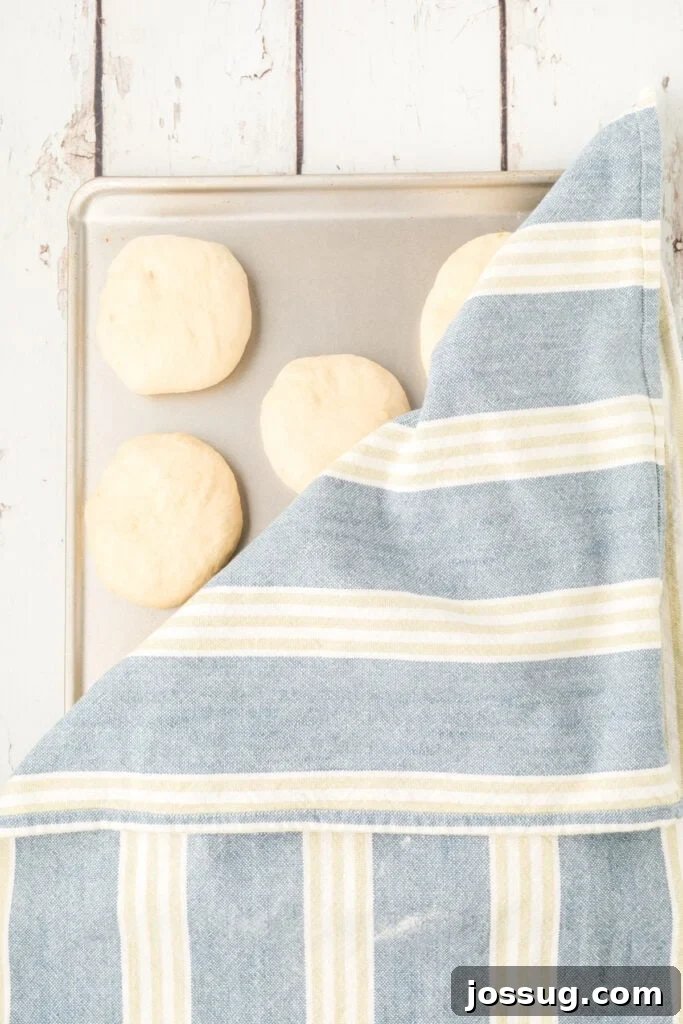
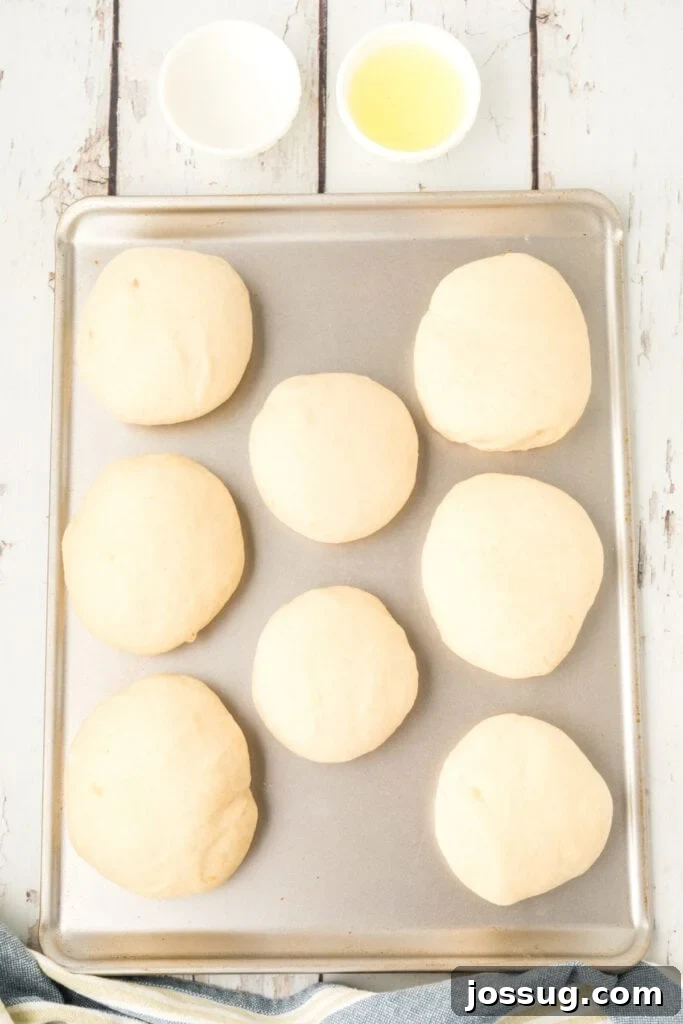
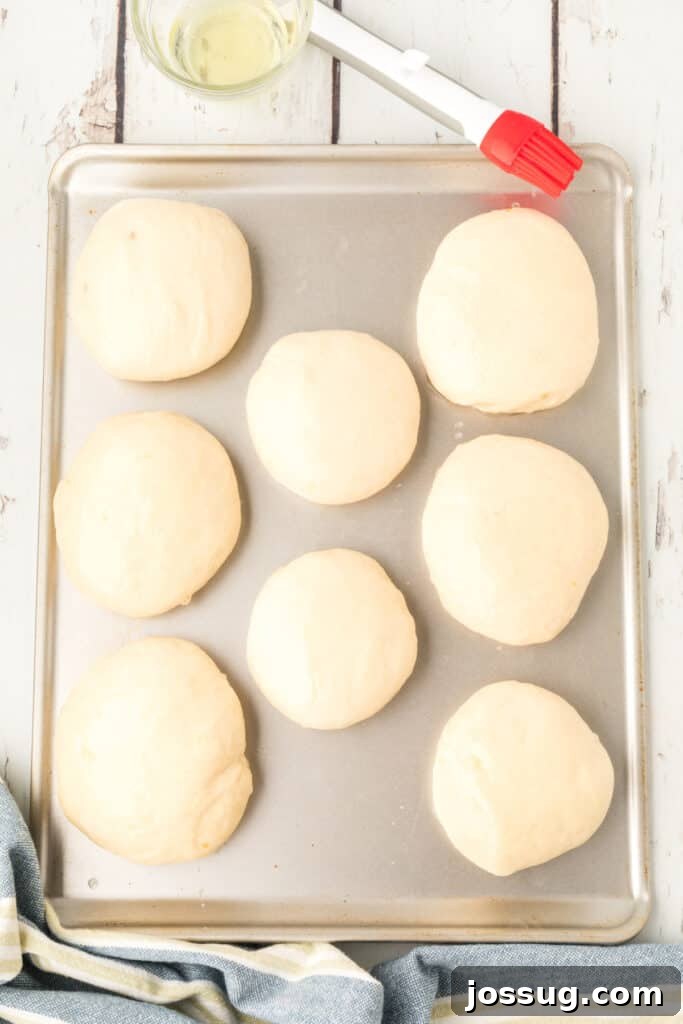
- Second Rise: Place the shaped rolls onto a lightly greased baking sheet, leaving some space between each roll. Loosely cover the baking sheet with a clean kitchen towel or plastic wrap. Allow the rolls to rise in a warm, draft-free place for 40-45 minutes, or until they have visibly doubled in size and feel light and puffy.
- Preheat Oven: While the rolls are completing their second rise, preheat your oven to 350°F (175°C).
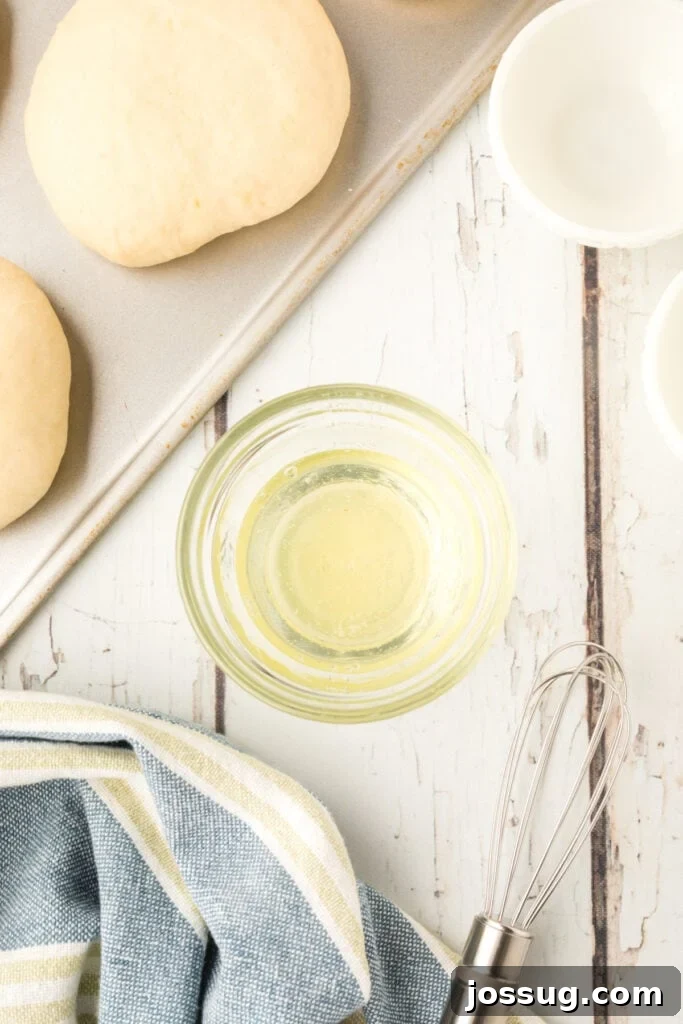
- Apply Egg Wash: In a small bowl, whisk together 1 large egg white with 1 tablespoon of water until well combined. Gently brush this egg wash over the tops and sides of each risen roll. This will give them a beautiful golden-brown crust.
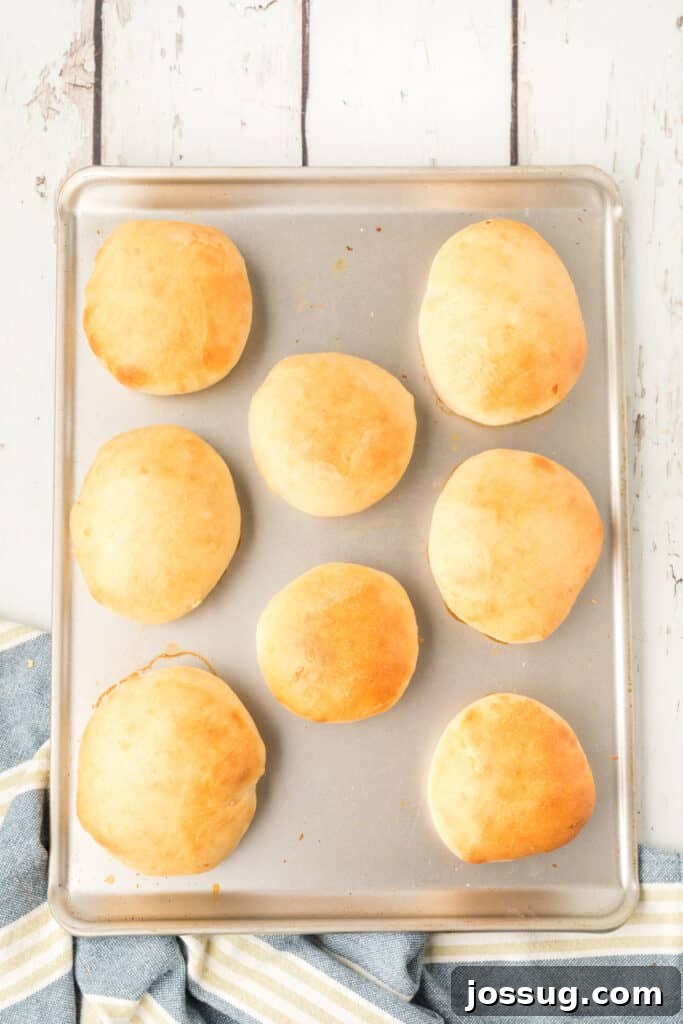
- Bake: Bake the rolls in the preheated oven for 15-20 minutes, or until their tops are golden brown and they sound hollow when tapped on the bottom.
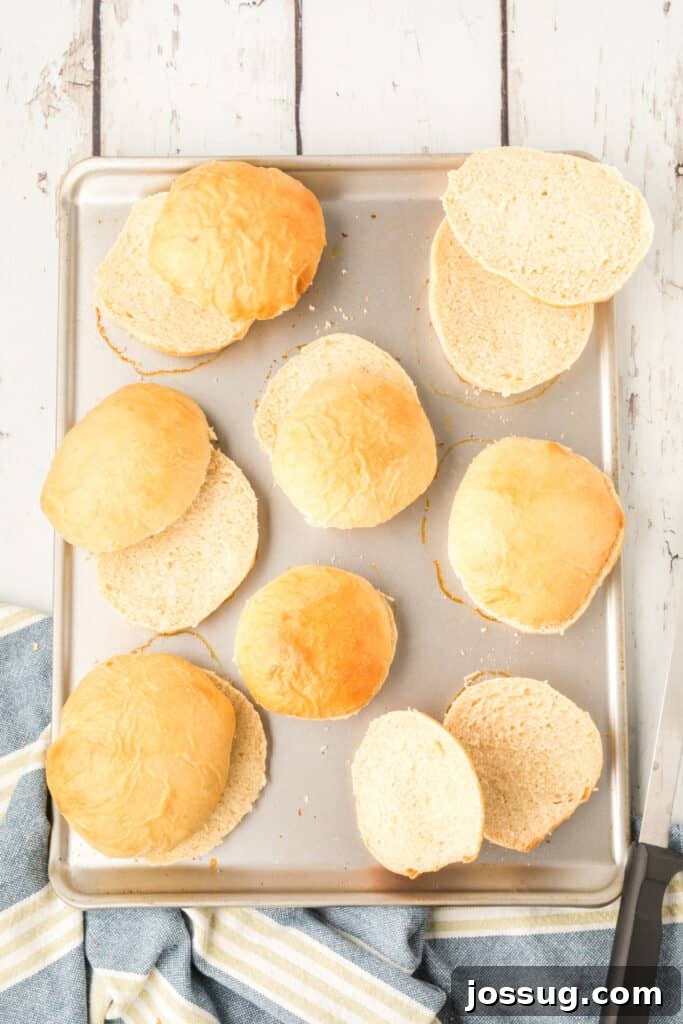
- Cool: Transfer the baked rolls to a wire cooling rack and let them cool completely before slicing and serving. This allows the internal structure to set for the best texture.
Detailed Stand Mixer Method
A stand mixer with a dough hook makes kneading quick and effortless, ideal for those who want a hands-off approach without a bread machine.
- Caramelize Onions: First, melt 3 tablespoons of unsalted butter in a skillet over medium heat. Add the chopped onion and cook, stirring occasionally, until deeply softened and browned, about 15-20 minutes. Set aside to cool.
- Activate Yeast: In the large bowl of a stand mixer, combine 1 cup of warm water (ideally between 105-110°F / 40-43°C), 3 tablespoons of granulated sugar, and 2½ teaspoons of active dry yeast. Stir gently and let it sit for 5-10 minutes until a foamy layer appears on the surface, indicating the yeast is active.
- Combine Ingredients: To the yeast mixture, add 3 tablespoons of softened unsalted butter, 1½ teaspoons of salt, ¼ cup of instant potato flakes, 3 cups of all-purpose flour, and the cooled caramelized onions.
- Knead the Dough: Attach the dough hook to your stand mixer. Mix on low speed until all the ingredients are just combined and a shaggy dough forms. Increase the speed to medium-low and knead for 8-10 minutes. The dough should become smooth, elastic, and pull away cleanly from the sides of the bowl.
- First Rise: Lightly grease a large bowl with a little oil. Transfer the kneaded dough to the greased bowl, turning it once to coat. Cover the bowl loosely with plastic wrap or a clean kitchen towel. Let the dough rise in a warm, draft-free place for 1-1½ hours, or until it has doubled in size.
- Shape the Rolls: Gently punch down the risen dough to release the air. Transfer it to a lightly floured surface. Divide the dough into 8 equal pieces (using a kitchen scale helps for even sizing). Shape each piece into a smooth ball, then gently flatten into a 4-inch circle. If the dough resists, let it rest for a few minutes.
- Second Rise: Arrange the shaped rolls on a lightly greased baking sheet. Cover them loosely and let them rise in a warm, draft-free spot for another 40-45 minutes, or until they have doubled and appear puffy.
- Preheat & Egg Wash: While the rolls are rising, preheat your oven to 350°F (175°C). Whisk together 1 large egg white and 1 tablespoon of water. Brush this mixture over the risen rolls.
- Bake: Bake for 15-20 minutes, or until the rolls are golden brown and cooked through.
- Cool: Allow the rolls to cool completely on a wire rack before serving to achieve the optimal texture.
Detailed By Hand Method
Baking bread by hand is a classic and meditative process, allowing you to truly feel the dough and understand its development.
- Caramelize Onions: Start by melting 3 tablespoons of unsalted butter in a skillet over medium heat. Add the chopped onion and cook, stirring occasionally, until it’s beautifully softened, translucent, and a rich golden brown. This should take about 15-20 minutes. Remove the onions from the heat and allow them to cool.
- Activate Yeast: In a large mixing bowl, combine 1 cup of warm water (105-110°F / 40-43°C), 3 tablespoons of granulated sugar, and 2½ teaspoons of active dry yeast. Stir gently and let this mixture sit for 5-10 minutes. You’ll know the yeast is active when a foamy layer forms on the surface.
- Combine Ingredients: To the activated yeast mixture, stir in 3 tablespoons of softened unsalted butter, 1½ teaspoons of salt, ¼ cup of instant potato flakes, 3 cups of all-purpose flour, and the cooled caramelized onions.
- Mix and Form Dough: Use a sturdy wooden spoon or your hands to mix all the ingredients together until a shaggy, cohesive dough forms. It will be sticky initially.
- Knead by Hand: Turn the dough out onto a lightly floured surface. Begin to knead the dough by hand. Push it away with the heel of your hand, fold it back over, and rotate. Continue kneading for 8-10 minutes. The dough should gradually become smooth, elastic, and less sticky. It should pass the windowpane test (stretch a small piece thinly until light shines through without tearing).
- First Rise: Lightly grease a clean large bowl. Place the kneaded dough in the bowl, turning it once to coat all sides with oil. Cover the bowl loosely with plastic wrap or a clean kitchen towel. Allow the dough to rise in a warm, draft-free place for 1-1½ hours, or until it has doubled in size.
- Shape the Rolls: Gently punch down the risen dough to deflate it. Transfer it to a lightly floured surface. Divide the dough into 8 equal pieces. Shape each piece into a smooth, tight ball, then gently flatten it into a 4-inch round. If the dough resists and shrinks, cover and rest for 5-10 minutes before trying again.
- Second Rise: Place the shaped rolls on a lightly greased baking sheet, ensuring there’s space between them. Cover loosely with a kitchen towel or plastic wrap. Let them rise again in a warm, draft-free location for 40-45 minutes, or until they are visibly doubled in size and puffy.
- Preheat & Egg Wash: While the rolls are rising for the second time, preheat your oven to 350°F (175°C). In a small bowl, whisk together 1 large egg white and 1 tablespoon of water. Gently brush this egg wash over the tops of the risen rolls.
- Bake: Bake in the preheated oven for 15-20 minutes, or until the rolls are beautifully golden brown and sound hollow when tapped.
- Cool: Transfer the freshly baked rolls to a wire cooling rack and allow them to cool completely before slicing and serving for the best texture.
📌 Save This Recipe
Don’t miss out on this incredible Homemade Onion Rolls recipe! Pin it to your favorite bread recipes, homemade bread, or baking favorites board on Pinterest. This way, you can easily find it whenever you’re ready to bake a batch of these soft, fluffy buns.
Pin this now to find it later
Pin It
8
servings
Homemade Onion Rolls
Jamie Sherman
5
15
2
30
2
50
Pin Recipe
Print Recipe
Equipment
-
Skillet
-
Bread Machine (optional)
-
Baking Sheets
-
Mixing Bowl
-
Whisk
-
Pastry Brush
-
Clean Kitchen Towel
-
Wire Cooling Rack
Ingredients
-
3
tablespoons
unsalted butter -
1
large
onion,
chopped -
1
cup
lukewarm water -
3
tablespoons
unsalted butter,
softened -
1½
teaspoons
salt -
3
tablespoons
granulated sugar -
¼
cup
instant potato flakes -
3
cups
all-purpose flour -
2½
teaspoons
active dry yeast -
1
large
egg white -
1
tablespoon
water
Instructions
-
Melt 3 tablespoons of butter in a skillet over medium heat. Add the chopped onion and cook, stirring occasionally, until softened and browned (about 15-20 minutes). Remove from heat and set aside to cool.3 tablespoons unsalted butter,
1 large onion -
Add the lukewarm water, softened butter, salt, granulated sugar, instant potato flakes, all-purpose flour, active dry yeast, and the cooled cooked onions to your bread machine pan in the order recommended by your manufacturer. Select the “Dough” cycle and start the machine.1 cup lukewarm water,
3 tablespoons unsalted butter,
1½ teaspoons salt,
3 tablespoons granulated sugar,
¼ cup instant potato flakes,
3 cups all-purpose flour,
2½ teaspoons active dry yeast -
Once the bread machine cycle is complete, transfer the dough to a lightly floured surface. Gently knead the dough 6-8 times to punch out air.
-
Divide the dough into 8 equal pieces. Shape each piece into a smooth ball, then gently flatten it into a 4-inch circle. If the dough shrinks back, let it rest for 5-10 minutes before trying again.
-
Place the shaped rolls onto a lightly greased baking sheet, ensuring some space between them. Cover loosely with a clean kitchen towel or plastic wrap and let rise in a warm, draft-free place for 40-45 minutes, or until doubled in size.
-
Preheat your oven to 350°F (175°C).
-
In a small bowl, whisk together 1 large egg white and 1 tablespoon of water to create an egg wash. Gently brush this mixture over the tops of the risen rolls.1 large egg white,
1 tablespoon water -
Bake the rolls in the preheated oven for 15-20 minutes, or until they are beautifully golden brown on top and sound hollow when tapped on the bottom.
-
Transfer the baked rolls to a wire cooling rack and cool completely before slicing and serving for the best texture.
Notes
🥡 STORAGE
- Store in an airtight container at room temperature for up to 3 days.
- Refrigerate for longer storage up to 5 days.
♨️ REHEATING
- Oven: Warm at 300°F (150°C) for 5-8 minutes.
- Microwave: Heat for 10-15 seconds.
- Air fryer: Heat at 300°F (150°C) for 2-3 minutes.
❄️ FREEZING
- Freeze rolls in a freezer-safe bag for up to 2 months.
- Thaw at room temperature before reheating.
💡 TIPS FOR BEST RESULTS
- Use fully caramelized onions for a deeper, sweeter flavor.
- Do not add too much flour; this is crucial to prevent dense rolls.
- Let dough rest if it resists shaping; this allows gluten to relax.
- Bake until just golden to avoid drying out the rolls.
🍳 ALTERNATE COOKING METHODS (Detailed in guide above)
- Stand Mixer: Mix the dough using a dough hook and knead for 8-10 minutes until smooth and elastic.
- Hand Kneading: Knead by hand for 8-10 minutes until the dough is smooth and elastic.
♻️ LEFTOVERS
- Excellent for next-day sandwiches or sliders.
- Make mini garlic bread: slice in half, spread with garlic butter, and toast.
- Toast for breakfast with butter or jam for a savory twist.
📝 NOTES
- Instant potato flakes help create an exceptionally softer and more moist texture.
- Bread flour can be used as a substitution for a slightly chewier and more structured result.
Nutrition
Serving:
1
bun
,
Calories:
283
kcal
,
Carbohydrates:
44
g
,
Protein:
6
g
,
Fat:
9
g
,
Saturated Fat:
5
g
,
Polyunsaturated Fat:
1
g
,
Monounsaturated Fat:
2
g
,
Trans Fat:
0.3
g
,
Cholesterol:
23
mg
,
Sodium:
450
mg
,
Potassium:
117
mg
,
Fiber:
2
g
,
Sugar:
6
g
,
Vitamin A:
264
IU
,
Vitamin C:
3
mg
,
Calcium:
16
mg
,
Iron:
2
mg
Nutrition information is automatically calculated, so should only be used as an approximation.
Loved this recipe? Leave a comment and rating below!
Your feedback helps others discover amazing recipes.
🍽️ Other Delicious Recipes You May Enjoy
If you’ve enjoyed baking these flavorful Homemade Onion Rolls, we invite you to explore more reader-favorite recipes from Love Bakes Good Cakes. Discover your next baking adventure or find perfect pairings for your new favorite rolls!
Bread
Cheesy Garlic Bread Rolls
Holiday
Crescent Rolls
Bread
Amish White Bread
Bread
Buttery Rolls