
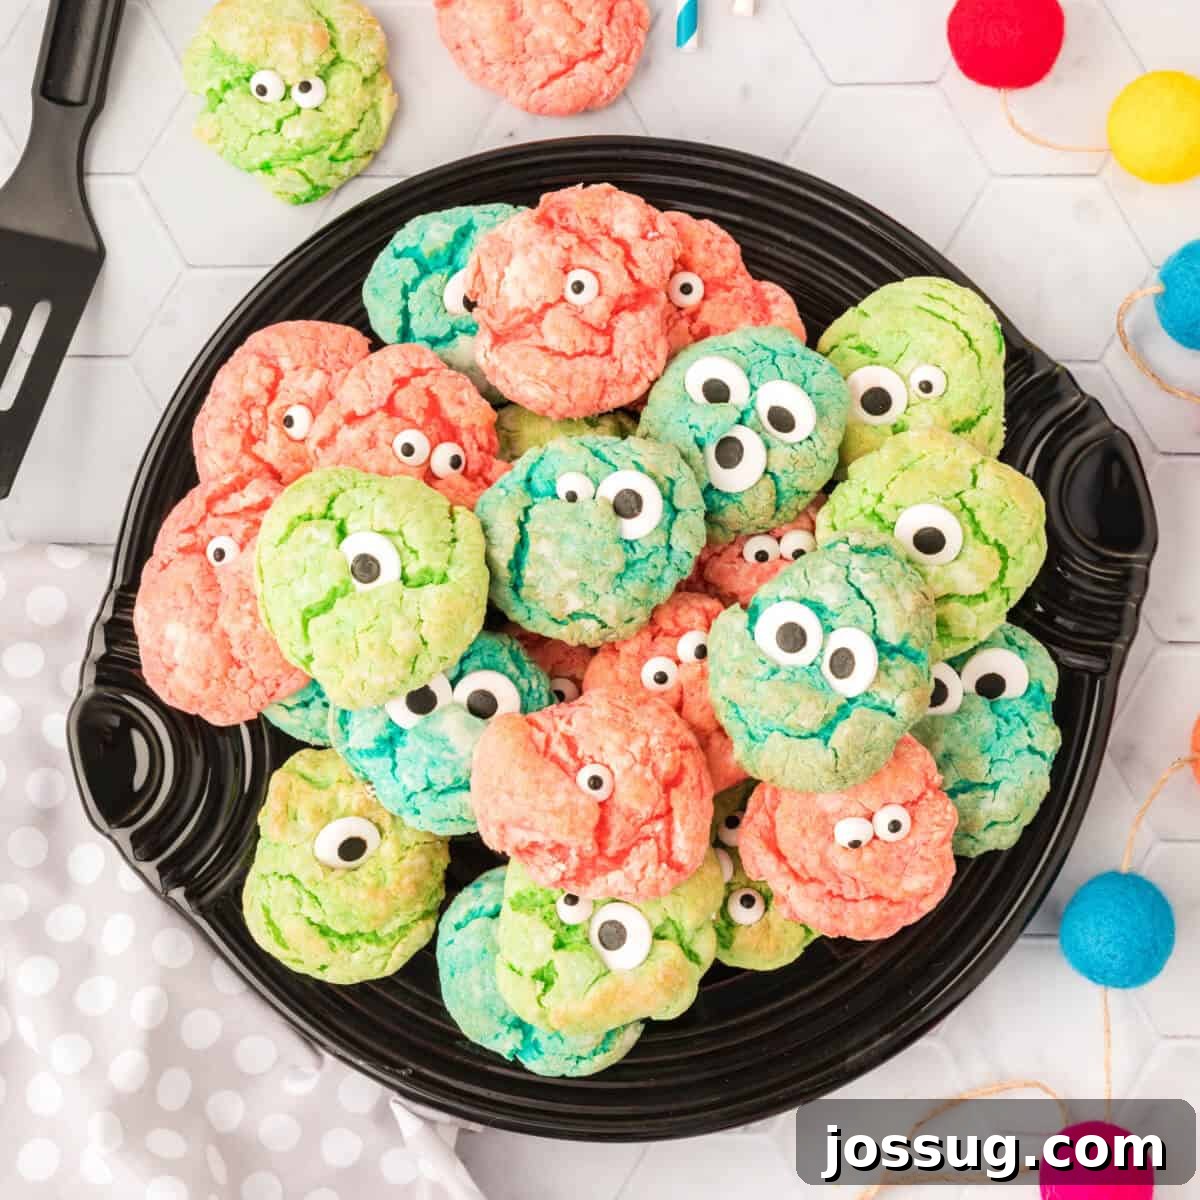
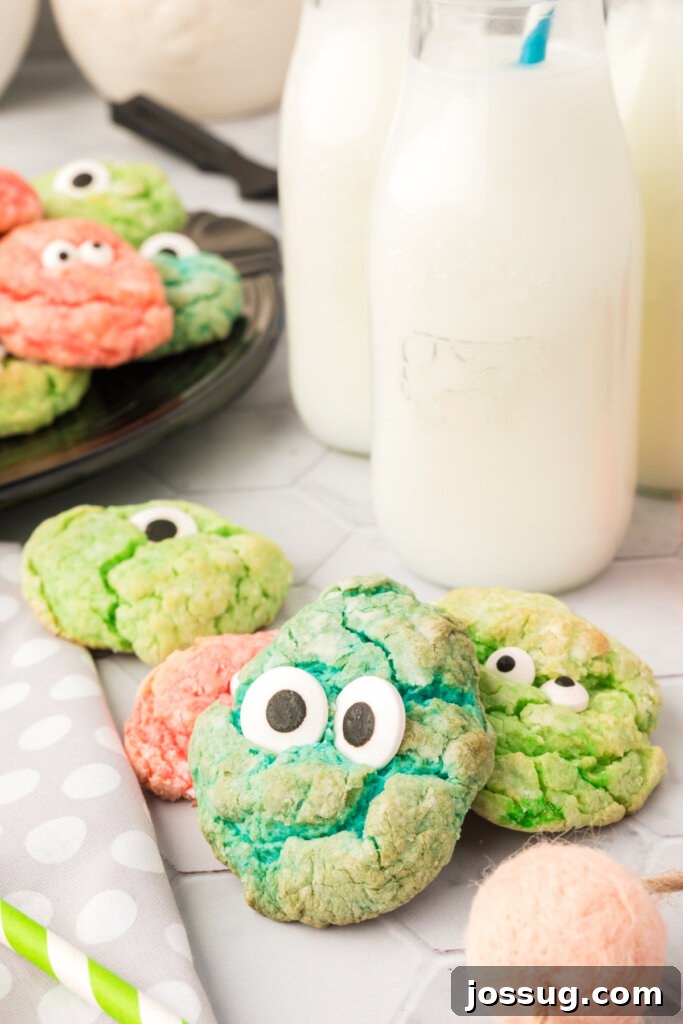
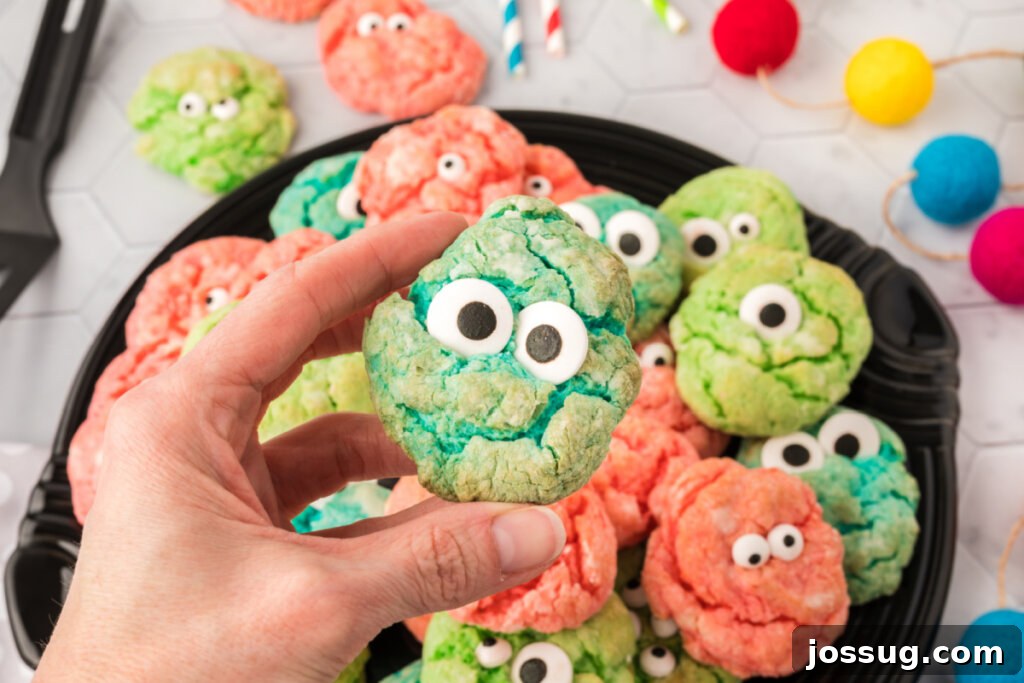
Get ready to summon some delightful spirits in your kitchen with these incredibly adorable, wonderfully simple, and perfectly spooky Monster Eye Cookies! As the leaves begin to turn and a chill fills the air, there’s no better way to usher in the festive Halloween season than with a batch of homemade treats. This recipe is a dream come true for busy bakers and families looking for a fun, creative activity. All you need are a few pantry staples: vibrant gel food coloring, a trusty white cake mix, whimsical candy eyes, and some standard baking ingredients. In no time, you’ll have a tray of colorful, melt-in-your-mouth cookies staring back at you, ready to be devoured!
Baking Up Halloween Magic: Fun & Easy Spooky Cookies
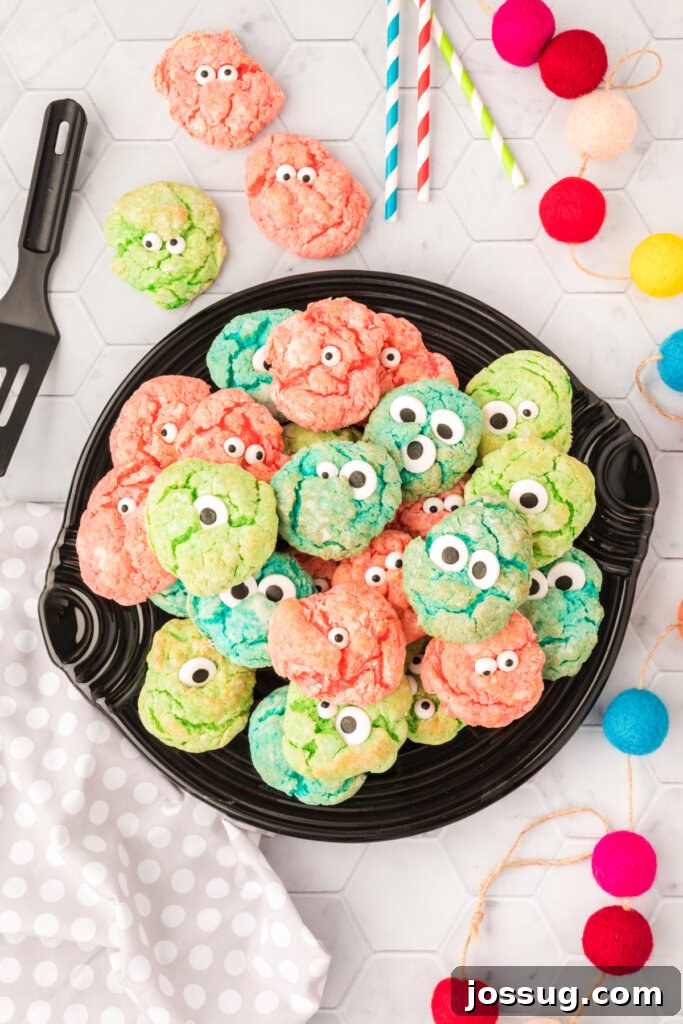
There’s something truly enchanting about Halloween, isn’t there? From decorating the house with cobwebs and pumpkins to planning costumes, the excitement builds throughout the autumn season. And for many of us, the heart of Halloween joy lies in creating delicious, spooky treats to share with loved ones. Every year, I find myself thinking about Halloween earlier and earlier, eager to dive into the festive spirit and whip up something new and exciting for my favorite ghouls and goblins.
These vanilla-flavored Monster Eye Cookies are the epitome of Halloween baking charm. They are ridiculously cute, bursting with vibrant colors, and possess an irresistible melt-in-your-mouth texture that makes them an instant favorite. You might wonder why these delightful treats haven’t graced your Halloween spread before, but now is the perfect time to make them a new tradition!
What makes these easy Halloween cookies truly special is not just their playful appearance or their incredible taste, but also how wonderfully simple they are to make. This recipe is designed for maximum fun and minimal fuss, making it perfect for involving children in the kitchen. Imagine their delight as they mix colors, roll dough, and press those quirky candy eyes into warm cookies! It’s an activity that creates cherished memories long before the first bite.
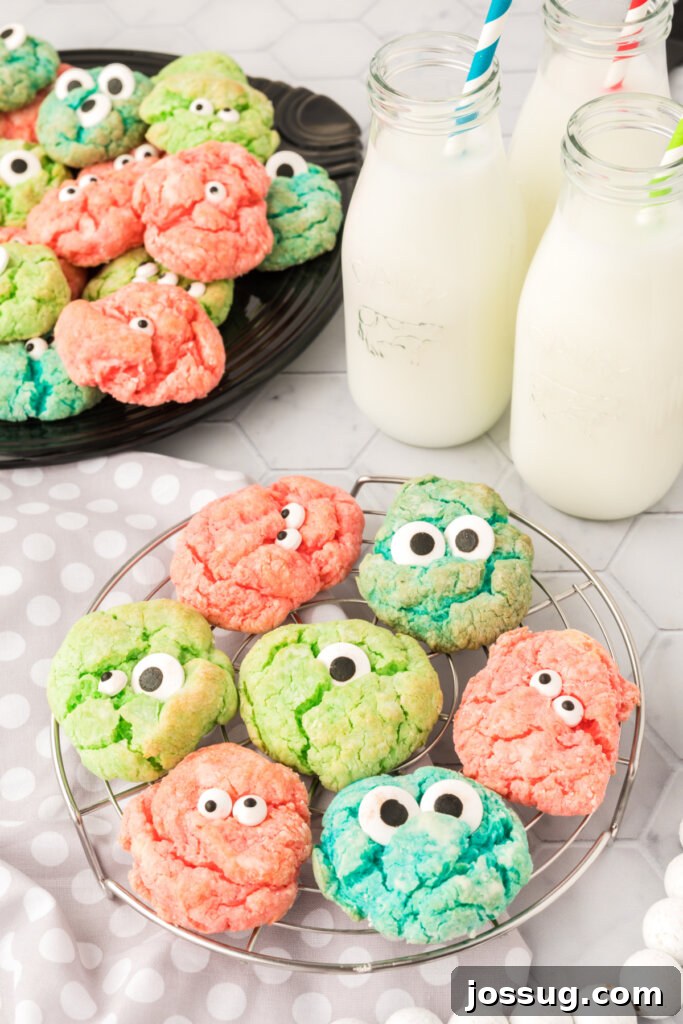
Once baked, these Monster Eye Cookies become incredibly versatile. They’re perfect for wrapping up in a thoughtful care package for faraway friends or college students, bringing to school parties, sharing with trick-or-treaters on Halloween night, or simply enjoying as a sweet snack at home. And if a few mysteriously disappear before they even hit the plate? Well, you can always blame it on a friendly ghost – we certainly won’t tell! If you’re searching for a simple, fun, and utterly charming Halloween dessert idea this year, these Monster Eye Cookies are a must-try recipe.
Monster Eye Cookies: Essential Ingredients for Spooky Sweets
Creating these captivating Monster Eye Cookies requires a straightforward list of ingredients, many of which you likely already have in your pantry. The beauty of this recipe lies in its simplicity and the way each component contributes to a deliciously soft and flavorful cookie. Let’s delve into what you’ll need and why each ingredient is important:
Key Ingredients
- Butter: This is a fundamental “fat” in most baked goods, providing richness, moisture, and contributing to the tender, melt-in-your-mouth texture of the cookies. Always ensure your butter is at room temperature for optimal creaming with other ingredients, ensuring a smooth, well-combined dough.
- Vanilla Extract: More than just a flavor, vanilla extract acts as a flavor enhancer, amplifying the sweetness and depth of all the other ingredients in your cookies. Use a good quality extract for the best results.
- Eggs: Eggs are crucial binders in almost any cookie or cake recipe, lending structure, moisture, and helping the dough hold together. They also add richness and contribute to the cookie’s tender crumb. Just like butter, ensure your egg is at room temperature for better emulsification with other ingredients.
- Cream Cheese: If you’re new to baking, cream cheese might seem like an unconventional addition to a cookie recipe. However, it’s the secret ingredient for achieving exceptionally moist, slightly tangy, and wonderfully soft cookies. It provides a delightful chewiness and prevents the cookies from drying out. Use full-fat cream cheese for the best texture and flavor.
- White Cake Mix: This is the convenient base of our cookie recipe, acting as a shortcut to perfectly balanced dry ingredients. Using a boxed white cake mix simplifies the process significantly, guaranteeing consistent results every time without measuring multiple flours, sugars, and leavening agents. Important: Do not follow the instructions on the cake mix box itself; instead, follow this specific recipe for cookie perfection! You can find a 15.25 oz box at any grocery store.
- Gel Food Coloring: To achieve those vibrant, eye-popping monster colors, gel food coloring is absolutely essential. Unlike liquid food coloring, gel colors are highly concentrated and won’t thin out your cookie dough, ensuring your cookies maintain their perfect consistency and vivid hues. Pick your favorite Halloween shades like orange, purple, black, and green, and don’t be shy – brighter colors work best for a truly monster-ific effect!
- Powdered Sugar: This fine sugar is used for rolling the cookie dough balls before baking. It creates a slightly crisp, sweet outer coating and gives the cookies a beautiful, delicate finish, while also preventing them from sticking.
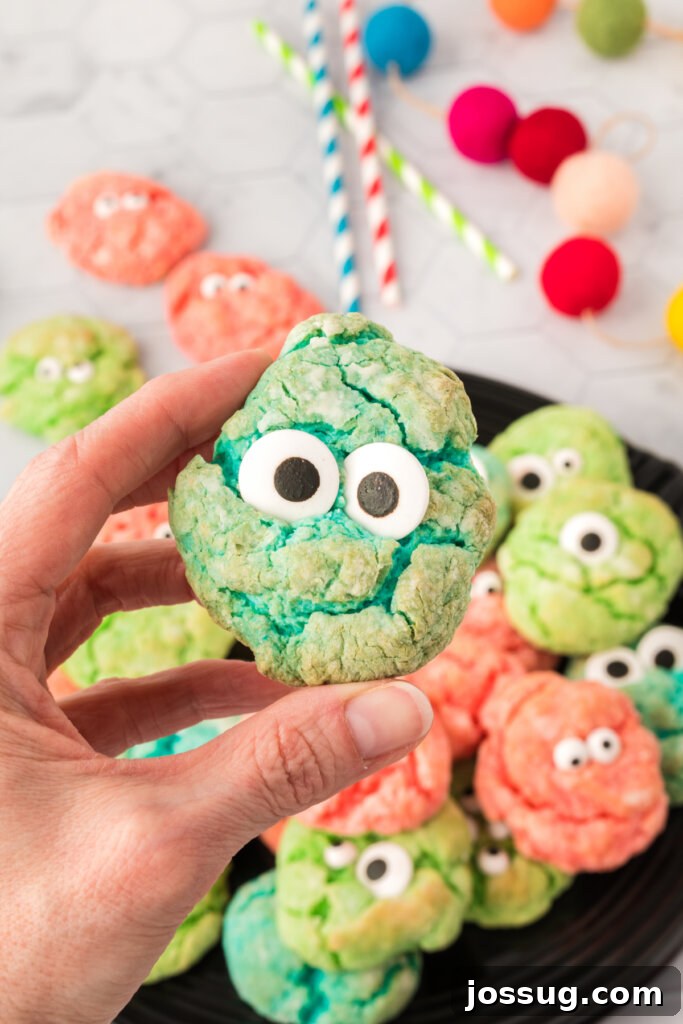
- Candy Eyeballs: The absolute star of the show for these Halloween dessert cookies! These edible candy eyeballs are what transform simple cookies into playful, adorable monsters. You can easily find them at most party supply stores, craft stores, or even in the baking aisle of your local grocery store, especially during the Halloween season. They come in various sizes, so choose ones that fit your desired monster look.
Ingredient Substitutions & Variations:
While the recipe works best as written, here are a few ideas for variations:
- Cake Mix Flavors: While white cake mix offers a neutral base for vibrant colors, you could experiment with a yellow cake mix for a richer vanilla flavor, or even a funfetti cake mix for added sprinkles!
- Extracts: A touch of almond extract instead of, or in addition to, vanilla can add a different depth of flavor.
- Food Coloring: Feel free to use any combination of gel colors you like! Consider pastels for less spooky “friendly monster” cookies, or even just one bold color for a striking effect.
Step-by-Step Guide: Crafting Your Monster Eye Cookies
Making these Monster Eye Cookies is a straightforward and enjoyable process. Follow these simple steps to bring your adorable, edible monsters to life:
Preparation is Key:
- Step 1: Preheat and Prep. Begin by preheating your oven to 350°F (175°C). Line a baking sheet with parchment paper. This prevents sticking and ensures even baking, making cleanup a breeze. Set the prepared baking sheet aside.
Mixing the Monster Dough:
- Step 2: Combine Wet Ingredients. In a large mixing bowl, using an electric mixer, beat together the room temperature butter, vanilla extract, room temperature egg, and cream cheese until the mixture is smooth and well combined. This ensures all the flavors are evenly distributed.
- Step 3: Add Cake Mix. Gradually mix in the white cake mix until just combined. Be careful not to overmix, as this can lead to tougher cookies. The dough should be soft but manageable.
Coloring Your Creatures:
- Step 4: Divide and Conquer with Color. Separate the cookie dough into several small bowls, one for each color you plan to use. Add a few drops of your chosen gel food coloring to each bowl. Start with a small amount and add more until you achieve your desired vibrant monster shade. Mix each color thoroughly until the color is evenly distributed throughout the dough.
- Step 5: Chill for Perfection. Cover each bowl of colored dough with plastic wrap and chill in the refrigerator for 20-30 minutes. Chilling is a crucial step as it helps the cookies hold their shape better during baking and prevents excessive spreading, ensuring a soft, squishy texture.
Shaping and Baking:
- Step 6: Form Cookie Balls. Once chilled, use a small cookie scoop (about 1.5 tablespoons) to portion out the dough. Roll each portion into a smooth ball between your palms. This ensures uniform size and even baking.
- Step 7: The Powdered Sugar Roll. Place a generous amount of powdered sugar in a shallow bowl. Roll each cookie dough ball thoroughly in the powdered sugar until it’s completely coated. This coating creates a unique cracked appearance as the cookies bake and adds an extra layer of sweetness.
- Step 8: Place and Press. Arrange the powdered sugar-coated cookie balls onto your prepared baking sheet, leaving about 2 inches between each cookie. Gently press down on each cookie dough ball with a clean hand or the bottom of a glass to slightly flatten them. This helps them bake evenly and gives the candy eyes a better surface to adhere to later.
- Step 9: Bake to Golden. Bake the cookies in the preheated oven for 10-12 minutes, or until the edges are lightly golden and the centers are set. The exact baking time may vary depending on your oven, so keep an eye on them.
The Monster Reveal:
- Step 10: Add the Eyes! Immediately remove the cookies from the oven. While they are still warm, gently place the candy eyeballs onto the center of each cookie, pressing down slightly to ensure they adhere well. The warmth of the cookie will help the candy eyes stick without melting.
Monster Eye Cookies: Frequently Asked Questions & Pro Tips
Here are answers to some common questions and essential tips to ensure your Monster Eye Cookies are a howling success!
I strongly advise against using liquid food coloring for these cookies. Liquid food coloring adds excess moisture to your dough, which can significantly alter the consistency and texture, making your cookies spread too much or become tough. Gel food coloring is concentrated pigment, allowing you to achieve vibrant colors without affecting the dough’s moisture balance, ensuring you get that soft, squishy, melt-in-your-mouth cookie texture we’re aiming for.
Absolutely! Preparing the dough ahead of time is a fantastic way to streamline your baking process, especially when planning for a party. You can complete all the steps up to the point of rolling the dough in powdered sugar. Once the dough is mixed and colored, cover each bowl tightly with plastic wrap to prevent it from drying out. You can store the dough in the refrigerator for up to 2 days while maintaining its freshness. For longer storage, you can form the cookie dough balls, roll them in powdered sugar, and then freeze them on a baking sheet before transferring to an airtight freezer bag for up to 3 months. When ready to bake, you can bake them directly from frozen, adding a minute or two to the baking time.
If you happen to have any cookies left over (it’s a rare occurrence!), they’ll stay fresh and delicious. Store the baked Monster Eye Cookies in an airtight container at room temperature for up to 5-7 days. For extended freshness, you can also store them in the refrigerator for about a week. If you’ve baked a large batch or want to save some for later, these cookies freeze wonderfully. Place them in an airtight freezer-safe container or bag, and they’ll remain “good” for up to 3 months. Thaw at room temperature before serving.
No, definitely not! The candy eyeballs are made of sugar and will melt in the oven if added before baking. This would cause them to lose their distinct shape and potentially bleed color, creating a messy rather than a cute-ugly monster. Always add the candy eyes immediately after the cookies come out of the oven while they are still warm, gently pressing them into place so they adhere as the cookies cool.
Several factors can cause cookies to spread excessively. Ensure your butter and cream cheese are at room temperature but not melted. Overmixing the dough can also develop too much gluten, leading to flatter cookies. Most importantly, ensure you thoroughly chill the dough for the recommended 20-30 minutes (or even longer if your kitchen is warm). Chilled dough helps the butter stay solid, preventing rapid spreading in the oven. Also, accurately measure your ingredients; too little flour or too much fat can cause spreading.
The key to vibrant colors is using gel food coloring, as mentioned earlier. Start with a small amount, mix well, and then add more drops until you reach your desired intensity. Gel colors are highly concentrated, so a little goes a long way. Make sure to divide your dough into separate bowls before coloring to prevent cross-contamination of colors and ensure each monster is distinctly vibrant.
More Spooktacular Halloween Recipes to Explore
If you loved making these Monster Eye Cookies and are looking for more fun and festive treats for Halloween, be sure to check out some of these other delightful recipes. They’re perfect for expanding your Halloween baking repertoire!
- Classic Monster Cookies
- Halloween Monster Munch Mix
- Boo-nanas: Spooky Banana Ghosts
- Ghost in the Graveyard Halloween Pudding Cups
- Whimsical Halloween Stuffed Roaches (Don’t worry, they’re delicious!)

★
★
★
★
30
cookies
Monster Eye Cookies
Jamie Sherman
15 minutes
12 minutes
30 minutes
57 minutes
Rate
Equipment
-
Gel Food Coloring Set
-
Wire Cooling Rack
-
Small Cookie Scoop
-
Measuring Cups and Spoons
-
Hand Mixer
-
Mixing Bowl
-
Parchment Paper
-
Baking Sheets
Ingredients
- ½ cup butter, room temperature
- ½ teaspoon vanilla extract
- 1 large egg, room temperature
- 1 package cream cheese, 8 oz., softened
- 1 box white cake mix, 15.25 oz.
- 2 – 4 gel food coloring, vibrant Halloween colors work best
- powdered sugar, for rolling
- candy eyes, various sizes if desired
Instructions
-
Preheat the oven to 350°F (175°C). Line a baking sheet with parchment paper and set it aside.
-
In a large bowl, using an electric mixer, beat the softened butter, vanilla extract, room temperature egg, and softened cream cheese until smooth and creamy.
-
Gradually mix in the white cake mix until just combined, being careful not to overmix. The dough should be soft.
-
Divide the batter into several small bowls, corresponding to the number of different colors you wish to use. Add a few drops of gel food coloring to each bowl and mix well until the color is vibrant and uniform.
-
Cover each bowl of colored dough with plastic wrap and chill in the refrigerator for 20-30 minutes. This helps the cookies hold their shape.
-
Using a small cookie scoop (about 1.5 tablespoons), form the chilled dough into small cookie balls.
-
Roll each cookie ball thoroughly in powdered sugar until completely coated. Place the coated cookie balls onto the prepared baking sheet, leaving adequate space between them. Use your clean hand to gently press down on each cookie dough ball to slightly flatten it.
-
Bake at 350°F (175°C) for 10-12 minutes, or until the edges are lightly golden and the centers are set.
-
Remove the cookies from the oven. While they are still warm, immediately place the candy eyeballs in the center of each cookie, pressing down slightly to ensure they adhere as the cookies cool.
Notes
- After the cookies have been baked, store them in an airtight container at room temperature for up to 5-7 days. They will remain fresh in the fridge for about a week, or in the freezer for up to 3 months.
- Important: Do NOT add the candy eyes before baking, as they will melt in the oven and ruin the monster effect! Add them immediately after baking while the cookies are still warm.
- For the best color payoff, always use gel food coloring. Liquid food coloring can thin the dough and dilute your vibrant shades.
- Ensure all your cold ingredients like butter, cream cheese, and egg are at room temperature before mixing for a smoother, more consistent dough.
Nutrition
Serving:
1
cookie
,
Calories:
120
kcal
,
Carbohydrates:
14
g
,
Protein:
1
g
,
Fat:
6
g
,
Saturated Fat:
4
g
,
Polyunsaturated Fat:
0.3
g
,
Monounsaturated Fat:
2
g
,
Trans Fat:
0.2
g
,
Cholesterol:
22
mg
,
Sodium:
170
mg
,
Potassium:
24
mg
,
Fiber:
0.2
g
,
Sugar:
8
g
,
Vitamin A:
205
IU
,
Calcium:
47
mg
,
Iron:
0.4
mg
Nutrition information is automatically calculated, so should only be used as an approximation.
Loved this recipe? Leave a comment and rating below!