
DIY Cool Whip Dyed Easter Eggs: A Fun, Mess-Free, and Vibrant Craft for All Ages
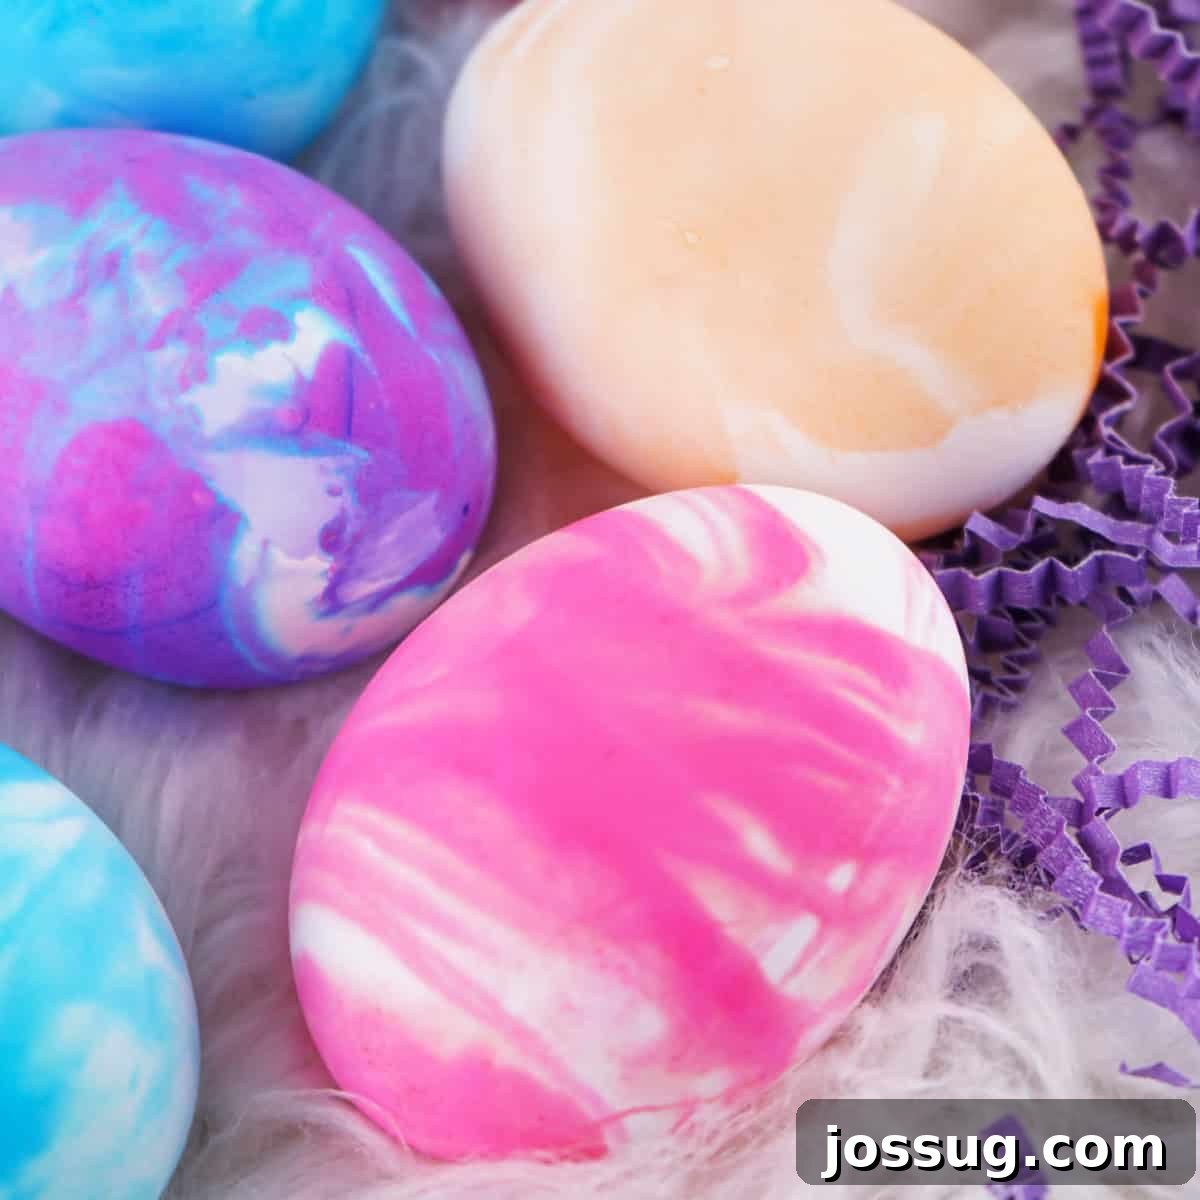
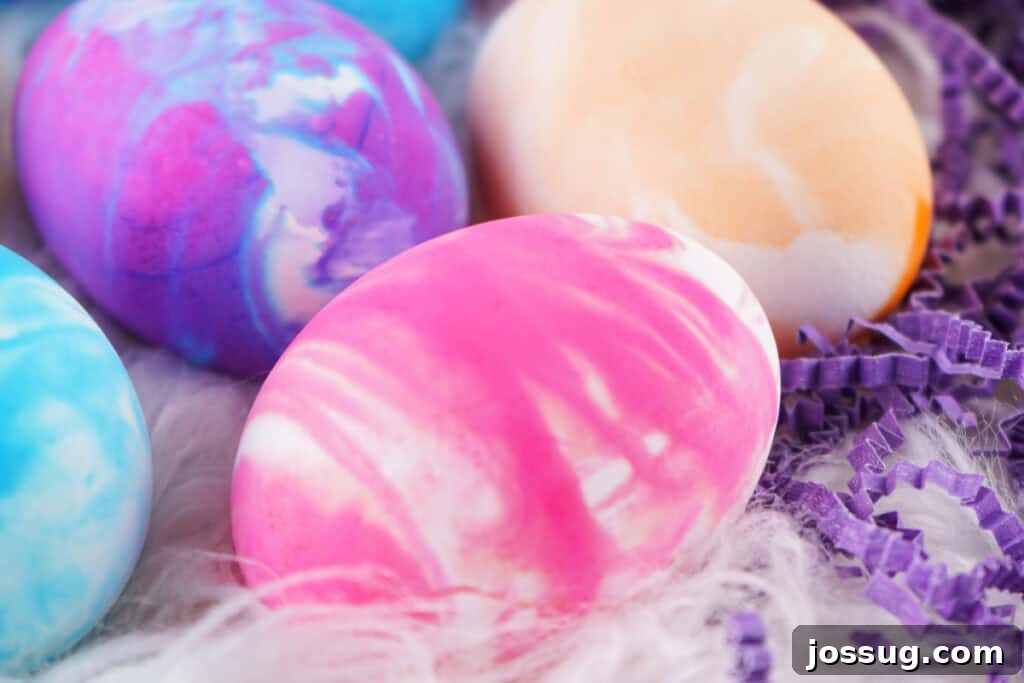
Looking for a creative and exciting way to dye Easter eggs this year? Say goodbye to messy dye cups and hello to beautiful, marbled designs with Cool Whip Dyed Easter Eggs! This ingenious method uses everyday whipped topping and food coloring to create stunning, swirled patterns that are as unique as they are vibrant. It’s an incredibly fun activity for kids and adults alike, offering a safe, edible, and surprisingly easy alternative to traditional egg dyeing techniques. Get ready to transform your Easter eggs into works of art without the usual cleanup hassle!
Why Choose Cool Whip for Your Easter Egg Dyeing Adventure?
Traditional Easter egg dyeing can be a lot of fun, but it often comes with spills, stains, and a rainbow of mess. That’s where Cool Whip Dyed Easter Eggs shine as a brilliant alternative! This method simplifies the process while delivering truly spectacular results. It’s an ideal choice for families, classrooms, or anyone looking to add a unique, artistic touch to their holiday celebrations without the stress.
⭐ Unbeatable Benefits of This Fun Easter Craft
- Mess-Free Fun: Forget about multiple cups of liquid dye, accidental spills, and stained tablecloths. With Cool Whip, the coloring process is contained and significantly cleaner, making cleanup a breeze.
- Kid-Friendly & Engaging: This technique is wonderfully simple for little hands. Children will love swirling colors and rolling eggs, fostering creativity and fine motor skills in an exciting way.
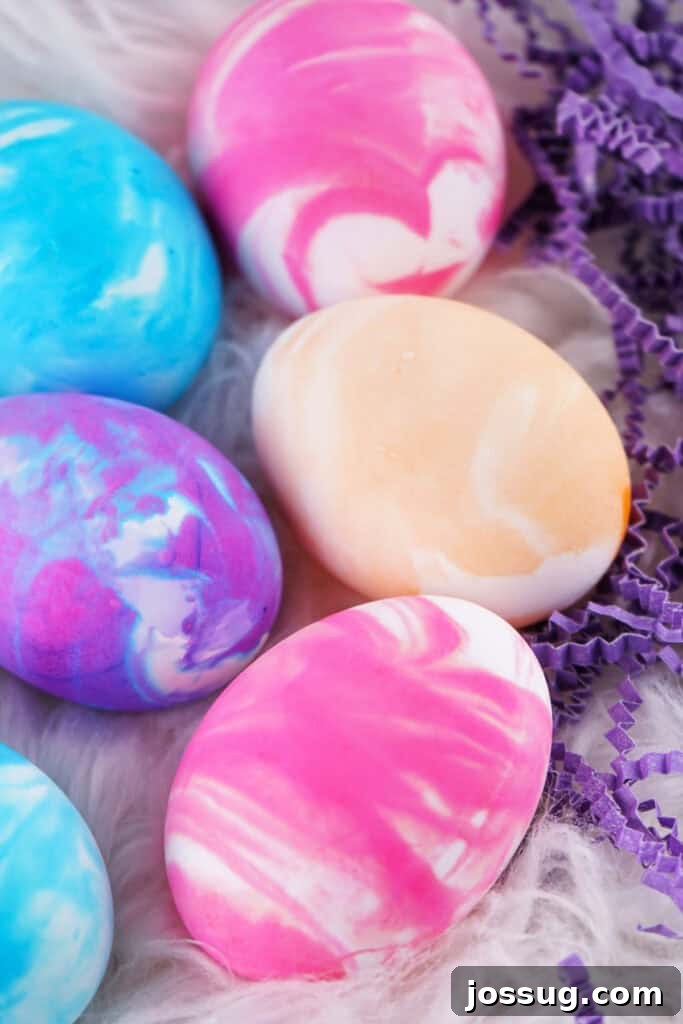
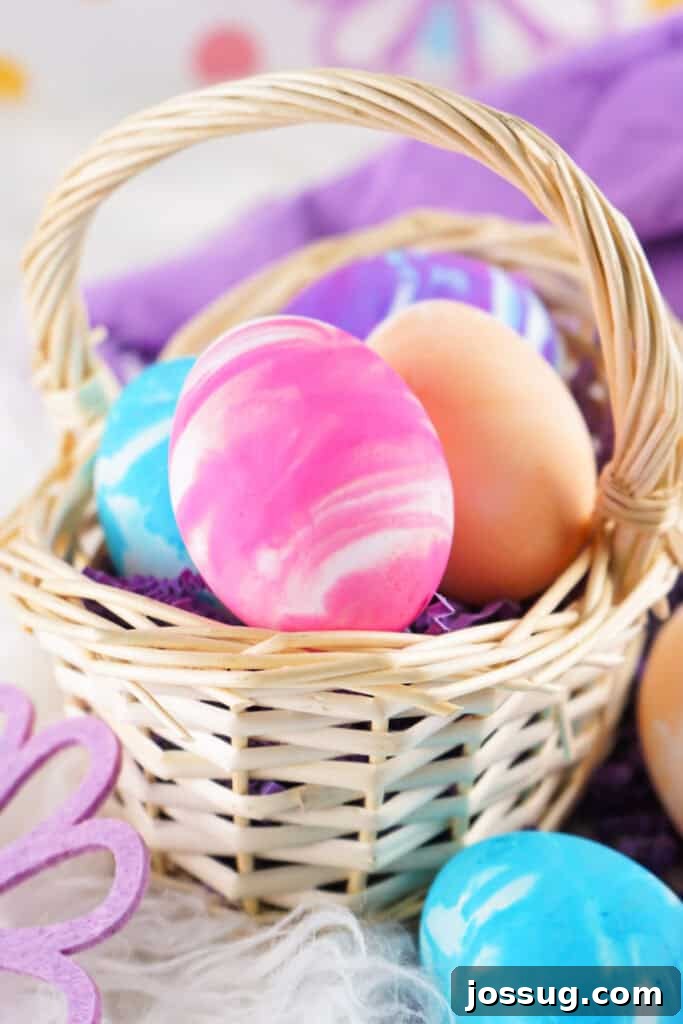
- Unique Marbled Designs: Every single egg dyed with Cool Whip will boast its own distinctive marbled pattern. No two eggs are ever exactly alike, ensuring a basket full of artistic surprises and vibrant hues.
- Food-Safe & Edible: Unlike shaving cream, which is often used for similar marbling effects but is not edible, Cool Whip is a food-grade product. This means your beautifully dyed Easter eggs are perfectly safe to eat once they’re properly stored.
- Vibrant & Eye-Catching Colors: Achieve deep, rich, and brilliantly bright colors that truly stand out. The creamy base of the Cool Whip helps the food dye adhere beautifully, creating intense saturation.
Gather Your Supplies: Simple Ingredients & Essential Tools
One of the best aspects of Cool Whip dyed Easter eggs is the minimal list of supplies needed. You likely have most of these items in your pantry already, making this an accessible and affordable craft for everyone.
🛒 Ingredients You’ll Need
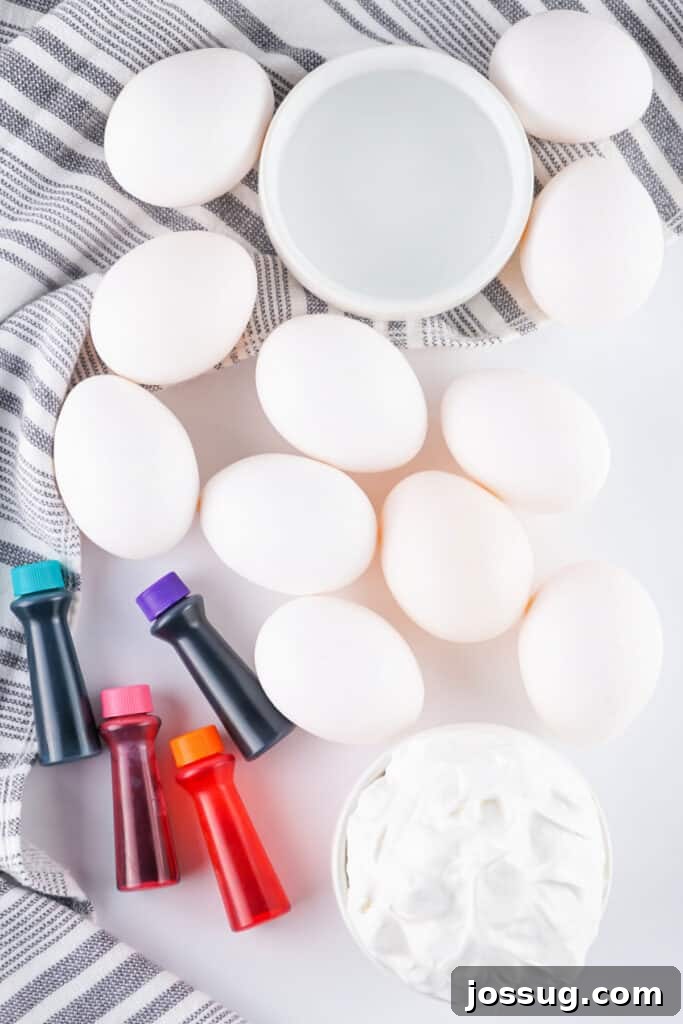
- Hard-Boiled Eggs: Any type of egg will work, but white eggs are highly recommended as they provide the brightest and most true-to-color results. Ensure they are fully cooled before dyeing.
- Cool Whip (Whipped Topping): This is the star ingredient! A 16-ounce tub is usually sufficient for a batch of eggs.
- Substitution Tip: You can substitute with real whipped cream for a similar effect, though it might be slightly less stable. For a dairy-free option, coconut whipped topping can also be used.
- Food Dye: Unleash your creativity with assorted colors!
- Gel Dye: Provides incredibly bold, concentrated colors. Use sparingly for intense hues.
- Liquid Dye: Will give you softer, more pastel shades. Both work wonderfully, so choose based on your desired vibrancy.
- White Distilled Vinegar: This is a crucial ingredient! The acidity in the vinegar helps to clean the eggshell surface and open its pores, allowing the food dye to adhere much better and create vibrant, lasting colors.
🛠️ Essential Equipment for an Easy Craft
- Baking Dish or Shallow Tray: A 9×13 inch baking dish works perfectly, providing ample space for the Cool Whip and rolling eggs.
- Gloves: Disposable gloves are highly recommended to protect your hands from staining, especially when using concentrated gel dyes.
- Toothpicks or Skewers: Ideal for swirling the food dye into the Cool Whip to create those beautiful marbled patterns.
- Paper Towels: For drying the eggs after rinsing and for general cleanup.
- Mixing Bowl (Optional): If you need to fluff up your Cool Whip slightly before spreading.
How to Make Cool Whip Dyed Easter Eggs: Your Easy Step-by-Step Guide
Creating these gorgeous marbled eggs is surprisingly simple and incredibly rewarding. Follow these steps for stunning results every time!
Detailed Instructions:
- Prepare Your Eggs: Start with fully cooled hard-boiled eggs. Gently place them in a bowl filled with white distilled vinegar and let them soak for about 15 minutes. This crucial step helps the eggshells absorb the dye more effectively, resulting in brighter and more even colors. After soaking, remove the eggs, rinse them briefly under cool water, and pat them completely dry with paper towels.
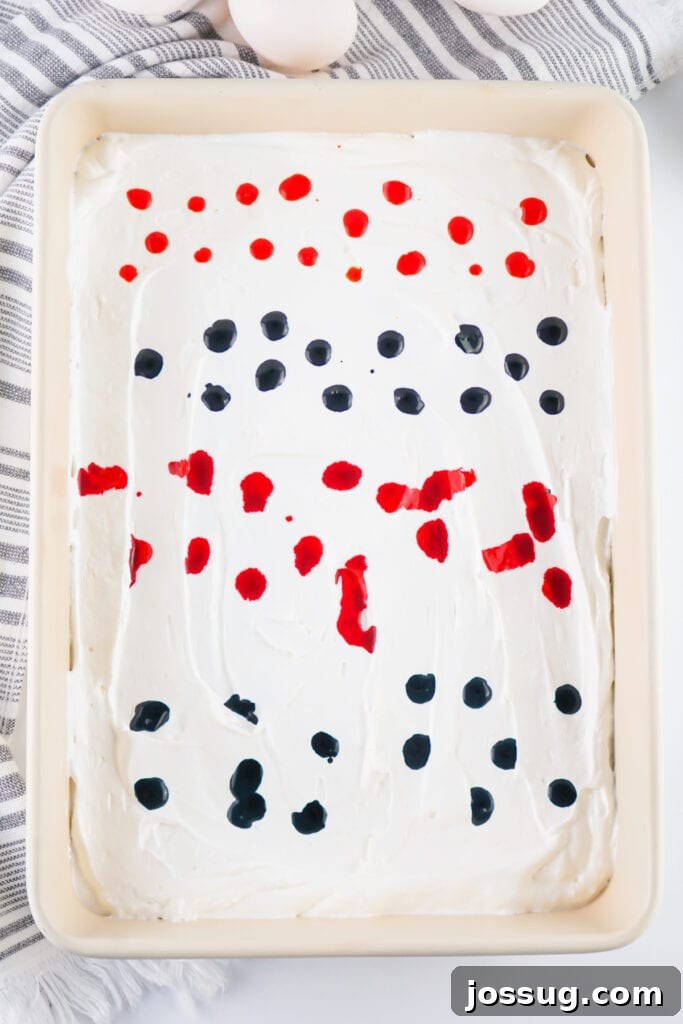
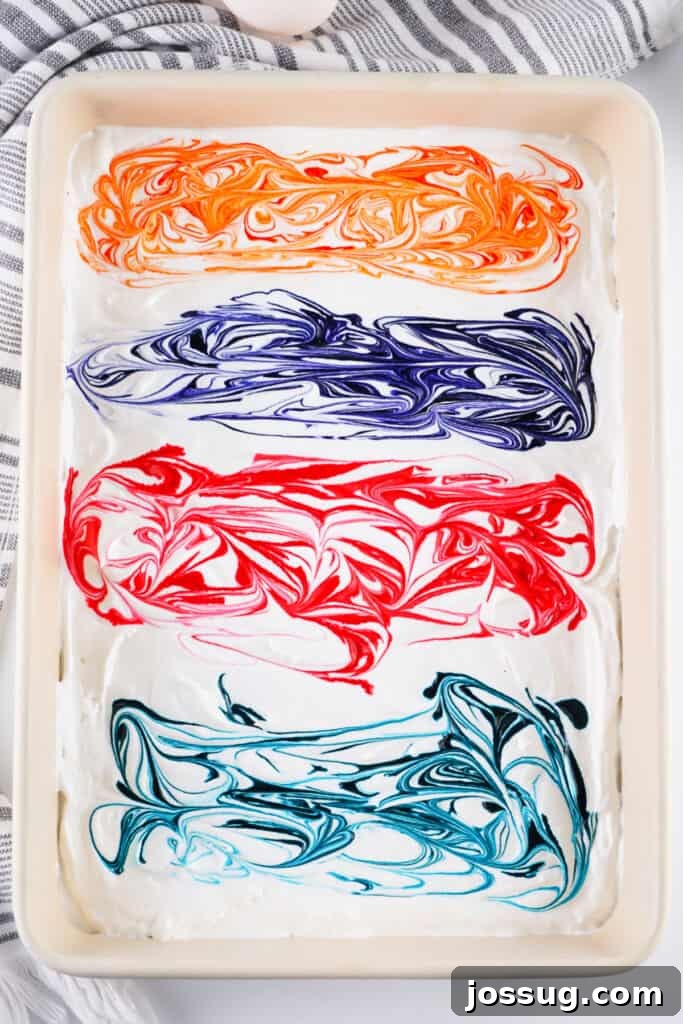
- Set Up Your Dyeing Station: Spread the entire tub of Cool Whip evenly into a 9×13 inch baking dish or a similar shallow tray. Aim for a layer that is at least one inch deep to ensure your eggs can be fully coated. This provides a soft, pliable canvas for your colors.
- Add and Swirl the Food Dye: Now for the artistic part! Generously drop various colors of food dye across the surface of the Cool Whip. Don’t be afraid to mix and match colors. Using a toothpick or a skewer, gently swirl the colors together. Be careful not to overmix; aim for distinct swirls and marbling rather than a uniform blend, which can make the colors muddy.
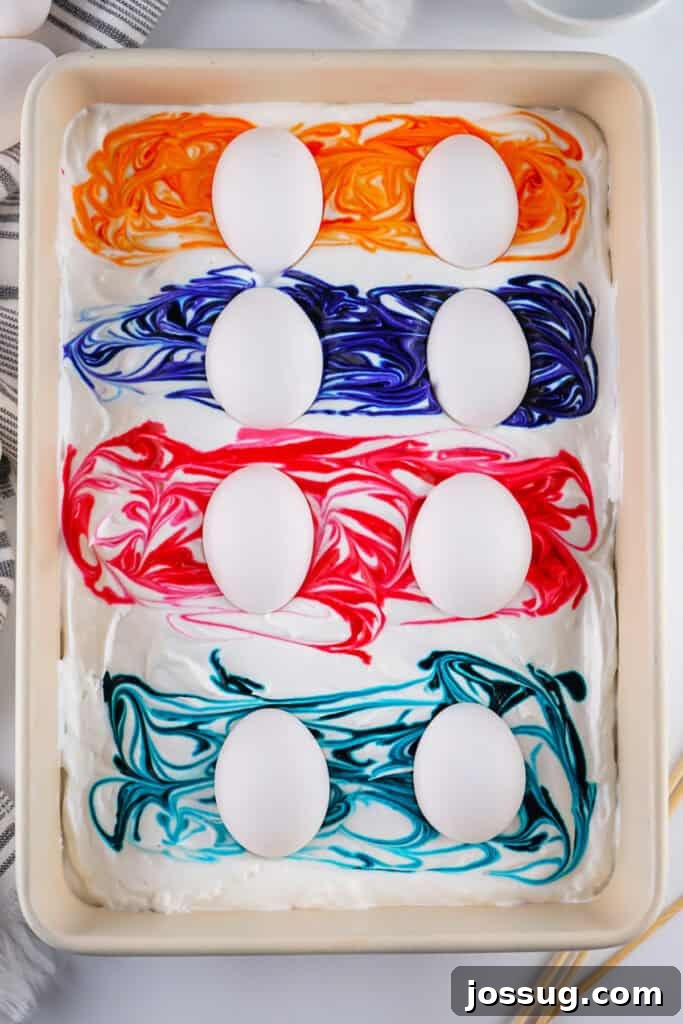
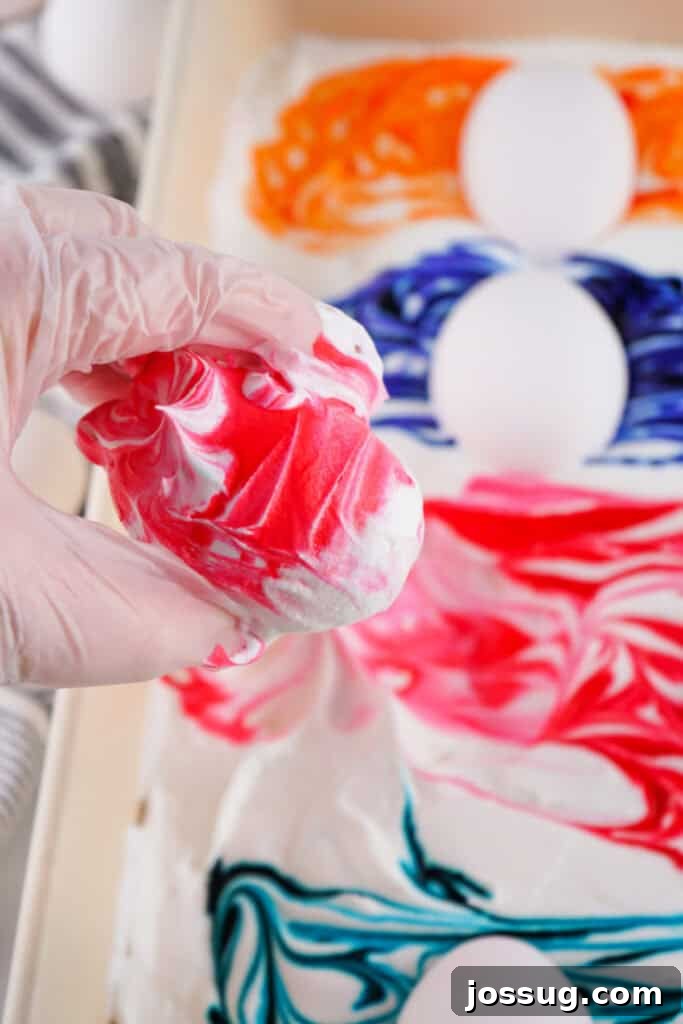
- Dye the Eggs: Don your gloves to protect your hands from staining. Take a prepared egg and gently roll it in the dyed Cool Whip. Ensure the egg is fully coated with the colorful mixture. The goal is to transfer the swirled patterns onto the eggshell.
- Allow the Colors to Set: Once an egg is fully coated, place it aside (you can leave it in the Cool Whip if there’s space, or carefully transfer it to a separate clean plate or tray) and let it sit for at least 10 minutes. For more vibrant and deeper colors, you can extend the sitting time up to 30 minutes. The longer it sits, the more intense the color absorption will be.
- Rinse and Reveal: After the waiting period, put your gloves back on if you removed them. Carefully pick up each egg and gently rinse it under cool running water. Avoid rubbing the egg, as this can smear the beautiful marbled designs. Let the water wash away the Cool Whip, revealing your stunning, vibrant creations underneath.
- Dry Your Masterpieces: Place the rinsed eggs on a fresh sheet of paper towels or a wire rack to air dry completely. Once dry, the colors will be set and won’t transfer. Your unique Cool Whip Dyed Easter Eggs are now ready to admire, hide, or enjoy!
🔥 Expert Tips for Picture-Perfect Cool Whip Dyed Easter Eggs
Achieving those perfectly vibrant and beautifully marbled eggs is easy with a few insider tips. Keep these in mind to ensure your Easter egg dyeing experience is a smashing success!
- Choose the Right Eggs: While brown eggs can be dyed, white eggs always yield the brightest and most true-to-shade colors. Their lighter surface allows the dye to pop.
- Don’t Skip the Vinegar Soak: This step is non-negotiable for vibrant results. The vinegar slightly etches the eggshell, allowing the dye to penetrate and adhere much better, preventing dull or patchy colors.
- Layer Cool Whip Evenly: Ensure your Cool Whip layer is about 1 inch deep and evenly spread in the dish. This provides a consistent surface for rolling and guarantees full egg coverage.
- Swirl, Don’t Overmix: When adding the food dye, use a toothpick to gently swirl the colors. The goal is to create distinct lines and marbled effects. Aggressive mixing will blend the colors into a single, often less appealing, shade.
- Allow Ample Soaking Time: For truly vibrant colors, let the eggs sit in the dyed Cool Whip for at least 10-15 minutes. For deeper, more saturated hues, extend this to 20-30 minutes. Patience pays off!
- Wear Gloves: Food dyes, especially gel varieties, can easily stain skin. Protect your hands with disposable gloves throughout the dyeing and rinsing process.
- Gentle Rinsing is Key: When rinsing the eggs under cool running water, avoid any rubbing or scrubbing. Let the water gently wash away the Cool Whip to preserve the delicate marbled patterns.
- Experiment with Color Combinations: Don’t limit yourself to single colors! Try blending complementary shades like blue and green for an oceanic look, or pink, purple, and blue for a whimsical pastel effect. The creative possibilities are endless.
- Keep Cool Whip Chilled (if needed): If you’re working in a warm environment or making multiple batches, place the Cool Whip back in the fridge between uses to prevent it from becoming too runny, which can affect the dye absorption.
- Avoid Overnight Soaking: While longer soaking times enhance color, leaving eggs in Cool Whip overnight is not recommended. The acidity from the vinegar (and potentially the dye) over extended periods can begin to degrade the eggshell.
- Dab, Don’t Rub, When Drying: After rinsing, gently pat the eggs dry with paper towels. Rubbing can unintentionally smear or lighten the freshly applied colors.
- Consider Different Dye Types: Gel food dyes generally produce bolder, more concentrated colors, while liquid food dyes result in softer, more pastel shades. Experiment to find your preferred intensity.
- Perfect for Group Activities: Set up a “Cool Whip Egg Dyeing Station” with multiple dishes and color combinations. It’s a fantastic activity for Easter parties, playdates, or family gatherings, ensuring everyone can participate in the fun.
❓ Cool Whip Dyed Easter Eggs: Your FAQs Answered
Here are some of the most common questions about dyeing Easter eggs with Cool Whip, along with detailed answers to help you achieve the best results.
Yes, absolutely! Since Cool Whip is a food-safe product, the eggs are perfectly safe to eat, provided they were hard-boiled correctly, handled hygienically during the dyeing process (especially with clean hands or gloves), and stored properly in the refrigerator afterward.
To achieve softer, pastel hues, simply use less food dye in your Cool Whip mixture. You can also mix a tiny bit of white food coloring with your chosen shades to lighten them before swirling, or reduce the soaking time of the eggs.
No, once the eggs are completely dry after rinsing, the colors are set and should not transfer onto hands or other surfaces. The vinegar helps to fix the dye to the shell.
For visible colors, let them sit for at least 10 minutes. For truly vibrant and deep shades, aim for 20-30 minutes. However, avoid leaving them overnight, as prolonged exposure to the acidic dye mixture can slightly soften or damage the eggshells.
If you intend to eat the eggs later, it is best practice to keep them refrigerated during any prolonged waiting periods (e.g., if you’re dyeing a large batch over an hour or two). If you’re only leaving them for 10-30 minutes, it’s generally fine at room temperature, but always prioritize food safety.
You can, but be aware that the colors will have already started to mix and will become more muddled with each subsequent use. If you desire distinct, vibrant new designs, it’s best to use a fresh layer of Cool Whip and dye for each batch.
Hold the egg gently under a slow stream of cool running water. Allow the water to wash away the Cool Whip. Resist the urge to rub or wipe the egg, as this can smear the beautiful marbled patterns. Simply let the water do the work, then pat dry.
Yes, brown eggs can be dyed using this method, but the colors will appear darker and more muted compared to white eggs. The natural brown hue will influence the final color, giving a deeper, richer tone rather than bright pastels.
Absolutely! Mixing multiple colors in one section and then swirling them together is how you achieve the most stunning marbled effects. Just be mindful not to overmix, or the individual colors might blend into a less distinct, uniform shade.
Just like regular hard-boiled eggs, your dyed creations should be stored in the refrigerator in a covered container and eaten within one week for optimal freshness and safety.
Even with care, food dye can sometimes stain skin. It’s highly recommended to wear gloves throughout the entire process. If you do get stains, they will fade after a few washes. Lemon juice or a baking soda paste can help remove them faster.
It is strongly not recommended. Raw eggs are very fragile and prone to breaking during the rolling and rinsing process. Always use hard-boiled eggs for the best and safest results.
Cool Whip Dyed Easter Eggs: The Full Recipe
24 servings
Cool Whip Dyed Easter Eggs
Print Recipe
Equipment
-
Baking dish (9×13 inch recommended)
-
Gloves (disposable)
-
Toothpick or skewer
-
Mixing bowl (for vinegar soak)
-
Paper towels
Ingredients
- 24 hard-boiled eggs
- 1 tub Cool Whip, 16 ounces (or other whipped topping)
- Assorted colors of gel or liquid food dyes
- White distilled vinegar
Instructions
-
1. Prep the Eggs: Soak cooled hard-boiled eggs in vinegar for 15 minutes. Rinse briefly and pat dry completely.
-
2. Prepare the Dye Bath: Spread Cool Whip evenly (about 1 inch deep) in a 9×13 dish.
-
3. Swirl the Colors: Add drops of assorted food dye in different areas. Gently swirl with a toothpick to create marbled patterns.
-
4. Dye the Eggs: Wearing gloves, roll each egg in the dyed Cool Whip until fully coated with the colorful swirls.
-
5. Let Them Set: Let the coated eggs sit for at least 10 minutes (up to 30 minutes for more vibrant colors).
-
6. Rinse & Dry: Gently rinse eggs under cool running water (without rubbing) to remove Cool Whip. Place on paper towels to air dry completely.
Notes
- Always store Cool Whip dyed Easter eggs in the refrigerator and consume within one week, just like regular hard-boiled eggs, to ensure freshness and safety.
- Refer to the “Expert Tips” section above for detailed advice on achieving the best colors and patterns, including tips on dye concentration, chilling Cool Whip, and gentle rinsing techniques.
Nutrition
Calories: 78kcal,
Carbohydrates: 1g,
Protein: 6g,
Fat: 5g,
Saturated Fat: 2g,
Polyunsaturated Fat: 1g,
Monounsaturated Fat: 2g,
Cholesterol: 187mg,
Sodium: 62mg,
Potassium: 63mg,
Sugar: 1g,
Vitamin A: 260IU,
Calcium: 25mg,
Iron: 1mg
Nutrition information is automatically calculated and should be used as an approximation only.
🍽️ More Easter & Delicious Dessert Recipes You’ll Love
If you enjoyed this creative Easter craft, you might also like these other delightful recipes perfect for spring celebrations or anytime treats:
- Rainbow Striped Funfetti Cake
- Classic Chocolate Snack Cake
- Homemade Peanut Butter Easter Eggs
- Festive Easter Sprinkle Cookies
- 10 Must-Make Easter Recipes for Your Holiday Table!
Unleash Your Creativity This Easter!
Cool Whip Dyed Easter Eggs are more than just a craft; they’re an experience. They offer a fantastic opportunity to create lasting memories with family, especially with young children, while producing truly beautiful and edible decorations. With its mess-free nature, simple ingredients, and stunning marbled results, this method is sure to become a new Easter tradition in your home. So gather your supplies, pick your favorite colors, and get ready to create the most vibrant and unique Easter eggs you’ve ever seen!
We’d love to see your amazing creations! Share your Cool Whip dyed Easter eggs with us in the comments below, or connect with us on social media.