
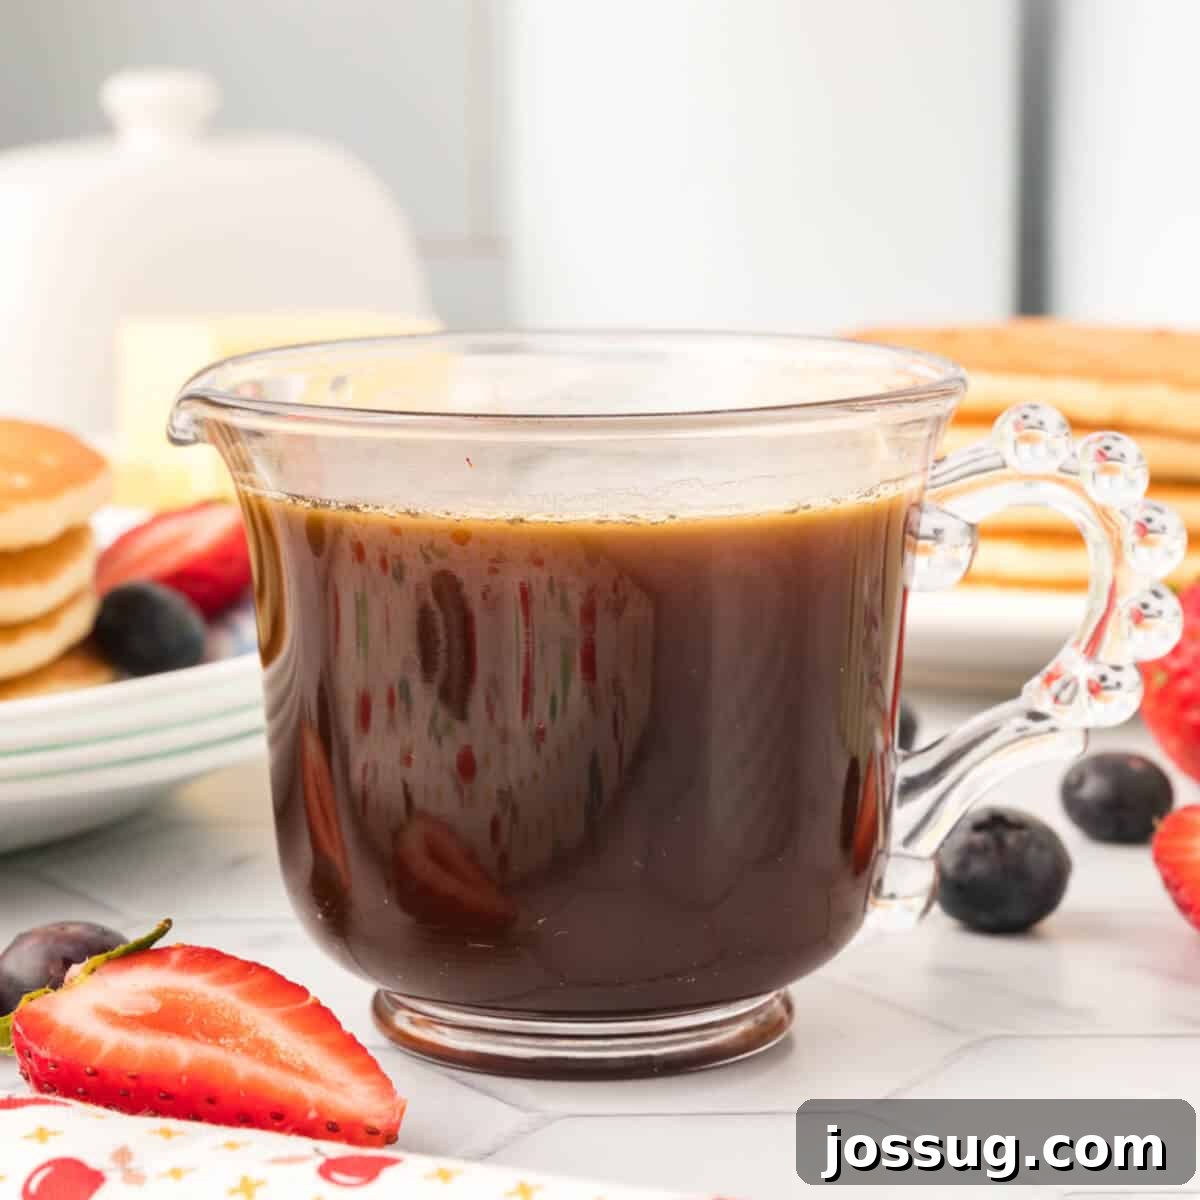
Elevate your breakfast game with this incredible Homemade Vanilla Pancake Syrup! Forget artificial flavors and high fructose corn syrup; this simple recipe delivers a rich, velvety vanilla experience that’s far superior to anything you’ll find in a bottle. Best of all, it’s incredibly quick, requiring less than 30 minutes from start to finish. This versatile syrup isn’t just for pancakes; drizzle it generously over fluffy waffles, golden French toast, or even stir it into oatmeal for a delightful sweet touch. Prepare to transform your morning meals into a gourmet experience with minimal effort.
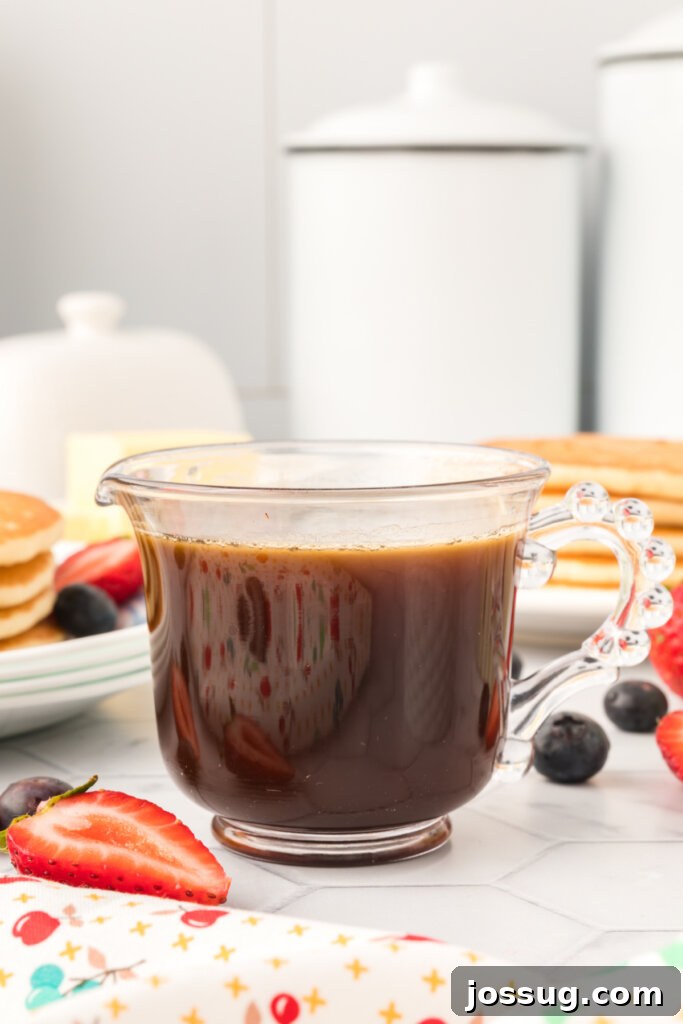
Homemade Vanilla Syrup: A Breakfast Game Changer
For many families, breakfast is more than just a meal; it’s a cherished ritual, a comforting start to the day filled with laughter and delicious aromas. In my home, breakfast food isn’t just loved – it’s practically celebrated! The excitement around the table when pancakes or waffles are served is truly unmatched. While I personally sometimes struggle to get enthusiastic about breakfast, I’m always on the lookout for recipes that will not only delight my family but might also convert me into a morning meal enthusiast. This quest has led me to many culinary adventures, and I can confidently say that this Homemade Vanilla Pancake Syrup is a true winner for everyone, including myself!
The beauty of a homemade syrup lies in its simplicity and the profound impact it has on even the most basic breakfast items. Store-bought syrups, while convenient, often fall short in depth of flavor and can contain undesirable ingredients. This easy vanilla syrup recipe offers a fresh, vibrant taste that complements everything from light and fluffy buttermilk pancakes to hearty French toast. The sweet, aromatic notes of real vanilla truly shine through, making every bite a little more special. It’s a fantastic feeling to serve something so delightful, knowing exactly what went into it.
One of the greatest advantages of making syrup from scratch is the incredible ease and speed involved. Forget running to the store when you realize you’re out of syrup. With just a few pantry staples, you can whip up a fresh batch in no time. Beyond the convenience, homemade syrup opens up a world of flavor possibilities. While vanilla and maple are classic favorites in our household, the base recipe is a blank canvas. Imagine a zesty lemon syrup to brighten up a summer brunch, or a warm cinnamon-spiced syrup for a cozy autumn morning. The ability to customize flavors means you’ll never get bored, and you can tailor your syrup to any mood or occasion.
My journey to truly embracing breakfast continues, but with recipes like this Homemade Vanilla Pancake Syrup, I’m definitely making progress! When I share a recipe this enthusiastically, you can be sure it’s something truly special. So, get ready to enjoy the rich, comforting taste of homemade goodness!
Homemade Vanilla Pancake Syrup: Essential Ingredients & Smart Substitutions
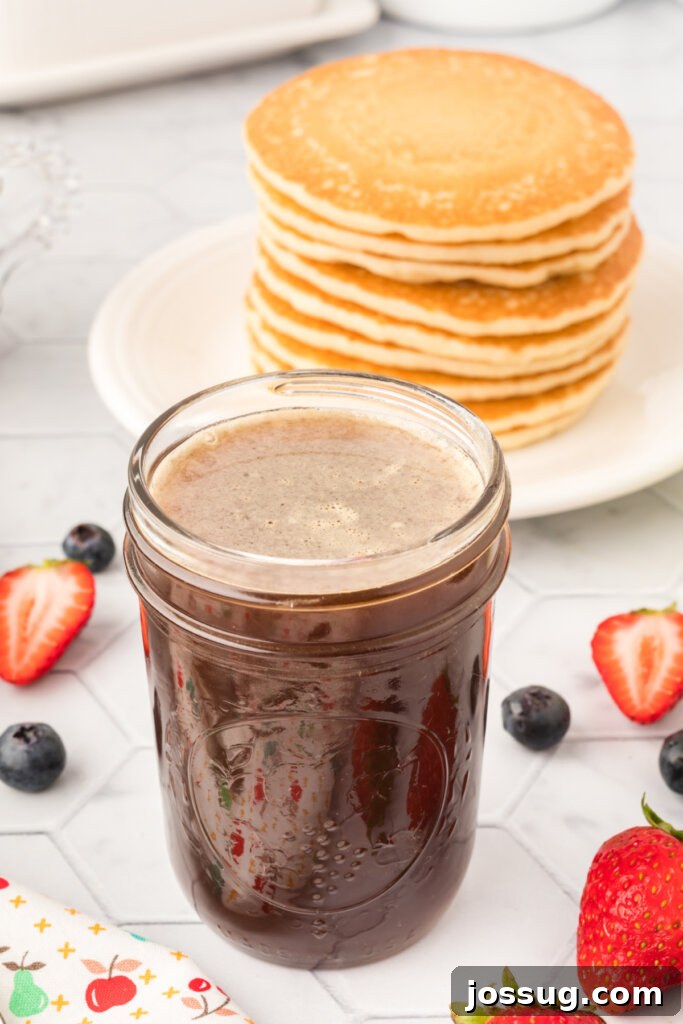
Crafting this delightful Homemade Vanilla Pancake Syrup requires only a handful of common pantry items. Each ingredient plays a vital role in achieving that perfect balance of sweetness, texture, and flavor. Let’s dive into what you’ll need and how you can creatively adapt the recipe to your taste and available supplies.
Key Ingredients
- Water: This forms the base of our syrup, dissolving the sugars and cornstarch to create a fluid consistency.
- Granulated Sugar: Provides the primary sweetness and contributes to the syrup’s clear, glistening appearance. It’s a foundational element for any classic syrup.
- Brown Sugar: The addition of brown sugar is key for adding a deeper, more complex sweetness with subtle caramel and molasses notes. This gives the syrup a richer flavor profile than if only granulated sugar were used, reminiscent of maple without overpowering the vanilla.
- Cornstarch: This is our crucial thickening agent. When whisked into the liquid and brought to a boil, cornstarch creates that desirable syrupy consistency, preventing it from being too thin or watery. It’s important to ensure it’s fully dissolved to avoid lumps.
- Vanilla Extract: The star of the show! High-quality vanilla extract imbues the syrup with its signature warm, aromatic, and sweet vanilla flavor. Using pure vanilla extract makes a noticeable difference in the final taste compared to imitation vanilla.
Creative Substitutions & Flavor Variations
- Other Extracts: While vanilla is divine, don’t hesitate to experiment!
- For a classic taste, substitute vanilla extract with maple extract. The depth of flavor is truly fantastic.
- Add a vibrant twist with lemon extract or orange extract for a delightful citrusy zest.
- Consider almond extract for a sophisticated, nutty undertone, or even a hint of peppermint extract for a festive holiday syrup.
- Spices: Enhance the warmth and complexity by sprinkling in spices with your sugars.
- A teaspoon of cinnamon adds a comforting richness.
- For a fall-inspired syrup, try a pinch of nutmeg or pumpkin pie spice blend.
- Even a tiny pinch of cardamom can introduce an exotic, fragrant note.
- Sweeteners:
- If you prefer a less sweet syrup, you can slightly reduce the total sugar amount, though be mindful that sugar also contributes to the syrup’s body.
- While the recipe uses both granulated and brown sugar for flavor depth, you can adjust the ratio to your preference. Using only granulated sugar will result in a lighter, simpler flavor, while more brown sugar will deepen it further.
- For alternative sweeteners, liquid options like agave nectar or honey could technically work, but they might alter the consistency and flavor significantly and may require adjustments to the cornstarch ratio.
- Liquid Base:
- For an even creamier, richer syrup, you could consider substituting a portion of the water with milk (dairy or non-dairy). However, note that using milk will reduce the syrup’s shelf life considerably and may require more careful storage.
Mastering Homemade Vanilla Pancake Syrup: Step-by-Step Guide
Making your own vanilla pancake syrup is remarkably straightforward, requiring just a few simple steps and minimal hands-on time. Follow this guide to achieve a perfectly smooth, flavorful syrup every time.
Step 1: Combine and Bring to a Boil
Begin by combining the water, granulated sugar, brown sugar, and cornstarch in a medium-sized saucepan. It’s crucial to whisk these ingredients together thoroughly before applying heat. This ensures that the cornstarch is fully dissolved and prevents lumps from forming, which can lead to a grainy syrup. Place the saucepan over medium-high heat. Continue to whisk constantly as the mixture heats up. The goal is to bring the mixture to a rolling boil. Whisking ensures the sugars dissolve completely and the cornstarch is evenly incorporated, creating a homogenous base for your syrup.
Step 2: Add Vanilla and Simmer
Once your mixture reaches a full, vigorous boil, immediately reduce the heat to medium-low. This prevents the syrup from overcooking or crystalizing. Now is the perfect time to stir in your vanilla extract. Adding the vanilla after the initial boil and as the heat is reduced helps preserve its delicate flavor, preventing it from evaporating due to high heat. Allow the syrup to gently simmer for approximately 3 minutes. This simmering time is essential for the syrup to thicken properly and for all the flavors to meld beautifully. You’ll notice it start to coat the back of a spoon more easily.
Step 3: Cool and Enjoy Your Syrup!
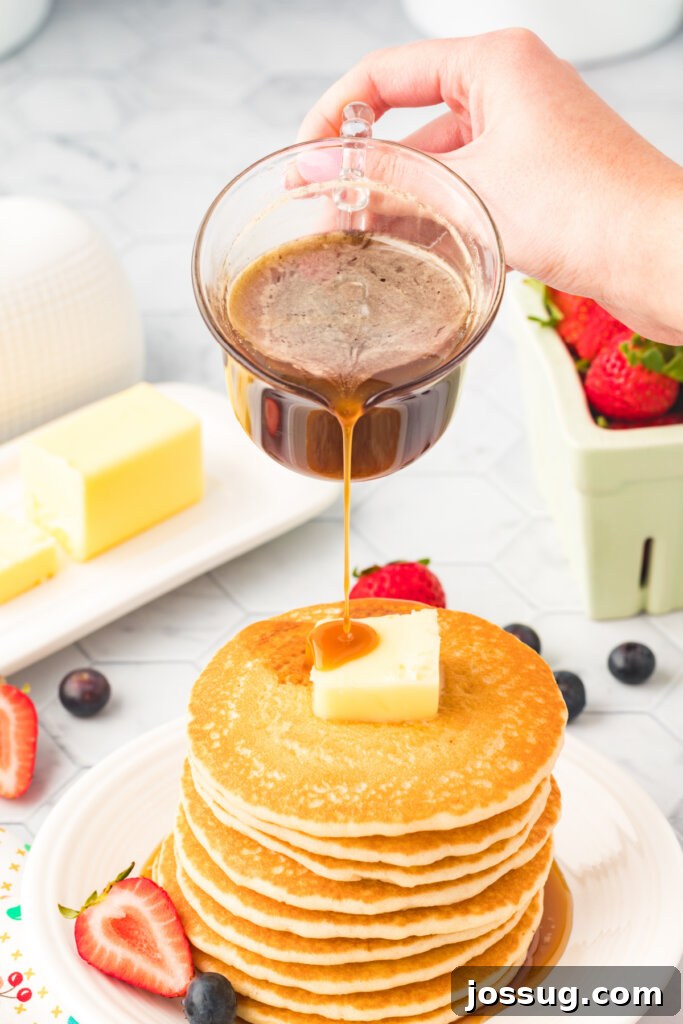
After simmering for 3 minutes, remove the saucepan from the heat. It’s important to understand that the syrup will appear thinner while hot. As it cools, the cornstarch will continue to activate and the syrup will thicken significantly to the perfect pourable consistency. Allow it to cool for at least 15-20 minutes before serving. If you find it too thick after cooling completely, you can gently reheat it over low heat, adding a teaspoon of water at a time until it reaches your desired consistency. Serve warm or at room temperature, and prepare for rave reviews!
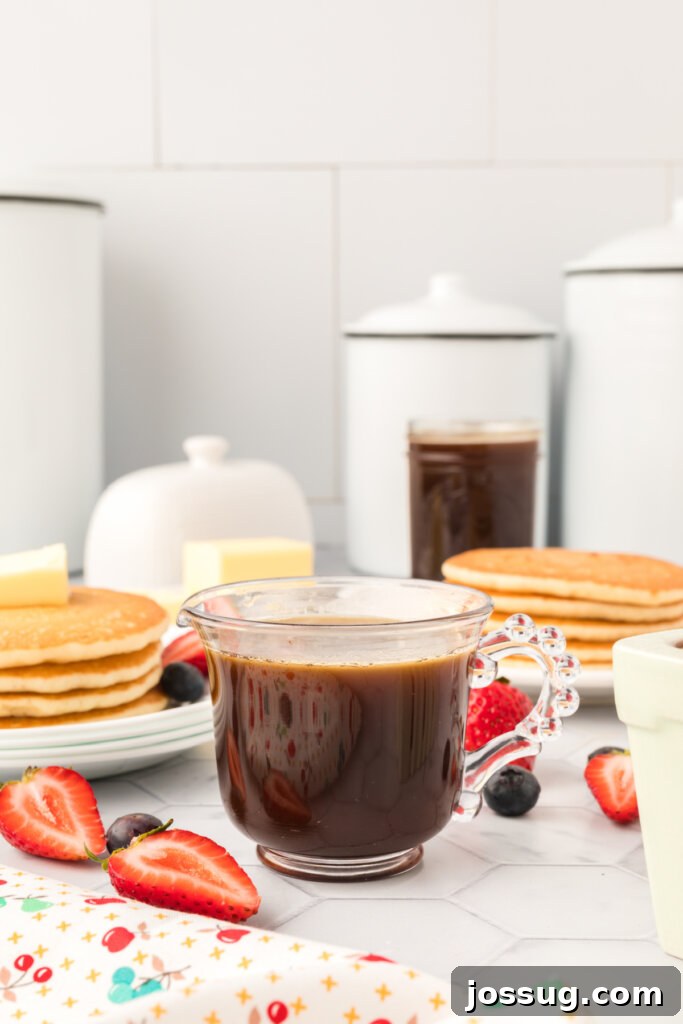
Homemade Vanilla Pancake Syrup: Your Questions Answered
Common Questions
You’ll be delighted to know that this homemade vanilla pancake syrup comes together incredibly quickly! It takes just about 25 minutes in total – approximately 10 minutes for simple preparation and ingredient gathering, followed by a mere 15 minutes of cooking time on the stovetop. This speedy process will genuinely make you question why you ever bought syrup from the store, especially when the taste is so vastly superior.
This recipe yields a generous amount, typically producing between 1 to 1.5 cups of delicious homemade vanilla pancake syrup. This is usually enough for several servings, making it perfect for a family breakfast or to have on hand for a few days.
Sugar crystallization is a common issue, and the most frequent culprit is overcooking! While you might be tempted to cook the syrup longer for a thicker texture, excessive boiling gives sugar molecules more time to bond and form crystals. To prevent this, strictly limit your cooking time to what’s recommended. If you do notice crystals forming, don’t despair! You can try adding a 1/4 teaspoon of butter to the hot syrup; the fat can help break down crystals and also contribute to a smoother, creamier taste. Another effective trick is to add 1/4 teaspoon of an acidic ingredient like lemon or orange juice. The acid helps to invert the sugar, preventing crystallization. Be aware that this will introduce a subtle zesty flavor, which can be quite delicious!
The beauty of homemade syrup is its versatility! Beyond classic vanilla, you can easily customize the flavor profile. As mentioned earlier, substituting vanilla extract with maple extract will give you a wonderfully traditional maple syrup. For a richer, warmer syrup, sprinkle in about 1/2 to 1 teaspoon of ground cinnamon during the boiling stage. Lemon or orange extract will impart a delightful citrusy zest, perfect for brightening up any breakfast. You can also experiment with other extracts like almond or a pinch of nutmeg for a unique twist. Feel free to get creative and find your family’s new favorite flavor!
Proper storage is key to enjoying your homemade syrup for as long as possible. Once the syrup has cooled completely, transfer it to an airtight container, such as a glass jar with a tight-fitting lid or a squeeze bottle. Store the syrup in the refrigerator. When stored correctly, homemade syrup typically lasts for about 1-2 weeks. Always check for any signs of spoilage, like mold or an off smell, before using.
Absolutely! The thickness of your syrup can be easily adjusted to your preference. If you prefer a thicker syrup, you can increase the cornstarch by half a teaspoon at a time in the initial boiling step. Conversely, if your syrup turns out too thick after cooling, simply reheat it gently over low heat on the stovetop and whisk in a small amount (about 1-2 tablespoons) of water or milk until it reaches your desired consistency. Remember, it will thin out slightly when warm.
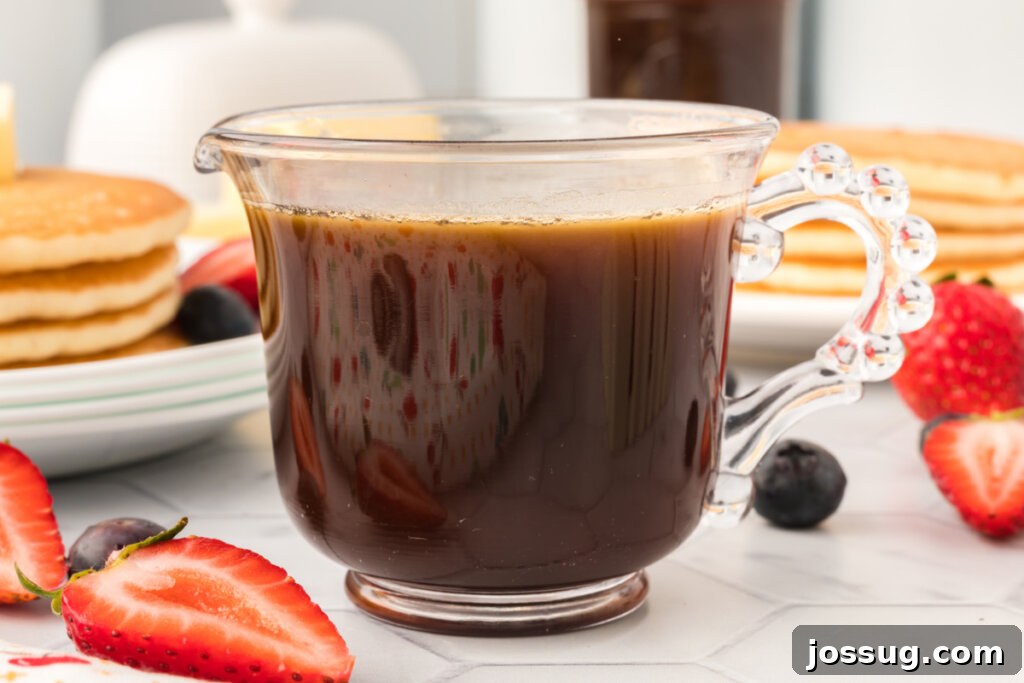
Pairings & Other Breakfast Delights
This versatile Homemade Vanilla Pancake Syrup is truly the perfect companion for a wide array of breakfast and brunch dishes. While it shines brightly over pancakes and waffles, its rich, sweet vanilla flavor can elevate so many other meals and treats. Here are some fantastic ideas and related recipes to inspire your next culinary creation:
- Buttermilk Pancakes: The classic pairing! Fluffy buttermilk pancakes absorb this vanilla syrup beautifully, creating a match made in breakfast heaven.
- Classic Waffles: Crispy on the outside, soft on the inside, waffles are an ideal canvas for a generous pour of homemade vanilla syrup.
- Air Fryer French Toast Sticks: Dip these convenient, golden-brown sticks into the warm vanilla syrup for a fun and irresistible breakfast or snack.
- Pumpkin Pancakes: Embrace seasonal flavors by drizzling vanilla syrup over warm pumpkin pancakes, enhancing their inherent sweetness and spice.
- Simple Syrup: If you love customizing flavors, our simple syrup recipe offers another versatile base for various culinary applications, from cocktails to glazes.
- Oatmeal and Porridge: Stir a tablespoon or two of this vanilla syrup into your morning oatmeal for a naturally sweet and comforting start to your day.
- Yogurt Parfaits: Layer fresh fruit, granola, and a swirl of vanilla syrup with your favorite yogurt for a healthy and delicious treat.
- Fruit Salads: A light drizzle of vanilla syrup can bring out the natural sweetness of fresh berries, melon, and other fruits, making your fruit salad extra special.
- Ice Cream Topping: Don’t limit this syrup to breakfast! It makes a fantastic, elegant topping for vanilla bean ice cream or any dessert that could use a touch of rich vanilla sweetness.
- Coffee and Cocktails: For a delicious twist, add a spoonful of this homemade syrup to your coffee or use it as a sweetener in certain cocktails for a unique vanilla note.
Homemade Vanilla Pancake Syrup
Equipment
-
Squeeze Bottles, Plastic, Wide Mouth, 24 oz, Clear, Pack of 6
-
Measuring Cups and Spoons
-
Whisk
-
Saucepan (Pot and Pan Set)
Ingredients
- 1 cup water
- 1 cup granulated sugar
- 1 cup brown sugar
- 1 tablespoon cornstarch
- 1 tablespoon vanilla extract
Instructions
-
In a medium saucepan, combine the water, both sugars, and cornstarch. Whisk well to dissolve sugars and cornstarch thoroughly before heating. Bring the mixture to a boil over medium-high heat, whisking constantly.
-
Once the mixture reaches a boil, reduce the heat to medium-low. Stir in the vanilla extract, then allow the syrup to gently simmer for 3 minutes, stirring occasionally.
-
Remove the saucepan from the heat. Allow the syrup to cool slightly before using. The syrup will thicken significantly as it cools to room temperature.
Notes
- Want a more traditional maple flavor? Simply use maple extract instead of vanilla!
- Besides vanilla, you can also sprinkle in some cinnamon (1/2 to 1 tsp) to make this homemade syrup a little richer, or try adding in some lemon or orange extract for a citrusy zest.
- The syrup will thicken considerably as it cools. If it becomes too thick upon cooling, gently reheat it over low heat, adding a teaspoon of water at a time until it reaches your desired consistency.
- Store your homemade vanilla pancake syrup in an airtight container in the refrigerator for up to 1-2 weeks.
Nutrition
Nutrition information is automatically calculated, so should only be used as an approximation.
Originally published on February 4, 2014. Updated on January 11, 2023.