
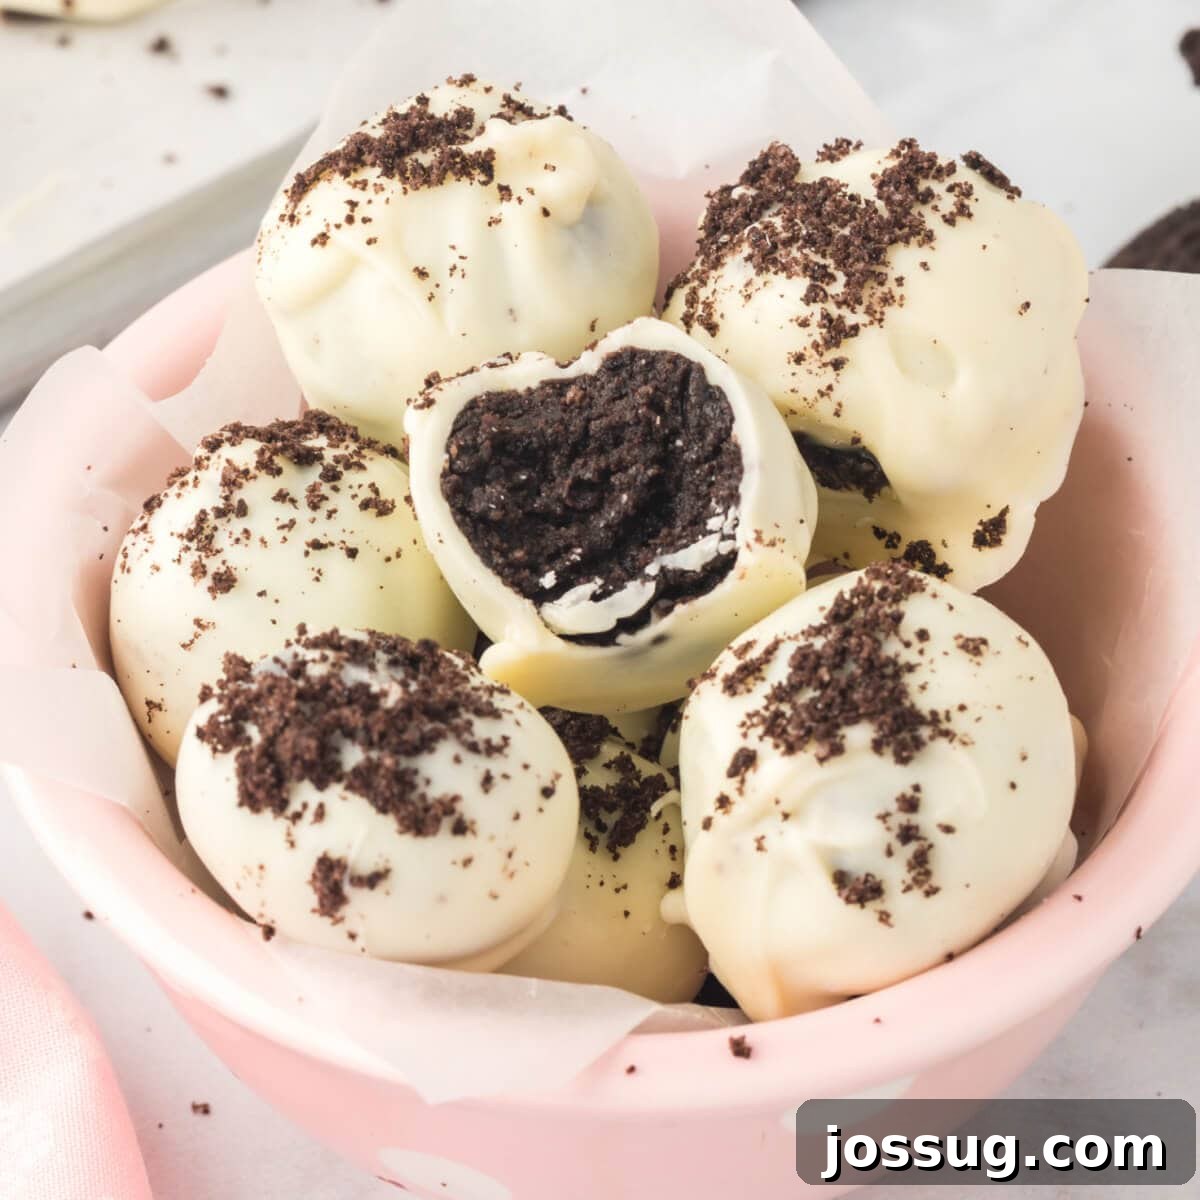
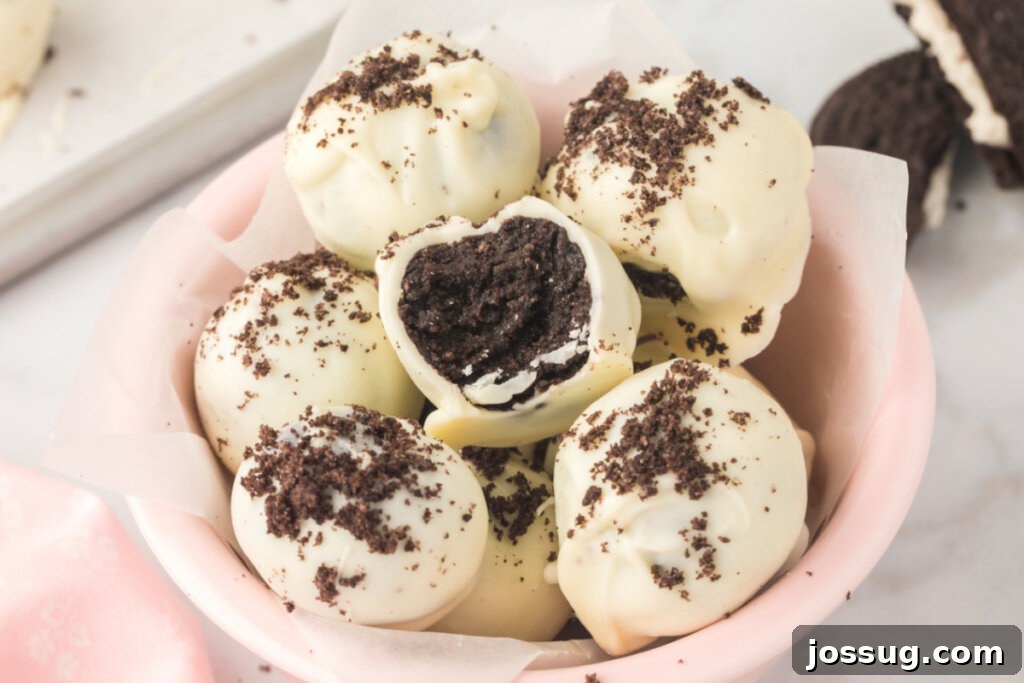
Welcome to the world of effortless dessert making! These incredibly easy-to-make, no-bake Oreo Truffles require only three simple ingredients, making them the ultimate family-friendly treat. Whether you’re looking for a quick snack, a party dessert, or a festive indulgence, these customizable truffles are sure to delight. You can easily change the Oreo flavors and decorate them to suit any occasion or holiday, bringing a personalized touch to your sweet creations.
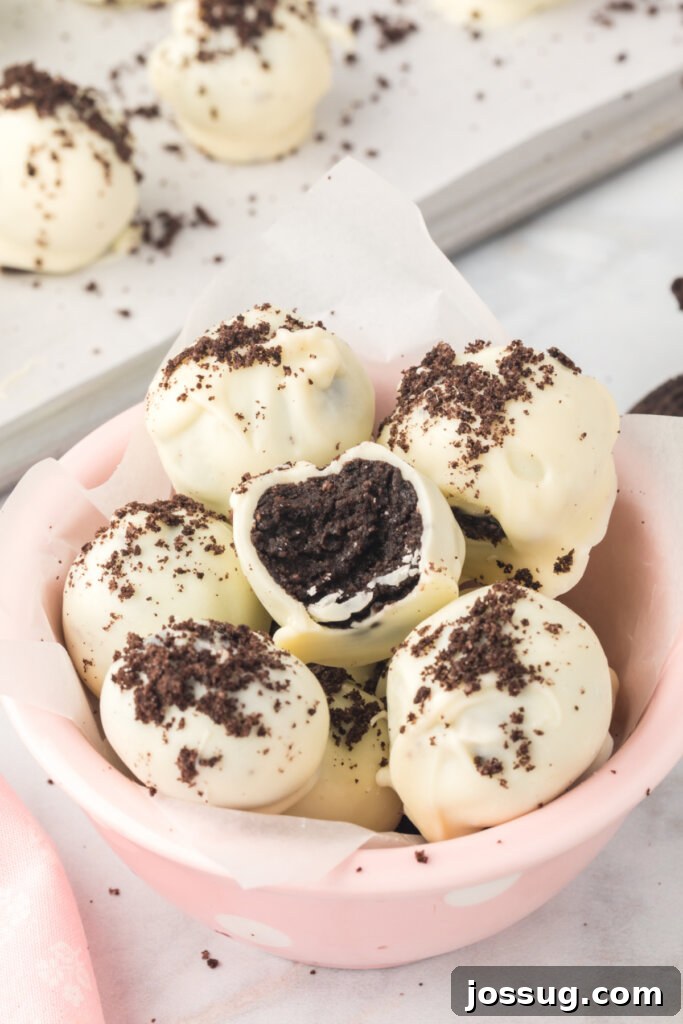
No-Bake Oreo Truffles: Your Go-To Easy Dessert
Life can be a whirlwind, filled with moments of celebration, change, and sometimes, a little stress. As a mom, watching my oldest son graduate from high school has brought a mix of pride, excitement, and a touch of nostalgia for how quickly nearly 18 years have flown by. During times like these, I often find solace and joy in the kitchen, creating delightful treats that bring smiles to faces.
While the concept of Oreo Truffles isn’t entirely new, its timeless appeal and incredible simplicity make it a recipe worth sharing and celebrating. There’s a profound joy in transforming everyday ingredients into something truly special, and these truffles embody that spirit perfectly.
One of the biggest advantages of Oreo Truffles is that they are entirely no-bake. This is a game-changer, especially during warmer months or when you simply don’t want to turn on the oven. The absence of baking keeps the kitchen cool and the preparation quick, making it an ideal choice for busy schedules. Plus, let’s be honest, these little spheres of delight are undeniably cute! A simple sprinkle of crushed cookie crumbs on top adds that perfect finishing touch, elevating them from delicious to irresistible.
Over the years, I’ve experimented with various Oreo flavors. While some limited-edition flavors, like the Fruit Punch variety I once used, are no longer available, the beauty of this recipe lies in its adaptability. You can use classic chocolate Oreos, or embrace seasonal holiday flavors when they’re available. My personal favorites include refreshing mint and zesty lemon Oreos, but the possibilities are endless. Feel free to unleash your creativity and choose any flavor that sparks your interest!
These delightful Oreo Balls are truly versatile, perfect for any occasion. They make wonderful additions to holiday platters, birthday parties, potlucks, or simply as a comforting sweet treat when a craving strikes. Their universal appeal ensures they’ll be a hit with everyone, from the youngest family members to the most discerning dessert connoisseurs.
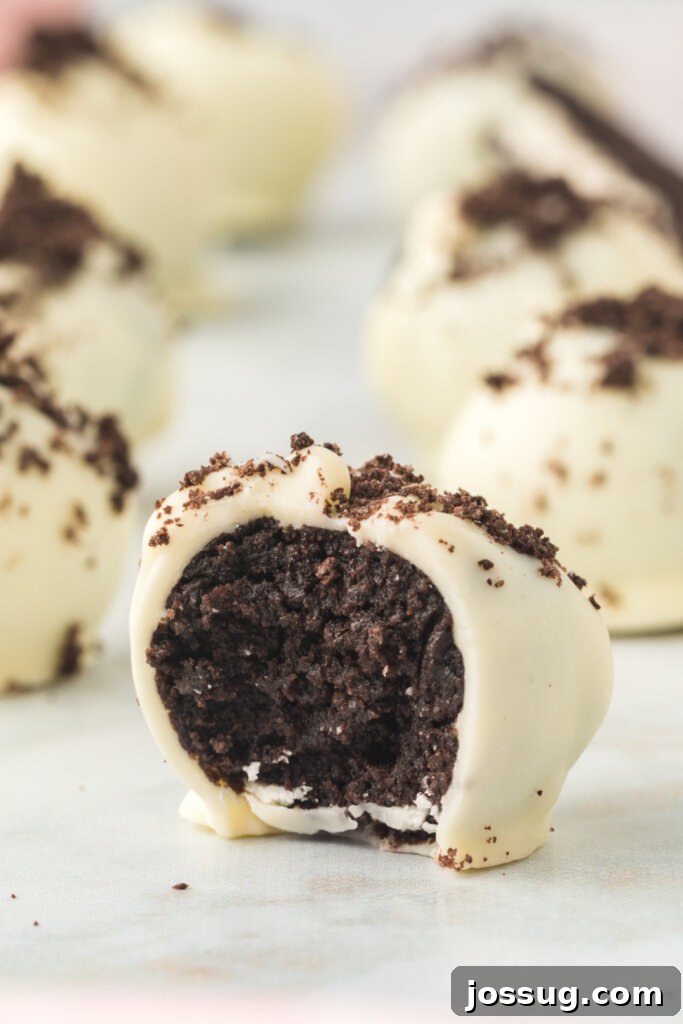
Essential Ingredients for Your Oreo Truffles
Crafting these delectable Oreo Truffles requires just three core ingredients, each playing a crucial role in creating their signature taste and texture. Simplicity truly meets deliciousness here!
Ingredients Breakdown:
- Oreo Cookies: You’ll need one whole package, typically 16 oz or about 45 cookies. The beauty of this recipe is its flexibility – use any flavor you adore! Classic chocolate Oreos are always a winner, but don’t hesitate to explore mint, golden, peanut butter, or even seasonal varieties. For those with dietary considerations, many gluten-free sandwich cookies work wonderfully as a substitute, ensuring everyone can enjoy these treats. These cookies form the rich, crumbly core of your truffles, and a small portion will be reserved for sprinkling on top, adding a lovely textural contrast and visual appeal.
- Cream Cheese: A single 8 oz package of softened cream cheese is essential. This ingredient acts as the binding agent, transforming the cookie crumbs into a pliable mixture that’s easy to shape. It also lends a delightful tang and creamy richness that balances the sweetness of the Oreos. For the best results, I highly recommend using full-fat regular cream cheese. Lighter versions tend to have a higher water content, which can make the mixture too thin and difficult to handle, resulting in less firm truffles. Ensure it’s properly softened at room temperature for seamless blending.
- Candy Melts: These will form the smooth, decorative outer coating of your truffles. One 16 oz package of candy melts is usually sufficient. You have complete creative freedom with the color! Choose a classic chocolate or vanilla, or pick vibrant hues to match a specific theme or holiday. For instance, red and green for Christmas, pastels for Easter, or orange and black for Halloween. While various brands are available, I personally find CandiQuik to be reliable for its smooth melting and consistent results. Alternatively, high-quality chocolate chips or baking chocolate can also be used, though they may require tempering for a perfectly smooth, non-streaky finish.
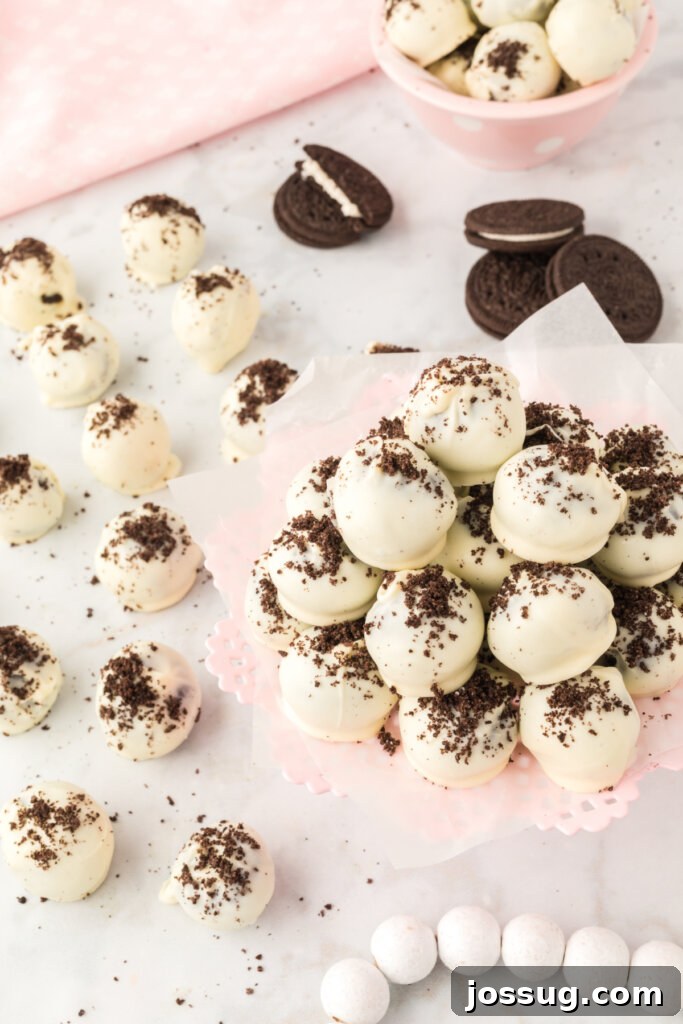
Frequently Asked Questions About Oreo Truffles
Here are some common questions to help you master your Oreo Truffle making process and ensure delicious results every time.
Due to the cream cheese content, it’s crucial to store your Oreo Truffles in an airtight container in the refrigerator. This not only keeps them fresh but also maintains their firm texture. Avoid leaving them out at room temperature for extended periods; ideally, they shouldn’t sit out for longer than 2-3 hours, even at a party or gathering, to ensure food safety and optimal taste.
Absolutely! Oreo Truffles freeze exceptionally well. Place them in a single layer on a baking sheet to freeze solid, then transfer them to an airtight, freezer-safe container or freezer bag. They will remain fresh and delicious for about 3 months. When you’re ready to enjoy them, simply transfer them to the refrigerator and allow them to thaw slowly for a few hours before serving.
This recipe typically yields approximately 48 small, bite-sized truffles. This generous quantity is usually ample for a family treat or a small gathering. However, if you’re hosting a larger party or event, or simply want to ensure you have plenty of extras, consider doubling the recipe to make two batches.
One of the best features of this recipe is its speed! From start to finish, you can expect to spend about 30 minutes. This includes approximately 10 minutes for active preparation (crushing cookies, mixing, and rolling) and roughly 20 minutes for the truffles to firm up in the refrigerator. It’s a super quick process, with no cooking required, making it perfect for last-minute dessert needs.
Yes, absolutely! If you don’t have a food processor, simply place the Oreo cookies in a sturdy Ziploc bag, seal it tightly (removing as much air as possible), and use a rolling pin or a heavy object (like a meat mallet or a sturdy mug) to crush them into fine crumbs. This method is surprisingly effective and can even be a fun activity!
Tips for Perfect Oreo Truffles Every Time
Even though this recipe is incredibly simple, a few tips can ensure your Oreo Truffles turn out perfectly every time:
- Soften Your Cream Cheese Properly: This is key! If your cream cheese is too cold, it won’t blend smoothly with the cookie crumbs, leading to a lumpy mixture. Let it sit on the counter for at least 30-60 minutes before you start.
- Achieve Fine Crumbs: Whether using a food processor or a rolling pin, aim for very fine, consistent cookie crumbs. Large chunks can make the truffles difficult to form and affect the texture.
- Chill the Mixture (If Needed): If your mixture feels too sticky or soft to roll, pop it into the refrigerator for 10-15 minutes. This will firm it up and make it much easier to handle.
- Use a Cookie Scoop for Uniformity: For perfectly sized and consistent truffles, use a small cookie scoop or a rounded teaspoon to portion out the mixture before rolling.
- Dipping Technique: When dipping the balls in melted candy, use a fork to gently lower and lift them. Tap the fork lightly against the side of the bowl to allow excess coating to drip off. This prevents puddles at the base of your truffles.
- Decorate Immediately: Once dipped, sprinkle your reserved cookie crumbs or other decorations (sprinkles, chopped nuts) immediately, before the candy coating sets. This ensures they adhere properly.
Creative Variations & Customizations
The beauty of Oreo Truffles lies in their incredible versatility. Here are some ideas to inspire your next batch:
- Flavor Frenzy:
- Mint Chocolate: Use mint Oreos and dip them in dark chocolate candy melts.
- Peanut Butter Bliss: Use peanut butter Oreos, or mix a tablespoon of creamy peanut butter into the cream cheese mixture.
- Red Velvet Delight: Opt for Red Velvet Oreos and dip in white candy melts.
- Lemon Zest: Use lemon-flavored Oreos for a bright, tangy treat.
- Seasonal Flavors: Utilize pumpkin spice Oreos for fall, or gingerbread Oreos for winter holidays.
- Decorative Touches:
- Holiday Sprinkles: Use festive sprinkles for Christmas, Halloween, Easter, or any celebration.
- Drizzles: After the main coating sets, drizzle contrasting colored candy melts over the truffles for an elegant look.
- Chopped Nuts: Roll freshly dipped truffles in finely chopped pecans, walnuts, or almonds.
- Coconut Flakes: Toasted or untoasted coconut flakes add a lovely texture and tropical twist.
- Cocoa Powder: For a more sophisticated, less sweet option, roll the truffles in unsweetened cocoa powder instead of candy melts.
- Filling Boost:
- Mini Chocolate Chips: Fold a small amount of mini chocolate chips into the Oreo-cream cheese mixture.
- Extracts: Add a few drops of peppermint extract, almond extract, or vanilla extract to the cream cheese mixture for an extra flavor boost.
Other Recipes You May Enjoy
- White Chocolate Lemon Truffles
- Cookie Dough Truffles
- Oreo Fluff Salad
- Keto Bacon and Sun-Dried Tomato Truffles
- Red Velvet Cupcakes with OREO Cream Cheese Frosting
48
truffles
Oreo Truffles
Jamie Sherman
10
mins
20
mins
30
mins
Print Recipe
Equipment
-
Cookie Scoop
-
Rubber Spatula or Wooden Spoon
-
Large Mixing Bowl
-
Food Processor (optional, for crushing cookies)
-
Baking Sheets
Ingredients
-
1
package
Oreos cookies (any flavor),
16 oz. OR about 45 cookies -
1
package
cream cheese, softened,
8 oz. (full-fat recommended) -
1
package
CandiQuik OR any color of candy melts,
16 oz.
Instructions
-
Line a baking sheet with waxed paper or parchment paper. Set aside.
-
Place the entire package of Oreos into the bowl of a food processor and blend until the cookies are processed into very fine crumbs. Alternatively, place cookies in a sealed bag and crush with a rolling pin until fine. Measure out 1/4 cup of the cookie crumbs and set them aside for later decoration.
-
In a large mixing bowl, combine the remaining cookie crumbs with the softened cream cheese. Mix thoroughly using a rubber spatula or your hands until a well-combined, firm dough-like mixture forms.
-
Using a rounded teaspoon or a small cookie scoop, shape the mixture into 1-inch balls. Place these balls onto the prepared baking sheet. Repeat until all of the cookie/cream cheese mixture has been used. Once formed, place the baking sheet in the refrigerator for at least 20 minutes to allow the truffles to firm up.
-
While the truffles are chilling, melt the CandiQuik or candy melts according to the package directions (typically in the microwave at short intervals, stirring frequently).
-
Dip each chilled truffle ball into the melted candy coating. Use a fork to gently lower and lift the truffle, tapping the fork lightly against the side of the bowl to remove any excess coating. Replace the coated balls back onto the waxed paper-lined cookie sheet.
-
Immediately after dipping each truffle, sprinkle a bit of the reserved cookie crumbs over the top of the truffle before the candy coating hardens. Repeat this process with all remaining truffle balls, candy coating, and reserved cookie crumbs. Allow the truffles to stand at room temperature or chill briefly until the candy coating is completely firm.
-
Store your finished Oreo truffles in a tightly closed, airtight container in the refrigerator to maintain their freshness and texture.
Notes
- Feel free to use any flavor of Oreo cookies that you like to customize your truffles!
- A standard 16-oz package of Oreos contains approximately 45 cookies. If you purchase a larger package, simply count out the required amount.
- Get creative with decorations! You can use different colors of candy melts, add seasonal sprinkles, or even drizzle contrasting chocolate on top for a festive touch.
- For a smoother coating, ensure your candy melts are not overheated. Melt in short bursts, stirring well in between, until just smooth.
Nutrition
Serving:
1
truffle
,
Calories:
128
kcal
,
Carbohydrates:
15
g
,
Protein:
1
g
,
Fat:
7
g
,
Saturated Fat:
5
g
,
Polyunsaturated Fat:
0.4
g
,
Monounsaturated Fat:
1
g
,
Trans Fat:
0.01
g
,
Cholesterol:
5
mg
,
Sodium:
55
mg
,
Potassium:
28
mg
,
Fiber:
0.3
g
,
Sugar:
12
g
,
Vitamin A:
63
IU
,
Calcium:
7
mg
,
Iron:
1
mg
Nutrition information is automatically calculated, so should only be used as an approximation.