
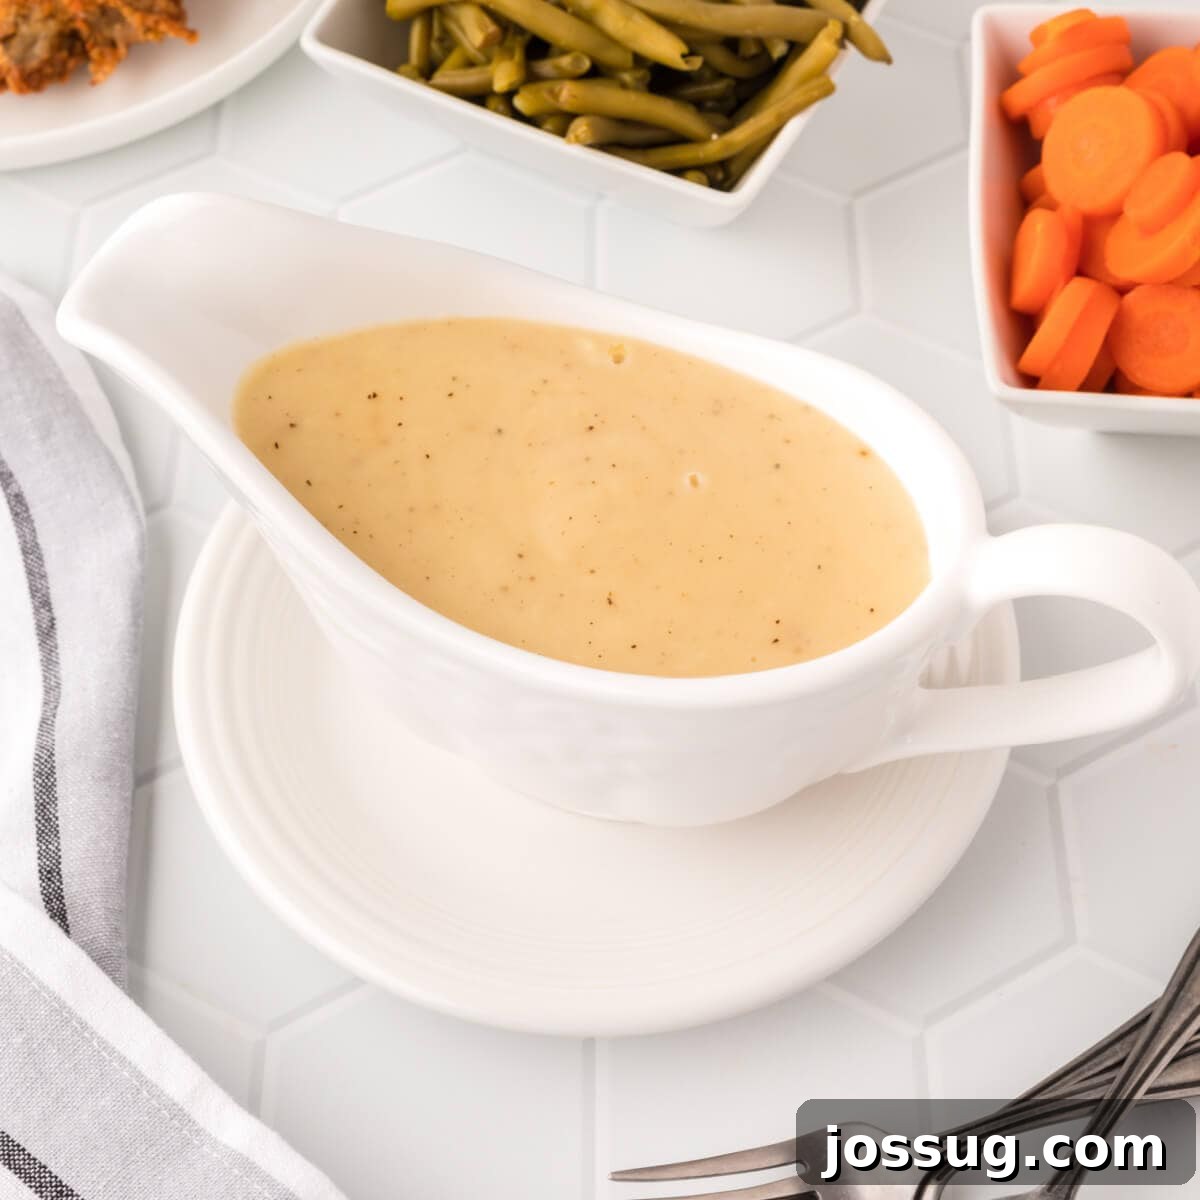
Elevate your holiday feast and everyday meals with the rich, velvety goodness of homemade gravy. Forget the bland, gelatinous canned varieties; crafting perfect gravy from scratch is surprisingly simple, deeply rewarding, and promises a depth of flavor that store-bought versions can only dream of. This comprehensive guide will walk you through everything you need to know to create a lump-free, impeccably seasoned gravy that will become the star of your dining table, especially during the festive season.
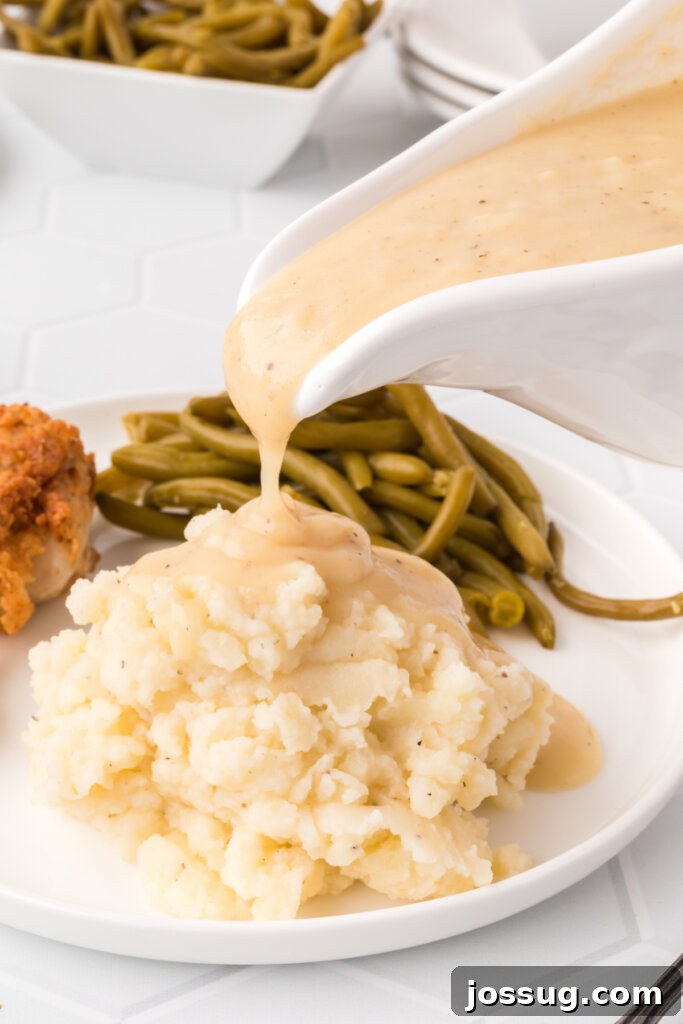
How To Make Perfect Gravy From Scratch: Your Ultimate Guide
There’s an undeniable magic that happens when you drizzle homemade gravy over a plate of fluffy mashed potatoes, succulent turkey, or a perfectly roasted ham. It’s more than just a sauce; it’s a foundational element of comfort food, a warm embrace for the taste buds, and often the unsung hero of any holiday spread. While many shy away from making gravy, intimidated by tales of lumps or thin, watery results, I’m here to assure you that a truly perfect, flavorful, and smooth gravy is well within your reach. It’s simpler than you might imagine and far superior to anything you’d buy in a can.
The Irresistible Allure of Homemade Gravy
For me, the holiday season, particularly Thanksgiving, is synonymous with gathering loved ones and indulging in cherished traditions. After navigating life’s unexpected challenges, these moments become even more precious, making every dish served a testament to shared joy and warmth. Among the pantheon of holiday classics, mashed potatoes and gravy hold a special place on my comfort food hierarchy. And let’s be honest, while mashed potatoes are fantastic, it’s the rich, savory gravy that truly elevates them from good to absolutely divine. It’s so good, you might even be tempted to enjoy it by the spoonful! (Though I highly recommend pairing it with other deliciousness.)
Gravy isn’t just for Thanksgiving, though it certainly shines there. Imagine a cozy Sunday dinner with roast chicken, or a comforting plate of biscuits and sausage. A well-made gravy transforms these meals into unforgettable culinary experiences. It’s the unifying element, bringing together different flavors and textures with its luxurious mouthfeel and savory depth. Learning this skill isn’t just about a single recipe; it’s about unlocking a new level of home cooking that will impress your family and friends time and time again.
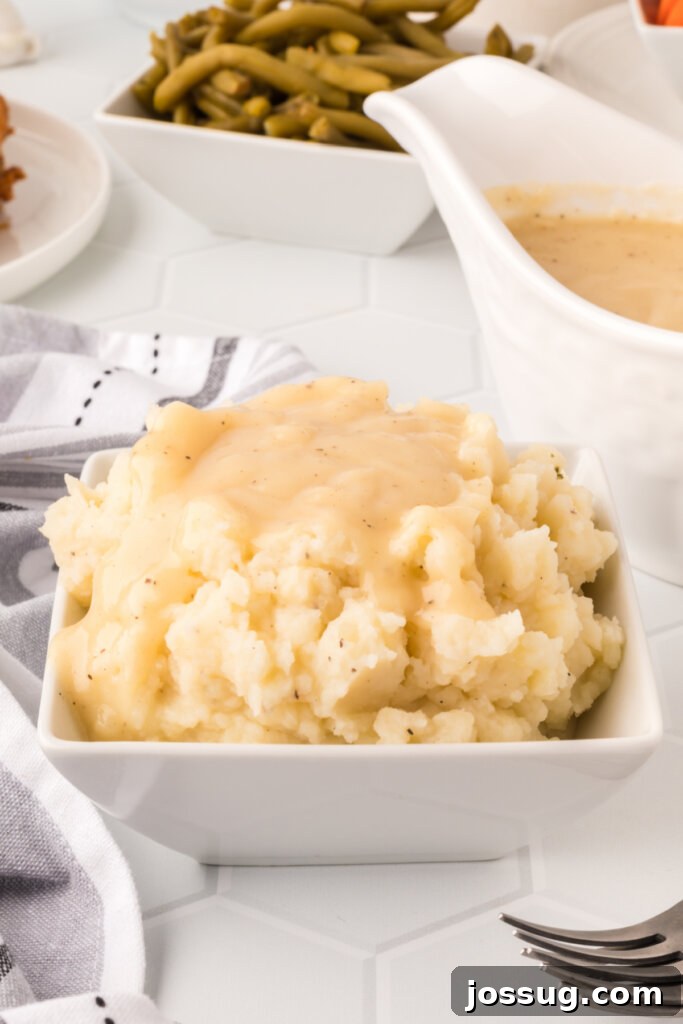
Why Homemade Gravy Is Always The Best Choice
The secret to exceptional gravy lies in its foundation: the rich pan drippings left over from roasting your meat. These drippings are packed with concentrated flavor, the essence of your roasted turkey, chicken, or ham. Using them as the base for your gravy ensures that every spoonful carries the delicious taste of your main course, creating a cohesive and harmonious meal. Unlike commercial gravies that often rely on artificial flavors and thickeners, homemade gravy allows you to control every ingredient, resulting in a cleaner, fresher taste and a velvety smooth texture free from any questionable additives.
Many home cooks feel intimidated by the idea of making gravy, fearing a lumpy mess or a bland sauce. I promise you, with a few simple techniques and the right approach, anyone can master this kitchen staple. For the images in this post, I used drippings from a beautifully roasted chicken, enhanced with chicken broth, to demonstrate just how versatile and flavorful homemade gravy can be. And don’t worry if you find yourself without pan drippings – I’ll also share a fantastic method for making a rich, savory gravy from scratch, perfect for those times you need a quick and delicious sauce without a roast in sight.
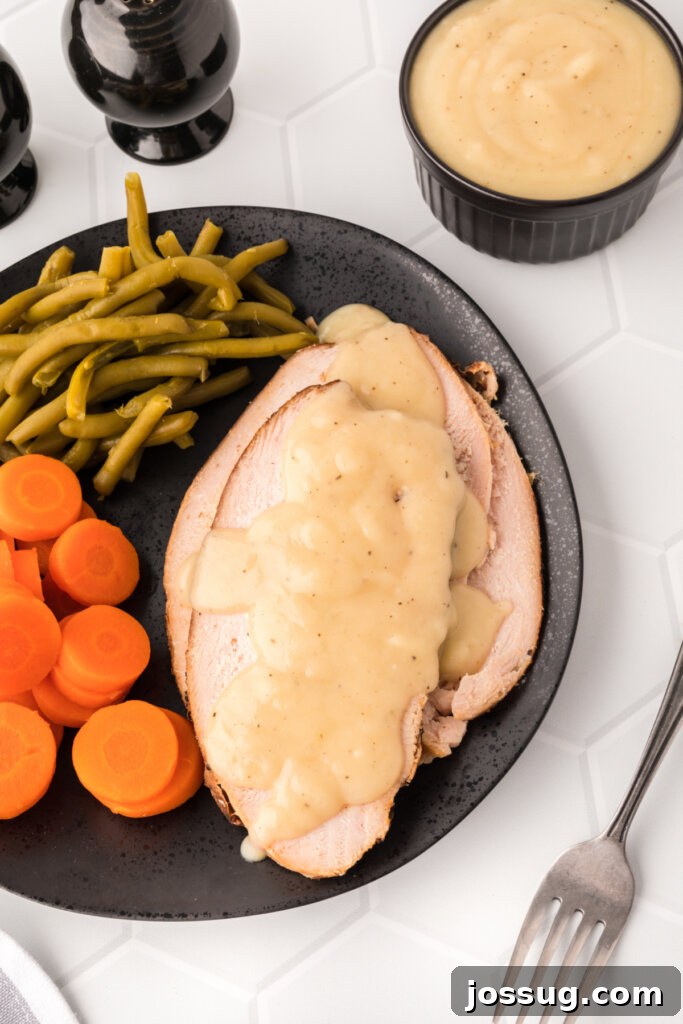
Essential Ingredients for a Flawless Gravy
Creating a truly magnificent gravy requires just a handful of basic ingredients, each playing a crucial role in developing its signature flavor and texture. Understanding these components is the first step to mastering your gravy-making skills.
The Core Components
- Drippings from cooked meat: This is the heart of your gravy. Whether it’s from turkey, chicken, beef, or ham, these flavorful juices and rendered fat provide the foundation. The quality of your drippings directly impacts the richness of your gravy.
- Cool water or broth: Used to thin and build the liquid base of your gravy. Cool liquid is essential for preventing lumps when whisking in the flour. Chicken or beef broth can amplify the flavor significantly, while water provides a more neutral base.
- All-purpose flour: The thickening agent for your gravy. Flour creates a roux with the fat, which is key to achieving a smooth, consistent texture.
- Salt and pepper, to taste: Essential for seasoning and balancing the flavors. Always taste and adjust at the end, as drippings and broths can vary in sodium content.
No Drippings? No Problem! The Anytime Gravy Method
What if you want delicious gravy but haven’t roasted any meat? Or perhaps your drippings are scarce? You can absolutely still make a fantastic gravy! Instead of meat drippings, you’ll simply substitute with fat and a quality broth. Use 1/4 cup of butter or any cooking fat (such as oil or even bacon grease for extra flavor!) to make your roux. Then, instead of drippings, use 2 cups of your preferred broth – chicken, beef, or vegetable – along with salt and pepper to taste. The process remains largely the same, yielding a rich and satisfying sauce.
Step-by-Step Guide to Homemade Gravy
Follow these detailed instructions to create a velvety, lump-free gravy that will impress everyone at your table. Precision and attention to detail are key to achieving perfect results.
Instructions
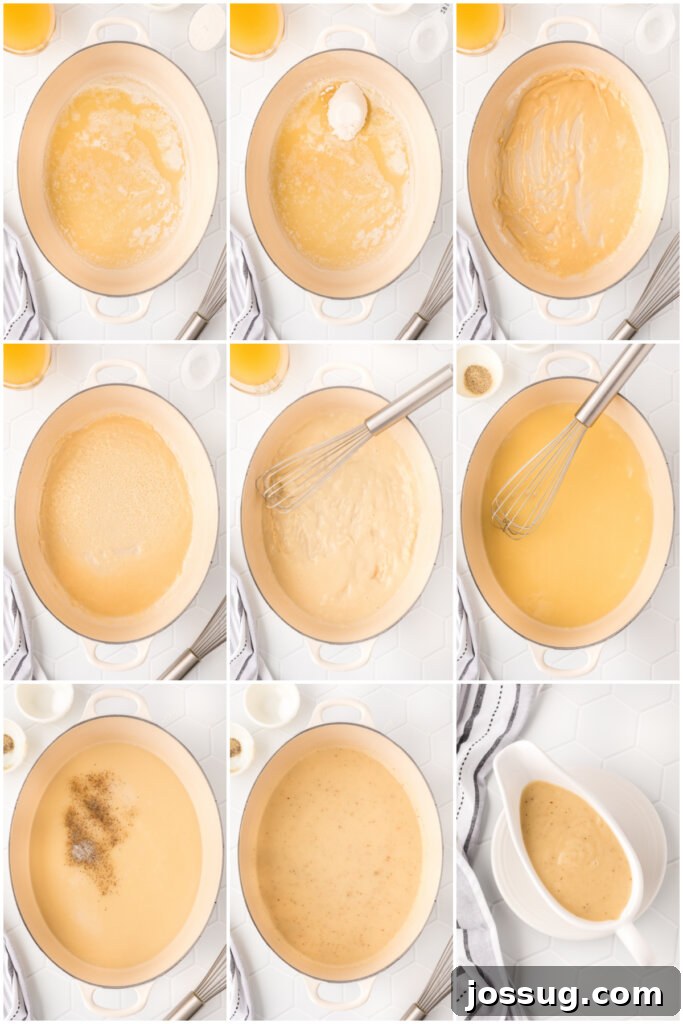
- Separate the Drippings: Once your roast is cooked and removed from the pan, carefully pour all the drippings (both juice and rendered fat) into a heatproof measuring cup or, ideally, a fat separator. Allow it to sit for a few minutes, giving the fat a chance to naturally rise to the top. This separation step is crucial for controlling the fat content and ensuring a balanced gravy.
- Prepare the Fat and Liquid: Skim off 1/4 cup of the separated fat and return it to the roasting pan. Discard any excess fat beyond this amount. Next, measure the remaining meat juices (without the fat) and add enough cool water or broth until you reach a total of 2 cups of liquid. This combined liquid will be the flavorful base for your gravy.
- Build the Roux: Place your roasting pan over one or two burners on medium heat. Add the reserved 1/4 cup of fat back into the pan. Once the fat is shimmering, gradually whisk in the all-purpose flour. Stir constantly with a wire whisk, ensuring there are no dry spots. Continue cooking and stirring for 1-2 minutes until the flour mixture (your roux) turns a light golden brown. This cooking process is vital for cooking out the raw flour taste and developing a nutty flavor.
- Gradually Whisk in Liquid: Slowly, and in a steady stream, whisk the 2 cups of drippings/broth mixture into the roux in the roasting pan. Continue whisking diligently to prevent any lumps from forming. Bring the mixture to a gentle boil, then reduce the heat to medium-low. Allow the gravy to simmer for 5 to 10 minutes, stirring frequently, until it thickens to your desired consistency. It should coat the back of a spoon.
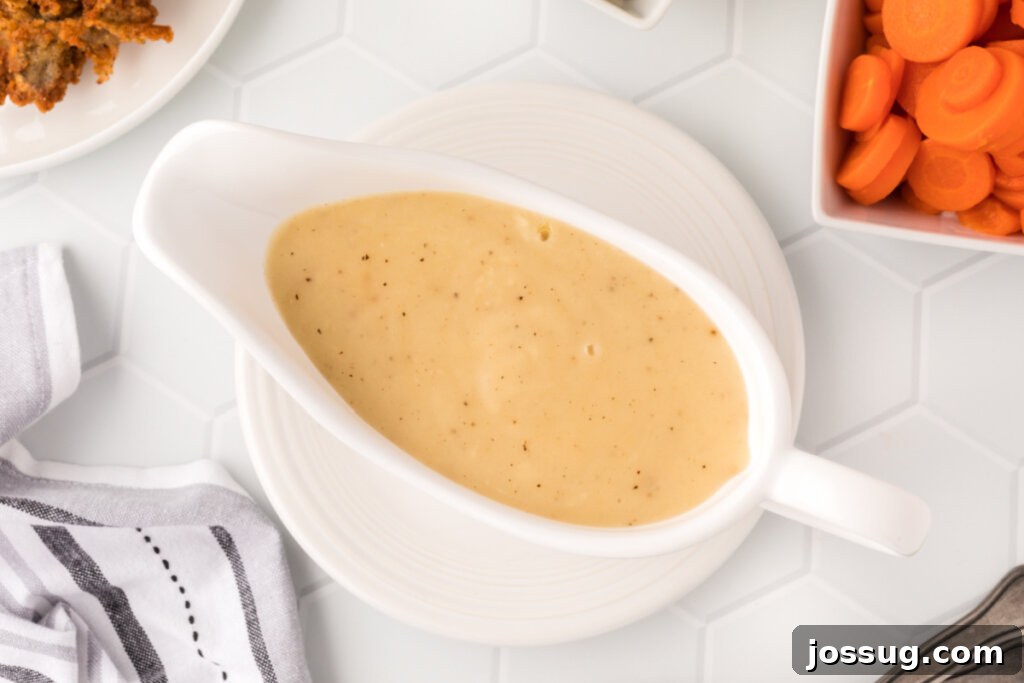
- Season and Serve: Taste the gravy and season generously with salt and freshly ground black pepper. Remember that the flavors will concentrate slightly as it simmers, so it’s best to make your final seasoning adjustments at the end. Serve immediately and enjoy the rich, savory goodness!
Mastering Gravy: Expert Tips for Success
While the basic steps are straightforward, a few key tips can elevate your gravy from good to truly exceptional. These insights will help you achieve perfect flavor and consistency every time.
Key Techniques for a Lump-Free Gravy
- The Power of the Whisk: A wire whisk is your best friend when making gravy. It’s essential for thoroughly blending the flour into the fat to create a smooth roux, and for incorporating the liquid gradually to prevent lumps. Constant whisking during the thickening stage ensures an even consistency.
- Add Liquids Slowly: This cannot be stressed enough. Pouring all the liquid at once can shock the roux and lead to lumps. Adding it slowly and whisking continuously allows the flour to absorb the liquid evenly, resulting in a perfectly smooth gravy.
- Give it Time to Thicken: Gravy thickens as it simmers. Don’t rush this process. Allow it the full 5-10 minutes (or even a little longer if needed) to reach your desired consistency. If it’s still too thin, you can whisk in a slurry of equal parts flour/cornstarch and cold water/broth, a tablespoon at a time, bringing it back to a simmer after each addition.
Enhancing Gravy Flavor and Complexity
- Herb Infusion: For an aromatic boost, consider adding your favorite fresh or dried herbs to the simmering gravy. Sage, thyme, rosemary, or a bay leaf can infuse a wonderful depth of flavor. Remove the bay leaf before serving.
- Garlic Goodness: Roast a head of garlic with your meat, then mash a few cloves into the gravy for a subtle, sweet garlic flavor that complements almost any roast.
- Umami Powerhouse: A small splash (about a teaspoon) of soy sauce or Worcestershire sauce can work wonders in adding a rich, savory umami depth to your gravy without significantly altering its primary flavor. It’s a chef’s secret for making flavors pop.
Scaling Your Recipe and Seasoning
- Easily Double or Triple: This recipe is incredibly adaptable. If you’re feeding a larger crowd or simply want extra gravy (and who doesn’t?), you can easily double or triple the quantities. Just ensure you have a large enough pan and adjust simmering times slightly.
- Season at the End: Always wait until the very end to make final seasoning adjustments. As the gravy simmers and reduces, its flavors will concentrate, including the saltiness from the drippings and broth. Tasting and adjusting just before serving ensures perfect balance.
Common Gravy Questions and Solutions
Even seasoned cooks have questions about gravy. Here are some answers to frequently asked questions and solutions to common issues to ensure your gravy is always a triumph.
Storage and Preservation
Store any leftover gravy in an airtight container in the refrigerator. It will keep beautifully for up to 3-4 days. For best results, press a piece of plastic wrap directly onto the surface of the gravy before sealing the container to prevent a skin from forming.
Absolutely! Gravy freezes very well. Prepare the gravy according to the recipe, allow it to cool completely to room temperature, then transfer it to freezer-safe airtight containers or heavy-duty freezer bags. It can be frozen for up to 4-6 months. When you’re ready to use it, thaw the gravy overnight in the refrigerator before reheating.
To reheat, transfer the gravy to an appropriate-sized saucepan. Heat it over low heat, stirring frequently, until it’s steaming hot and returns to a smooth, pourable consistency. If the gravy has thickened too much in the fridge, you can whisk in a splash of water or broth (1-2 tablespoons at a time) until it reaches your desired texture. If it’s slightly lumpy after reheating, a quick whisk or blend with an immersion blender can smooth it out.
A good rule of thumb is to plan on 1/3 to 1/2 cup of gravy per person, especially for holiday meals where it’s a popular accompaniment. It’s always better to have a little extra than to run out!
Troubleshooting Common Gravy Issues
- Gravy is Lumpy: This usually happens when the liquid is added too quickly or not whisked thoroughly enough. To fix, you can pass the gravy through a fine-mesh sieve or use an immersion blender directly in the saucepan to smooth out any lumps.
- Gravy is Too Thin: If your gravy isn’t thickening after simmering, create a “slurry” by whisking 1 tablespoon of flour or cornstarch with 2 tablespoons of cold water or broth until smooth. Slowly whisk this slurry into the simmering gravy and cook for another 2-3 minutes until it thickens. Repeat if necessary.
- Gravy is Too Thick: Easily remedied! Simply whisk in a splash of warm broth or water, one tablespoon at a time, until the gravy reaches your desired consistency.
- Gravy is Bland: Taste and adjust! Add more salt, freshly cracked black pepper, or a dash of your favorite herbs. A tiny bit of soy sauce or Worcestershire can boost umami. If your drippings were mild, consider using a richer broth next time.
Perfect Pairings: What to Serve with Homemade Gravy
Once you’ve mastered this perfect gravy, a world of delicious possibilities opens up! While it’s famously paired with Thanksgiving turkey and mashed potatoes, its versatility extends far beyond the holiday table.
- Classic Roasts: Essential for Instant Pot Turkey Breast, roasted chicken, or even a succulent Apricot Dijon Spiral Ham.
- Potatoes of All Kinds: Beyond Perfect Mashed Potatoes, try it over roasted potatoes, potato wedges, or even crispy french fries.
- Comforting Dinners: A must-have for Hot Roast Beef Sandwiches with Gravy, meatloaf, or even a simple plate of Buttery Rolls for dipping.
- Breakfast & Brunch: A savory sausage gravy is fantastic over biscuits. While this recipe is for pan drippings gravy, it shares similar principles. Check out my Sausage Gravy recipe for that!
- Unique Twists: Explore options like Easy Baked Pork Chops in Gravy or the adventurous Slow Cooker Sauerbraten Beef in Gingersnap Gravy for something different.
Explore More Delicious Holiday and Everyday Recipes
Once you’ve mastered this gravy, you’ll be ready to tackle other delicious dishes that complement it perfectly or stand alone as family favorites. Here are some other recipes you may enjoy:
- Hot Roast Beef Sandwich with Gravy
- Sausage Gravy
- Slow Cooker Sauerbraten Beef in Gingersnap Gravy
- Easy Baked Pork Chops in Gravy
- Mashed Potatoes
- Sweet Potato Casserole
- Cranberry Sauce
- Waldorf Salad
Making homemade gravy is a culinary skill that will serve you well for years to come. It’s a small effort that yields tremendous flavor and satisfaction, transforming ordinary meals into extraordinary dining experiences. So, gather your ingredients, follow these steps, and prepare to delight in the rich, smooth perfection of your very own homemade gravy. Happy cooking!
8
servings
How To Make Perfect Gravy
Jamie Sherman
Don’t buy that canned stuff – I’ll show you how easy it is to make PERFECT GRAVY that is flavorful and has no lumps! Perfect for holidays!
10
mins
20
mins
30
mins
Print Recipe
Equipment
-
2 Cup Fat Separator
-
Whisk
-
Roasting Pan (or large saucepan)
-
Measuring Cups and Spoons
Ingredients
- Drippings from cooked meat
- Cool water or broth (enough to make 2 cups combined with drippings)
-
¼
cup
all-purpose flour -
Salt and pepper,
to taste
Instructions
-
Carefully pour the drippings (juice and fat) from the roasting pan into a heatproof measuring cup or fat separator. Let stand until the fat rises to the top.
-
Remove 1/4 cup of the fat; return it to the roasting pan. Discard any remaining fat. Add enough water or broth to remaining drippings to measure 2 cups, if necessary.
-
Place roasting pan over one or two burners over medium heat. Add the flour to reserved fat in the pan, constantly stirring with a wire whisk until well blended and the flour mixture starts to turn a light brown.
-
Gradually whisk in the 2 cups of drippings/broth. Bring to boil. Reduce heat to medium-low; simmer 5 to 10 min. or until slightly thickened, stirring frequently.
-
Season to taste with salt and pepper.
Notes
Did you know you can still make a great gravy without pan drippings?!
In a medium saucepan, use 1/4-cup of butter or oil in place of the separated fat and use 2 cups broth in place of the drippings!
Recipe Tips
- Add your favorite herbs or roasted garlic for extra flavor!
- For more umami-flavor, add a splash of soy sauce or Worcestershire sauce.
- You can easily double or triple this recipe.
- It’s important to use a whisk for a smooth, lump-free gravy.
- Add your liquids slowly, and keep whisking continuously!
- Be sure to give your gravy time to thicken up, don’t rush the simmer.
- Wait to season at the end since cooking will reduce the liquids and concentrate the flavors.
Nutrition Facts (Per Serving)
, Calories: 57 kcal
, Carbohydrates: 4g
, Protein: 5g
, Fat: 2g
, Saturated Fat: 1g
, Polyunsaturated Fat: 1g
, Cholesterol: 14mg
, Sodium: 91mg
Nutrition information is automatically calculated, so should only be used as an approximation and is subject to variation based on ingredients used.
Originally published on November 12, 2015. Updated on November 10, 2021.