
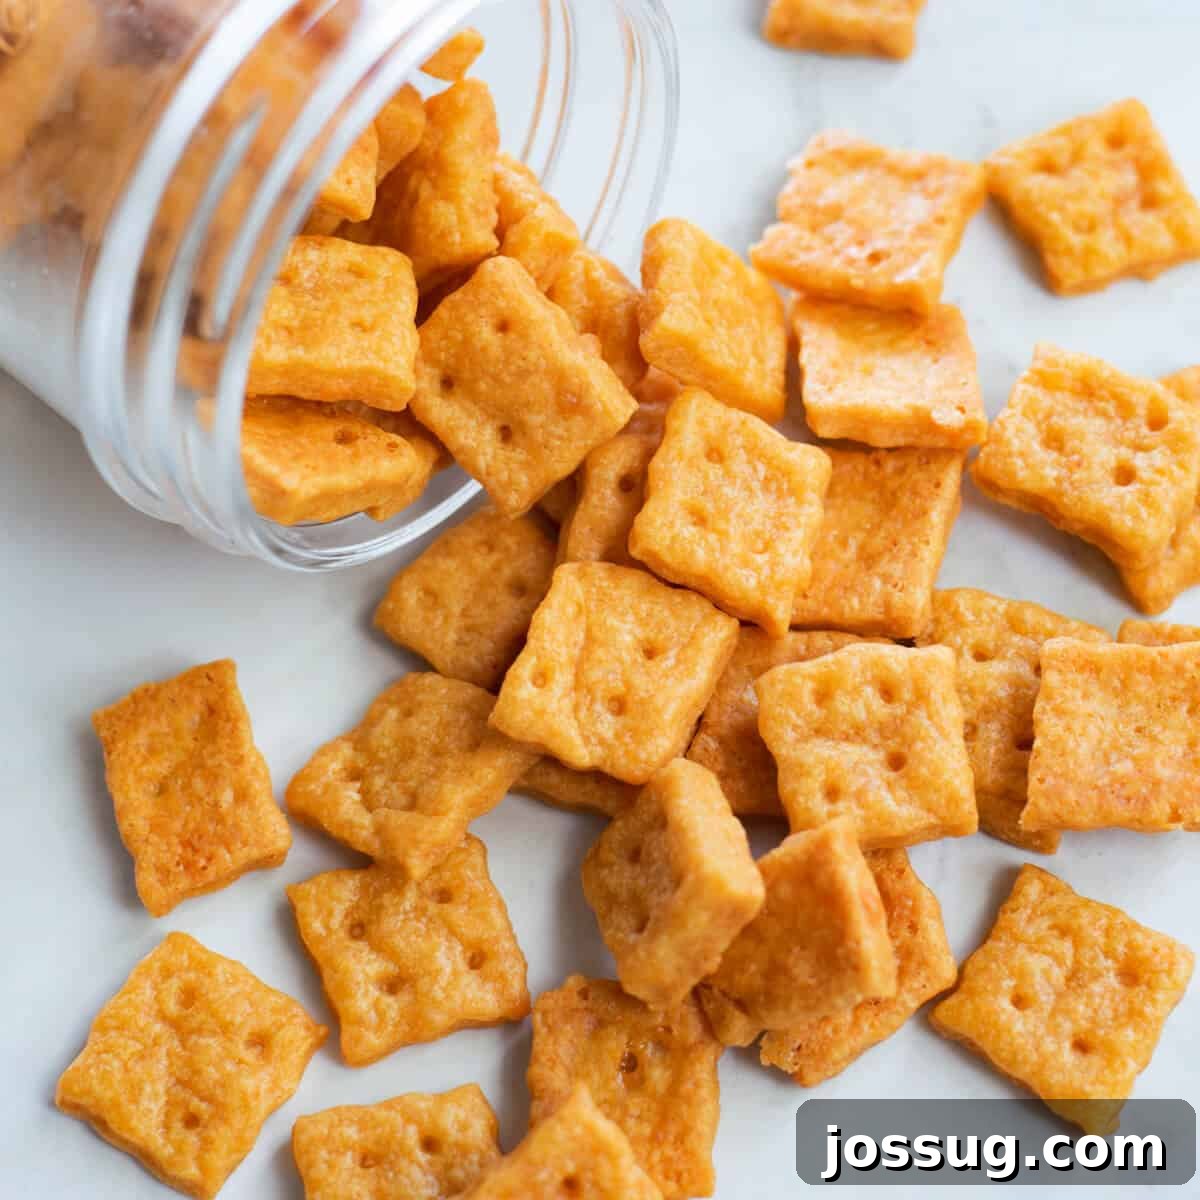
Easy Homemade Cheese Crackers: Your New Favorite Cheesy Snack!
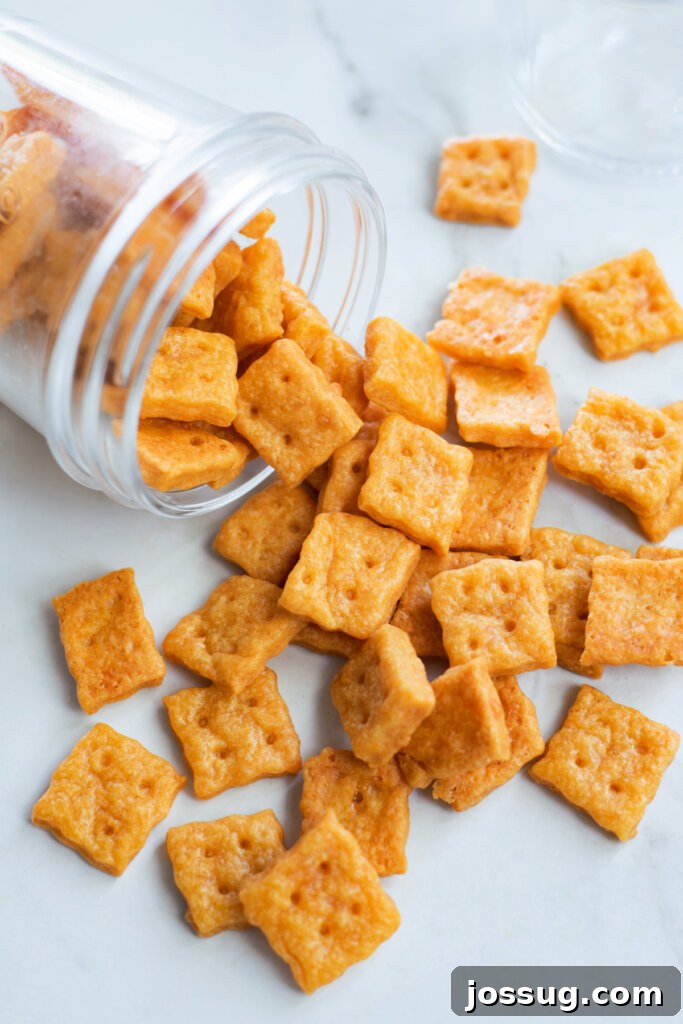
Experience the Delight of Homemade Crackers
Crackers are a universally beloved snack, and these homemade cheese crackers elevate the experience to a whole new level! This incredibly easy recipe guides you through baking delicious, cheesy-flavored snack crackers that are wonderfully reminiscent of popular store-bought varieties like Cheez-Its, but with a unique, wholesome twist that only homemade can offer.
There’s an undeniable magic in creating a homemade version of a classic snack. While convenient store-bought options certainly have their place in our busy lives – and trust us, our family enjoys them too – the process of baking your own brings immense satisfaction. When time and ingredients allow, we always choose to whip up a batch of these irresistible cheese crackers over a trip to the local grocery store for a box of Cheez-Its. The difference in taste, texture, and overall enjoyment is simply incomparable.
Beyond the superior flavor, crafting your own cheese crackers offers peace of mind, especially for health-conscious families. You gain complete control over every ingredient, eliminating concerns about obscure preservatives, artificial chemicals, and hard-to-pronounce additives. This means you can confidently serve your kids a super scrumptious snack, knowing exactly what’s in it. But even if health benefits aren’t your primary driver, the homemade touch genuinely seems to make them taste better. Perhaps it’s the extra dash of love baked into every batch, a secret ingredient that always enhances the flavor of any dish!
To embark on this delightful culinary adventure, you’ll only need a handful of common pantry staples: flour, butter, and, of course, cheese. The simplicity of the ingredients belies the incredible flavor and texture you’ll achieve. We’re confident that once you try these homemade cheese crackers, they’ll become a staple in your snack rotation!
Homemade Cheese Crackers: Essential Ingredients & Creative Substitutions
Crafting these delectable homemade crackers requires a simple lineup of ingredients, most of which you likely already have on hand. Let’s delve into what you’ll need and how you can personalize your cheesy creations.
Key Ingredients:
- All-purpose flour & Cornstarch: These form the foundational structure of your cracker dough. While flour provides bulk and elasticity, cornstarch is the secret weapon for achieving that signature crispiness and tender crumb, making your crackers truly irresistible. You’ll also want a pinch of extra salt for sprinkling on top before baking, enhancing that savory cheese flavor.
- Sharp Cheddar Cheese: The star of the show! You simply can’t have authentic cheese crackers without a generous amount of cheese. Sharp Cheddar offers a robust, tangy flavor that truly shines in this recipe. Finely shredded cheese integrates best into the dough, ensuring an even distribution of cheesiness throughout every bite.
- Onion Powder & Cayenne Pepper: These aromatic spices are crucial for adding depth and a subtle, family-friendly “kick” to your crackers. Onion powder provides an earthy, savory base, while a touch of cayenne pepper introduces a gentle warmth that complements the cheese beautifully. However, if these flavors aren’t to your preference, feel free to omit one or both; your crackers will still be wonderfully tasty!
- Unsalted Butter: The fat component of your dough, butter contributes significantly to the crackers’ rich flavor and tender texture. Using cold, unsalted butter is key to preventing the dough from becoming overly sticky and ensures a flaky, crispy result.
- Cold Water (optional): This acts as a binder. After combining all the dry ingredients with the butter, if your dough still feels too dry and crumbly to come together into a cohesive ball, gradually add cold water, one tablespoon at a time, until the ideal pliable consistency is achieved. The exact amount needed can vary based on factors like humidity and the moisture content of your cheese.
Dietary Note: This versatile recipe can be easily adapted to suit various dietary needs. For a gluten-free version, simply substitute the all-purpose flour with a high-quality gluten-free flour blend (such as Bob’s Red Mill 1-to-1 Baking Flour) and ensure your cornstarch is pure. To make these crackers vegan, replace the unsalted butter with a plant-based butter alternative and use your favorite vegan shredded cheese. The preparation steps remain largely the same, allowing everyone to enjoy these delightful homemade treats!
Homemade Cheese Crackers: Frequently Asked Questions
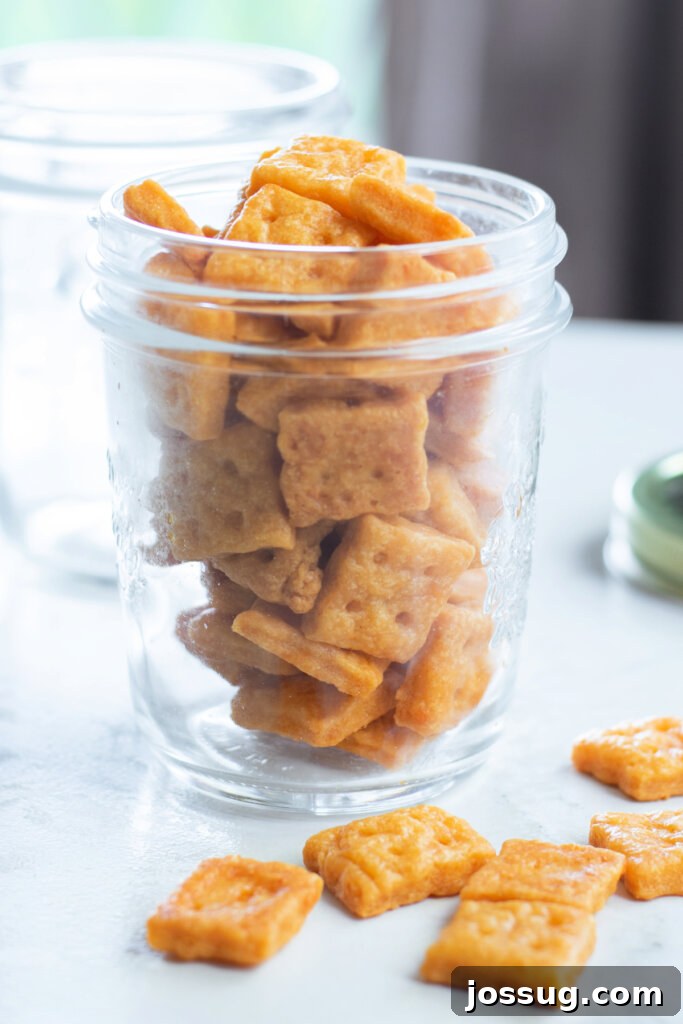
For optimal freshness and crispness, store your homemade cheese crackers in an airtight container at room temperature. They will remain wonderfully crunchy for up to a week. Remember, unlike many commercial snacks, these crackers are free from artificial preservatives, so their shelf life is naturally shorter. If you notice them losing their crispness, a quick re-bake at a low temperature for a few minutes can often revive them.
Unfortunately, freezing is not recommended for these crackers. The texture can become compromised, leading to a softer, less appealing cracker upon thawing. For the best experience, enjoy them fresh or store them at room temperature as advised.
From start to finish, you’ll need approximately an hour and a half. This includes about 40-45 minutes for preparing the dough and ingredients, followed by 20-25 minutes of baking time. Don’t forget to factor in the crucial chilling time for the dough (45 minutes) and sufficient cooling time for the crackers after baking, which is essential for them to achieve their ultimate crispiness.
Not at all! While sharp Cheddar is fantastic for its bold flavor, this recipe is quite flexible. You can experiment with various types of cheese to find your favorite. Mozzarella offers a milder, slightly elastic cracker, Parmesan provides a salty, nutty depth, and a blend of different cheeses can create a complex flavor profile. The key is to choose a firm, flavorful cheese that you and your family enjoy.
If your crackers come out softer than desired, don’t despair! This often means they need a bit more time in the oven. You can try baking them for an additional 5-10 minutes at a slightly lower temperature (around 300°F/150°C) until they reach your preferred level of crispness. Ensure they are spread in a single layer and rotate the baking sheet for even browning. Always let them cool completely on a wire rack, as they will crisp up further as they cool.
Yes, absolutely! A food processor can make quick work of combining the ingredients. Pulse the flour, cornstarch, salt, and spices first. Then add the cheese and pulse until crumbly. Finally, add the cold butter and pulse until the mixture resembles coarse meal. Drizzle in cold water a tablespoon at a time through the feed tube while pulsing until the dough just comes together. Be careful not to overmix.
Expert Tips for Perfectly Crispy Cheese Crackers
- Flavor Enhancements: Unleash your creativity by adding chopped fresh herbs like rosemary, thyme, chives, or even a pinch of dried oregano to the dough for exciting new flavor combinations. A touch of smoked paprika or garlic powder can also add a delightful twist.
- Achieve Maximum Crispness: The secret to truly crispy crackers lies in complete cooling. After removing them from the oven, allow your crackers to cool down entirely on the baking sheets or a wire rack before storing. They will continue to crisp up as they cool to room temperature.
- Combat Moisture for Longer Shelf Life: Moisture is the ultimate enemy of crispy crackers. To prevent them from going stale in just a couple of days, it is imperative to store them in an airtight container immediately after they’ve cooled. Consider adding a small food-safe desiccant packet to the container if you live in a very humid environment.
- Even Rolling is Key: For uniform baking and consistent crispiness, strive to roll your dough to an even thickness (about ⅛ inch). Unevenly rolled dough will result in some crackers burning while others remain soft.
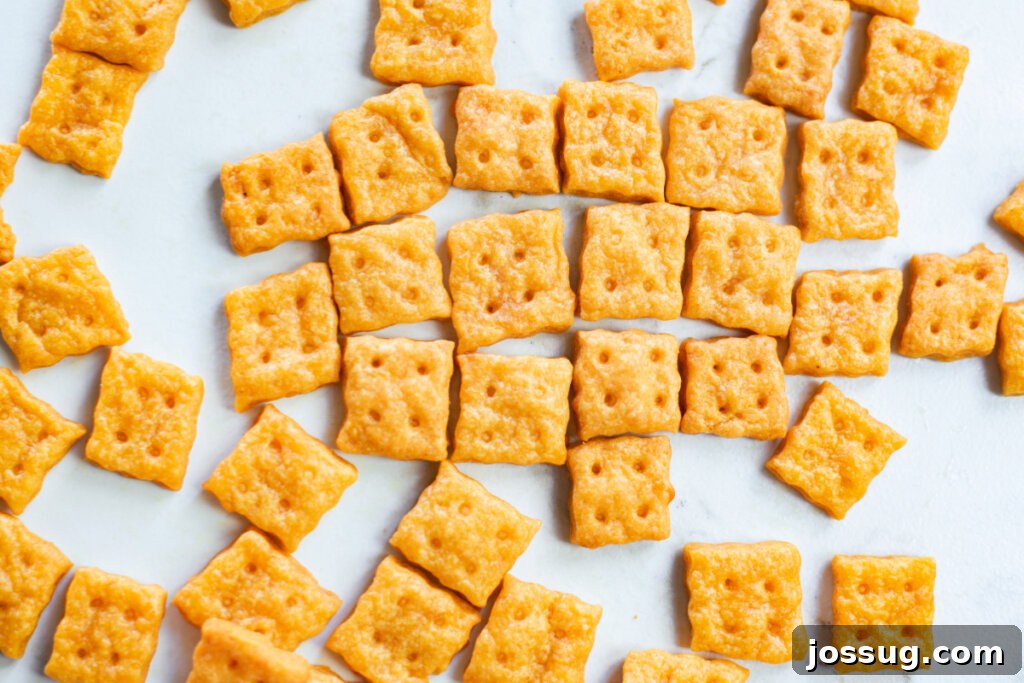
- Prick for Perfection: Don’t skip the step of poking holes in each cracker with a toothpick or skewer. This prevents the crackers from puffing up excessively in the oven, ensuring a flatter, crispier texture.
- The Right Cheese Matters: While sharp Cheddar is our top recommendation, choose a good quality, firm cheese for the best results. Soft or very moist cheeses might make the dough harder to work with and could result in less crispy crackers. Shred your own cheese from a block for superior flavor and texture compared to pre-shredded varieties, which often contain anti-caking agents.
- Make Ahead Option: You can prepare the dough up to 2 days in advance. Simply wrap it tightly in plastic wrap and store it in the refrigerator. When you’re ready to bake, let it sit at room temperature for 10-15 minutes to soften slightly before rolling.
Perfect Pairings: How to Enjoy Your Homemade Cheese Crackers
These versatile homemade cheese crackers are delicious enough to enjoy on their own, but they also make a fantastic accompaniment to a variety of foods. Pair them with your favorite dips, such as creamy spinach dip, spicy salsa, or a classic onion dip. They are also excellent alongside a warm bowl of tomato soup or chili, adding a delightful crunch. For an elegant touch, include them on a charcuterie board with cured meats, olives, and an assortment of cheeses. Kids will love them as a simple, wholesome snack in their lunchboxes, or dipped in hummus or guacamole. The possibilities are endless!
Why Choose Homemade Over Store-Bought?
In a world full of convenient options, taking the time to make snacks from scratch might seem like an extra effort. However, the benefits of homemade cheese crackers far outweigh the convenience of pre-packaged alternatives. Beyond the immediate health advantages of knowing every ingredient, there’s the unparalleled freshness and superior taste that simply cannot be replicated. Homemade crackers burst with genuine cheese flavor and have a texture that’s perfectly crispy and satisfying. It’s also a wonderful activity to involve the family in, teaching kids about baking and healthy eating, and creating cherished memories in the kitchen. Plus, these crackers can often be more cost-effective in the long run, and nothing beats the proud feeling of serving something truly delicious you’ve made yourself.
Homemade Cheese Crackers Recipe
About This Recipe
This easy homemade Cheese Crackers recipe yields irresistibly tasty, baked, cheesy-flavored snack crackers that remarkably resemble your favorite store-bought Cheez-Its, but with a wholesome, homemade touch. Perfect for snacking, parties, or lunchboxes.
Recipe By: Jamie Sherman
Yields: 8 servings
Prep Time: 45 minutes
Cook Time: 20 minutes
Cooling Time: 30 minutes
Total Time: 1 hour 35 minutes
Print Recipe
Equipment You’ll Need
- Rolling Pin
- Toothpick or Skewer
- Fluted Pastry Wheel
- Parchment Paper
- Baking Sheets (2)
- Plastic Food Wrap
- Large Mixing Bowl
- Measuring Cups and Spoons
Ingredients
- 1 ½ cups sharp Cheddar cheese, shredded
- 1 cup all-purpose flour
- 1 teaspoon cornstarch
- ¼ teaspoon salt (plus more for sprinkling, optional)
- ¼ teaspoon onion powder
- ¼ teaspoon cayenne pepper (optional, for a subtle kick)
- 6 tablespoons unsalted butter, cold and cubed
- 2 tablespoons cold water, optional (add gradually)
Instructions
- In a large mixing bowl, combine the shredded sharp Cheddar cheese, all-purpose flour, cornstarch, salt, onion powder, and cayenne pepper (if using). Use your fingers to break up the cheese and thoroughly mix all the dry ingredients until well combined and crumbly.
- Add the cold, cubed butter to the dry mixture. Work the butter into the flour and cheese mixture with your fingers or a pastry blender until a soft dough begins to form. If the dough still appears too dry or crumbly to come together, gradually add the cold water, one tablespoon at a time, until it reaches the desired pliable consistency. You might not need all the water, or perhaps none at all, depending on the humidity and your cheese.
- Transfer the dough to a clean surface and divide it in half. Form each half into a disc, wrap tightly in plastic food wrap, and refrigerate for at least 45 minutes. Chilling the dough is crucial for easy handling and achieving a crisp texture.
- While the dough chills, preheat your oven to 350°F (175°C). Line two large baking sheets with parchment paper.
- Once chilled, unwrap one portion of dough and place it directly on a large piece of plastic wrap or parchment paper. Using a rolling pin, roll the dough out into a thin 9×7-inch rectangle, aiming for an even thickness of about ⅛ inch. Keeping the dough on the plastic wrap or parchment paper will significantly ease the transfer to the baking sheet later.
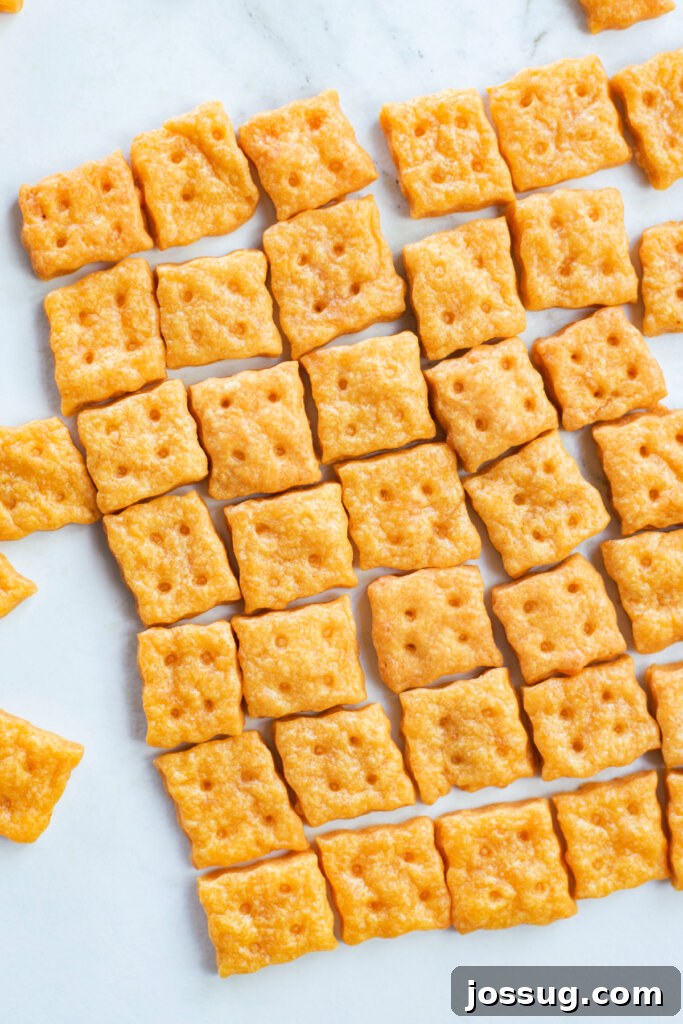
- Using a fluted pastry wheel (or a sharp knife for straight edges), trim the edges of the rolled dough to create neat borders. Then, cut the dough into a grid of approximately 1-inch squares. For example, cut seven strips from top to bottom and nine strips from left to right to create 63 crackers from each dough half.
- Carefully transfer the cut cracker squares to the prepared baking sheets, leaving a small space between each cracker to ensure even baking. Use a toothpick or skewer to gently poke a small hole in the center of each cracker square – this helps prevent puffing and ensures crispiness. If desired, sprinkle a tiny pinch of additional salt over the crackers before baking.
- Bake for 10 minutes, then rotate the baking sheets (top to bottom, and front to back) for even cooking. Continue baking for another 10-15 minutes, or until the crackers are golden brown and crisp. For extra crispiness, you can bake them a few minutes longer, but watch carefully to prevent burning.
- Remove the baking sheets from the oven and let the cheese crackers cool completely on the parchment paper. They will crisp up further as they cool. Serve immediately or store as directed.
Recipe Notes
- For exciting new flavor combinations, consider incorporating finely chopped fresh herbs like rosemary, thyme, or chives into your dough.
- Ensuring your crackers are completely cooled before storing them in an airtight container is essential for maximum crispness and shelf life.
- Moisture is the enemy of crispy crackers! Always store them away from humidity to prevent them from becoming stale quickly.
Nutrition Information (per serving)
- Calories:
- 220 kcal
- Carbohydrates:
- 13 g
- Protein:
- 7 g
- Fat:
- 16 g
- Saturated Fat:
- 9 g
- Polyunsaturated Fat:
- 1 g
- Monounsaturated Fat:
- 4 g
- Trans Fat:
- 0.3 g
- Cholesterol:
- 44 mg
- Sodium:
- 213 mg
- Potassium:
- 37 mg
- Fiber:
- 0.5 g
- Sugar:
- 0.1 g
- Vitamin A:
- 501 IU
- Vitamin C:
- 0.1 mg
- Calcium:
- 155 mg
- Iron:
- 1 mg
Nutrition information is automatically calculated and should be used as an approximation.
More Delicious Snack & Dessert Recipes You Might Enjoy
- Bacon Crackers (aka Pig Candy Crackers)
- S’mores Fudge
- Roast Beef with Horseradish Cream Cheese Snack Crackers
- Easter Sprinkle Cookies
- Elvis RITZwiches
Loved this recipe? Share your thoughts in the comments below!