
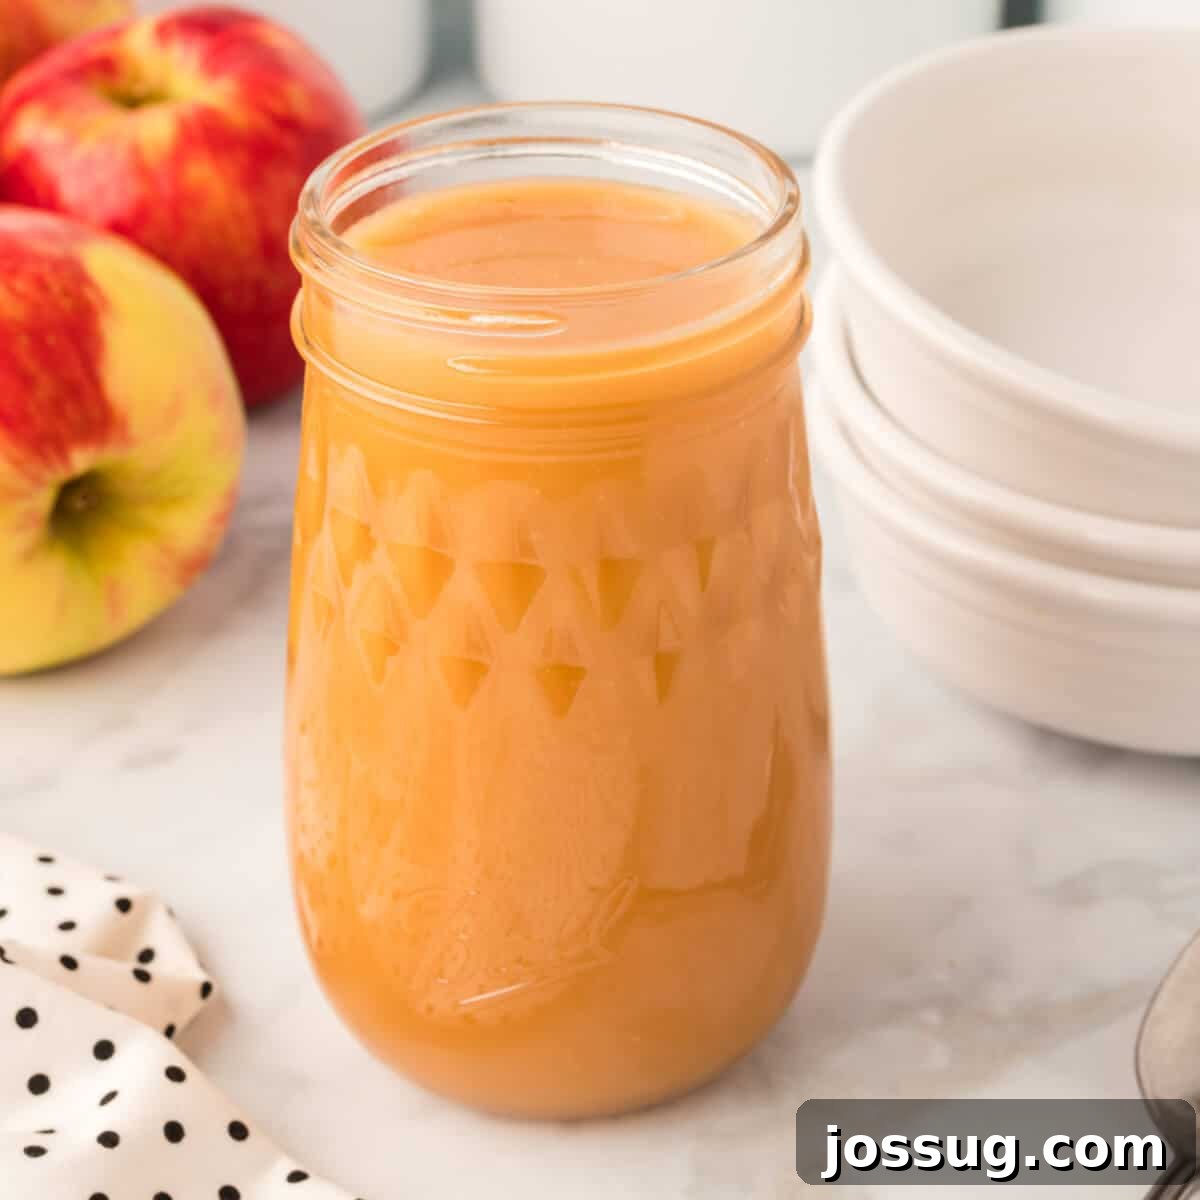
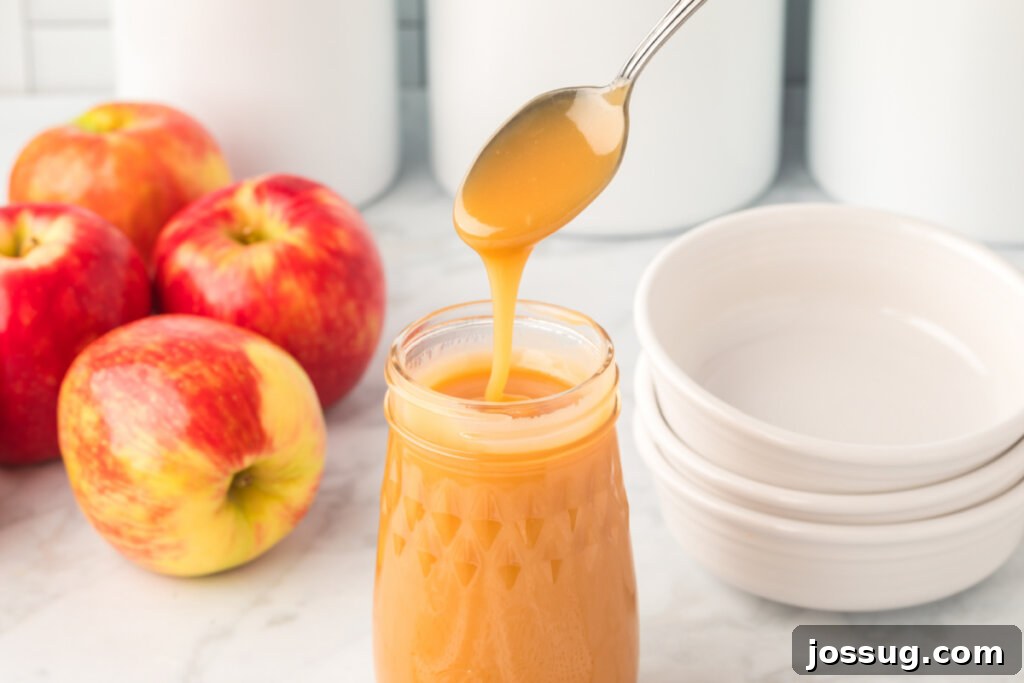
There’s nothing quite like the indulgence of a truly spectacular caramel sauce. Forget store-bought versions; creating this rich, creamy, and buttery delight in your own kitchen is surprisingly simple and incredibly rewarding. This homemade caramel sauce isn’t just a luscious addition to your favorite desserts or drinks; it’s a culinary revelation that will elevate any treat it graces.
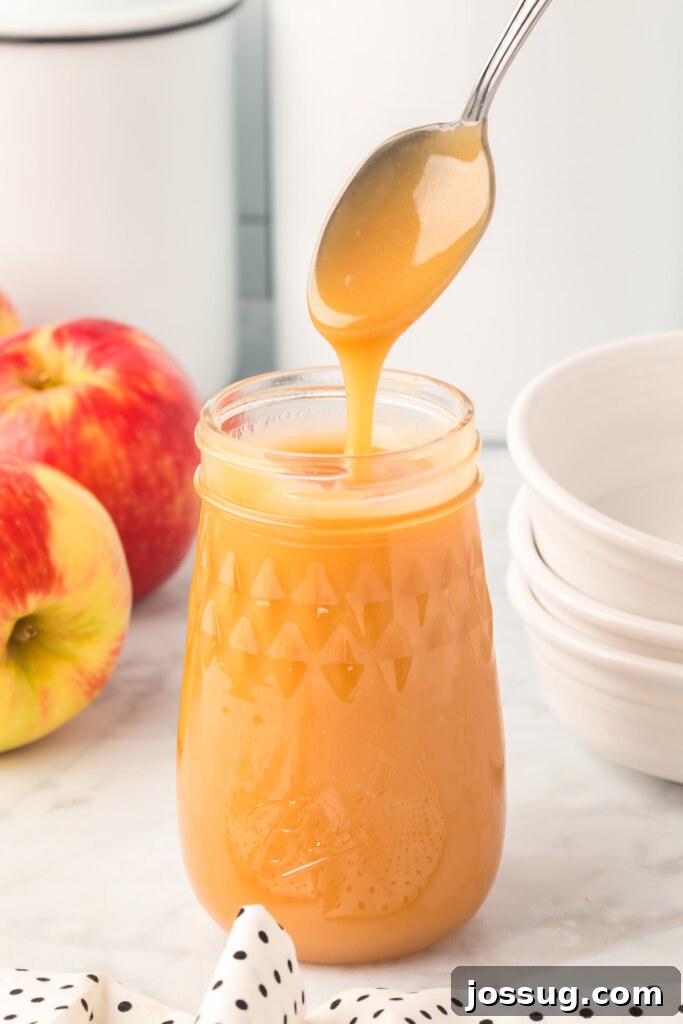
Homemade Caramel Sauce: Your Guide to Sweet Perfection
Imagine a sauce so decadent, so deeply flavored, it feels like a little piece of heaven. That’s precisely what this homemade caramel sauce offers. Each batch brings an irresistible aroma to your kitchen and an undeniable joy to your palate. It’s more than just an ingredient; it’s an experience.
While this recipe yields a generous quantity, don’t worry about it going to waste. This delightful sauce stores beautifully in the refrigerator or can be frozen for longer enjoyment. Its impressive shelf life also makes it an ideal candidate for thoughtful homemade gifts during the holiday season or any special occasion. Who wouldn’t appreciate a jar of liquid gold?
Endless Ways to Enjoy Your Homemade Caramel Sauce
The versatility of homemade caramel sauce is truly remarkable. Once you’ve mastered this recipe, a world of sweet possibilities opens up. Here are just a few ways you can incorporate this delightful sauce into your culinary repertoire:
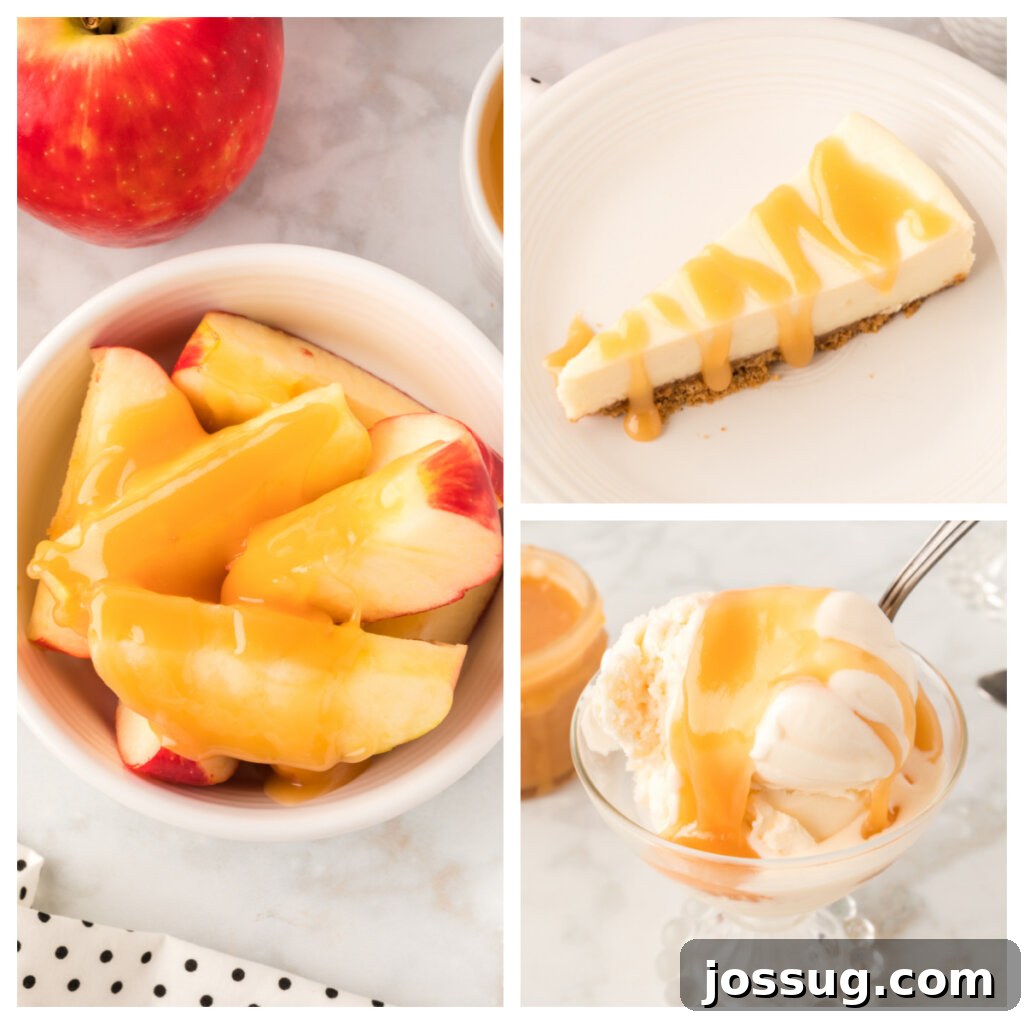
- Dessert Topping: Drizzle generously over vanilla ice cream, apple pie, gingerbread, cheesecake, brownies, or custard. It’s the perfect finishing touch that adds a layer of sophisticated sweetness.
- Breakfast Booster: Elevate your morning pancakes, waffles, or French toast with a warm caramel topping. It also pairs wonderfully with oatmeal or yogurt for a comforting start to the day.
- In Baked Goods: Incorporate it directly into recipes like caramel apple nachos, Carmelitas, sticky buns, or as a filling for tarts and cakes.
- Coffee & Drinks: Stir a spoonful into your hot coffee, iced lattes, or hot chocolate for a gourmet touch. Create your own iced salted caramel latte at home!
- Fruit Enhancer: Pair with sliced apples, pears, or bananas for a simple yet elegant snack.
- Holiday Gifts: Pour into decorative jars, tie with a ribbon, and gift to friends, family, and neighbors. It’s a personal and delicious present that everyone will adore.
- Straight from the Spoon: And yes, sometimes, the best way to enjoy it is simply with a spoon. We promise, no judgment here!
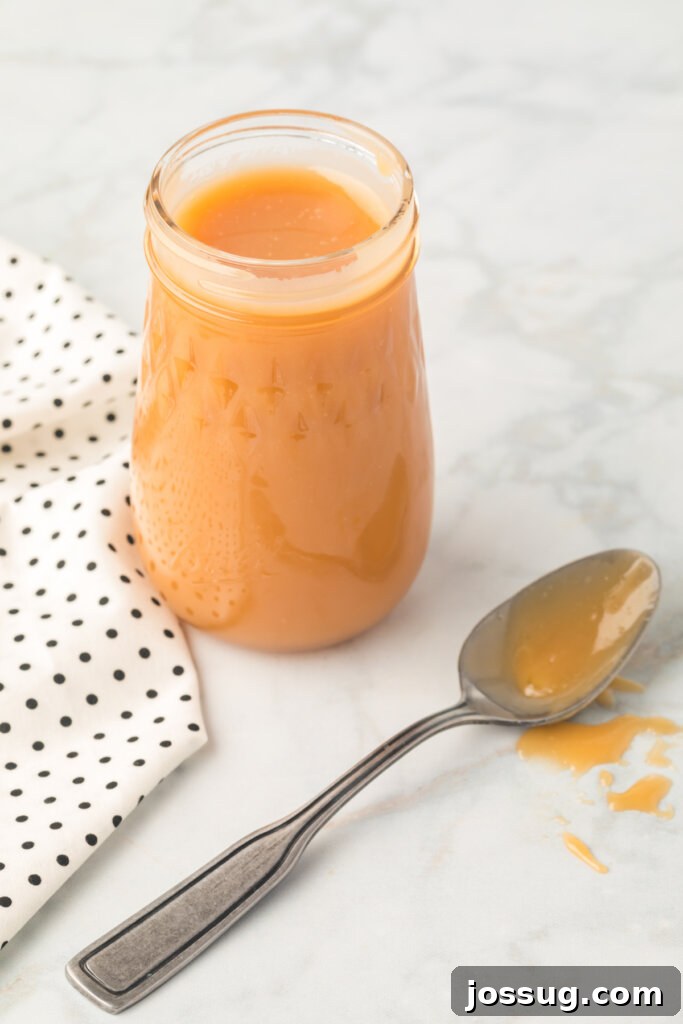
Crafting Your Caramel: A Simple Guide
Making caramel sauce from scratch might sound intimidating, but with this straightforward recipe and a few key tips, you’ll achieve perfect results every time. The secret lies in patience and careful attention to detail.
Essential Ingredients
Each ingredient plays a crucial role in achieving that rich, smooth, and delicious caramel:
- Granulated Sugar: The foundation of our caramel. For the best and most consistent melting, stick to regular cane sugar or beet sugar. They provide the ideal texture and color.
- Unsalted Butter: Butter adds richness, flavor, and helps achieve that luscious, creamy texture. While you can use salted butter, unsalted is recommended as it gives you complete control over the final salt content. If using salted, remember to skip any additional salt.
- Heavy Whipping Cream: This is the magic ingredient for silkiness and creaminess. It halts the cooking process and creates the signature smooth consistency. Half-and-half can be substituted, but expect a slightly thinner and less creamy sauce.
- Light Corn Syrup: A crucial anti-crystallization agent. Corn syrup helps prevent the sugar from re-crystallizing, which can result in a grainy sauce. It ensures a beautifully smooth and glossy finish. Don’t skip this for best results.
- Salt: A small pinch of salt is vital. It doesn’t just make the flavor pop; it expertly balances the sweetness, adding depth and complexity to the caramel. You can adjust the amount to your preference for a classic or subtly salted caramel.
- Vanilla Extract: Added at the very end, vanilla extract infuses the warm caramel with its signature aromatic notes, enhancing the overall flavor profile.
Step-by-Step Instructions
Follow these steps carefully for a perfect batch of homemade caramel sauce:
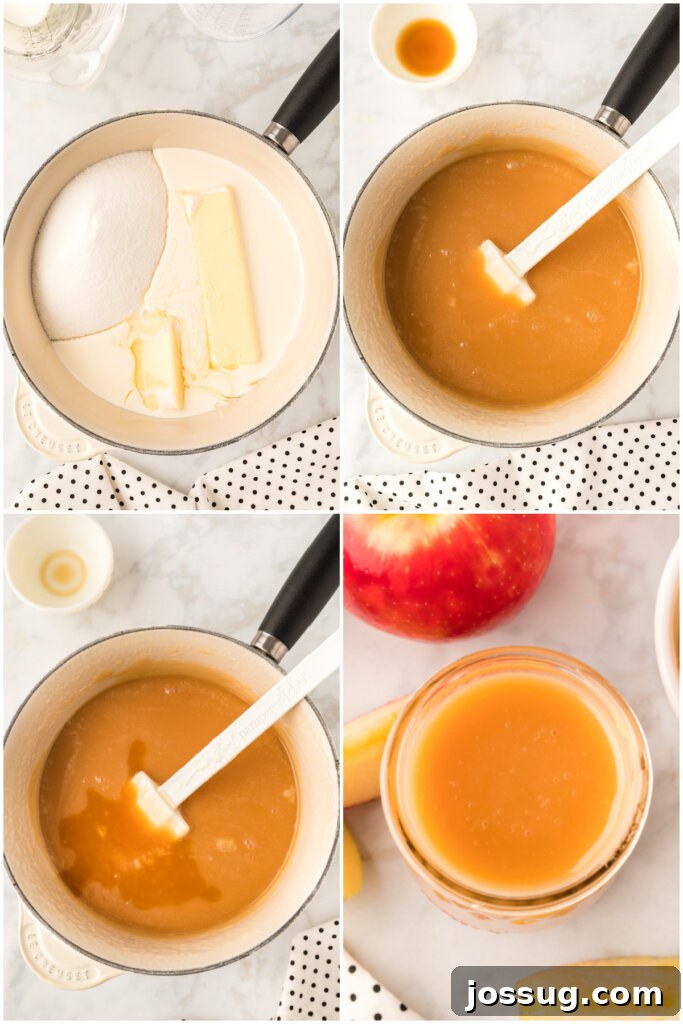
- Combine & Heat: In a heavy-bottomed Dutch oven or a large, thick-bottomed pot, combine all ingredients except for the vanilla extract. Place the pot over medium heat. Begin stirring constantly. The goal here is to ensure the sugar dissolves evenly and doesn’t stick or burn at the bottom.
- Boil & Transform: Continue stirring until the mixture comes to a full boil. Once boiling, reduce the heat slightly to maintain a steady, gentle boil. Continue to cook for approximately 30 minutes, stirring frequently (every few minutes). During this time, the sugar will fully dissolve, and the mixture will gradually thicken and begin to turn a beautiful caramel color. Do not rush this process.
- Achieve the Perfect Color: Keep a close eye on the color. It will progress from pale yellow to amber and then to a rich, deep caramel. The darker the color (without burning!), the more intense and complex the caramel flavor will be. Aim for a rich, golden-brown hue.
- Finish with Vanilla: Once the desired caramel color is achieved, immediately remove the pot from the heat. Carefully stir in the vanilla extract. Be cautious, as the mixture may bubble up vigorously when the vanilla is added. Stir until fully incorporated.
- Serve & Store: Your homemade caramel sauce is now ready! It can be served immediately while hot or warm. For storage, allow the sauce to cool completely before transferring it to a clean, airtight container. It will thicken considerably as it cools. Store it in the refrigerator for up to 2 months.
Frequently Asked Questions About Caramel Sauce
Got questions? We’ve got answers to help you perfect your homemade caramel experience.
- Is this caramel sauce recipe gluten-free?
- Yes, absolutely! This homemade caramel sauce recipe is naturally gluten-free.
- How should I store homemade caramel sauce?
- To maintain its freshness and quality, store the caramel sauce in an airtight container in the refrigerator. It will keep well for up to two months.
- My caramel sauce is too thick. How can I thin it out?
- If your caramel sauce is too thick after cooling, gently reheat it over low heat on the stovetop or in the microwave. Stir in a tablespoon or two of heavy cream until it reaches your desired consistency.
- Can I freeze caramel sauce?
- Yes, freezing is an excellent option for long-term storage! Ensure the caramel is in an airtight, freezer-safe container and freeze it for up to twelve months (one year). When you’re ready to use it, allow it to thaw overnight in the refrigerator before reheating.
- What’s the best way to reheat caramel sauce?
- You have a couple of options for reheating:
- Microwave: Place the sauce in a microwave-safe container. Microwave on 100% power for 1 minute, stirring twice during this time. Add additional time in 10-second increments, stirring after each, until it is heated through and smooth.
- Stovetop: Transfer the sauce to a heat-resistant bowl. Place this bowl in a larger pan of simmering water (creating a double boiler setup), ensuring the water comes partially up the side of the bowl. Heat, stirring occasionally, until the caramel is hot and pourable.
Pro Tips for Perfect Homemade Caramel Sauce
Achieving that perfect, silky-smooth caramel is easier with these expert tips:
- Use a Heavy Pot: Always opt for a heavy-bottomed Dutch oven or a thick-bottomed saucepan. This type of pot distributes heat more evenly, reducing the risk of scorching and ensuring a consistent cook.
- Mind the Temperature: Caramel-making requires attention. Overheating the mixture can quickly cause the sugar to scorch, resulting in a burnt, bitter taste that will ruin your batch. Keep the heat moderate and stay watchful.
- Don’t Rush the Color: Patience is key to deep flavor. Don’t remove the sauce from the heat too early once it starts to change color. The darker the caramel (without burning!), the richer and more complex its flavor will be. Keep the flame low and maintain a vigilant eye, stirring frequently.
- Avoid Scraping the Pan: For the best results, when pouring the finished caramel sauce out of the pan, resist the urge to scrape the bottom. Any residual crystalized sugar on the pan can introduce crystals into your smooth sauce, potentially ruining the entire batch.
- Exercise Extreme Caution: Caramel sauce is incredibly hot. Molten sugar can cause severe burns. Always handle the hot sauce with extreme caution and never allow it to come into contact with your bare skin.
- Consider a Candy Thermometer: While not strictly necessary, a candy thermometer can be a great tool for beginners. It helps ensure the caramel reaches the correct temperature for the desired consistency. Aim for around 240-250°F (115-121°C) for a soft, chewy caramel, or slightly higher for a firmer one. For a sauce, you’re primarily looking for color, but a thermometer can provide an extra layer of confidence.
- Clean Sides of the Pot: If you notice sugar crystals forming on the sides of the pot during cooking, use a wet pastry brush to gently wash them down into the liquid. This prevents crystallization throughout the batch.
Explore More Caramel-Inspired Delights
If you’ve fallen in love with the luscious taste of homemade caramel, you’ll surely enjoy these other sweet recipes:
- No-Bake Caramel Apple Cheesecake
- Caramel Apples
- Salted Caramel (A variation on this classic)
- Pumpkin Spice Cheesecake Enchiladas with Caramel Drizzle
- 4th of July Apple Spice Cake with Caramel Glaze
No ratings yet
Caramel Sauce
By: Jamie Sherman
It’s easy to make Caramel Sauce at home. This rich, creamy, and buttery sauce is a luscious addition to your favorite desserts or drinks.
Prep Time: 10 minutes
Cook Time: 30 minutes
Total Time: 40 minutes
Yields: 32 servings
Print Recipe
Equipment
- Pint (16-oz.) Wide Mouth Jars, Clear, 1-Pack of 4
- 8 oz. Mason Jars, 15 PACK
- Mason Jar 16 Ounce [6-Pack] with Plastic Airtight Lids
- Rubber spatula or wooden spoon
- Measuring cups and spoons
- 6-Qt. Enameled Cast Iron Dutch Oven
Ingredients
- 2 cups granulated sugar
- ¾ cup unsalted butter
- 2 cups heavy whipping cream
- 1 cup light corn syrup
- Pinch of salt
- 1 teaspoon vanilla extract
Instructions
- Heat all of the ingredients except for the vanilla extract to boiling in a heavy Dutch oven over medium heat, stirring constantly. Reduce heat slightly, boil for about 30 minutes, stirring frequently, until the sugar is dissolved and the mixture is caramel-colored.
- Remove from heat and stir in the vanilla extract until well combined.
- Serve hot or warm. Store in a covered container in the refrigerator for up to 2 months.
Notes
- It’s best to use a heavy pot for this recipe to ensure even heating and prevent scorching.
- Be cautious with the temperature – overheating the mixture will cause the caramel to scorch and taste burnt. Keep an eye on the color.
- Don’t pull the sauce off too early once it starts turning colors. The darker the caramel, the richer the flavor will be. Be sure to keep the flame low and keep an eye on it.
- For best results, pour the final caramel sauce out of the pan and resist scraping the bottom of the pan in case there is any crystalized sugar – which can ruin the whole batch.
- Caramel sauce is extremely hot! Take extreme caution not to get it on your skin, as it can cause major burns.
Nutrition Facts
Serving: 2 tablespoons
- Calories: 167 kcal
- Carbohydrates: 21g
- Protein: 0.5g
- Fat: 10g
- Saturated Fat: 6g
- Polyunsaturated Fat: 0.4g
- Monounsaturated Fat: 2g
- Trans Fat: 0.2g
- Cholesterol: 28mg
- Sodium: 11mg
- Potassium: 16mg
- Sugar: 21g
- Vitamin A: 352 IU
- Vitamin C: 0.1mg
- Calcium: 13mg
- Iron: 0.02mg
Nutrition information is automatically calculated, so it should only be used as an approximation.
We hope you enjoyed this journey into making homemade caramel sauce. There’s immense satisfaction in crafting such a versatile and delicious condiment from scratch. Share your thoughts and creations by leaving a comment below! Your feedback means a lot.
Originally published on December 23, 2012. Updated on January 4, 2022.