
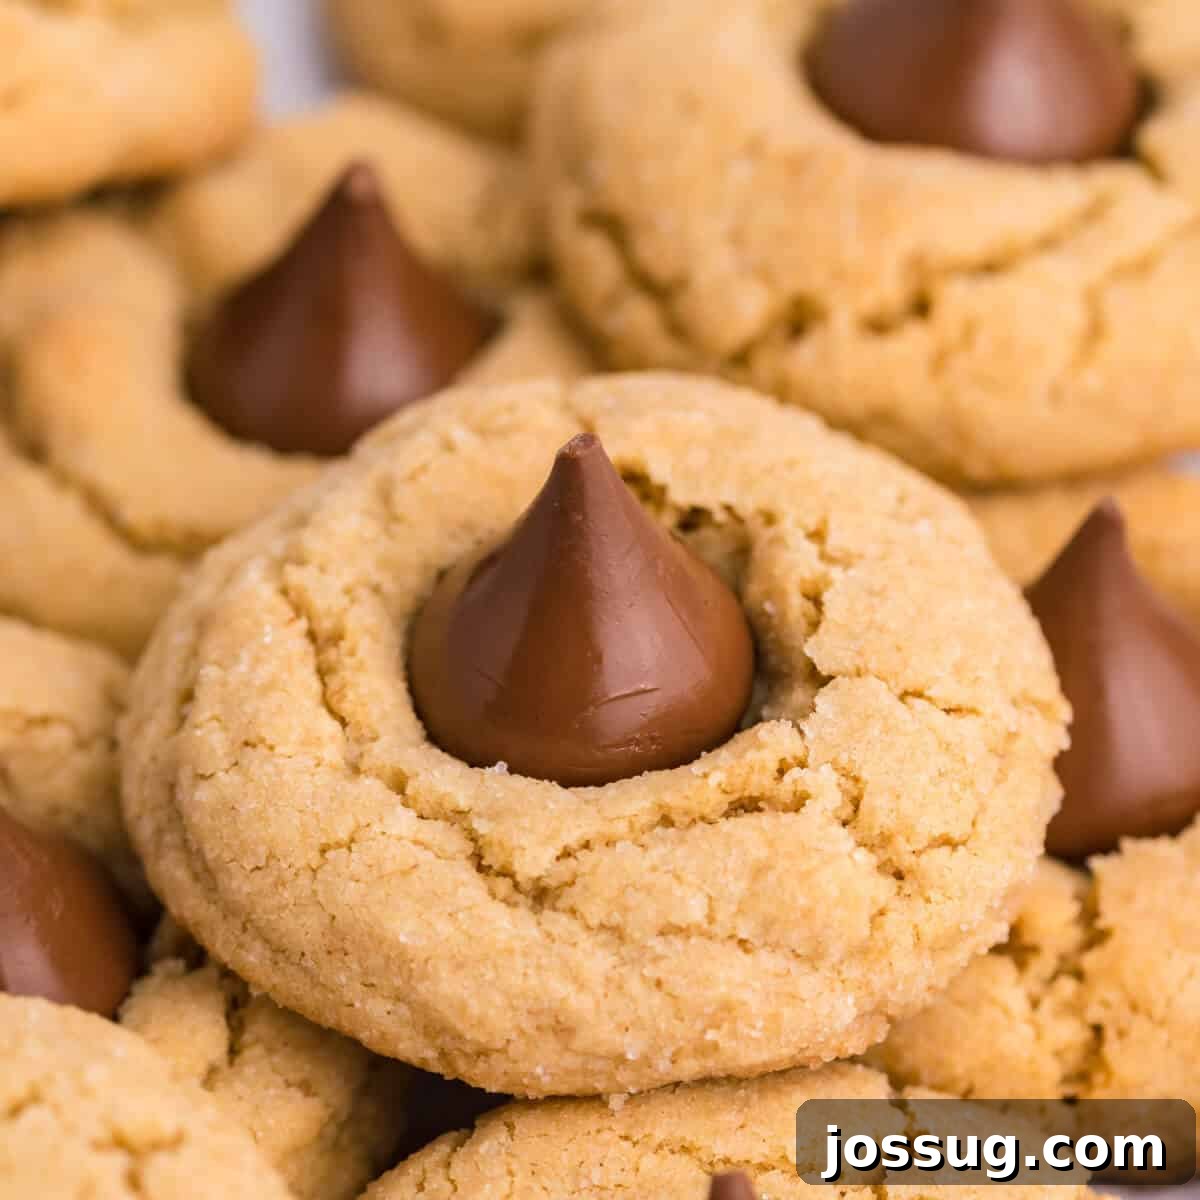
There’s an undeniable charm and timeless appeal to certain classic desserts, and the **Peanut Butter Blossoms** cookie stands proudly among them. These delightful treats, featuring a perfectly soft, chewy peanut butter base crowned with a smooth, melty chocolate kiss, are an absolute must-have, especially during the festive holiday season. Their comforting flavor and iconic appearance make them a cherished part of cookie platters, bake sales, and family gatherings, bringing smiles to faces young and old. If you’re looking to add a touch of nostalgic sweetness to your baking repertoire, this beloved recipe is where your journey begins.
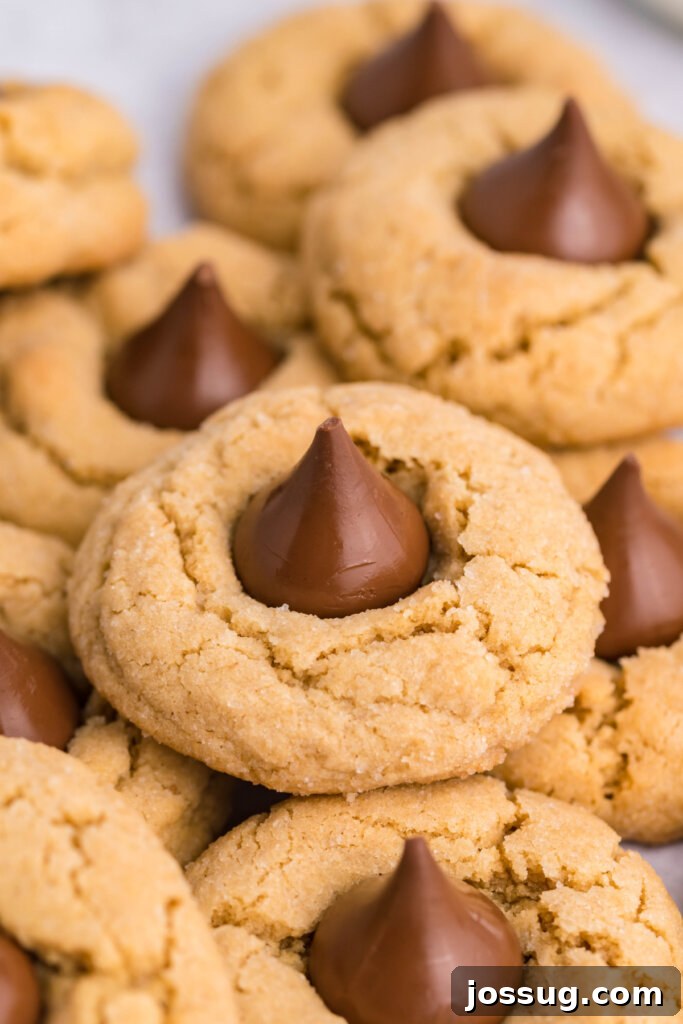
Peanut Butter Blossoms Cookies: A Holiday Baking Essential
If there’s one cookie that truly embodies the spirit of warmth and celebration, making it an essential on every holiday cookie tray, it’s this Peanut Butter Blossoms cookie recipe. For many, these aren’t just cookies; they’re edible memories, a tradition passed down through generations. It’s hard to imagine a holiday season or a community bake sale without the sweet aroma and familiar sight of these classic treats.
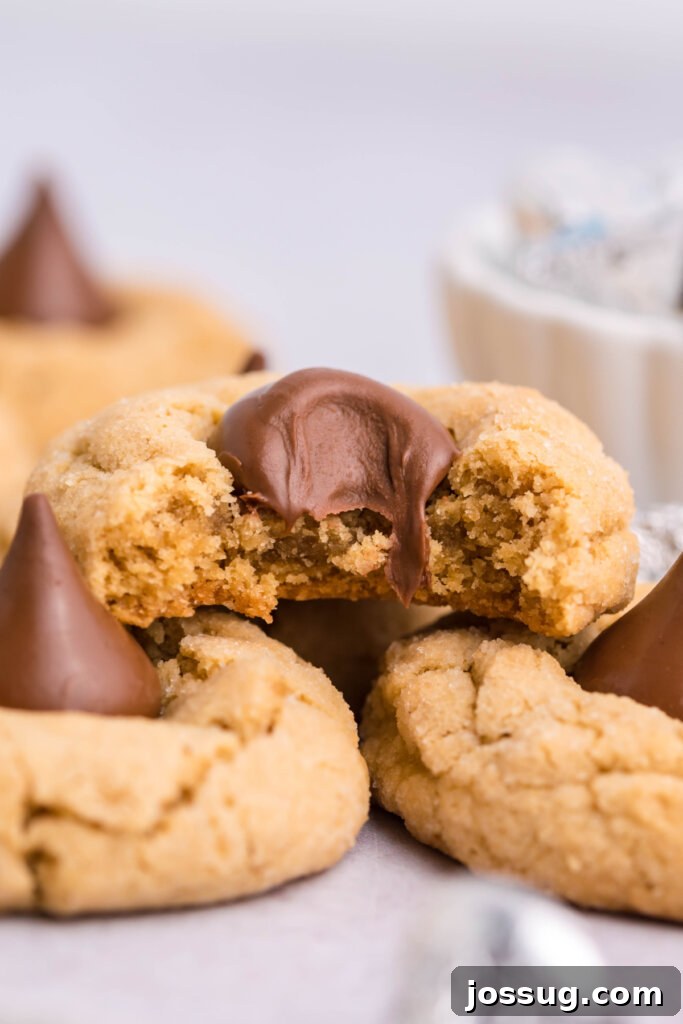
While their iconic status means most bakers are well-acquainted with Peanut Butter Blossoms, some might be discovering them for the first time. For the uninitiated, prepare to fall in love: these cookies boast a wonderfully soft, rich peanut buttery dough, generously rolled in sparkling granulated sugar for a subtle crunch and shimmer. After baking to golden perfection, each cookie is immediately topped with a delightful chocolate candy kiss, which gently melts into the warm cookie, creating a perfect fusion of peanut butter and chocolate. The result is a tender, flavorful cookie with a satisfying texture that simply melts in your mouth.
The beauty of Peanut Butter Blossoms lies in their simplicity and universal appeal. They are consistently a crowd-pleaser, easy to make, and bring a comforting nostalgia that makes them feel like a warm hug in cookie form. Whether you’re a seasoned baker or just starting your culinary journey, mastering this recipe will equip you with a go-to treat that never disappoints. Dive into the delightful world of these classic cookies and understand why they remain a beloved staple in homes everywhere.
Essential Ingredients for Perfect Peanut Butter Blossoms
Crafting the perfect batch of Peanut Butter Blossoms starts with selecting the right ingredients. Each component plays a vital role in achieving that signature soft texture, rich flavor, and irresistible appearance. Here’s what you’ll need to gather for this delightful recipe:
- **All-purpose flour:** This forms the structural base of our cookies, providing the necessary body and chewiness. Ensure it’s measured accurately, preferably by weight if possible, to prevent a dense or crumbly cookie.
- **Baking soda:** A crucial leavening agent that helps our cookies rise beautifully and contributes to their tender, soft interior. Always check that your baking soda is fresh for optimal results.
- **Salt:** A pinch of salt is essential to balance the sweetness and enhance the rich flavors of both the peanut butter and chocolate.
- **Butter – unsalted is preferred:** Using unsalted butter allows you to precisely control the sodium content in your cookies. Make sure your butter is softened to room temperature for easier creaming with the sugars, which leads to a lighter, fluffier dough.
- **Creamy peanut butter:** The star of the show! Opt for creamy peanut butter for a smooth, uniform texture. While natural peanut butter can be used, ensure it’s well-stirred and doesn’t separate, as this can affect the dough consistency.
- **Granulated sugar:** This sugar not only sweetens the dough but also provides that signature sparkly coating when the cookie balls are rolled in it before baking, adding a delightful texture.
- **Packed light brown sugar:** Brown sugar adds moisture, depth of flavor, and a wonderful chewiness to the cookies. Make sure it’s firmly packed into your measuring cup.
- **Egg – always large:** A large egg acts as a binder, helping to hold the ingredients together and adding richness and moisture to the dough. Ensure it’s at room temperature for better incorporation.
- **Milk – any kind on hand:** Just a couple of tablespoons of milk (or even water) helps to achieve the perfect dough consistency, ensuring it’s neither too dry nor too sticky.
- **Vanilla extract:** A touch of vanilla extract elevates all the other flavors, adding a warm, aromatic note that is indispensable in almost any cookie recipe.
- **Hershey’s Kisses – milk chocolate is classic:** These iconic chocolate candies are the hallmark of Peanut Butter Blossoms. While milk chocolate is the traditional and arguably best choice for its creamy texture and sweetness, don’t hesitate to experiment! Dark chocolate kisses offer a lovely contrast to the sweet peanut butter, or try caramel-filled or almond kisses for a unique twist. Unwrapping them before you start baking will save you time later!
Baking Perfection: Step-by-Step Peanut Butter Blossoms Instructions
Creating these delightful cookies is a straightforward process, perfect for bakers of all skill levels. Follow these detailed steps to achieve perfectly baked, irresistible Peanut Butter Blossoms every time.
- **Prepare Your Oven and Dry Ingredients:** Begin by preheating your oven to 375°F (190°C). This ensures the oven is at the correct temperature when your cookies are ready to bake, promoting even cooking. While the oven heats, in a medium bowl, whisk together the all-purpose flour, baking soda, and salt. This step is crucial for distributing the leavening agent and salt evenly throughout the dough, ensuring consistent texture and flavor in every cookie. Set this mixture aside.
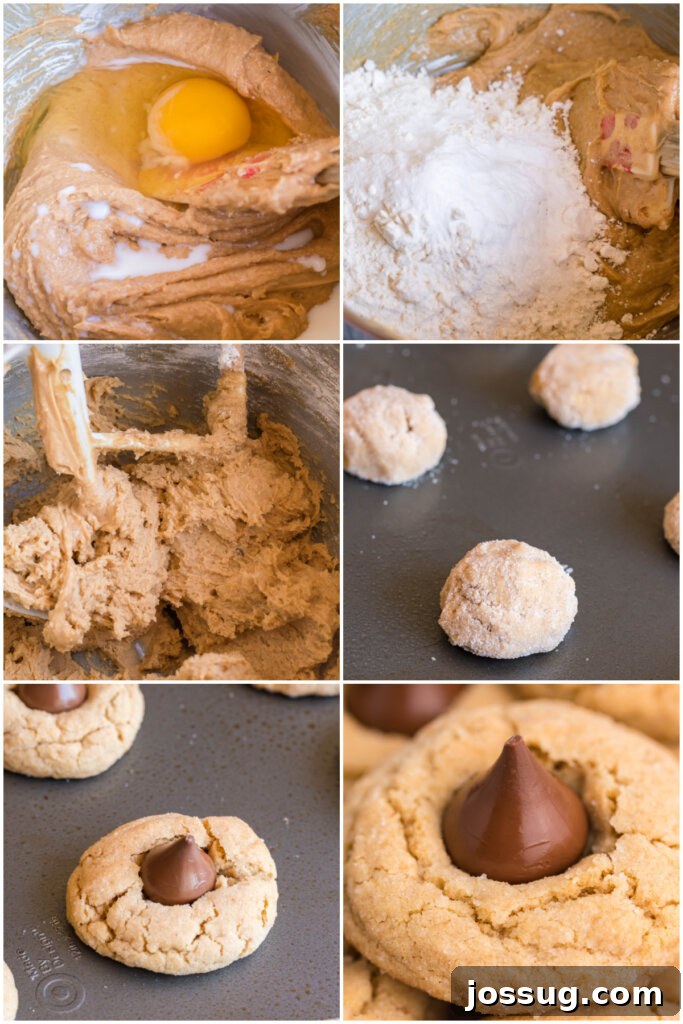
- **Cream Wet Ingredients for a Fluffy Base:** In a separate, large mixing bowl, combine the softened butter and creamy peanut butter. Using an electric mixer, beat these two ingredients until they are thoroughly combined and smooth. Next, add the granulated sugar and packed light brown sugar. Continue beating for 2-3 minutes, or until the mixture becomes light, fluffy, and noticeably paler in color. This creaming process incorporates air, which is essential for a tender cookie. Then, beat in the large egg, milk, and vanilla extract until everything is well incorporated and smooth. Scrape down the sides of the bowl as needed to ensure all ingredients are fully mixed.
- **Combine Wet and Dry & Form Dough Balls:** Gradually add the reserved flour mixture into the peanut butter mixture, beating on low speed until just combined. Be careful not to overmix the dough, as this can lead to tough cookies. Stop mixing as soon as no streaks of flour remain. The dough should be soft but manageable. Now, it’s time to shape the cookies! Scoop the dough into uniform 1-inch balls. For an extra touch of sweetness and texture, roll each ball in additional granulated sugar. This step is optional but highly recommended for that classic sparkling finish. Place the sugar-coated dough balls onto an ungreased cookie sheet, ensuring they are spaced about 2 inches apart to allow for spreading.
- **Bake and Add the Chocolate Kiss:** Transfer the cookie sheets to your preheated oven and bake for 8-10 minutes. Keep a close eye on them; the cookies are done when their edges are lightly golden brown, but the centers still appear soft and slightly puffy. Do not overbake! Immediately upon removing the cookies from the oven, gently press a Hershey’s Kiss into the center of each warm cookie. The residual heat from the cookies will cause the chocolate kiss to soften and slightly melt, adhering perfectly to the cookie.
- **Cool and Enjoy:** Allow the freshly pressed cookies to cool on the baking pan for about 3 minutes. This crucial resting period helps the cookies set and prevents them from breaking when transferred. After 3 minutes, carefully transfer the cookies to a wire rack to cool completely. The chocolate kisses will firm up as they cool, resulting in the iconic Peanut Butter Blossoms ready to be enjoyed!
Peanut Butter Blossoms: Your Questions Answered
To maintain their freshness and delicious texture, store your Peanut Butter Blossoms in an airtight container at room temperature. They will remain wonderfully soft and enjoyable for up to 5-7 days. For an extra layer of protection and to prevent them from sticking together, you can place a piece of parchment paper or wax paper between layers of cookies.
Peanut Butter Blossoms are excellent candidates for freezing, making them perfect for advance preparation. Place the cooled cookies in a freezer-safe airtight container, using wax or parchment paper between layers to prevent them from freezing into one solid block. They can be frozen for up to one month. When you’re ready to enjoy them, simply thaw the cookies at room temperature for a few hours. For best results, allow the chocolate to fully come to room temperature to regain its smooth texture.
Several factors can contribute to flat Peanut Butter Blossoms. The most common culprits include too much sugar or not enough flour, which can upset the dough’s balance. Always ensure you measure your ingredients correctly, preferably by using a kitchen scale for flour. Other reasons might include using butter that is too soft or even melted, an oven that isn’t at the correct temperature, or baking soda that has lost its potency. Ensure your baking soda is fresh (you can test it with a little vinegar) and your butter is softened but still cool to the touch.
Pro Tips for Your Best Peanut Butter Blossoms
Elevate your Peanut Butter Blossoms from good to absolutely phenomenal with these expert tips and tricks:
- **Uniformity is Key:** To ensure all your cookies bake evenly and look consistently beautiful, always use a cookie scoop or a tablespoon measure when shaping your dough balls. This guarantees a uniform size across your entire batch.
- **The Perfect Size:** It’s best to keep the cookie dough balls right about 1-inch in diameter. This size bakes properly, allowing for a chewy center and perfectly set edges, and ensures the chocolate kiss fits just right.
- **Festive Flourishes:** For truly eye-catching holiday cookies, add some flair! Before baking, roll your cookie dough balls not just in granulated sugar, but also in colorful sanding sugar or festive sprinkles. This small detail can make a big impact on your holiday dessert platters.
- **Keep Kisses Cool:** To prevent your chocolate kisses from melting excessively or losing their distinct shape when pressed into the warm cookies, refrigerate them for about 15-20 minutes before unwrapping and adding them to the tops of the hot cookies. This helps them hold their form better against the heat.
- **Don’t Overbake:** These cookies are meant to be soft and chewy. Bake them until the edges are just set and lightly golden, but the centers still look slightly underdone. They will continue to cook slightly as they cool on the baking sheet.
- **Parchment Paper Power:** While the recipe states an ungreased cookie sheet, lining your baking sheets with parchment paper or silicone baking mats can make cleanup incredibly easy and ensures your cookies never stick.
Explore More Delicious Recipes
If you love the delightful combination of peanut butter and chocolate, or simply enjoy classic cookie recipes, here are some other fantastic recipes you might enjoy trying:
- Carrot Cake Blossom Cookies
- Best Peanut Butter Recipes!
- Peanut Butter Cookie Bars
- Chocolate Blossoms
- Italian Anise Cookies
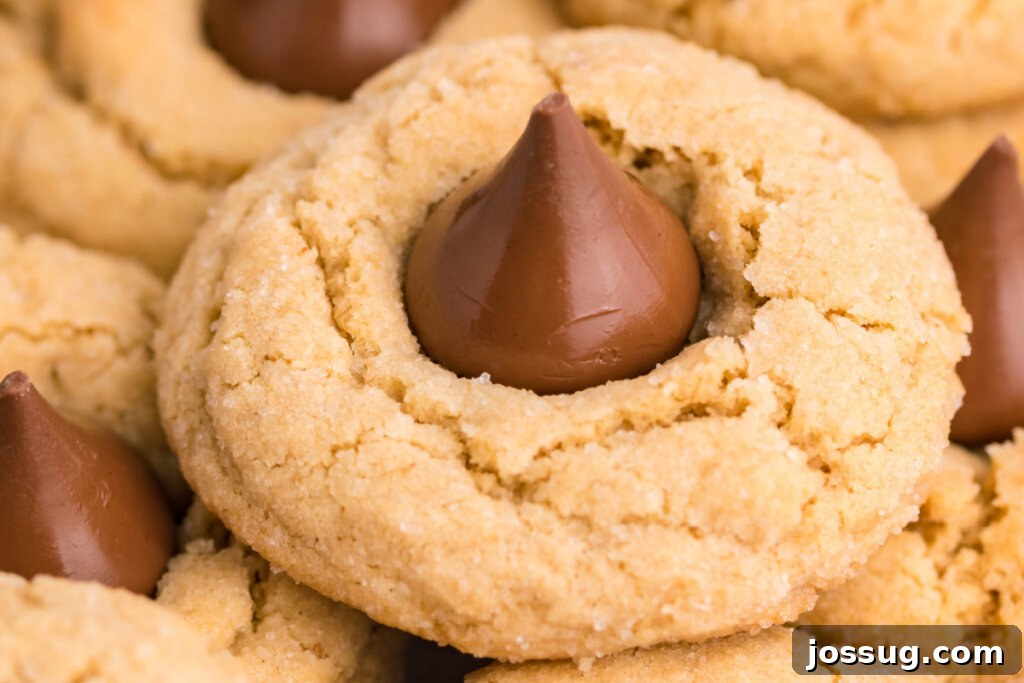

Peanut Butter Blossoms
Pin
Rate
Would you like to save this recipe for later?
Enter your details below, and we’ll email this post to you directly, so you can easily come back to it whenever you’re ready to bake!
Equipment You’ll Need
-
Wire cooling rack
-
Cookie scoop
-
Rubber spatula or wooden spoon
-
Mixing bowl (large and medium)
-
Measuring cups and spoons
-
Electric hand mixer
-
Baking sheets
Ingredients for Peanut Butter Blossoms
- 1 ½ cups all-purpose flour
- 1 teaspoon baking soda
- ½ teaspoon salt
- ½ cup unsalted butter, softened, 1 stick
- ¾ cup creamy peanut butter
- ⅓ cup granulated sugar
- ⅓ cup packed light brown sugar
- 1 large egg
- 2 tablespoons milk
- 1 teaspoon vanilla extract
- Additional granulated sugar, for rolling (optional)
- 45 – 50 Hershey’s Kisses, unwrapped
Instructions for Baking Perfect Peanut Butter Blossoms
-
**Step 1: Preheat Oven.** Start by preheating your oven to a precise 375°F (190°C). This ensures your oven is at the perfect temperature when the cookies are ready to bake, contributing to their optimal rise and texture.
-
**Step 2: Prepare Dry Ingredients.** In a medium-sized bowl, thoroughly stir together the all-purpose flour, baking soda, and salt. Whisking these dry ingredients ensures they are evenly distributed, which is key for a consistent bake. Set this bowl aside for later.
-
**Step 3: Mix Wet Ingredients & Form Dough.** In a large mixing bowl, use an electric mixer to beat the softened butter and creamy peanut butter until they are smoothly combined. Add the granulated sugar and light brown sugar, beating until the mixture is light and fluffy, about 2-3 minutes. Incorporate the large egg, milk, and vanilla extract, beating well until everything is fully integrated. Finally, gradually add the dry flour mixture to the wet ingredients, mixing on low speed until just combined. Be careful not to overmix; stop as soon as no dry streaks of flour remain to keep the cookies tender.
-
**Step 4: Shape and Sugar Coat.** Take your prepared dough and shape it into uniform 1-inch balls. For that classic sparkling exterior, roll each dough ball in additional granulated sugar, if desired. Place these sugar-coated dough balls onto an ungreased cookie sheet, ensuring adequate spacing of about 2 inches between each cookie to allow for spreading during baking.
-
**Step 5: Bake and Add Kisses.** Bake the cookies for 8-10 minutes, or until their edges are lightly golden brown and the centers are still soft. Remove them from the oven promptly. Immediately press an unwrapped Hershey’s Kiss into the center of each warm cookie. The heat from the cookie will gently melt the chocolate, allowing it to adhere perfectly. Let the cookies cool on the pan for 3 minutes to set before carefully transferring them to a wire rack to cool completely.
Chef’s Notes & Pro Tips
- For consistently sized and perfectly baked cookies, using a cookie scoop or tablespoon measure is highly recommended to ensure all your cookies are uniform.
- Keeping the cookie dough balls approximately 1-inch in diameter is ideal for proper baking and achieving that signature soft texture.
- To add a festive touch, consider rolling your cookie dough balls in colored sugar or holiday sprinkles before baking. This makes them extra appealing for celebrations!
- To prevent your Hershey’s Kisses from over-melting and losing their shape when pressed into the warm cookies, refrigerate them for about 15-20 minutes beforehand.
- Do not overmix the dough after adding the flour, as this can lead to tough cookies. Mix just until combined.
- Bake until the edges are lightly browned, but the centers still look slightly soft. They will firm up as they cool.
Nutrition Information
Nutrition information is automatically calculated, so should only be used as an approximation.
Loved This Recipe? Share Your Thoughts!We’d love to hear about your baking experience. Leave a comment below and let us know how your Peanut Butter Blossoms turned out!
Originally published on December 16, 2014. Updated and enhanced on September 28, 2021, and further revised for clarity and SEO in 2024.