
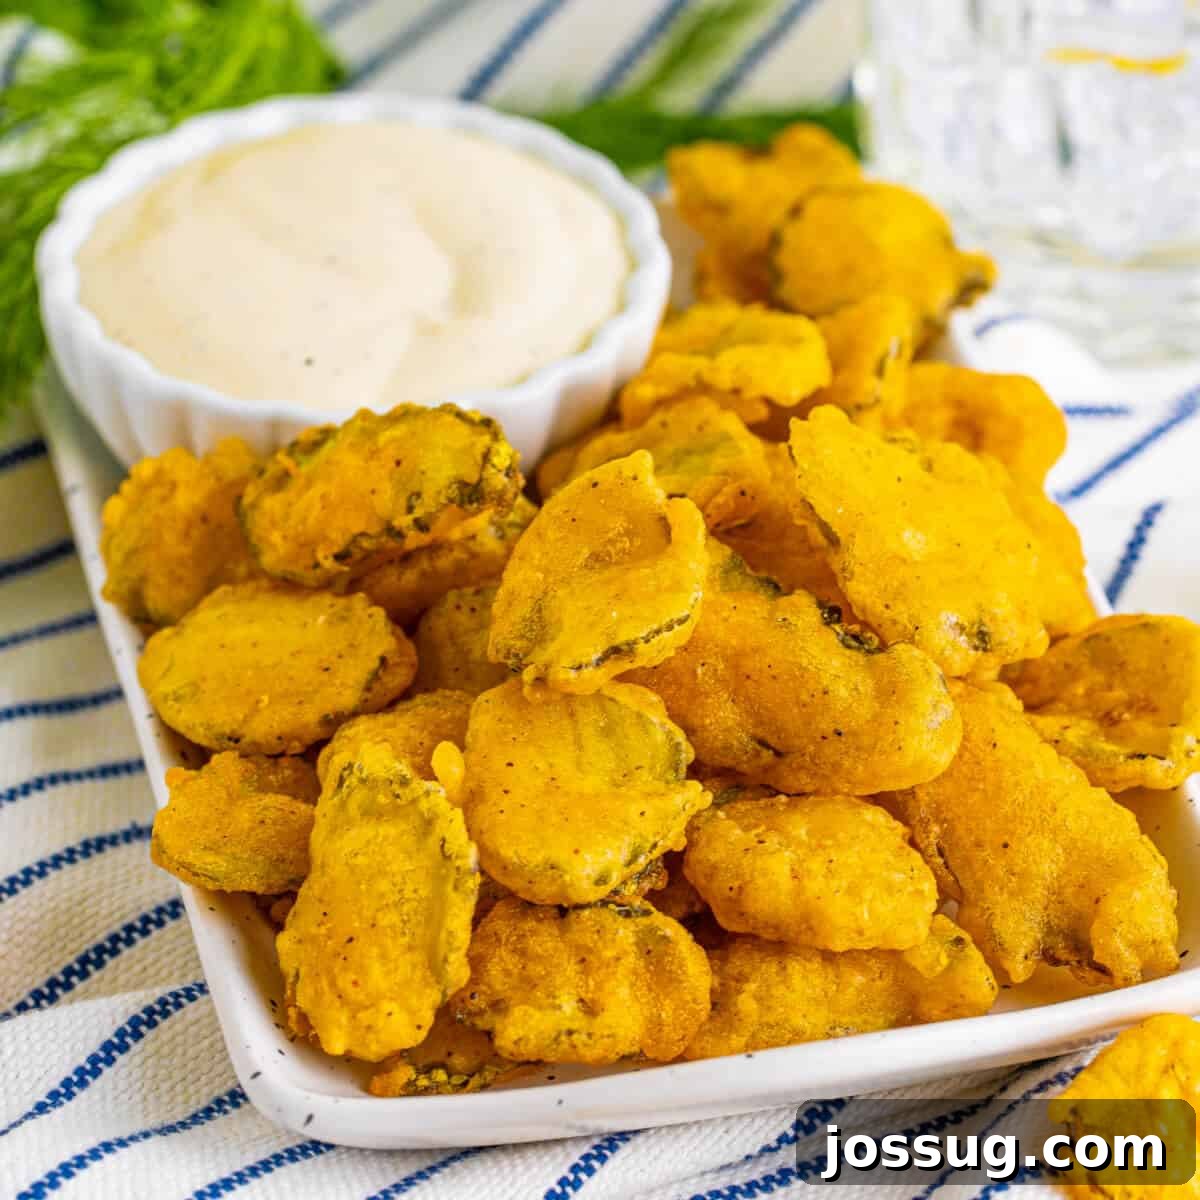
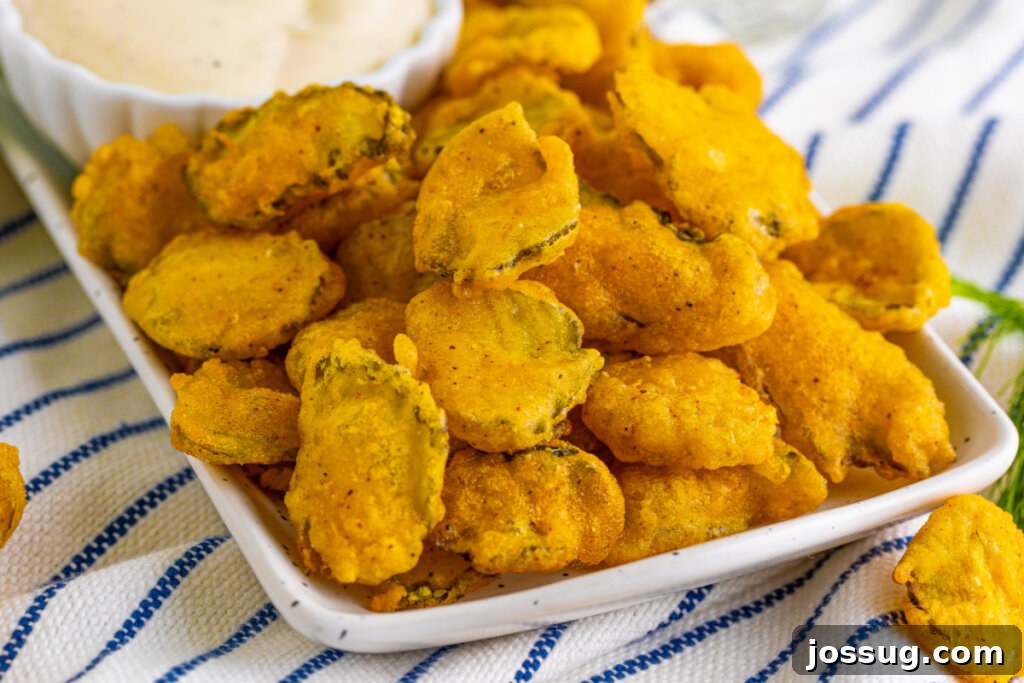
Get ready to tantalize your taste buds with an irresistible classic: Fried Pickles! This ultimate guide will walk you through creating perfectly crispy, tangy deep-fried pickles that make an exceptional snack, appetizer, or side dish. Forget soggy, bland imitations – our recipe ensures every bite delivers an explosion of flavor and an satisfying crunch that will leave you craving more. Prepare to impress your guests or simply treat yourself to this delightful culinary adventure, ideal for any occasion from casual gatherings to game day feasts.
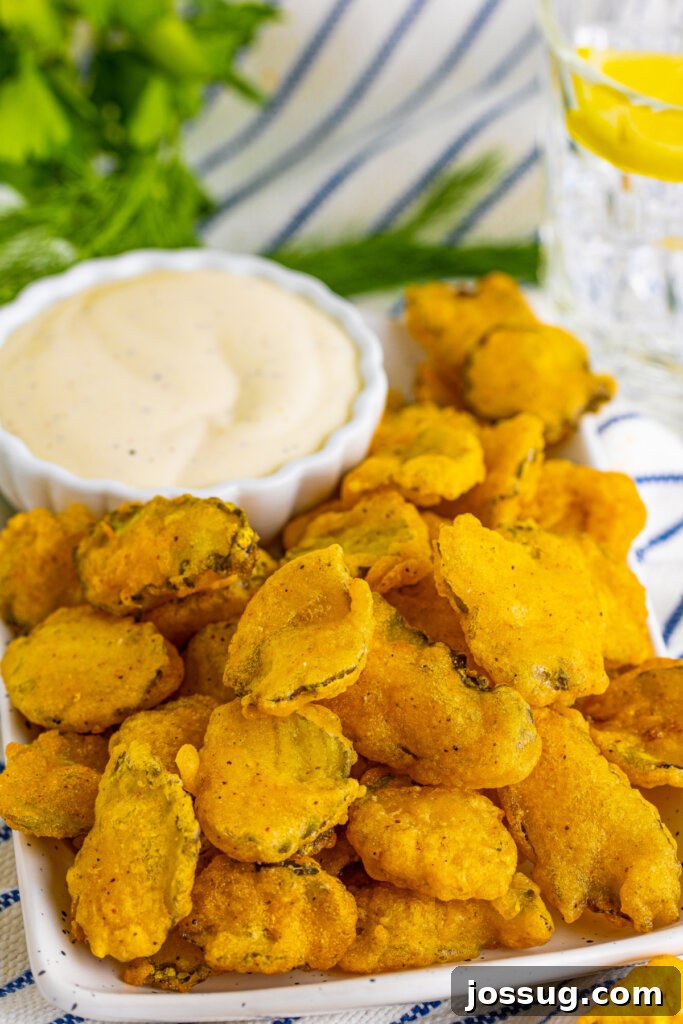
Crispy Homemade Fried Pickles: The Ultimate Appetizer Guide
There’s a unique magic that happens when a humble pickle chip is enveloped in a seasoned, golden-brown batter and fried to perfection. The result is a snack that beautifully marries the piquant tang of a dill pickle with an incredibly satisfying crispy crunch. Fried pickles have surged in popularity, becoming a staple on restaurant menus and a beloved party appetizer across the globe. This recipe is designed to bring that restaurant-quality experience right into your kitchen with ease, ensuring a memorable treat every time.
Whether you’re hosting a lively party, seeking a distinctive appetizer to kick off a meal, or simply looking for a fun and delicious snack to enjoy, homemade Fried Pickles are guaranteed to be a crowd-pleaser. With a minimal prep time of just 20 minutes and a lightning-fast cook time of about 4 minutes, this delectable treat can be whipped up in no time, proving that extraordinary flavor doesn’t have to demand hours in the kitchen.
Deep-Fried, Air-Fried, or Oven-Baked: Choose Your Adventure!
One of the most remarkable aspects of a classic Fried Pickles recipe is its inherent versatility. While the traditional method involves deep frying for that iconic, golden crisp, modern cooking techniques offer fantastic alternatives for those seeking a lighter touch without sacrificing flavor or texture.
- Deep Frying: This is the gold standard for achieving the crispiest, most evenly cooked fried pickles. The hot oil quickly cooks the batter, creating a thick, crunchy shell that locks in the pickle’s tangy juiciness. It offers an unparalleled texture and rich flavor that many consider the definitive fried pickle experience.
- Air Frying: For the health-conscious or those looking to reduce oil intake, air-fried pickles are an excellent choice. An air fryer circulates hot air to mimic the effects of deep frying, yielding a delightfully crispy exterior with significantly less oil. While the texture might be slightly different from deep-fried, air-fried pickles offer a lighter yet equally satisfyingly crunchy alternative. To achieve the best results, ensure pickles are thoroughly dried and lightly misted with oil before air frying.
- Oven Baking: If you don’t own an air fryer or prefer a hands-off approach, oven-baked fried pickles are another viable option. Though they may not reach the same level of crispness as their deep-fried counterparts, they can still be incredibly delicious. Arrange battered pickles on a wire rack over a baking sheet, spray lightly with cooking oil, and bake at a high temperature until golden and firm. This method is great for larger batches and can be a good entry point for beginners.
No matter your preferred cooking method, the key lies in mastering the batter and preparing the pickles properly. This recipe focuses on the classic deep-fried method, providing you with the authentic taste and texture that made fried pickles famous.
Crafting the Perfect Batter for Ultimate Crispiness
The secret to truly outstanding fried pickles lies in the batter – it’s all about achieving the perfect balance of flavor, texture, and adhesion. Our carefully crafted Fried Pickles batter combines a blend of all-purpose flour and yellow cornmeal, forming a robust and crispy coating that adheres beautifully to the pickle slices.
- All-Purpose Flour: Provides the structural base for the batter, ensuring it coats the pickles evenly and cooks up to a firm, crunchy shell.
- Yellow Cornmeal: A crucial ingredient for adding that distinctive extra crunch and a subtle, rustic flavor. It contributes to the golden color and textural interest of the fried coating.
- Creole Seasoning: This spice blend is a game-changer, infusing the batter with a vibrant, savory, and slightly spicy kick. It elevates the overall flavor profile, complementing the tang of the pickles perfectly. You can also experiment with other seasonings like Old Bay, garlic powder, onion powder, or a smoked paprika blend to customize the taste to your liking.
- Water and Pickle Juice: The liquid components of our batter are designed for maximum flavor. While water provides the necessary consistency, the inclusion of reserved pickle juice is a genius touch. It amplifies the inherent tanginess of the pickles, ensuring that essence is captured and enhanced within every crunchy bite. This subtle addition truly captures what makes a pickle so uniquely delicious.
Achieving the right batter consistency is paramount. It should be thick enough to coat the pickles without dripping off excessively but thin enough to allow for even cooking. A smooth, lump-free batter is ideal for a uniform and appealing finish.
The Essential Dipping Sauce: Elevate Your Fried Pickles Experience
No plate of crispy Fried Pickles is complete without the perfect dipping sauce. While classic ranch dressing remains a universally loved choice, don’t limit yourself to just one option! The right dipping sauce can elevate your snacking experience to new heights, adding another layer of flavor and complexity.
Consider these fantastic dipping sauce pairings:
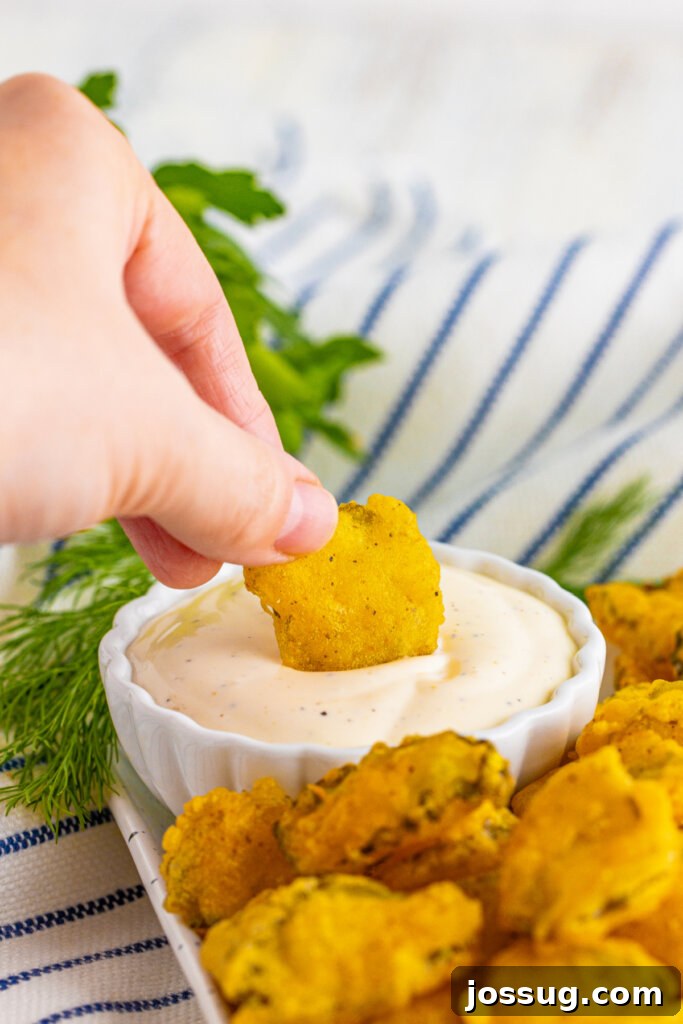
- Ranch Dressing: A timeless favorite, its creamy, herby, and tangy profile provides a refreshing counterpoint to the rich, salty fried pickles. A homemade ranch dressing truly makes a difference.
- Remoulade: For a touch of Southern elegance, remoulade offers a creamy, slightly spicy, and tangy kick, often featuring ingredients like mayonnaise, mustard, capers, and various seasonings.
- Honey Mustard: If you enjoy a balance of sweet and savory, honey mustard provides a delightful zing that beautifully complements the pickle’s tartness and the batter’s saltiness.
- Spicy Garlic Aioli: For those who love a bit of heat and pungent garlic flavor, a spicy garlic aioli (mayonnaise infused with roasted garlic and a hint of cayenne or sriracha) is an unbeatable choice.
- Comeback Sauce: A Southern specialty, this creamy, tangy, and slightly spicy sauce (often with mayonnaise, chili sauce, hot sauce, and Worcestershire) is incredibly addictive and pairs wonderfully with fried foods.
- Blooming Onion Sauce: Inspired by the famous appetizer, this creamy, horseradish-infused sauce offers a unique and savory complement.
Feel free to experiment with different sauces or even offer a variety for your guests to choose from. The versatility of fried pickles means they can pair with almost any creamy, tangy, or spicy dip you can imagine.
Fried Pickles Recipe: Ingredients & Substitutions
To make these sensational Fried Pickles, gather the following high-quality ingredients. Remember, using fresh and good-quality components will always yield the best results.
Key Ingredients
-
Peanut Oil: Essential for deep frying. Peanut oil is highly recommended due to its high smoke point, which allows the food to cook quickly at high temperatures. This results in an incredibly crispy coating with minimal oil absorption, preventing soggy pickles.
- Substitution: If you have a peanut allergy or prefer other options, neutral oils made for frying such as vegetable oil, canola oil, or grapeseed oil work equally well.
-
Hamburger Dill Chip Pickles: Naturally, you need pickles to make fried pickles! I find classic hamburger dill chips to be the ideal choice for their convenient size and consistent flavor. They offer the perfect balance of tartness and crispness.
- Substitution: Feel free to use your preferred pickle variety. Dill pickle spears can also be used, but you might need to adjust frying time slightly. Ensure they are firm and crunchy, not soft.
- All-Purpose Flour: Forms the primary structure of the crispy batter.
- Yellow Cornmeal: Adds characteristic crunch and a beautiful golden hue to the fried coating.
-
Creole Seasoning: Provides a robust, savory, and subtly spicy flavor to the batter.
- Substitution: Experiment with other dry seasonings like Old Bay seasoning, blackened seasoning, a BBQ spice blend, or even lemon pepper for different flavor profiles.
- Water: To achieve the right batter consistency.
- Reserved Pickle Juice: This secret ingredient adds an extra layer of tangy pickle flavor directly into the batter, enhancing the overall experience.
-
Ranch Dressing: For serving and dipping.
- Substitution: Your preferred dipping sauce such as honey mustard, comeback sauce, remoulade, garlic aioli, or even a spicy sriracha mayo are fantastic alternatives.

How to Make Perfectly Crispy Fried Pickles
Follow these straightforward steps to achieve perfectly golden and crispy fried pickles every time. Attention to detail, especially in drying the pickles and maintaining oil temperature, is key to success.
- Heat the Oil: Begin by heating the peanut oil in a deep fryer or a heavy-bottomed Dutch oven. Ensure there are at least 3 inches of oil up the side of the pan. Heat the oil to precisely 350°F (175°C). Using a kitchen thermometer is highly recommended for accuracy, as proper oil temperature is crucial for crispiness and preventing sogginess.
- Thoroughly Dry the Pickles: This step is arguably the most critical for crispy fried pickles. Place several layers of paper towels on a large baking sheet. Arrange the hamburger dill chip pickles on the paper towels in a single layer, ensuring they do not touch each other. Use more paper towels or a clean, absorbent kitchen towel to press down firmly on the pickles, extracting as much liquid as possible. Repeat this process until the pickles are remarkably dry to the touch. Any excess moisture will lead to a soggy batter and a less-than-crispy result.
- Prepare the Batter: In a medium-sized mixing bowl, whisk together the all-purpose flour, yellow cornmeal, and creole seasoning until thoroughly combined. Gradually add the water and the reserved pickle juice, stirring continuously until the batter is smooth and free of lumps. The consistency should be thick enough to coat the pickles evenly but thin enough to drip off slowly.
- Batter the Pickles: Once your oil has reached the target temperature, add a handful of the dried pickles to the prepared batter. Using a slotted spoon or your clean hands, gently separate the pickles to ensure each one is individually coated and not sticking together in clumps. A well-coated pickle ensures maximum crispiness.
- Fry to Golden Perfection: Carefully drop the battered pickles into the hot oil, one at a time, avoiding overcrowding the fryer. Frying in small batches is essential to prevent the oil temperature from dropping too much, which can lead to greasy pickles. If using a deep fryer basket, a gentle shake can help prevent sticking to the bottom. Fry the pickles for approximately 3-4 minutes, or until they are beautifully crispy and a rich, light golden-brown color. Stir them around occasionally with a spider strainer to ensure even browning on all sides.
- Drain and Keep Crispy: As soon as the pickles are golden and crispy, remove them from the oil using a spider strainer. Immediately transfer them to a fresh paper towel-lined platter or baking sheet to absorb any initial excess oil. For maximum crispiness, then transfer them onto a wire rack placed over another baking sheet. This allows air to circulate around the pickles, preventing steam from collecting and making them soggy. Repeat the frying process with the remaining pickles, ensuring the oil temperature returns to 350°F between batches.
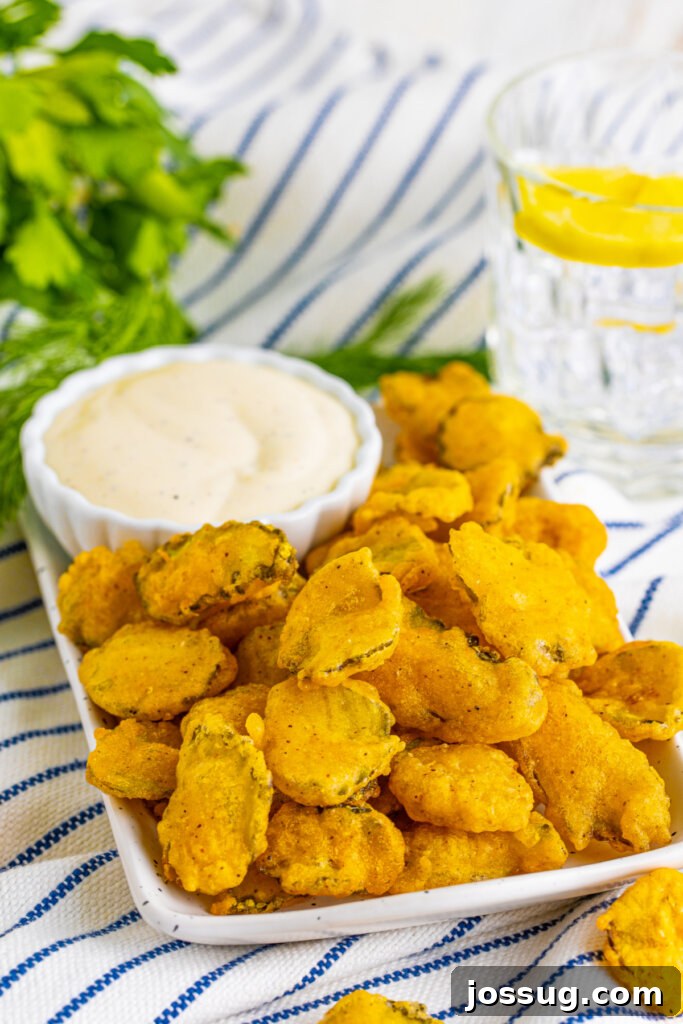
- Serve Immediately: Serve your homemade Fried Pickles hot and fresh with a generous side of ranch dressing or your chosen dipping sauce. Enjoy the perfect blend of tangy and crunchy!
Fried Pickles: Frequently Asked Questions (FAQs)
Here are some common questions about making and enjoying fried pickles, with detailed answers to help you perfect this delightful snack.
Absolutely! While Creole seasoning adds a fantastic flavor, feel free to get creative. Blackened seasoning, Old Bay, BBQ rub, garlic powder, onion powder, or lemon pepper are all excellent options that can give your fried pickles a unique twist. Consider what dipping sauce you plan to use and choose a seasoning that will complement it well.
Yes, you can prepare the batter a few hours ahead of time. Whisk together all the dry ingredients, then store them in an airtight container. When you’re ready to fry, simply whisk in the wet ingredients (water and pickle juice). For optimal results and the crispiest coating, it’s best to use the complete batter within a few hours of mixing the wet ingredients, as it can start to lose its leavening power over time.
The secret to keeping them crispy involves two main steps. First, thoroughly drain as much excess moisture from the pickles as possible before battering them. This prevents a soggy interior. Second, after frying, never pile them directly onto a plate. Instead, place them on a paper towel-lined plate for a moment to absorb initial excess oil, then immediately transfer them to a wire rack set over a baking sheet. This allows air circulation underneath, preventing steam from building up and making them soggy. Serve them immediately for the best possible crispiness.
While fried pickles are undeniably best enjoyed fresh off the fryer, you can store leftovers. Allow them to cool completely, then place them in an airtight container in the refrigerator for up to 2-3 days. When reheating, avoid the microwave, as it will make them soggy. Instead, reheat them in an oven or an air fryer at around 375-400°F (190-200°C) until warmed through and crispy again.
Yes, you can freeze fried pickles, although it’s important to manage expectations regarding texture upon reheating. The texture may not be quite as perfectly crispy as when they were fresh. If you choose to freeze them, follow the steps outlined in the “Freezing Fried Pickles” section below to help maintain their quality and minimize freezer burn.
Fried pickles make an excellent appetizer on their own, but they also pair wonderfully as a side dish. They complement various meals, including classic American dishes like juicy burgers, grilled sandwiches, and fresh salads. They’re also a fantastic addition to a finger food platter during game days, movie nights, or any casual party setting. Their tangy kick cuts through richer flavors, making them a versatile companion.
Other Recipes You May Enjoy
- Dill Pickle Pasta Salad
- Refrigerator Pickles
- Dill Pickle Wrap Dip
- Pickle de Gallo
- Loaded Bacon and Cheese Fries
Fried Pickles
By Jamie Sherman
Savor the crunch of Fried Pickles! Perfectly battered and deep-fried for a tangy, crispy experience. Great for appetizers or a unique snack.
20 mins
4 mins
24 mins
4 servings
Print Recipe
Equipment
-
Whisk
-
Measuring Cups and Spoons
-
Spider Strainer
-
Baking Sheets
-
Mixing Bowl
-
Deep Fryer (or Dutch oven)
Ingredients
- Peanut oil for frying
- 2 cups hamburger dill chip pickles, drained
- ½ cup all-purpose flour
- 2 tablespoons yellow cornmeal
- ¾ teaspoon creole seasoning
- ½ cup water
- 1 tablespoon reserved pickle juice
- Ranch dressing, for serving
Instructions
- Heat the oil in a deep fryer or a Dutch oven with 3 inches of oil up the side of the pan to 350°F (175°C).
- Place paper towels on a baking sheet. Then, place the pickles on the paper towels, making sure they are not touching each other. Take more paper towels or a clean kitchen towel and press out as much of the liquid from the pickles as you can. They need to be very dry.
- In a medium-sized bowl, whisk together the flour, cornmeal, and creole seasoning. Add the water and pickle juice, and stir to combine until smooth.
- Once the oil is up to temp, add handfuls of the dried pickles to the batter. Using a slotted spoon or your clean hands, separate the pickles making sure they are not sticking.
- Carefully drop them into the hot oil one at a time, being careful not to overcrowd the fryer. If using a deep fryer, gently shake the basket around to make sure they don’t stick to the bottom. Fry until crispy and lightly golden brown, about 3-4 minutes. Stir them around every so often to ensure even browning.
- Remove the fried pickles from the oil with a spider strainer. Place them on a clean paper towel-lined baking sheet to absorb any excess oil, then immediately transfer them onto a wire rack over a baking sheet to catch any drips and prevent them from getting soggy. Repeat with the remaining pickles.
- Serve immediately with Ranch dressing or your favorite dipping sauce.
Notes
- Ranch dressing is a classic dipping choice, but you can also try other sauces like honey mustard, remoulade, garlic aioli, or even a spicy comeback sauce.
- Hamburger dill chip pickles are commonly used for this recipe, but you can experiment with other types based on your preference, such as dill spears (adjust frying time if using spears).
- Peanut oil is often recommended for its high smoke point and neutral flavor, but you can also use other oils suitable for frying, like canola or vegetable oil.
- You can prepare the dry batter ingredients ahead of time and store them. Mix in the wet ingredients (water and pickle juice) just before frying for the best results. The complete batter is best used within a few hours.
- While Fried Pickles are best enjoyed fresh, you can store cooled leftovers in an airtight container in the refrigerator for up to 2-3 days and reheat them in an oven or air fryer to revive some of their crispiness. Avoid microwaving, as it will make them soggy.
FREEZING FRIED PICKLES
You can freeze Fried Pickles, although the texture may not be as crispy when you reheat them compared to freshly made ones. If you choose to freeze them, follow these steps to help maintain their quality:
- Cool Completely: Allow the fried pickles to cool entirely to room temperature before freezing. This prevents ice crystals from forming excessively.
- Separate Layers: Place a sheet of parchment paper or wax paper between layers of pickles if you’re stacking them in a container. This prevents them from sticking together.
- Package Properly: Put the cooled, layered pickles in an airtight freezer-safe container or a heavy-duty freezer bag. Press out as much air as possible from the bag to minimize freezer burn.
- Label and Date: Clearly mark the container with the date so you can keep track of how long they’ve been frozen.
- Freeze: Store the container in the freezer. For the best quality, they should be consumed within 1-2 months.
To reheat, it’s best to use an oven or an air fryer set to a high temperature (around 400°F or 200°C) until they are heated through and regain some crispiness. Microwaving is generally not recommended as it will likely result in soft, soggy pickles.
Nutrition
Serving: 0.5 cup, Calories: 87kcal, Carbohydrates: 17g, Protein: 2g, Fat: 1g, Saturated Fat: 0.1g, Polyunsaturated Fat: 0.3g, Monounsaturated Fat: 0.1g, Sodium: 635mg, Potassium: 120mg, Fiber: 2g, Sugar: 1g, Vitamin A: 287IU, Vitamin C: 2mg, Calcium: 43mg, Iron: 1mg
Nutrition information is automatically calculated, so should only be used as an approximation.
Like this? Leave a comment below!