
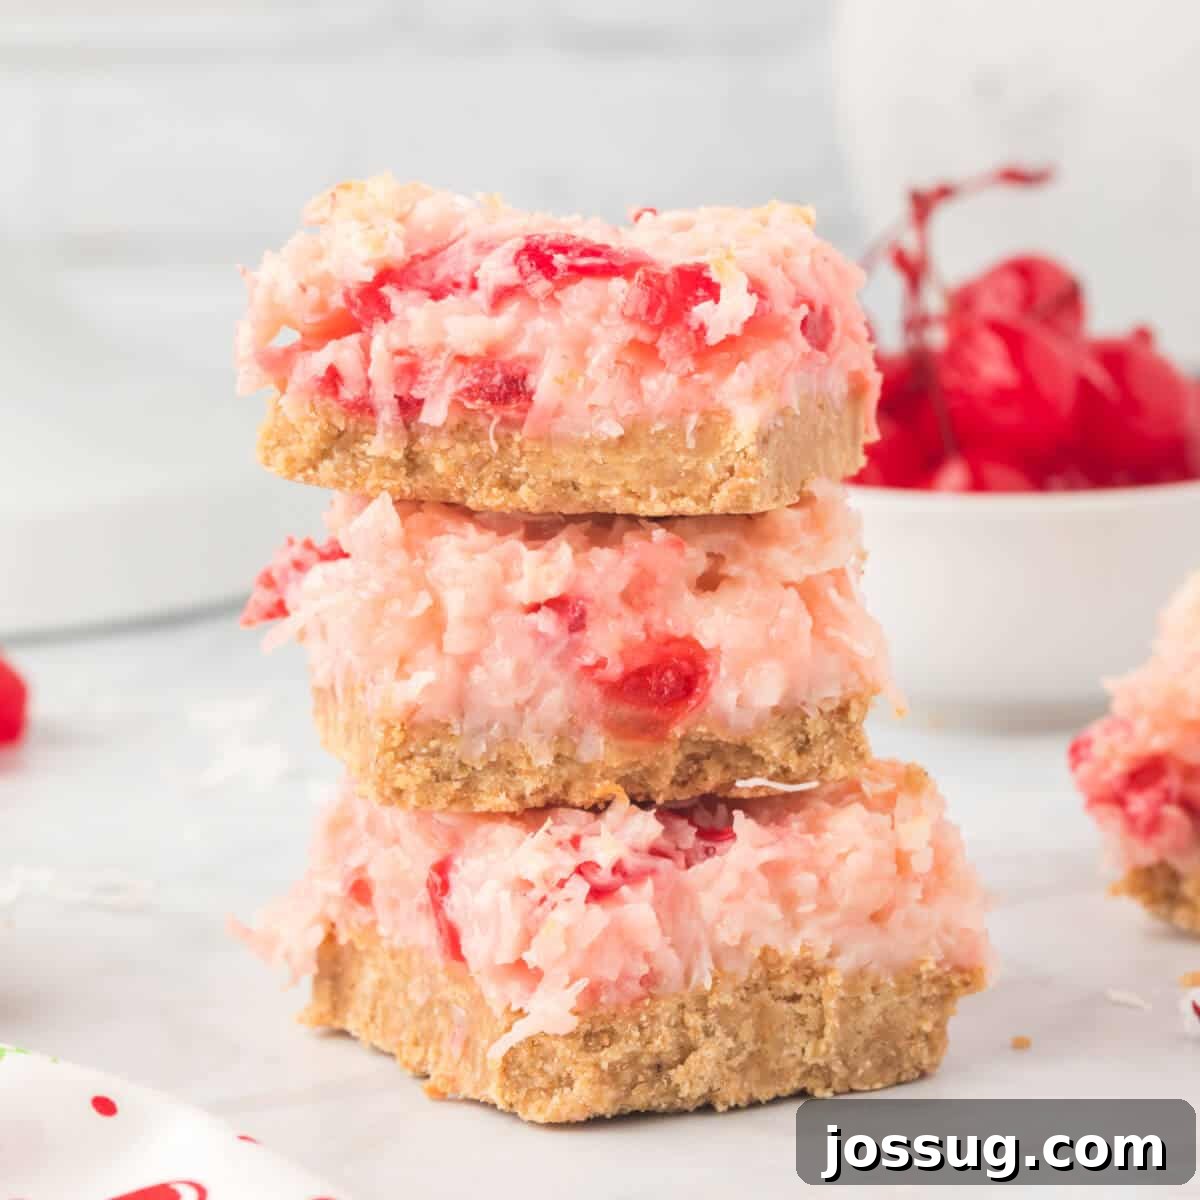
Prepare to be utterly captivated by these **Cherry Coconut Magic Bars** – a delightful twist on a timeless classic that promises to turn even the most skeptical palates into true believers. If you’ve ever found yourself on the fence about coconut, this recipe is designed to convert you, showcasing how the tropical sweetness harmonizes beautifully with tart cherries and a buttery graham cracker crust. These bars aren’t just a dessert; they’re an experience, offering a symphony of textures and flavors that will vanish from any platter in mere moments. Perfect for any occasion, from casual gatherings to festive celebrations, these easy-to-make treats embody the very essence of “magic” in every bite.
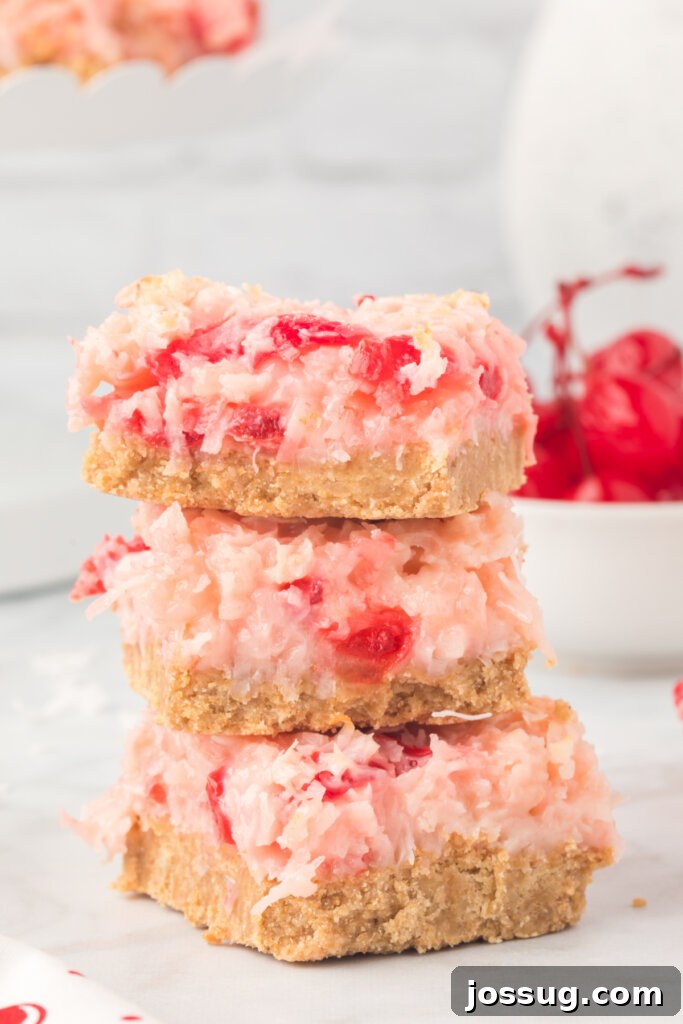
Discover the Enchantment of Cherry Coconut Magic Bars
Coconut often finds itself at the center of a culinary debate: people either adore its unique tropical flavor or steer clear. It seems there’s rarely an in-between! If you’re one of those who clicked on this recipe with a hint of skepticism, hoping the coconut wouldn’t play too prominent a role, prepare for a pleasant surprise. These delightful **Cherry Coconut Magic Bars** are specifically crafted to bridge that divide, convincing even the most ardent coconut naysayers to embrace its charm.
There’s an undeniable synergy that occurs when the vibrant sweetness of cherries meets the distinct texture and flavor of coconut. This combination elevates both ingredients, creating a dessert that is more than the sum of its parts. Each bar delivers a delightful medley of crunchy, chewy, and exquisitely fruity sensations, making them an absolute winner for any dessert table. Trust us, once you try these easy-to-make bars, you’ll understand why they’re so irresistible.
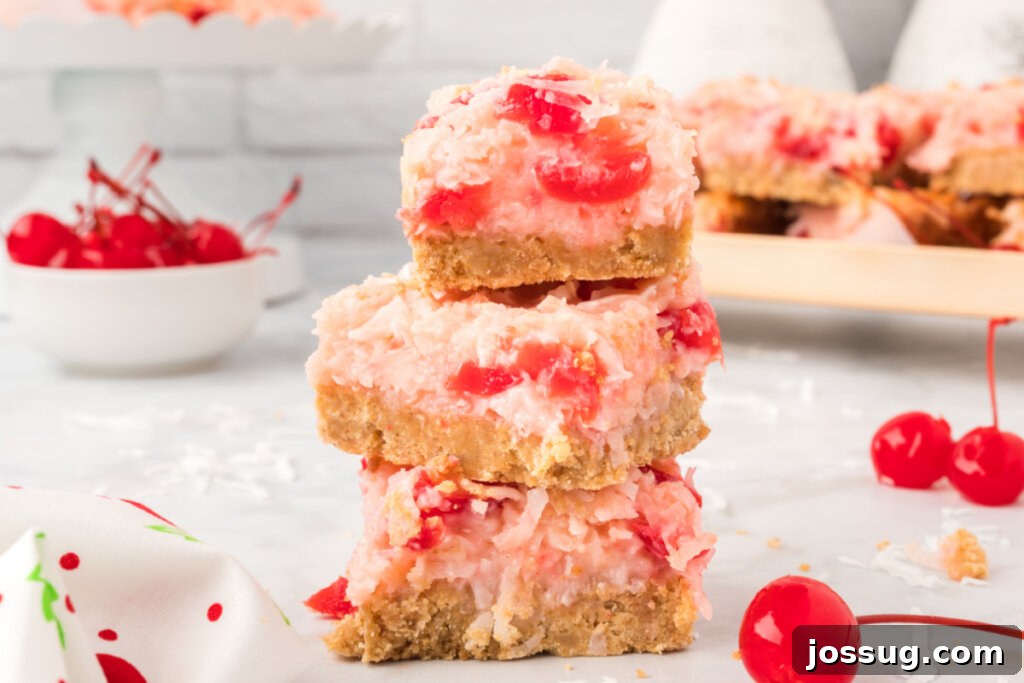
Many bakers are familiar with the beloved classic **Magic Bars recipe**, also known by affectionate names like 7-Layer Bars or Hello Dollies. This recipe builds upon that cherished foundation, introducing a luscious and eye-catching twist: the inclusion of sweet maraschino cherries. While traditional Magic Bars typically feature a foundational graham cracker crust, topped with layers of shredded coconut, chocolate chips, nuts, and other delightful goodies, all generously bathed in sweetened condensed milk before baking, our version adds that extra special something.
The addition of bright red maraschino cherries not only infuses these bars with an extra layer of sweet, fruity flavor but also lends them a captivating visual appeal. Their festive hue makes them an ideal treat for special occasions, especially around Christmas or Valentine’s Day. However, their sheer deliciousness transcends seasonal boundaries; you’ll find yourself craving and making them any time of the year, even in the heat of July! Their ease of preparation combined with their sensational taste makes them a perfect last-minute dessert or a planned indulgence.
With such a harmonious blend of crunchy graham cracker, rich coconut, and sweet, juicy cherries, these bars truly taste magical. They offer a comforting nostalgia with a fresh, fruity upgrade. Get ready to experience a dessert that is genuinely extraordinary and incredibly satisfying. Enjoy the process of baking them, and even more, the joy of sharing (or not sharing!) these incredible treats!
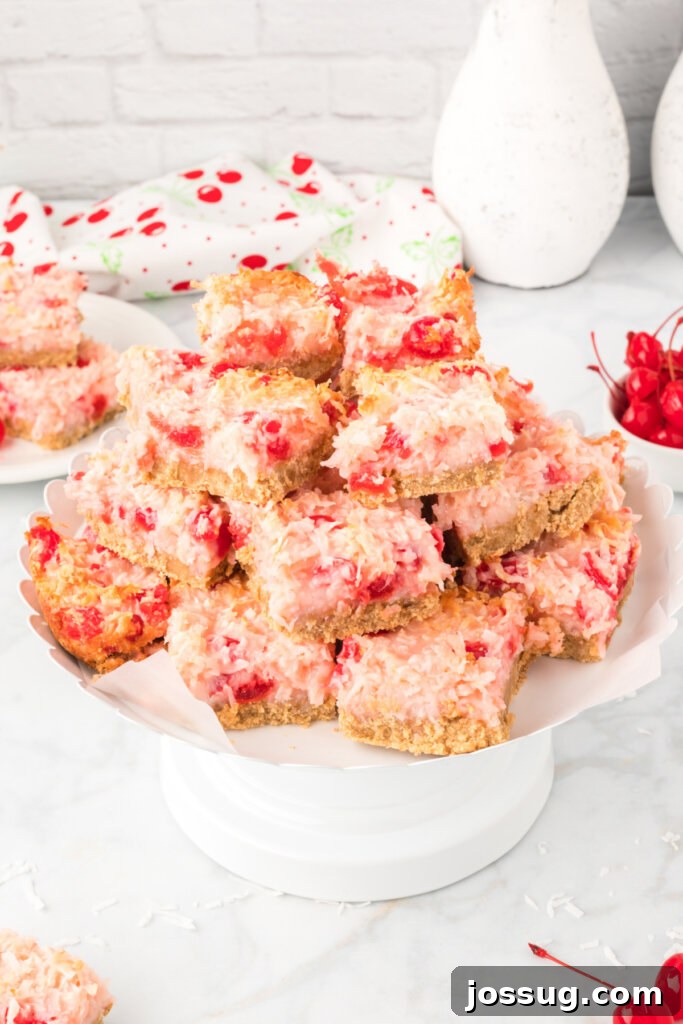
Crafting Your Delightful Coconut Cherry Bars: Ingredients & Essential Substitutions
Creating these heavenly **Cherry Coconut Magic Bars** requires a simple list of ingredients, most of which you likely already have in your pantry. Each component plays a vital role in achieving that perfect balance of sweetness, texture, and flavor. Let’s delve into what you’ll need and explore some flexible substitutions to make this recipe your own.
Key Ingredients
For the Irresistible Crust
- Butter (Melted): This is the crucial binding agent for your crust, ensuring it holds together beautifully and provides a rich, buttery foundation. For a slightly different flavor, you could experiment with brown butter, which adds a nutty depth.
- Salt: Often underestimated in baked goods, a pinch of salt is essential. It doesn’t just make things salty; it magnificently enhances and balances all the other sweet flavors, preventing the bars from being overly cloying.
- Baking Powder: A small amount of baking powder helps to create a slightly tender and less dense crust, giving it a subtle lift and a pleasant texture.
- All-Purpose Flour, Graham Cracker Crumbs, Brown Sugar: This trio forms the core of your sweet, crumbly, and incredibly flavorful crust. The graham cracker crumbs provide that signature, slightly spiced taste that is characteristic of classic Magic Bars. For a variation, you could substitute a portion of the graham cracker crumbs with crushed vanilla wafers, shortbread cookies, or even digestive biscuits for a unique twist. If you prefer a nuttier crust, consider adding a couple of tablespoons of finely ground almonds or pecans to the mixture. Brown sugar not only adds sweetness but also a wonderful molasses note and contributes to the crust’s tender chewiness.
For the Luscious Filling
- Almond Extract and Vanilla Extract: These flavor enhancers are the secret weapons that elevate your cherry coconut bars from simply good to truly exceptional. Much like salt, they deepen and complexify the overall taste profile. Almond extract, in particular, complements the cherry flavor beautifully, mimicking a natural cherry pit essence. Ensure you use pure extracts for the best flavor results.
- Maraschino Cherries (Drained and Chopped): These vibrant, sweet cherries are the star of our twist. Draining them thoroughly is vital to prevent excess moisture in your bars. Chopping them ensures an even distribution of their fruity goodness throughout the filling. If you’re feeling adventurous, you could try using dried cherries rehydrated in a little cherry liqueur or even fresh pitted cherries (though these might alter the moisture content and bake time slightly).
- Finely Shredded Unsweetened Coconut: The coconut provides a delightful chewiness and its signature tropical aroma. Using unsweetened coconut allows you to control the overall sweetness of the bars, letting the sweetened condensed milk do its job without making the dessert overwhelmingly sugary. If you only have sweetened shredded coconut, you might consider slightly reducing the amount of sweetened condensed milk, or be prepared for a sweeter bar. Coconut flakes can also be used for a more substantial texture.
- Sweetened Condensed Milk: This ingredient is the “magic” that binds the filling together, creating a rich, creamy, and intensely sweet layer. It caramelizes slightly during baking, adding depth and a wonderfully gooey texture. There’s no direct substitute for sweetened condensed milk in this recipe as it plays a unique role in both flavor and structure.

Effortlessly Master: How To Make Cherry Coconut Bars
Whether you’re a seasoned baker or just starting your culinary journey, crafting these **Cherry Coconut Magic Bars** is an incredibly straightforward and rewarding process. With just a few simple steps, you’ll have a tray of delicious, homemade treats ready to impress!
Step 1: Prepare Your Workspace and Oven. Begin by preheating your oven to a moderate 325°F (160°C). This ensures your oven is at the perfect temperature for even baking from the moment your pan goes in. Next, take a 9×13-inch baking pan and generously grease it. You can use butter, cooking spray, or line it with parchment paper (leaving an overhang on the sides helps with easy removal later). Setting this up first makes the rest of the process seamless.
Step 2: Assemble the Flavorful Crust. In a medium-sized bowl, combine all your dry crust ingredients: the all-purpose flour, graham cracker crumbs, packed brown sugar, baking powder, and a pinch of salt. Whisk them together until they are thoroughly mixed, ensuring an even distribution of flavor. Then, pour in the melted butter. Use a fork or your hands to blend this mixture until it resembles coarse, moist crumbs that hold together when pressed. Once combined, firmly press this mixture evenly into the bottom of your prepared baking pan. Aim for a compact, consistent layer – this forms the crucial base for your magic bars.
Step 3: Create the Luscious Cherry Coconut Filling. In a separate, larger bowl, it’s time to bring the stars of the show together. Combine the unsweetened finely shredded coconut, both cans of sweetened condensed milk, the thoroughly drained and chopped maraschino cherries, vanilla extract, and almond extract. Stir vigorously with a spatula or wooden spoon until all ingredients are well incorporated and the cherries and coconut are evenly dispersed throughout the sticky, sweet condensed milk. This ensures every bite of your bar will have that perfect balance of flavors.
Step 4: Layer and Bake to Perfection. Carefully pour the entire filling mixture over the prepared graham cracker crust in your baking pan. Use your spatula to gently spread the filling evenly from edge to edge, making sure it covers the crust completely. Now, your masterpiece is ready for the oven! Bake for approximately 35-40 minutes. Keep an eye on the edges; they should turn a beautiful light golden brown, and the center should be set and slightly bubbly. Avoid overbaking, as this can make the bars dry. The goal is a gooey, chewy interior.
Step 5: Cool, Chill, and Indulge. Once baked, remove the pan from the oven. Resist the urge to cut into them immediately! Place the pan on a wire cooling rack and allow the bars to cool completely at room temperature for at least one hour. This initial cooling helps them firm up. After that, cover the pan tightly with plastic wrap or foil and refrigerate for a minimum of four hours, or ideally, overnight. Chilling is a critical step that allows the bars to set fully, making them much easier to cut into neat, individual portions without crumbling. Once thoroughly chilled, slice into 24 delicious bars and prepare for them to disappear!
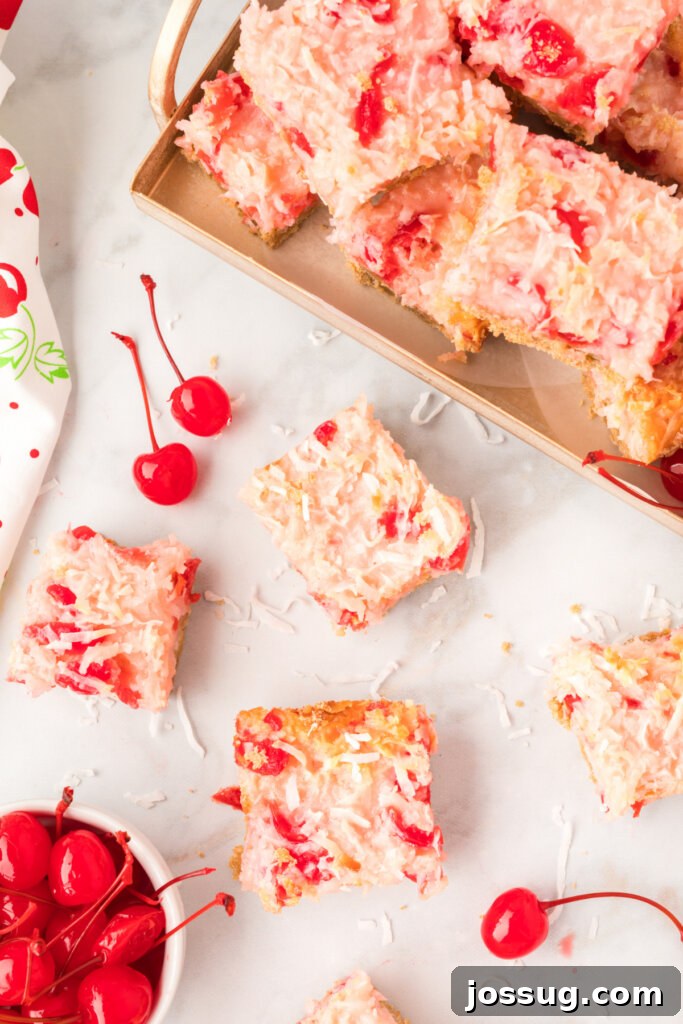
Cherry Coconut Magic Bars: Your Questions Answered
Have more questions about these delightful **Cherry Coconut Magic Bars**? We’ve got you covered with answers to some of the most common queries, ensuring your baking experience is as smooth and successful as possible.
➡️ How many bars does this recipe typically make?
This recipe is designed to yield approximately 24 individual bars, making it perfect for feeding a crowd or ensuring you have plenty of leftovers to enjoy throughout the week. You can adjust the size of your cuts to make fewer larger bars or more bite-sized treats, depending on your preference and serving needs. For best results, use a sharp knife for clean cuts after chilling.
➡️ How long does it truly take to make Cherry Coconut Magic Bars from start to finish?
While the total time might seem lengthy due to cooling and chilling, the active “hands-on” prep time for these **Magic Bars** is surprisingly short, typically around 15 minutes. The baking process takes about 35-40 minutes. The majority of the time is passive, involving cooling on a wire rack for an hour and then refrigerating for at least four hours (or longer for optimal setting). This makes it a fantastic stress-free recipe that can be prepped in advance, allowing you to enjoy your time while the magic happens in the fridge!
➡️ Are there any recommended additions or variations for the filling?
Absolutely! The beauty of **Magic Bars** lies in their versatility. While the cherry and coconut combination is stellar, feel free to customize the filling to your liking. Here are a few popular suggestions:
- Chocolate Lovers: Stir in dark chocolate chips, milk chocolate chunks, or even white chocolate chips for an extra layer of sweetness and indulgence. A drizzle of melted chocolate over the cooled bars is also a fantastic idea.
- Nutty Crunch: Add chopped pecans, walnuts, or almonds to the filling for an enhanced textural contrast and a rich, nutty flavor that pairs wonderfully with the coconut.
- Fruity Twists: Beyond maraschino cherries, consider adding dried cranberries, chopped dried apricots, or even a mix of candied fruit for a more festive feel.
- Citrus Zest: A touch of orange or lemon zest can brighten the flavors beautifully, especially if you enjoy a hint of tang.
The possibilities are endless, so don’t hesitate to experiment and create your own unique magic bar variations!
➡️ What’s the best way to store any leftover Cherry Coconut Magic Bars?
To keep your **Cherry Coconut Magic Bars** fresh and delicious, simply place any leftovers in an airtight container. They store beautifully in the refrigerator for up to 5-7 days. The cool environment helps maintain their firm, chewy texture. For longer storage, these bars can also be frozen for up to 2-3 months. Just ensure they are tightly wrapped in plastic wrap and then placed in a freezer-safe bag or container. Thaw them in the refrigerator overnight before serving for the best experience.
➡️ Can I use fresh cherries instead of maraschino cherries?
While maraschino cherries offer a distinct sweetness and vibrant color, you can absolutely experiment with fresh cherries. You’ll need to pit and chop them. Be aware that fresh cherries contain more moisture, which might slightly affect the texture of the bars or require a slightly longer bake time. You might also want to toss them with a tiny bit of flour before adding to the filling to help absorb some moisture.
➡️ How can I make these bars gluten-free?
Making these **Magic Bars** gluten-free is quite achievable! The primary change would be in the crust. You can substitute the all-purpose flour with a 1:1 gluten-free baking flour blend (ensure it contains xanthan gum). For the graham cracker crumbs, opt for gluten-free graham crackers, or use an alternative like crushed gluten-free shortbread cookies or rice cereal for the crust. The filling ingredients are naturally gluten-free.
➡️ Can these bars be made ahead of time for an event?
Absolutely! These **Cherry Coconut Magic Bars** are an ideal make-ahead dessert. In fact, they benefit from the extended chilling time, allowing the flavors to meld and the layers to set perfectly. You can bake them a day or two before your event, keep them covered in the refrigerator, and simply slice and serve when guests arrive. This frees up your time on the day of the event, making entertaining much easier.
Explore More Delicious Recipes You Might Enjoy
If you loved the delightful combination of flavors and the ease of these **Cherry Coconut Magic Bars**, you’re in for a treat! Here are a few other fantastic recipes that share similar qualities or explore complementary ingredients:
- Coconut Cream Poke Cake
- Classic Magic Cookie Bars
- Decadent Chocolate Cherry Cake Balls
- Sweet Coconut Snowballs
- Chocolate Cherry Thumbprint Cookies
Cherry Coconut Magic Bars
Equipment
-
Wire Cooling Rack
-
Non-Stick 13 x 9-Inch Covered Oblong Baking Pan
-
Rubber Spatula or Wooden Spoon
-
Mixing Bowl
-
Cutting Board
-
Knife
-
Measuring Cups and Spoons
Ingredients
For the crust
- 1 ½ cups all-purpose flour
- 1 cup graham cracker crumbs
- ⅔ cup packed brown sugar
- 1 teaspoon baking powder
- ½ teaspoon salt
- 1 cup butter, melted
For the filling
- 4 cups unsweetened finely shredded coconut
- 2 cans sweetened condensed milk, 14 ounces each
- 2 jars maraschino cherries, drained and chopped, 10 ounces each
- 2 teaspoons vanilla extract
- 1 teaspoon almond extract
Instructions
-
Preheat the oven to 325°F (160°C). Generously grease a 9×13-inch baking pan and set aside.
-
In a small bowl, thoroughly mix together the flour, graham cracker crumbs, brown sugar, baking powder, and salt. Stir in the melted butter until well combined and crumbly.
-
Press the crumb mixture evenly and firmly into the bottom of the prepared baking pan, creating a compact base.
-
In a separate bowl, combine all the filling ingredients – unsweetened finely shredded coconut, sweetened condensed milk, drained and chopped maraschino cherries, vanilla extract, and almond extract – until well combined.
-
Pour the filling mixture evenly over the pressed crust in the baking pan, spreading it to cover completely.
-
Bake for 35-40 minutes, or until the edges are lightly browned and the center is set.
-
Remove from the oven and allow to cool completely on a wire rack for one hour at room temperature.
-
Cover the pan and refrigerate for at least four hours (or overnight) before cutting into bars. This chilling is crucial for clean slices and optimal texture.
Notes
- Store any leftover Cherry Coconut Magic Bars in an airtight container in the fridge for up to 5-7 days. For longer storage, freeze for up to 2-3 months.
- Ensure maraschino cherries are thoroughly drained to prevent excess moisture in the bars.
Nutrition
Nutrition information is automatically calculated, so should only be used as an approximation.