

Mastering the Flaky Butter Pie Crust: Your Ultimate Guide
There’s an undeniable magic in a homemade pie, and at its heart lies a perfectly crafted crust. Forget the store-bought shortcuts; creating a flaky, golden butter pie crust from scratch is not only easier than you imagine but also incredibly rewarding. This comprehensive guide will equip you with all the knowledge and techniques you need to achieve that coveted tender, buttery bite and crisp edge every single time. Get ready to elevate your baking and impress everyone with your newfound pie crust prowess!
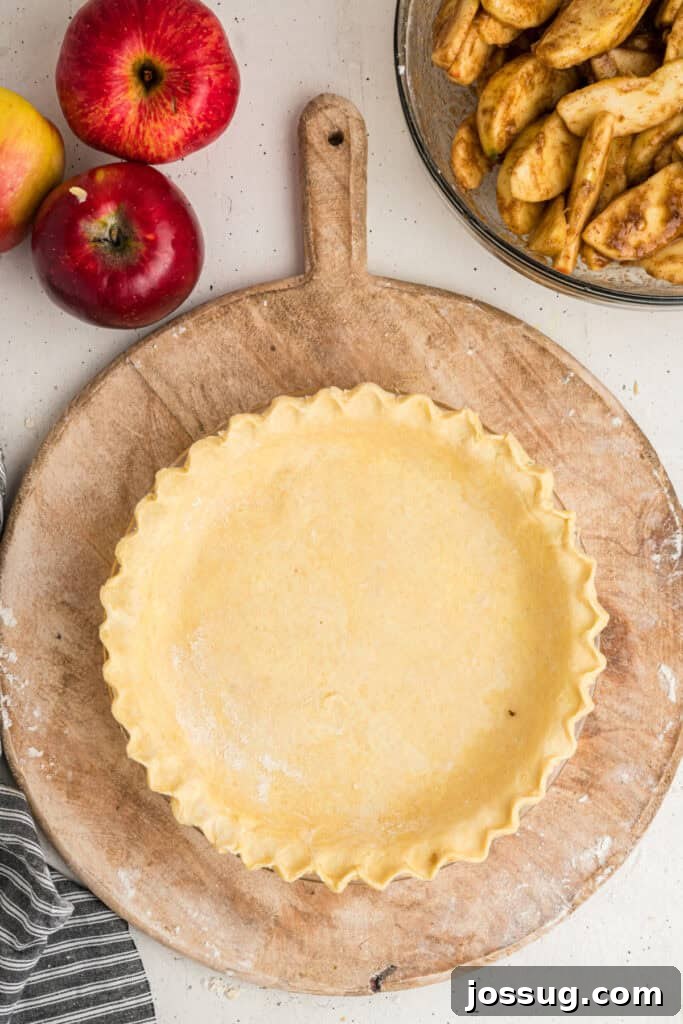
Why Every Baker Needs This Homemade Pie Crust Recipe
For many, the idea of making pie crust from scratch can be daunting, but it doesn’t have to be. This butter pie crust recipe is a true game-changer, simplifying the process while delivering consistently spectacular results. It’s my absolute go-to for everything from classic apple pies and rich sweet potato pies to savory quiches and pot pies. The difference between a homemade crust and a store-bought one is like night and day – the rich, authentic butter flavor and the delicate, flaky layers are simply unmatched. This recipe will not only change your perspective on pie making but also become a cherished staple in your culinary repertoire.
Unlocking the Perfect Pie Experience
- Effortless Simplicity: Utilizing common pantry ingredients, this recipe proves that you don’t need exotic items to craft extraordinary results. You likely already have everything you need on hand.
- Unrivaled Flaky Texture: We’ll delve into the secrets behind achieving those desirable, distinct layers that define a truly excellent pie crust, ensuring a delicate, melt-in-your-mouth experience.
- Rich, Authentic Buttery Flavor: Butter is the star here, infusing the crust with an incredible depth of flavor that complements both sweet and savory fillings beautifully.
- Incredible Versatility: Whether you’re baking a sweet fruit pie for dessert, a creamy custard pie, or a savory quiche for brunch, this adaptable crust recipe is your perfect foundation.
- Beginner-Friendly & Fail-Proof: Designed with clarity in mind, this recipe guides you through each step, making it accessible for novice bakers while still satisfying the seasoned pros.
- Freezer-Friendly Convenience: Prepare your dough in advance and freeze it, allowing for spontaneous pie baking whenever the craving strikes or for easy meal prep.
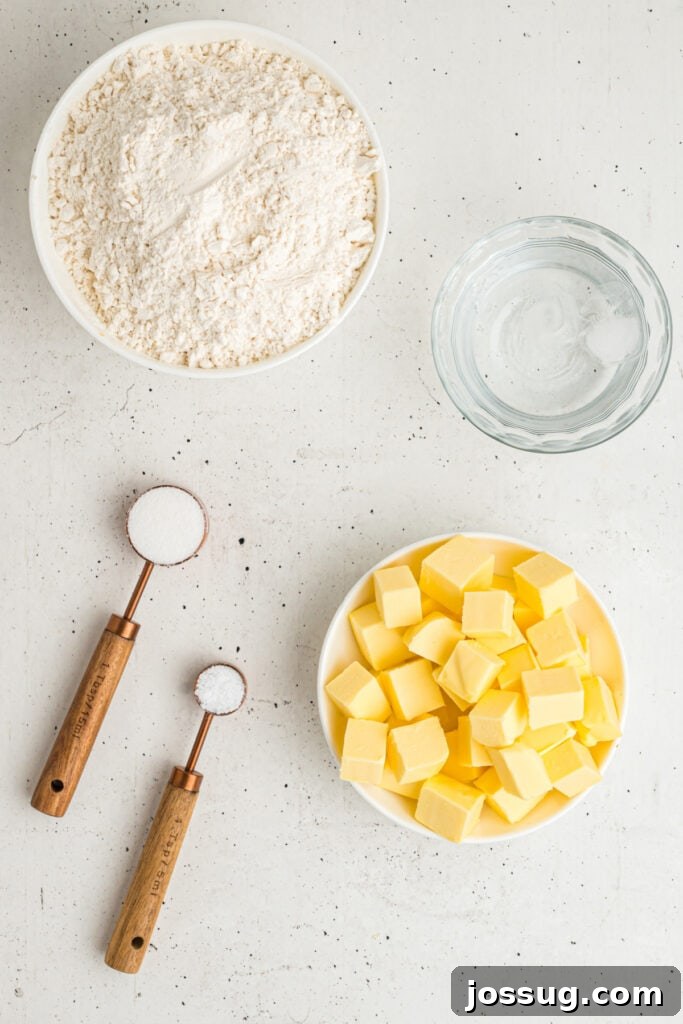
Essential Ingredients & Substitutions for a Superior Butter Pie Crust
The beauty of this classic butter pie crust recipe lies in its simplicity, requiring just a handful of quality ingredients. Each component plays a vital role in creating the perfect texture and flavor profile. Here’s a closer look at what you’ll need and why:
- All-Purpose Flour: The foundation of our crust. All-purpose flour provides the necessary structure. Using the right amount is key, as too much can make the dough tough, while too little can make it difficult to handle.
- Granulated Sugar: A small amount adds a touch of sweetness and helps with browning, contributing to that beautiful golden crust. For savory pies, feel free to omit the sugar entirely.
- Kosher Salt: Essential for balancing the flavors and enhancing the richness of the butter. Don’t skip it, even in sweet pies!
- Cold Butter: This is the secret to a truly flaky pie crust. When cold butter is cut into the flour, it creates tiny pockets that release steam during baking, forming those desirable layers. Ensure your butter is straight from the fridge and cubed for best results. For a softer, slightly more tender texture, you can substitute a portion or all of the butter with shortening.
- Ice Cold Water: Crucial for keeping the butter bits cold and preventing premature gluten development. Just like with the butter, the colder the water, the flakier your crust will be. For an extra layer of flavor in fruit pies, especially apple pies, try substituting some or all of the ice water with cold apple juice or cider.
Creative Variations to Elevate Your Pie Crust
While this classic butter pie crust is perfect as is, it also serves as an excellent canvas for customization. Experiment with these simple variations to tailor your crust to specific fillings and occasions:
- Savory Herb Crust: Elevate your savory pies like quiches or pot pies by skipping the sugar entirely and incorporating dried herbs. A teaspoon of dried thyme, rosemary, or a blend of Italian herbs adds a wonderful aromatic depth. You could even add a pinch of garlic powder or onion powder for extra flavor.
- Apple Pie Flavor Boost: For an irresistible apple pie, swap out the ice water for cold apple juice or apple cider. This subtle change infuses the crust with a delicate fruit flavor that beautifully complements the apple filling. Ensure the juice or cider is very cold, just like you would with water.
- Vegan-Friendly Option: For those seeking a plant-based alternative, this recipe can be easily adapted. Simply substitute the dairy butter with a high-quality, firm plant-based butter alternative or vegan shortening. Ensure your chosen substitute is cold and handle the dough gently.
- Cheesy Crust: For savory tarts or quiches, consider folding in a quarter cup of finely grated Parmesan or sharp cheddar cheese with the dry ingredients. The cheese adds a delicious tang and extra richness.
- Whole Wheat Twist: For a nuttier flavor and added fiber, replace up to half of the all-purpose flour with whole wheat flour. This works particularly well for rustic, hearty pies.
Expert Tips for a Flawless Pie Crust Every Time
Achieving the perfect flaky pie crust is more about technique than difficulty. Keep these essential tips in mind for consistently stellar results:
- Keep Ingredients Cold: This is arguably the most critical tip. Cold butter and ice-cold water are paramount for preventing the butter from melting too quickly and developing gluten prematurely. The small pieces of cold butter create steam pockets during baking, which is what gives the crust its characteristic flakiness. Work quickly to keep everything chilled.
- Avoid Overworking the Dough: Overmixing or excessive kneading develops gluten in the flour, leading to a tough, chewy crust rather than a tender, flaky one. Mix just until the ingredients come together and the dough holds its shape. A “shaggy” dough is perfectly fine; it will smooth out during chilling.
- Chill the Dough Thoroughly: After mixing, chilling the dough for at least one hour (or up to two) is crucial. This allows the butter to firm up again, the gluten to relax, and the moisture to redistribute evenly. A well-chilled dough is much easier to roll out and less prone to shrinking during baking.
- Flour Your Surface Wisely: Lightly flour your work surface, rolling pin, and hands. Too much flour will dry out the dough, while too little will cause it to stick. If the dough starts to stick while rolling, gently lift it, add a whisper more flour underneath, and continue.
- Use a Light Hand: Whether you’re mixing with a pastry blender or your fingertips, use a light touch. The goal is to cut the butter into the flour, not to mash it into a paste. Pea-sized to almond-sized pieces of butter are ideal.
- Don’t Be Afraid to Patch: If your dough cracks while rolling, especially around the edges, don’t panic! Simply use your fingers to gently press the cracks back together. The dough is forgiving.
- Give it a Quick Rest: If your dough feels too stiff or starts to crack excessively during rolling, let it rest at room temperature for 5-10 minutes. This allows the butter to soften slightly and the gluten to relax, making it more pliable.
❓ Frequently Asked Questions About Butter Pie Crust
- What kind of pies can I use this with?
- This versatile butter pie crust recipe is perfect for virtually any pie! It excels with classic fruit pies like apple, cherry, or berry, rich custard pies such as pumpkin or sweet potato, and even savory dishes like chicken pot pie, quiches, and various tarts. Its balanced flavor and flaky texture make it suitable for almost any filling.
- Can I use this recipe for hand pies or galettes?
- Absolutely! This homemade pie crust works beautifully for hand pies, galettes, and even mini tarts. For hand pies and galettes, you might want to roll the dough slightly thinner than for a standard pie, and adjust your baking time accordingly based on the size of your individual pastries. The rich butter flavor truly shines in these rustic-style treats.
- Is this good for blind baking?
- Yes, this easy pie crust recipe is excellent for blind baking. Blind baking is often necessary for custard, cream, or other pies where the filling isn’t baked or requires a pre-baked crust to prevent sogginess. Refer to our “How to Blind Bake Pie Crust” section for detailed instructions.
- How do I know if I’ve added enough water to the dough?
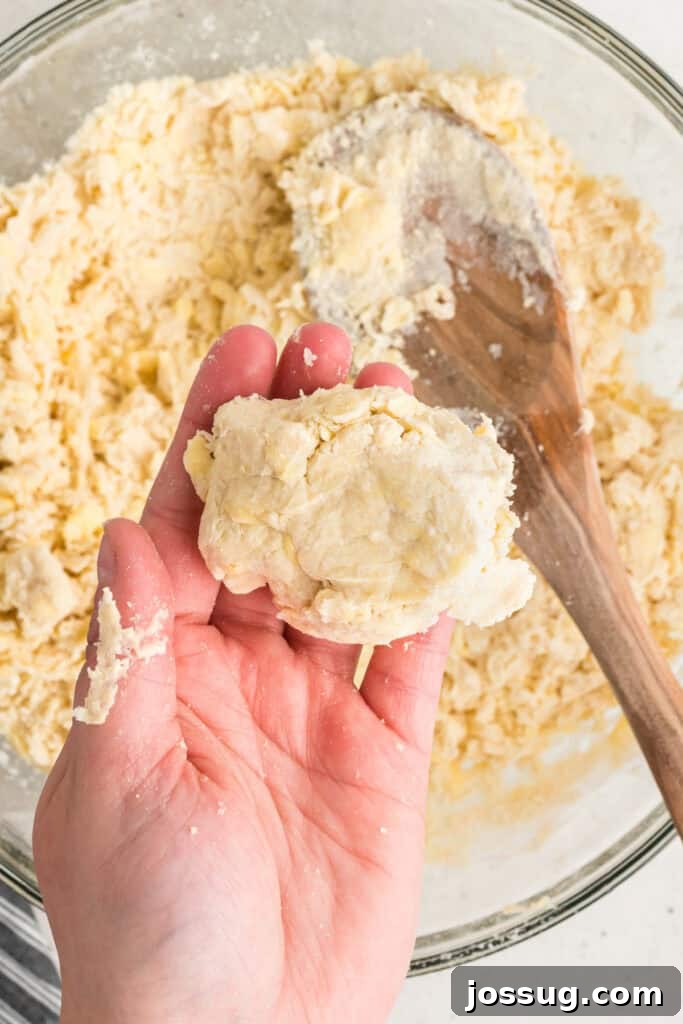
- The dough is ready when it just comes together and holds its shape without crumbling when you squeeze a small piece in your hand. It should feel slightly moist but not sticky. If it still feels too dry and crumbly, add water one tablespoon at a time, mixing gently after each addition, until the desired consistency is reached.
- How long should I let the dough rest before rolling?
- After mixing, it’s essential to refrigerate the dough for at least 1 hour to allow the butter to firm up and the gluten to relax. Before rolling, let the chilled dough sit at room temperature for about 10 minutes. This slight warming makes the dough more pliable and easier to roll without cracking.
- What should I do if my dough cracks while rolling?
- If your dough starts to crack excessively, it’s likely too cold or has been overworked. Let it sit at room temperature for a few more minutes to slightly warm up and relax. You can also gently press any cracks back together with your fingers or a little bit of extra dough, and continue rolling.
- Do I need to grease the pie dish?
- Typically, no. This butter pie crust contains a sufficient amount of butter, which acts as a natural non-stick agent. Greasing the pie dish is usually not necessary, as the butter in the dough prevents it from sticking. If you have concerns, a very light dusting of flour after a quick butter swipe might be done, but generally, it’s omitted.
- Can I double this recipe?
- Yes, you can easily double this recipe. Just ensure that after mixing, you divide the dough into four equal portions (since the original recipe makes two crusts) and wrap each disc separately in plastic wrap before chilling. This keeps the portions manageable and consistent.
- What if I don’t have a pastry blender?
- No pastry blender? No problem! You can achieve the same results using two forks to cut the butter into the flour mixture, or by using your fingertips. If using your fingertips, work quickly to avoid melting the butter with the warmth of your hands.
- Can I use a food processor for this recipe?
- Yes, a food processor is an excellent tool for making pie crust quickly. Simply combine the dry ingredients in the food processor bowl, add the cold cubed butter, and pulse until the mixture resembles coarse crumbs. Then, gradually add the ice water while pulsing just until the dough comes together. Be careful not to overmix!
🍽️ Other Recipes You May Enjoy
Dessert
Maple Pecan Pie
Dessert
Chocolate Chess Pie
Dessert
Pumpkin Pie
Dessert
Pecan Pie Bars
Butter Pie Crust
By Jamie Sherman
This Butter Pie Crust is a dream to work with – wonderfully flaky, rich, and versatile. It makes two perfect pie crusts, ideal for all your sweet and savory baking needs. Say goodbye to store-bought and hello to homemade perfection!
Servings: 2 pie crusts
Prep Time: 20 mins
Additional Time: 1 hr 10 mins (for chilling)
Total Time: 1 hr 30 mins
Equipment You’ll Need
- Mixing Bowl
- Whisk
- Pastry Blender (or two forks/fingertips)
- Wooden Spoon
- Plastic Wrap
- Rolling Pin
- Knife or Kitchen Shears
- Pie Dish (9-inch or 10-inch)
- Measuring Cups and Spoons
Ingredients
- 2-½ cups all-purpose flour
- 1 tablespoon granulated sugar (optional for savory pies)
- 1 teaspoon kosher salt
- 8 ounces (2 sticks) cold butter, cubed
- 8 tablespoons ice cold water, more as needed
Step-by-Step Instructions
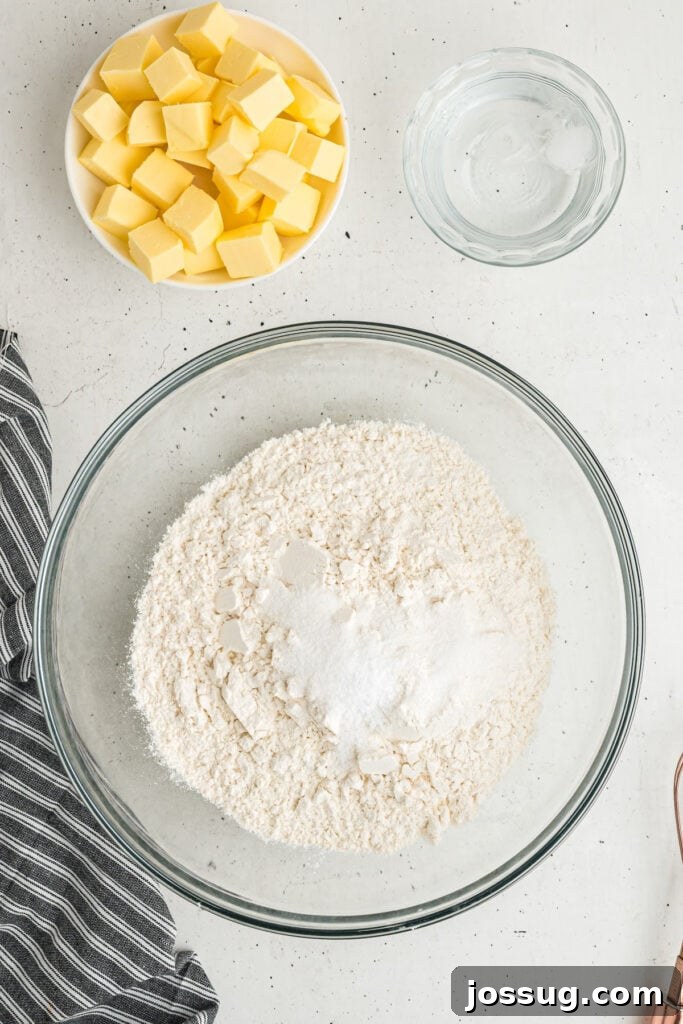
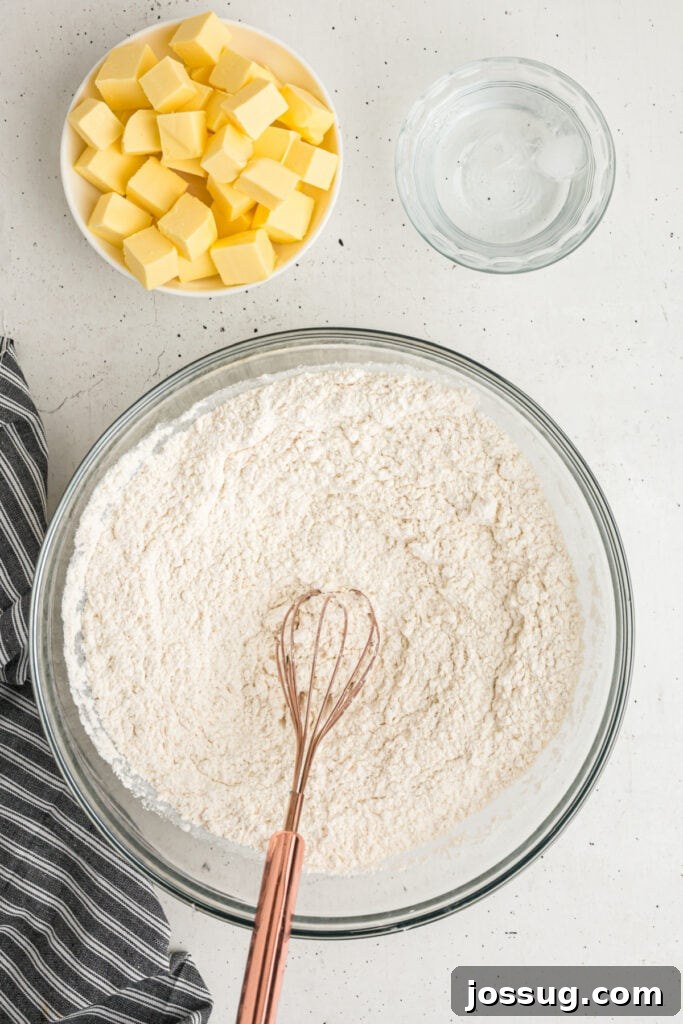
- In a large mixing bowl, thoroughly whisk together the all-purpose flour, granulated sugar (if using), and kosher salt until well combined. This ensures even distribution of flavors.
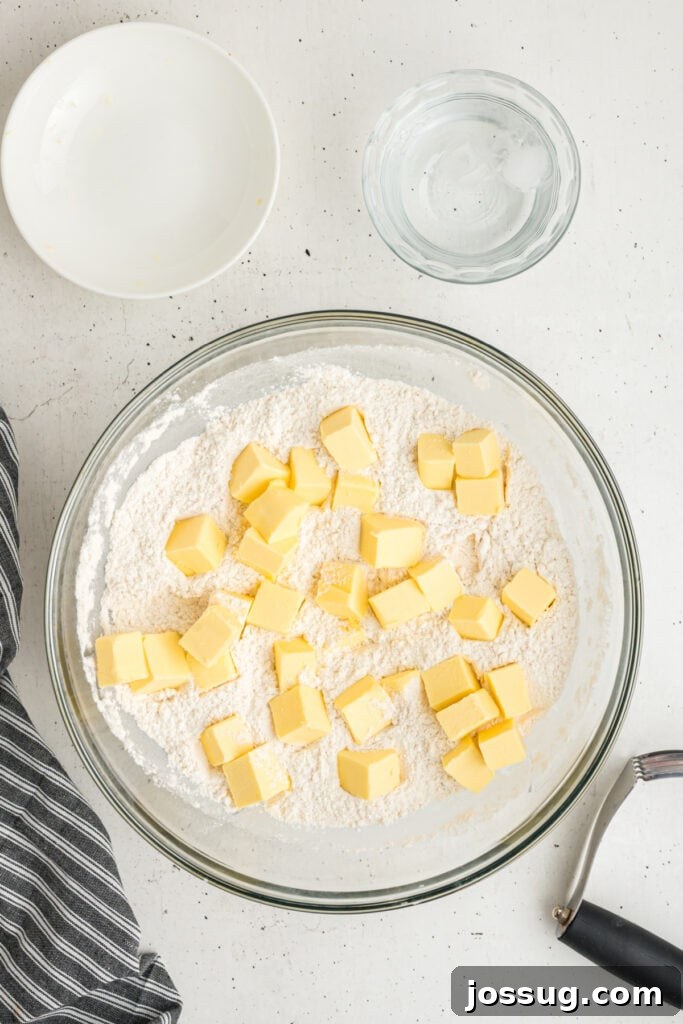
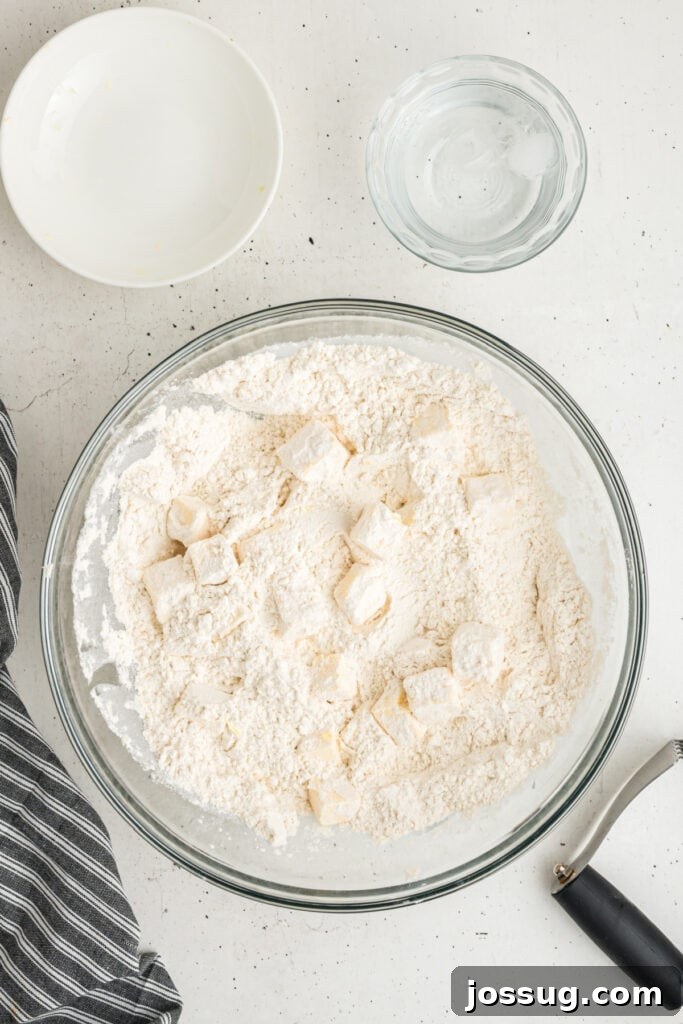
- Add the cubed cold butter to the dry ingredients. Toss the butter cubes gently to coat them with flour. This step helps prevent the butter from clumping together and ensures better flakiness.
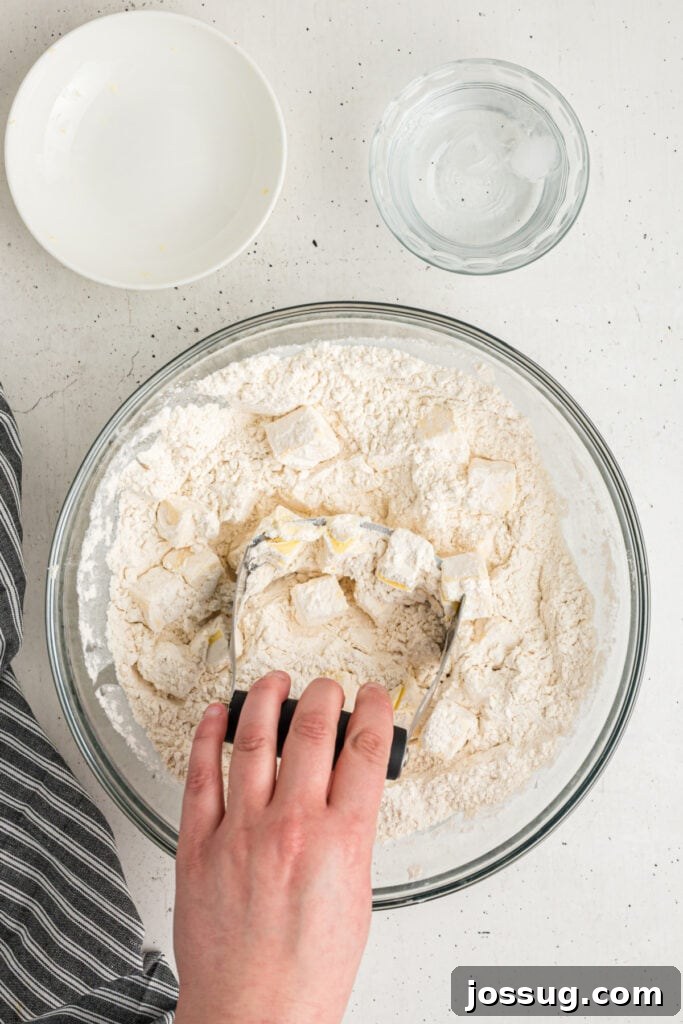
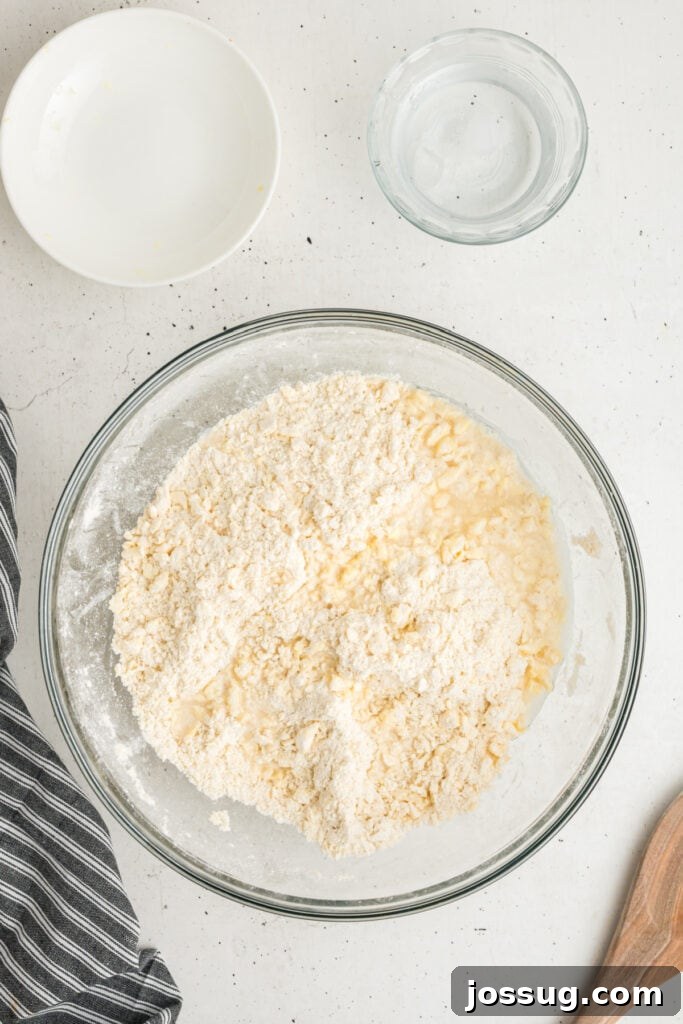
- Using a pastry blender (or two forks, or your fingertips), cut the butter into the flour mixture. Work quickly to prevent the butter from melting. Continue until the mixture resembles coarse crumbs, with some pea-sized pieces of butter still visible. These butter pockets are key to a flaky crust.
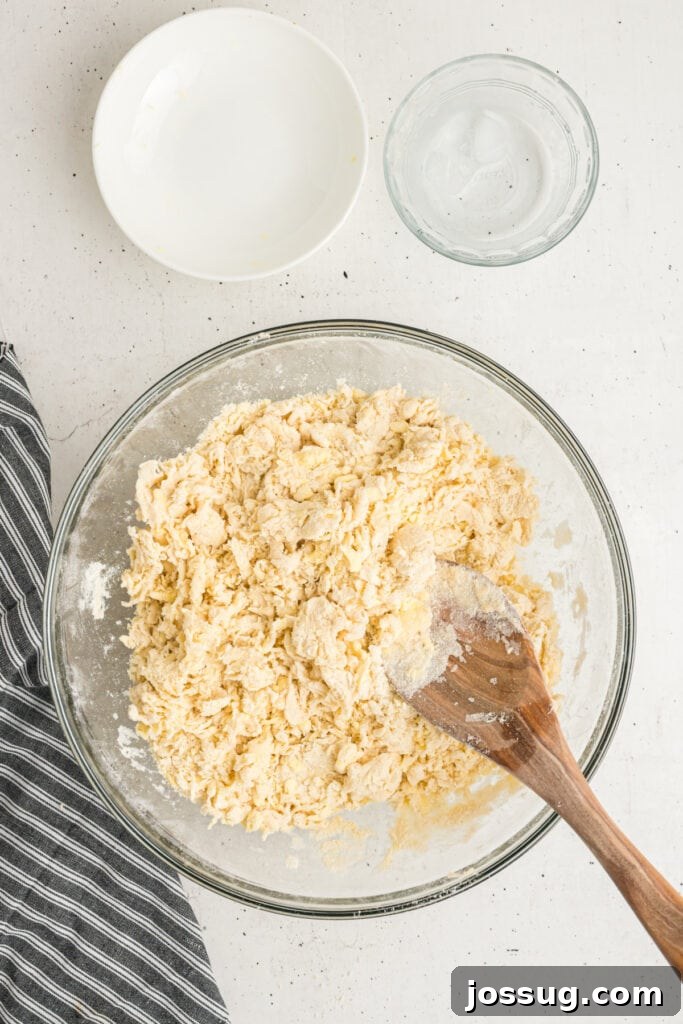
- Add 4 tablespoons of the ice-cold water to the mixture. Use a wooden spoon to mix and press the dough together. The goal is to hydrate the flour just enough.
- Continue adding the remaining water, 1 tablespoon at a time, mixing and pressing with the spoon after each addition. Stop adding water once the dough just comes together and holds its shape without crumbling when pressed in your hand. Be careful not to add too much water, as this can make the crust tough.
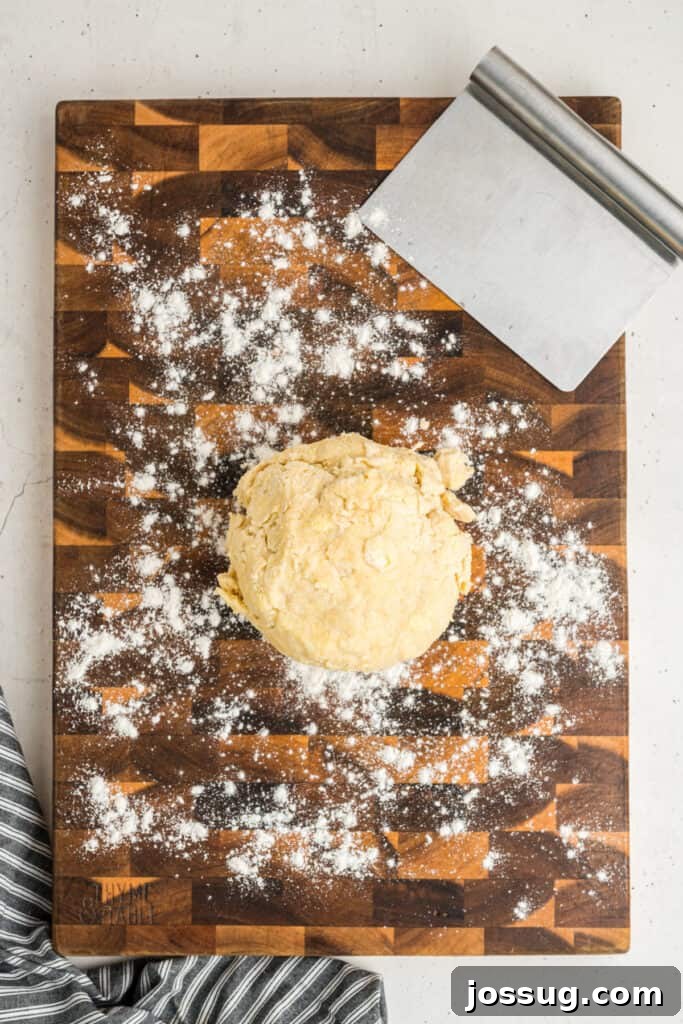
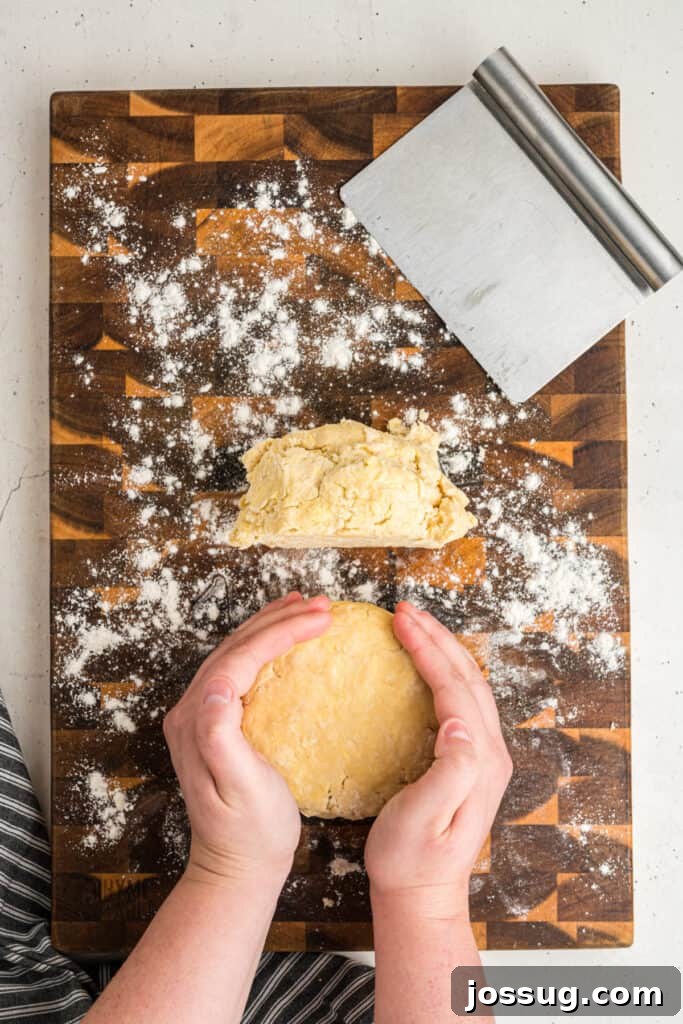
- Lightly flour your clean work surface. Transfer the dough onto the floured surface. Gently knead the dough just until it forms a cohesive ball – this should only take a few light presses. Avoid over-kneading.
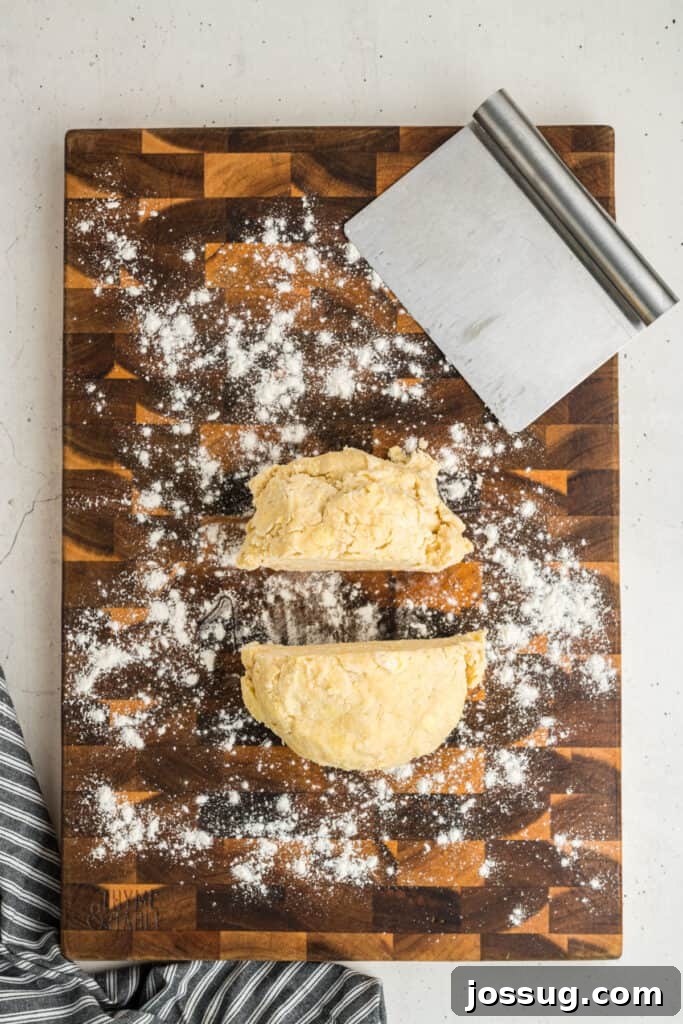
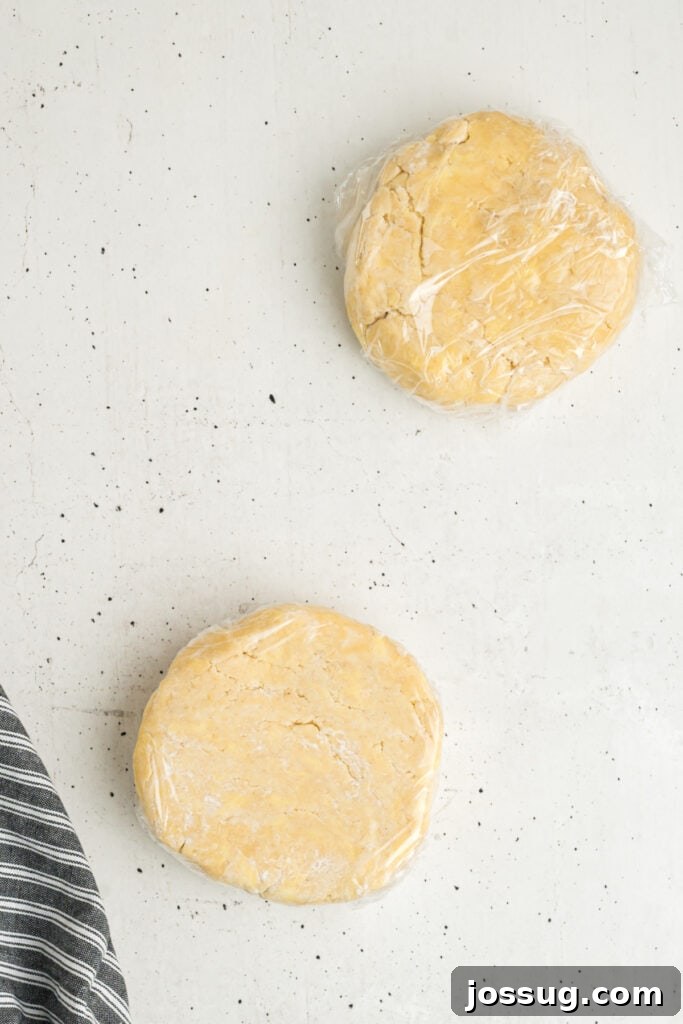
- Divide the dough in half. Shape each half into a flat disc, approximately 1-inch thick. This shape will make it easier to roll out later.
- Wrap each dough disc tightly in plastic wrap to prevent it from drying out. Refrigerate for at least 1 hour, or preferably for 2 hours. This chilling period is crucial for the butter to firm up and the gluten to relax, which will make the dough easier to roll and result in a flakier crust.
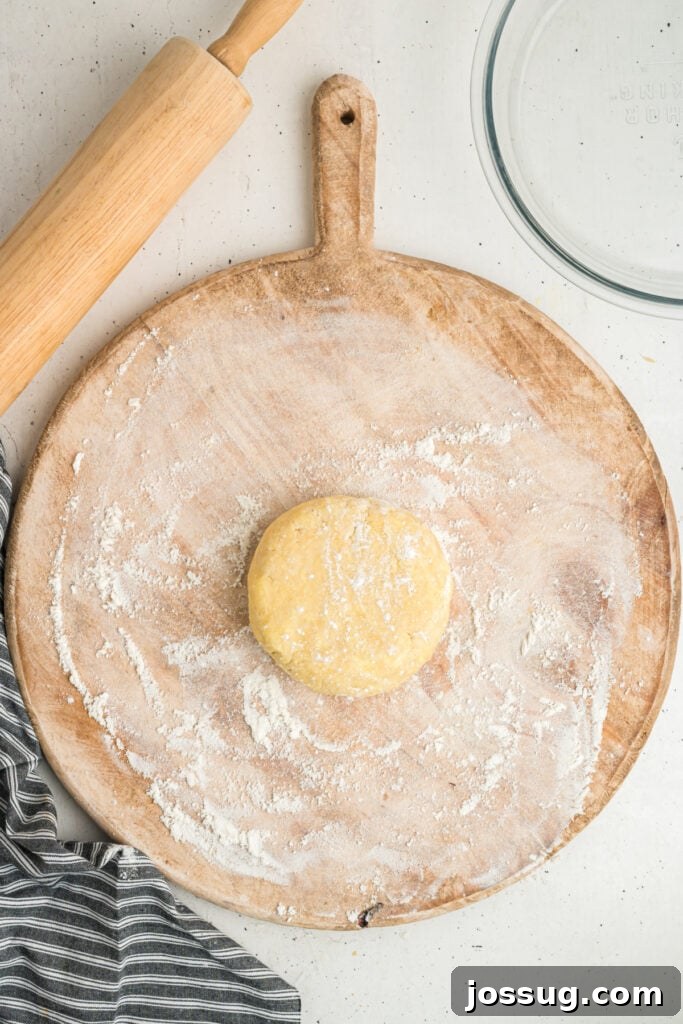
- Once chilled, remove one dough disc from the refrigerator. Let it sit at room temperature for about 10 minutes before rolling. This slightly softens the butter, making the dough more pliable.
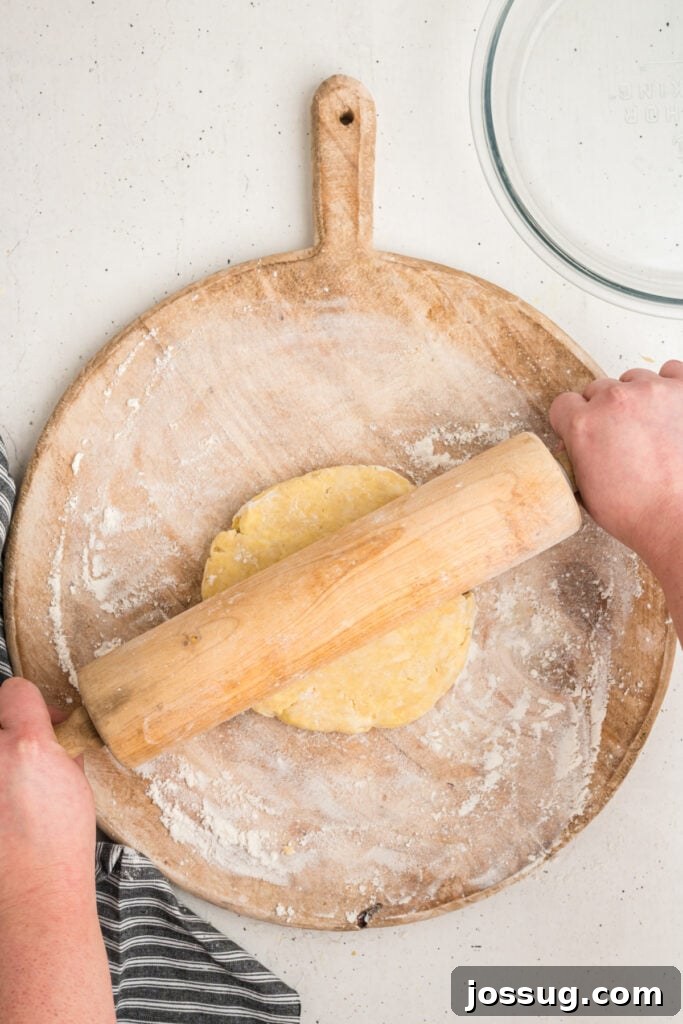
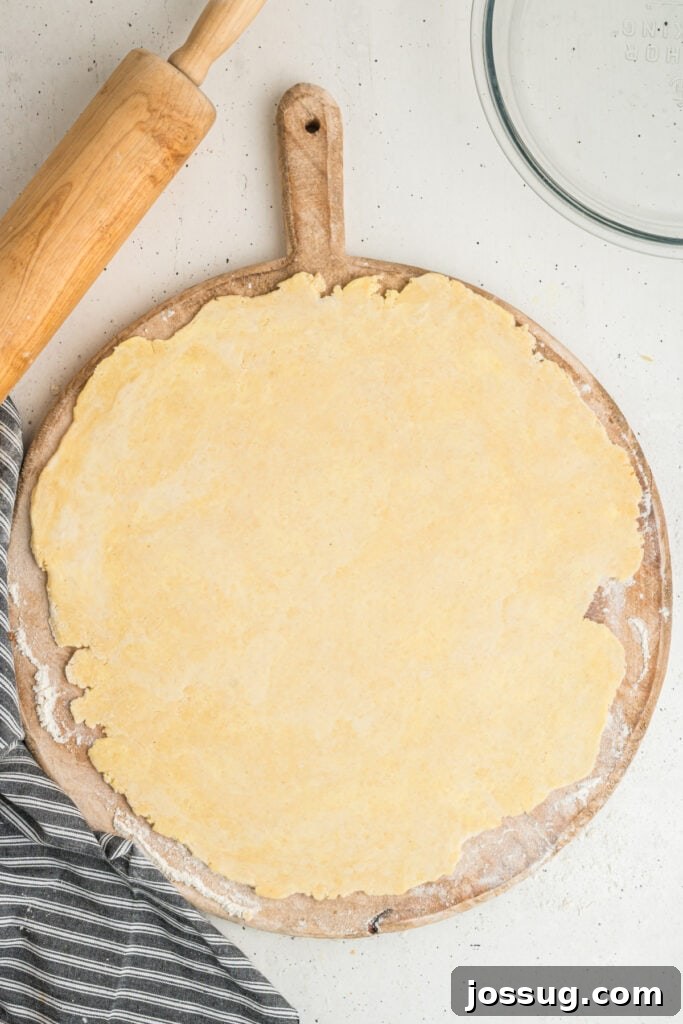
- Lightly flour your work surface, your rolling pin, and your hands. Roll one dough disc into a 12-inch circle, turning and flouring as needed to prevent sticking. Aim for an even thickness, about ⅛-inch.
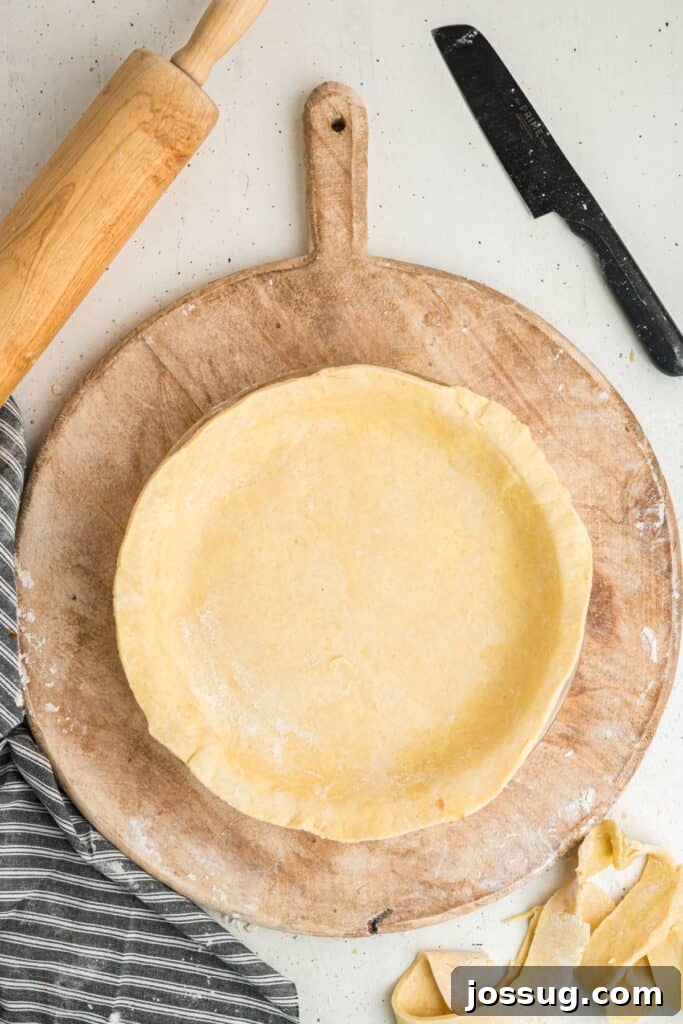
- Carefully transfer the rolled dough to your chosen 9 or 10-inch pie dish. Gently press it into place, making sure it fits snugly against the bottom and sides without stretching. Stretching can cause the crust to shrink during baking.
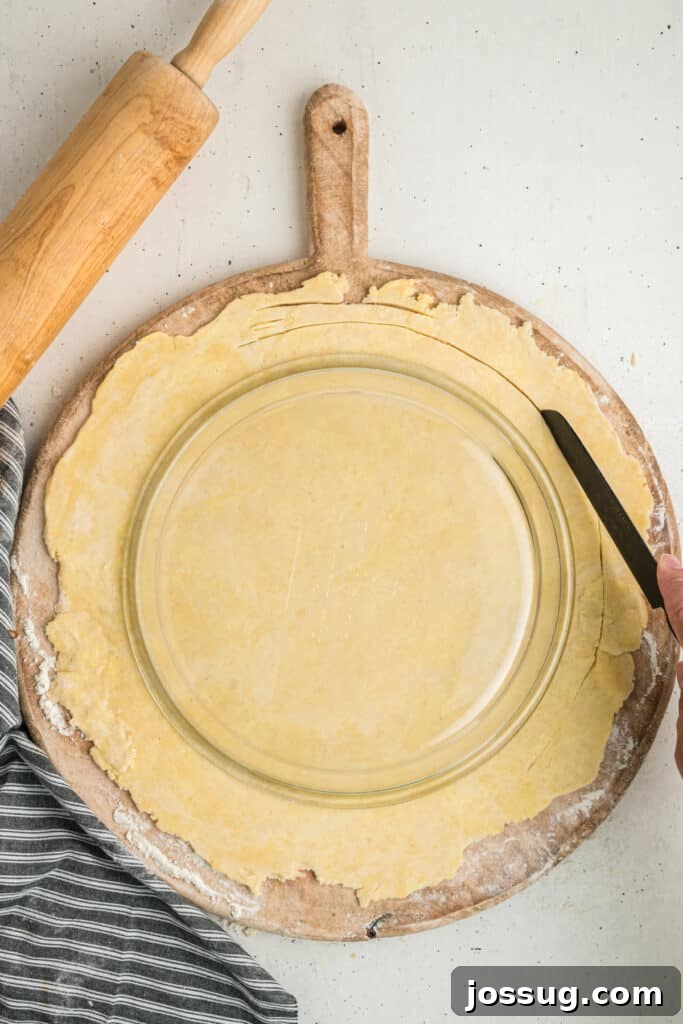
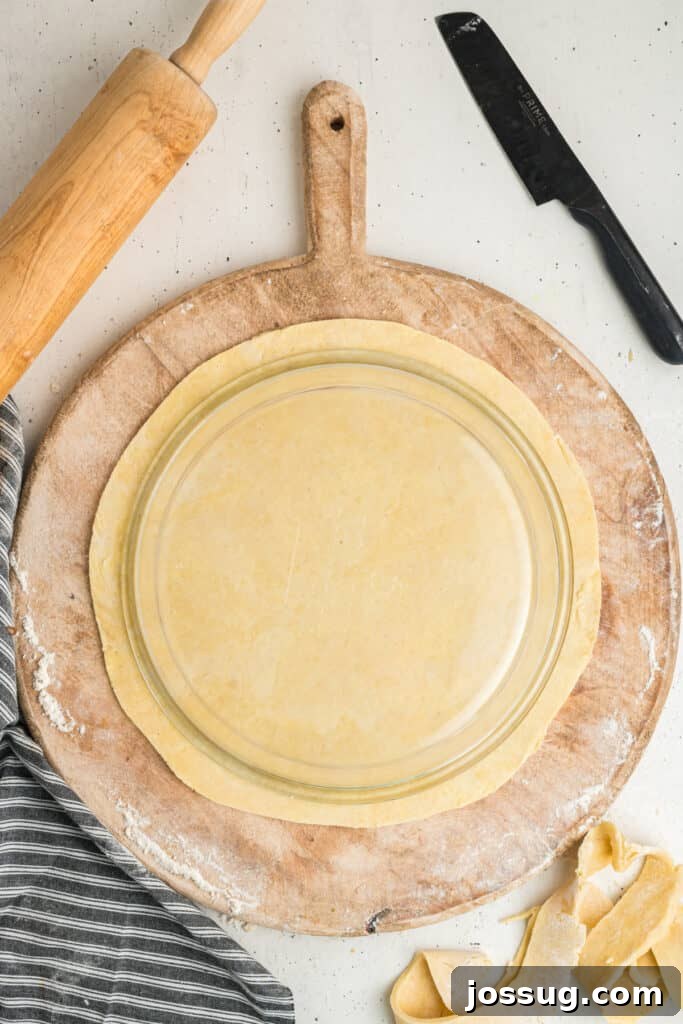
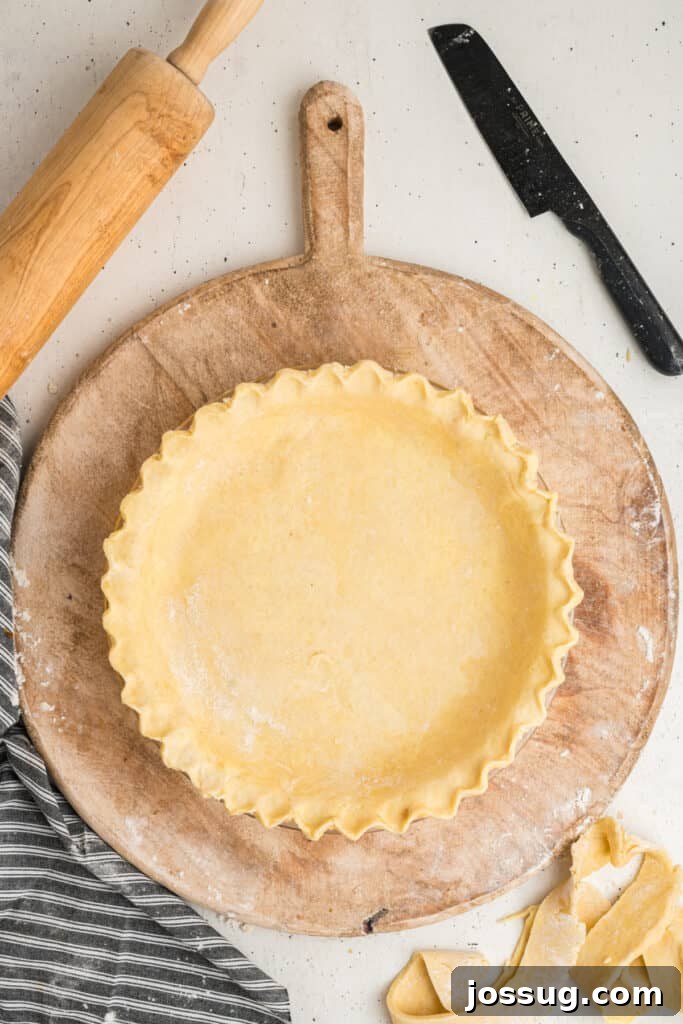
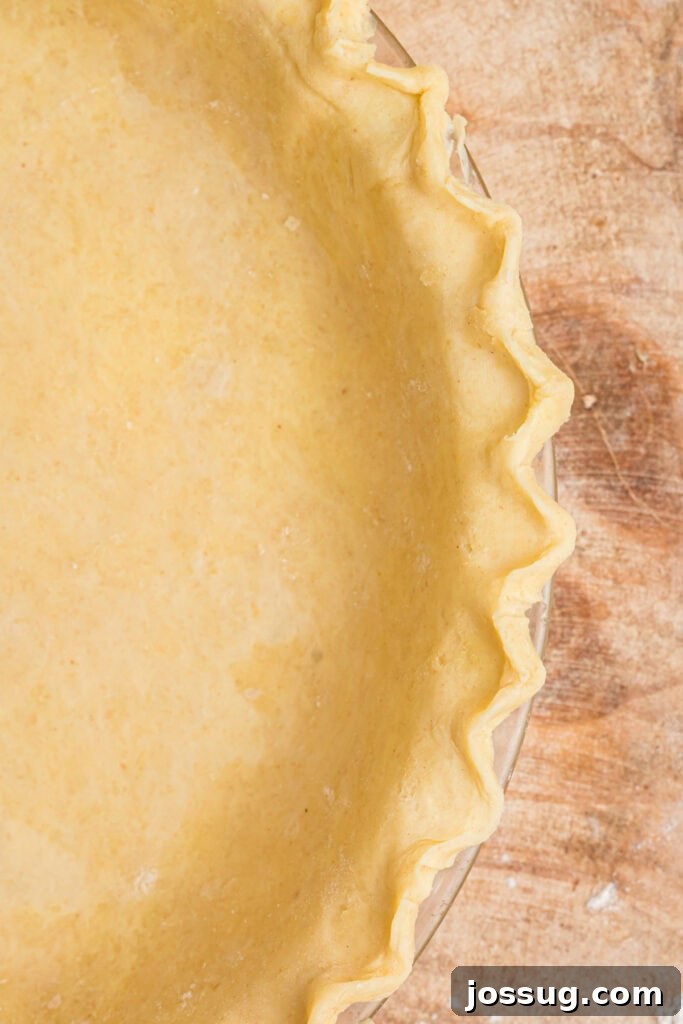
- Trim any excess dough overhang with a sharp knife or kitchen shears, leaving about ½ to 1 inch of overhang for crimping. Crimp the edges as desired to create a decorative finish.
- Refrigerate the formed pie crust until you are ready to add your filling and bake. If you are making a double-crust pie, repeat the rolling process for the second disc but do not crimp the edges yet.
- Use this prepared butter pie crust in your favorite pie recipe and follow that recipe’s specific directions for baking temperatures and filling instructions. Enjoy the superior taste and texture of your homemade pie!
Important Notes & Storage
📝 NOTES
- The nutrition information provided is an approximation for each pie crust.
🥡 STORAGE
- Refrigerate: Unused, wrapped dough discs can be refrigerated for up to 3 days. Keep formed, unbaked pie crusts in the refrigerator until ready to bake.
- Leftover Baked Crust: Store leftover baked pie crust (without filling) in an airtight container at room temperature for up to 2 days.
- Dough Scraps: Don’t discard extra dough scraps! Gather them, gently press together, wrap, and chill. Use them to make mini tarts, decorative cutouts for the top of your pie, or even a small galette.
♨️ REHEATING
- No reheating is necessary until the crust is baked with a filling. Follow the baking and reheating instructions provided by your specific pie recipe.
❄️ FREEZING
- Dough Discs: Freeze wrapped dough discs for up to 3 months. For best results, wrap them first in plastic wrap, then in aluminum foil or a freezer-safe bag.
- Thawing: Thaw frozen dough discs overnight in the refrigerator. Once thawed, let them sit at room temperature for about 10 minutes before attempting to roll them out.
💡 TIPS FOR BEST RESULTS
- Cold is Key: Always use very cold butter and ice-cold water for the flakiest crust. This ensures the butter melts slowly during baking, creating distinct layers.
- Don’t Overmix: Overmixing develops gluten, leading to a tough crust. Mix just enough for the dough to come together.
- Rest Your Dough: Chilling allows gluten to relax and butter to firm up, making rolling easier and preventing shrinkage. If dough cracks during rolling, let it rest for 2-3 minutes at room temperature before continuing.
🍳 ALTERNATE COOKING METHODS & USES
- Food Processor Method: For a faster approach, combine dry ingredients in a food processor. Add cold butter and pulse until crumbly. Gradually add water, pulsing just until dough forms. Be careful not to over-process.
- Hand Pies or Galettes: This dough is perfect for rustic-style hand pies or galettes. Roll the dough slightly thinner for these individual pastries and adjust baking times according to their smaller size.
🧁 How to Blind Bake Pie Crust
Blind baking is the essential process of partially or fully baking a pie crust before adding its filling. This technique is critical for pies with wet fillings (like custards or quiches) to prevent a soggy bottom, or for fillings that aren’t baked (like cream pies or no-bake cheesecakes).
For Partial Blind Baking: (e.g., for fruit pies or quiches)
- Preheat your oven to 375°F (190°C).
- Roll out the chilled dough and carefully fit it into your pie plate, crimping the edges as desired.
- Place the prepared crust in the freezer for 15-20 minutes. This helps the butter solidify, preventing the crust from shrinking too much during baking.
- Line the crust with parchment paper or aluminum foil, making sure it covers the edges to prevent excessive browning. Fill the liner with pie weights, dry beans, or rice.
- Bake for 15 minutes.
- Carefully remove the parchment paper and pie weights. Continue to bake for another 5-7 minutes, or until the bottom of the crust looks set and slightly golden, but not fully browned.
For Full Blind Baking: (e.g., for cream pies or unbaked fillings)
- Follow steps 1-5 for partial blind baking.
- After removing the weights and parchment, continue baking the crust for an additional 10-12 minutes, or until the entire crust is golden brown and appears fully cooked through.
Always allow the pie crust to cool completely before adding any filling, especially for cream or custard-based pies.
Nutrition Information
Calories: 1405 kcal
Carbohydrates: 125 g
Protein: 17 g
Fat: 94 g
Saturated Fat: 59 g
Polyunsaturated Fat: 4 g
Monounsaturated Fat: 24 g
Trans Fat: 4 g
Cholesterol: 244 mg
Sodium: 1898 mg
Potassium: 195 mg
Fiber: 4 g
Sugar: 6 g
Vitamin A: 2837 IU
Calcium: 53 mg
Iron: 7 mg
Nutrition information is automatically calculated and should only be used as an approximation.